
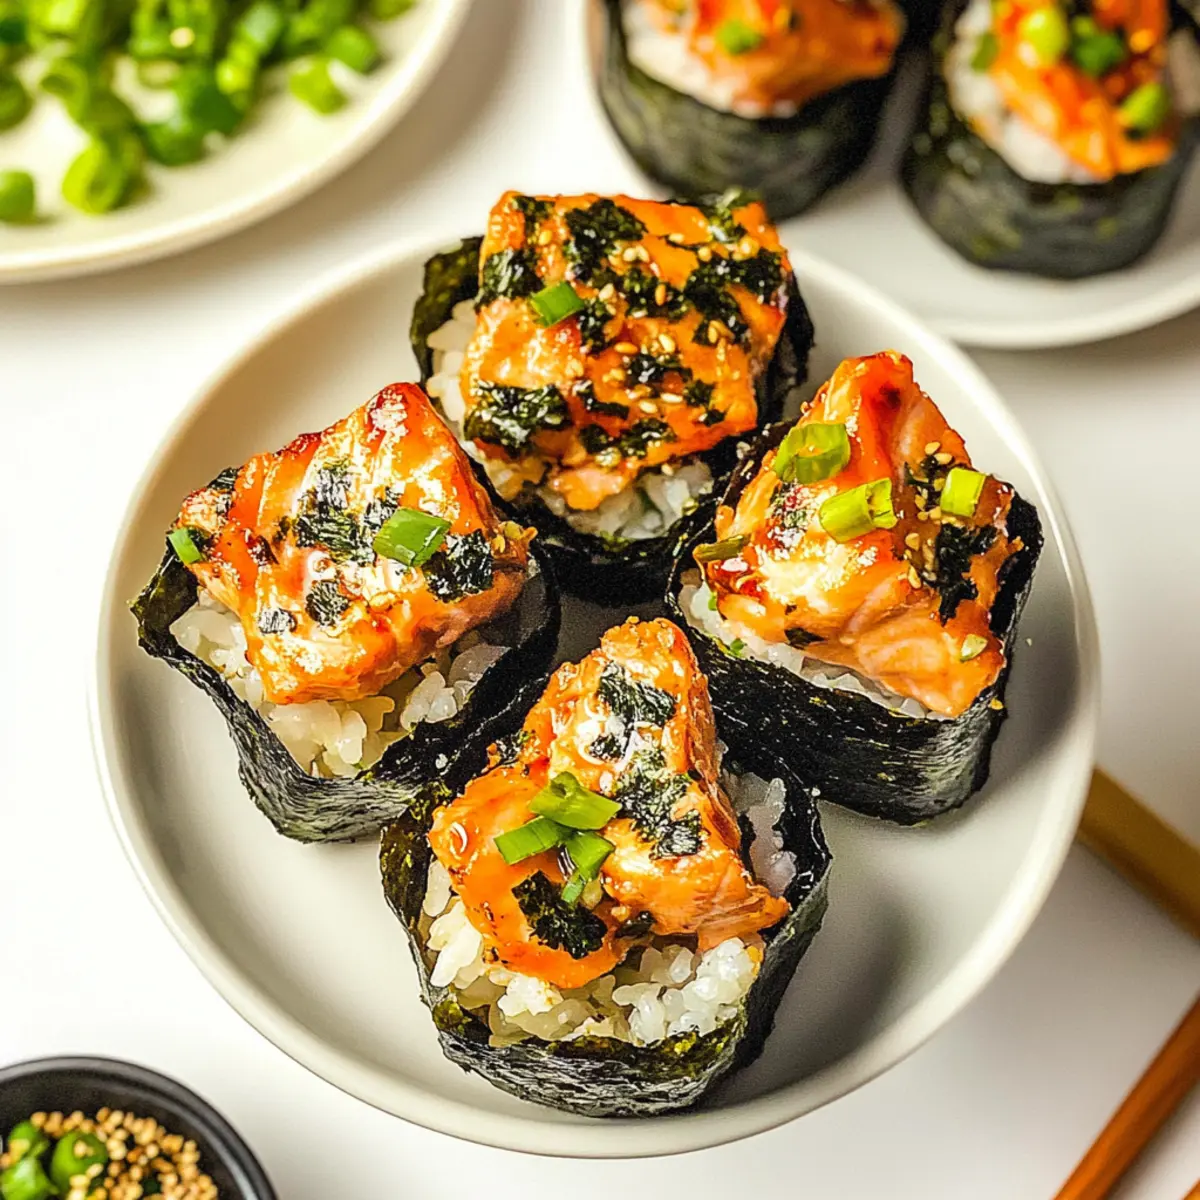
As I stood in my kitchen, I marveled at how easily sushi flavors can be transformed into a delightful appetizer. These Easy Baked Salmon Sushi Cups bring the joy of sushi right to your table without the struggles of rolling and slicing. With tender salmon nestled on a bed of fluffy sushi rice and crispy nori, they are perfect for casual gatherings or a fun family dinner. Plus, they offer a kid-friendly twist with a little kick from sriracha and creamy Kewpie mayo. Whether it’s a quick weekday snack or a crowd-pleasing party treat, these cups are both satisfying and easy to whip up. Curious how to create this delicious deconstructed sushi experience? Let’s dive in!
Why Are These Sushi Cups Amazing?
Fun and Flavorful: These Baked Salmon Sushi Cups bring the excitement of sushi to your table in an approachable way, making meal prep a breeze.
Kid-Friendly Twist: With a touch of sriracha and creamy Kewpie mayo, they cater to the little ones’ taste buds while delivering all the flavors you love.
Quick and Easy: No need for complicated rolling techniques; these cups come together in under 30 minutes, making them perfect for those busy weeknights or unexpected guests.
Savory Goodness: The tender salmon, fluffy sushi rice, and crispy nori create a delightful blend of textures and flavors that everyone will love.
Versatile: You can easily swap out the salmon for shrimp or veggies like grilled asparagus, making these cups adaptable for any diet or occasion.
Crowd-Pleasing Appeal: Serve them at your next get-together and watch your friends rave about this unique twist on a classic dish! So whether you pair them with a refreshing cucumber salad or Baked Crunchy Hot Chicken as a side, your spread will surely impress!
Baked Salmon Sushi Cups Ingredients
• Get ready to make your new favorite appetizer!
For the Sushi Cups
- Salmon – Provides protein and flavor; fresh or frozen will work as long as it’s thawed.
- Sushi Rice – Serves as the starchy base; short-grain works best for texture.
- Nori Sheets – Forms the cups; any seaweed wraps can replace traditional nori.
- Cooking Spray – Helps prevent sticking; alternatively, brush the muffin tin with oil.
For the Flavoring
- Light Soy Sauce – Adds umami and saltiness; tamari is a gluten-free alternative.
- Kewpie Mayo – Offers rich creaminess and tang; regular mayonnaise can be substituted if needed.
- Sriracha – Introduces a kick; adjust based on your spice preference or omit for a milder flavor.
- Sesame Oil – Enhances the dish with a nutty flavor; olive oil can work in a pinch.
For the Rice Seasoning
- Rice Vinegar – Provides a mild acidity to the rice; use apple cider or white vinegar if in a bind.
- White Sugar – Balances the vinegar’s acidity; honey or agave can be used as alternatives.
For the Garnish
- Furikake – Adds flavor and texture as a sprinkle on top; sesame seeds can serve as an alternative.
- Green Onion – Brings freshness and crunch; chives also provide a similar effect.
Dive into this delightful recipe and let the comforting flavors of the Baked Salmon Sushi Cups brighten your mealtime!
Step‑by‑Step Instructions for Baked Salmon Sushi Cups
Step 1: Prepare Sushi Rice
Begin by cooking the sushi rice according to the package instructions, typically around 20 minutes for perfect fluffiness. Once cooked, mix rice vinegar and sugar in a microwave-safe bowl for about 30 seconds until dissolved. Stir this mixture into the warm rice until evenly coated, giving it a nice glossy finish to enhance your Baked Salmon Sushi Cups.
Step 2: Preheat Oven
While the rice cools slightly, preheat your oven to 400°F (200°C). This temperature ensures that the salmon cooks evenly while achieving a lovely golden color. Use this time to gather your muffin tin and move on to preparing the salmon mixture for the ultimate flavor in your Baked Salmon Sushi Cups.
Step 3: Make Salmon Mixture
In a mixing bowl, combine the cubed salmon with light soy sauce, Kewpie mayo, sriracha, and sesame oil. Stir gently for about 2-3 minutes until the salmon is well-coated in the creamy sauce. This step infuses the fish with delightful flavors that will shine through in your finished Baked Salmon Sushi Cups.
Step 4: Cut Nori
Take your nori sheets and cut them into squares, approximately 4 inches in size, making sure they’ll fit snugly into the muffin tin cups. This will allow the nori to hold the rice and salmon mixture perfectly. Don’t worry about making them too perfect; rustic edges add character to your Baked Salmon Sushi Cups!
Step 5: Assemble Cups
Lightly grease your muffin tin with cooking spray or brush it with a little oil to prevent sticking. Take a nori square and press it firmly into the muffin tin, creating a cup shape. Add a generous scoop of prepared sushi rice, pressing it down to secure, then layer the salmon mixture on top, filling each cup halfway.
Step 6: Bake
Place the muffin tin in your heated oven and bake the cups for about 15 minutes. Keep an eye on them; they should be golden-brown on top, and the salmon must be cooked through. The aroma of baked salmon will fill your kitchen, a sure sign that your Baked Salmon Sushi Cups are on their way to perfection!
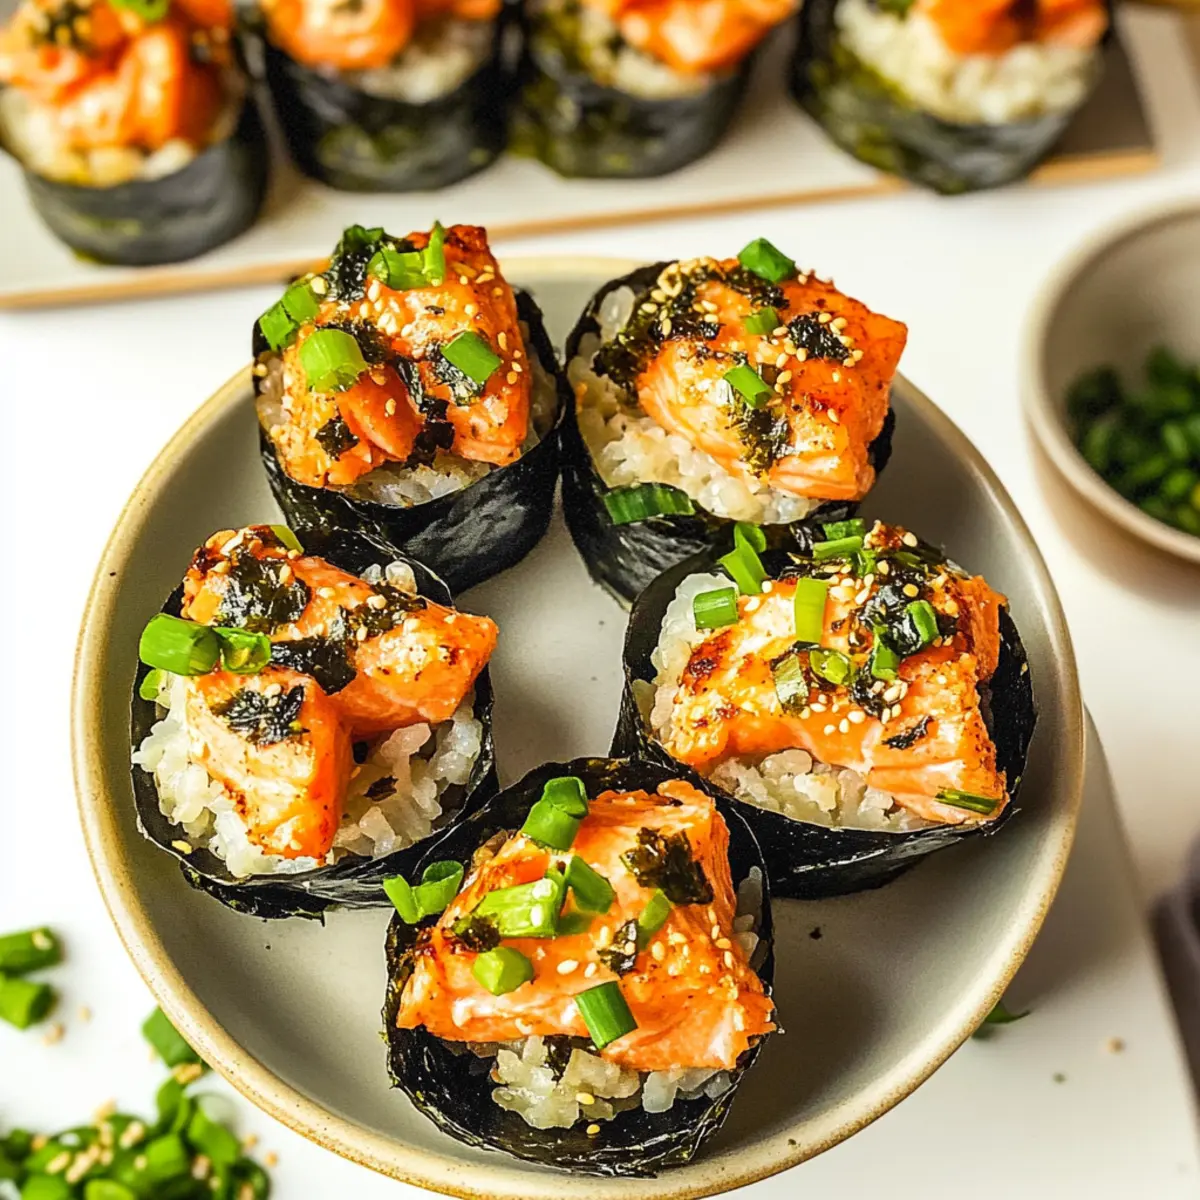
Step 7: Garnish and Serve
Once baked, remove the sushi cups from the oven and let them cool for a couple of minutes. Drizzle additional sriracha or spicy mayo if desired, and sprinkle furikake and chopped green onions on top to finish. Serve immediately to enjoy the warm, delicious flavors packed into these Baked Salmon Sushi Cups!
Make Ahead Options
These Easy Baked Salmon Sushi Cups are fantastic for meal prep, saving you time on busy weeknights! You can prepare the sushi rice and salmon mixture up to 24 hours in advance; simply store them in separate airtight containers in the refrigerator to maintain their freshness. Additionally, you can also cut the nori sheets and assemble the cups, omitting the baking process. When you’re ready to serve, just fill each nori cup with the rice and salmon mixture and bake them at 400°F (200°C) for about 15 minutes until golden brown. This method ensures that your Baked Salmon Sushi Cups are just as delicious as if they were made fresh, allowing you to enjoy a delightful homemade appetizer with minimal effort!
What to Serve with Easy Baked Salmon Sushi Cups
As you gather around the table, let’s enhance your delightful sushi experience with perfect pairings that elevate every bite.
-
Crisp Cucumber Salad: A refreshing mix of thinly sliced cucumbers and rice vinegar that complements the savory flavors beautifully.
Here, the cool crunch of cucumber brings a delightful contrast to the warm, baked cups, making each mouthful even more satisfying. -
Edamame in Sea Salt: These tender green buds are packed with protein and provide a fun finger food option for everyone.
Their light, nutty flavor pairs wonderfully with the richness of the salmon, creating a lovely balance between textures. -
Sweet Mango Salsa: Bright and fruity, this salsa adds a tropical twist that pairs well with your savory sushi cups.
The sweetness of mango and a hint of lime create a delightful contrast that keeps every bite exciting. -
Soy Sauce for Dipping: A classic pairing that adds extra umami and saltiness, enhancing the overall flavor profile of the sushi cups.
A light drizzle or dip will amplify the deliciousness, making each bite a flavorful experience. -
Ginger-Scallion Sauce: This aromatic sauce brings a zesty kick that brightens the salmon’s taste while adding layers of flavor.
Its vibrant and fresh notes serve as a perfect contrast to the richness of the Baked Salmon Sushi Cups. -
Chilled Green Tea: This refreshing drink complements the meal’s flavors with its soothing, earthy notes.
Opting for chilled tea balances the richness, providing a light and clean finish after each savoring bite. -
Chocolate Mochi for Dessert: Soft and chewy, these sweet treats wrap up your meal with a delightful touch of sweetness.
Their unique texture and flavors create a fun ending, making your dining experience even more enjoyable.
Expert Tips for Baked Salmon Sushi Cups
-
Check doneness: Ensure the salmon is fully cooked—opaque and flaky—before removing from the oven for perfectly safe and delicious Baked Salmon Sushi Cups.
-
Cool slightly: Let the sushi cups cool for a few minutes before serving to avoid burns and allow flavors to meld beautifully.
-
Season rice well: Enhance the flavor of your sushi rice by adding a pinch of salt to the cooking water for a tastier base in your Baked Salmon Sushi Cups.
-
Avoid overfilling: Don’t overpack the muffin tins; this ensures even cooking and makes it easier to remove each cup without breaking.
-
Use fresh ingredients: Fresh salmon and high-quality nori elevate the flavor of your Baked Salmon Sushi Cups, making them truly stand out at any gathering.
Storage Tips for Baked Salmon Sushi Cups
- Fridge: Store leftover Baked Salmon Sushi Cups in an airtight container for up to 2-3 days to maintain freshness and flavor.
- Freezer: Freeze individual cups wrapped in plastic wrap, then placed in a freezer-safe bag for up to 2 months. Thaw in the fridge overnight when ready to enjoy.
- Reheating: Reheat in the oven at 350°F for about 10 minutes or until warmed through. Alternatively, use a microwave for a quick option, ensuring they’re covered to retain moisture.
Baked Salmon Sushi Cups Variations & Substitutions
Feel free to customize these delightful sushi cups to suit your taste and dietary needs!
-
Seafood Swap: Use shrimp instead of salmon for a delightful twist. Just ensure they’re cooked beforehand for the best texture.
-
Vegetarian Option: Replace salmon with diced avocado or roasted asparagus for a plant-based version. The creamy avocado complements the flavors beautifully.
-
Spice it Up: Enhance the heat by experimenting with different hot sauces or adding more sriracha for those who crave extra zing.
-
Flavor Boost: Add a touch of miso paste to the salmon mixture for a richer umami flavor. It’ll elevate your Baked Salmon Sushi Cups to new heights.
-
Oil Alternatives: If you don’t have sesame oil, olive oil works wonderfully. It adds an earthy depth without overpowering the dish.
-
Balancing Acidity: For a different tang, try apple cider vinegar instead of rice vinegar; it offers a unique twist that’s still delicious.
-
Garnish Choices: If you can’t find furikake, simply sprinkle with sesame seeds and chopped cilantro for a fresh, crunchy finish.
-
Rice Alternatives: Swap sushi rice for quinoa or cauliflower rice to create a low-carb version, still holding that glorious flavor profile.
Serving these tasty cups with a side of Baked Broccoli Cheese or a refreshing cucumber salad enhances the meal beautifully. Enjoy customizing!
Baked Salmon Sushi Cups Recipe FAQs
What type of salmon should I use?
Absolutely! Fresh salmon is ideal for the best flavor and texture, but frozen salmon will work too as long as it’s thoroughly thawed. Look for salmon that’s bright in color and has no dark spots. If you can smell a fishy odor, it’s not fresh.
How should I store leftovers?
You can store leftover Baked Salmon Sushi Cups in an airtight container in the fridge for up to 2-3 days. If you want to keep them longer, I suggest wrapping each cup in plastic wrap and then placing them in a freezer-safe bag for up to 2 months. Just thaw in the fridge overnight before reheating!
Can I freeze the sushi cups?
Yes! To freeze, wrap each Baked Salmon Sushi Cup tightly in plastic wrap, then place them in a freezer-friendly bag, squeezing out as much air as possible before sealing. This helps keep them fresh and prevents freezer burn. When you’re ready to eat, just thaw them in the fridge overnight and reheat as needed.
How can I reheat the sushi cups?
For the best results, reheat the Baked Salmon Sushi Cups in the oven at 350°F for about 10 minutes until warmed through. This method keeps the nori crispy, just like when they came out of the oven. If you’re in a hurry, you can also use a microwave—just cover them with a damp paper towel to retain moisture.
Can I make these sushi cups gluten-free?
Very much so! Just substitute regular soy sauce with tamari for a gluten-free version. Also, make sure the other ingredients, like sriracha and Kewpie mayo, are gluten-free to ensure everyone can enjoy these delicious Baked Salmon Sushi Cups without worry.
What if I’m allergic to seafood?
If seafood allergies are a concern, you can easily adapt the recipe by substituting salmon with cooked chicken or even roasted vegetables for a vegetarian version. The technique remains the same, and you’ll still enjoy a delightful sushi-inspired experience!

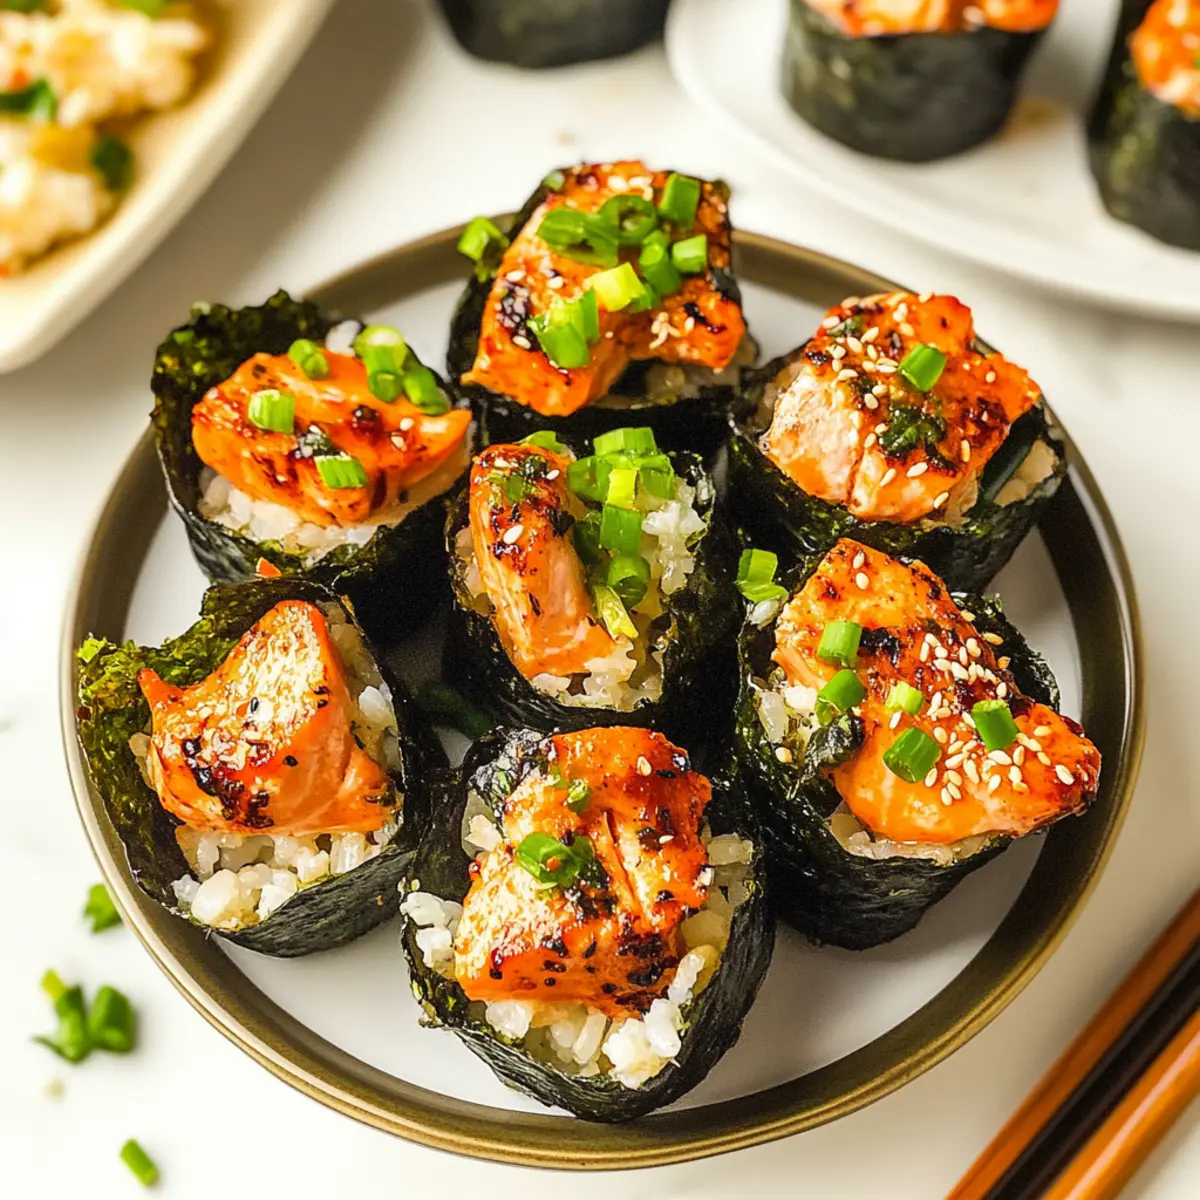
Baked Salmon Sushi Cups That Bring Sushi Home Delightfully
Ingredients
Equipment
Method
- Begin by cooking the sushi rice according to the package instructions, typically around 20 minutes for perfect fluffiness. Once cooked, mix rice vinegar and sugar in a microwave-safe bowl for about 30 seconds until dissolved. Stir this mixture into the warm rice until evenly coated.
- While the rice cools slightly, preheat your oven to 400°F (200°C).
- In a mixing bowl, combine the cubed salmon with light soy sauce, Kewpie mayo, sriracha, and sesame oil. Stir gently for about 2-3 minutes until the salmon is well-coated.
- Take your nori sheets and cut them into squares, approximately 4 inches in size.
- Lightly grease your muffin tin with cooking spray or brush it with a little oil. Take a nori square and press it firmly into the muffin tin, creating a cup shape. Add a generous scoop of prepared sushi rice, then layer the salmon mixture on top.
- Place the muffin tin in your heated oven and bake the cups for about 15 minutes.
- Once baked, remove the sushi cups from the oven and let them cool for a couple of minutes. Garnish with furikake and green onions.
Leave a Reply