
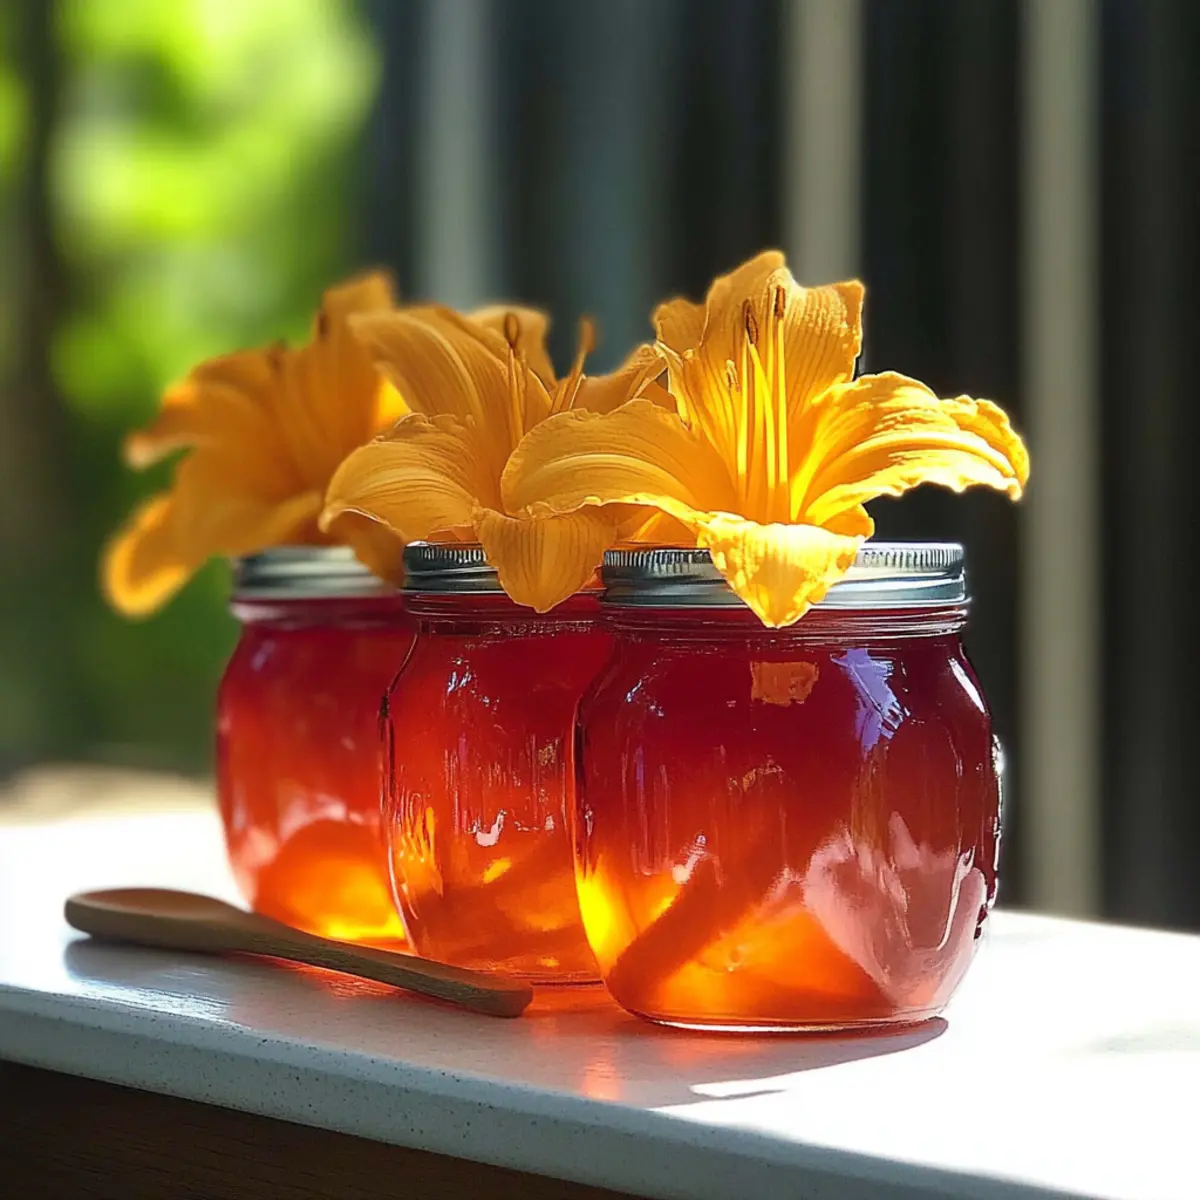
As I stood in my garden, the vibrant colors of daylily blooms beckoned to me, their sweet scent dancing in the warm air. This moment sparked a culinary adventure to create my very own Daylily Jelly, a unique floral preserve that’s both delightful and simple to make. With its enchanting floral flavor and stunning appearance, this jelly is not just a treat for the taste buds—it’s a creative way to make the most of your garden blooms. Making Daylily Jelly offers the joy of transforming edible flowers into a charming pantry staple that’s perfect for breakfast or thoughtful gifts. Plus, it’s a fun activity for anyone looking to explore new flavors and elevate their home-cooking game. Are you ready to try your hand at this exquisite preserve?
Why is Daylily Jelly so special?
Unique Flavor: This jelly offers a floral twist that tantalizes your taste buds, setting it apart from traditional fruit preserves.
Garden Freshness: Using vibrant daylily blooms directly from your garden elevates this treat, capturing the essence of nature in every jar.
Simple Process: The recipe is easy to follow, making it perfect for beginners or seasoned chefs looking to experiment with edible flowers.
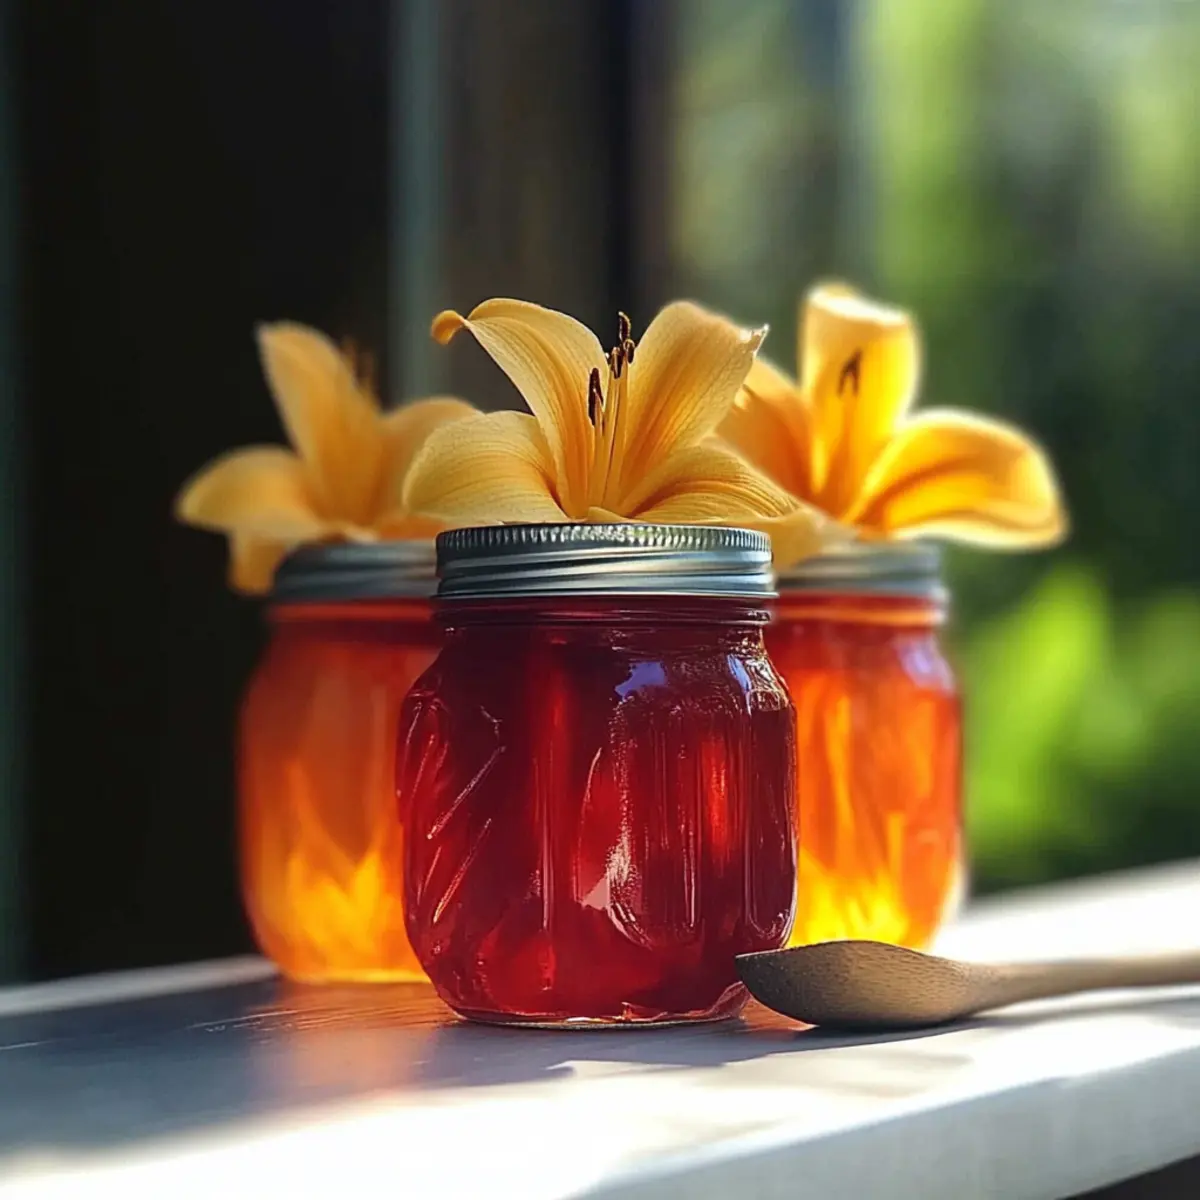
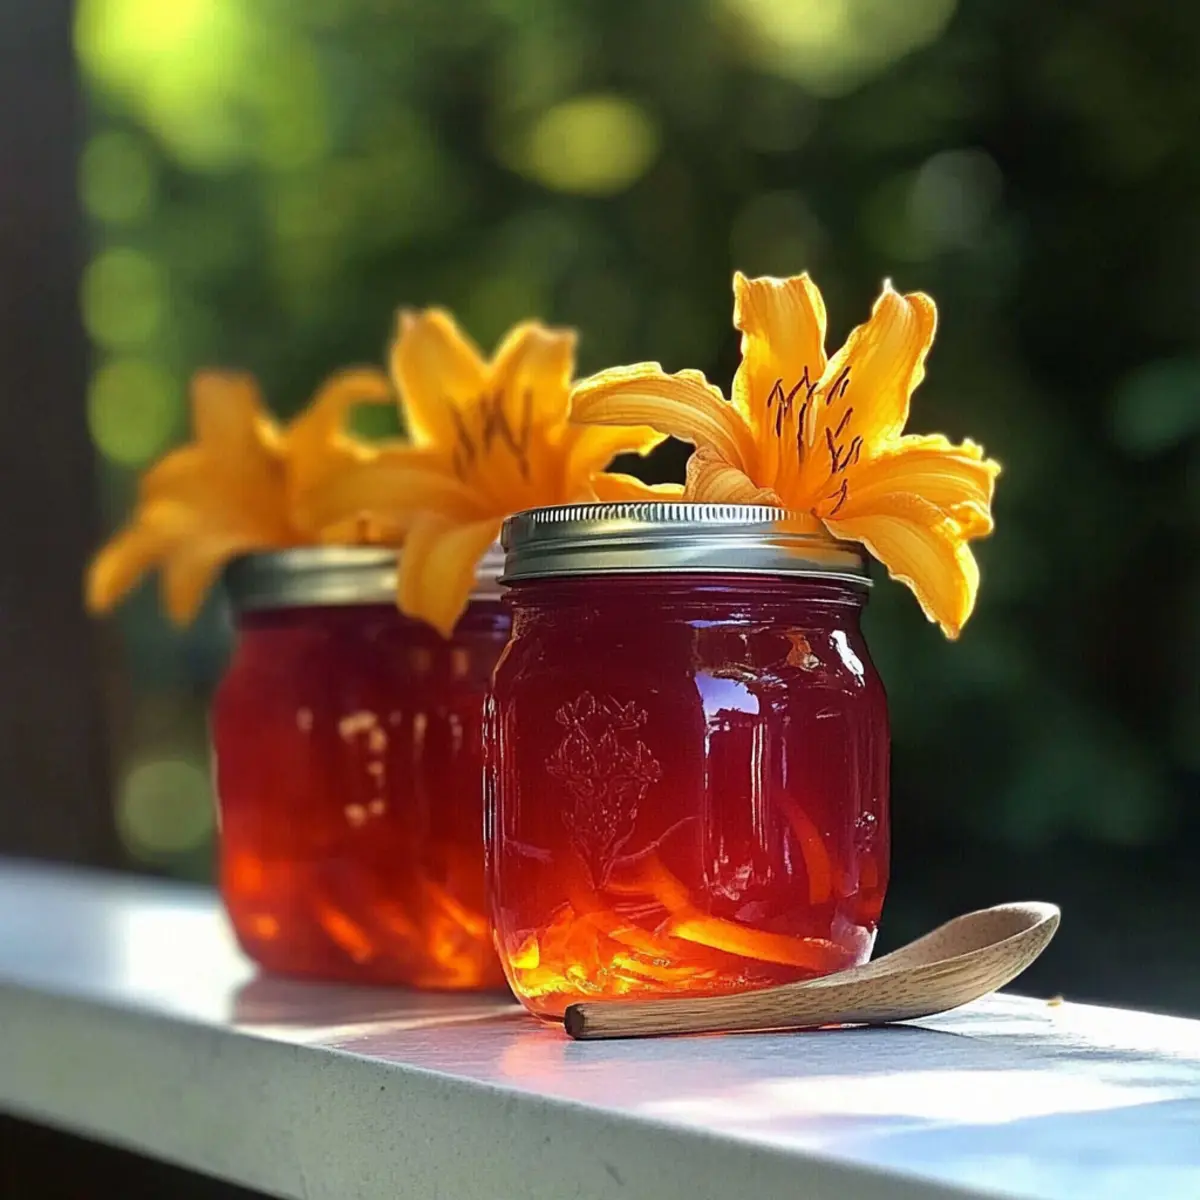
Beautiful Presentation: Its stunning color and glossy texture make it not just a food item, but a centerpiece at any table or a charming gift.
Versatile Use: Spread it on toast, pair it with cheese, or incorporate it into desserts—Daylily Jelly lends an exquisite touch to countless dishes.
Ready to make your own batch? Check out my tips on how to get started with the preserving process.
Daylily Jelly Ingredients
• Explore the essential components for making your own delightful Daylily Jelly!
For the Jelly
- Daylily Blooms – Fresh flowers offer the unique floral flavor; harvest them in the morning when they’re fully open.
- Boiling Water – Used to steep the blooms and extract their lovely essence; ensure it’s at a rolling boil.
- Sugar – Sweetens your jelly perfectly; you can substitute with alternative sweeteners, but adjust for desired sweetness.
- Lemon Juice – Adds a lovely acidity that enhances flavor and assists in the gelling process.
- Pectin – Important for achieving the right jelly consistency; be sure to follow the package instructions carefully.
Get ready to transform your vibrant daylilies into sweet, floral jars of goodness!
Step‑by‑Step Instructions for Daylily Jelly
Step 1: Prepare Daylily Tea
Begin by harvesting fresh daylily blooms in the early morning, choosing fully opened flowers. Rinse them gently and place them in a heatproof container. Pour boiling water over the blooms, ensuring they are completely submerged. Cover the container and let the mixture steep for 12 to 24 hours. This process will extract the lovely floral essence needed for your Daylily Jelly.
Step 2: Combine Ingredients
After steeping, strain the infused water through a fine mesh sieve or cheesecloth into a large pot, discarding the flowers. Measure the liquid to ensure you have the required amount, and then mix in sugar, fresh lemon juice, and pectin according to your chosen proportions. Stir well until combined, allowing the sugar to dissolve completely before moving on to the cooking stage.
Step 3: Cook Mixture
Place the pot over medium heat and stir continuously until the mixture begins to boil. Once boiling, keep it at a rolling boil for the time specified on the pectin package, typically about 1-2 minutes. Watch for the jelly to thicken slightly; this indicates that the pectin is activating. Stir frequently to prevent sticking and ensure even cooking of your Daylily Jelly.
Step 4: Jarring Process
While the mixture is bubbling away, sterilize your mason jars and lids by boiling them for 10 minutes. This step is crucial for preserving the integrity of your jelly. Once sterilized, carefully remove the jars from the water using tongs and let them cool slightly. Pour the hot jelly into the warm jars, leaving about ¼ inch of headspace at the top to allow for expansion.
Step 5: Seal and Process
After filling the jars with the vibrant Daylily Jelly, wipe the rims with a clean cloth to ensure a tight seal. Place the sterilized lids on top and screw on the metal bands until they are fingertip-tight. Finally, process the jars in a boiling water bath for 10 minutes. This ensures a proper seal, keeping your jelly fresh for months to come.
What to Serve with Exquisite Daylily Jelly
As you savor the enchanting floral notes of this delightful preserve, it’s time to explore the perfect pairings that will elevate your culinary experience.
-
Creamy Goat Cheese: The rich, tangy flavor beautifully contrasts with the floral sweetness, creating a delightful balance perfect for a charcuterie board.
-
Warm Croissants: Flaky and buttery, they offer a tender backdrop to spread the jelly, turning breakfast into a luxurious experience.
-
Savory Crackers: The crunchiness of whole-grain or herbed crackers provides a satisfying texture and complements the jelly’s floral notes without overpowering them.
-
Spiced Tea: A warm cup of chai or spiced herbal tea enhances the delicate flower flavors, making for a comforting pairing during afternoon tea.
-
Balsamic-Glazed Grilled Chicken: Drizzle the jelly over grilled chicken for a sweet-savory dish that is sure to impress at your next gathering.
-
Lemon Tart: The zesty brightness of the tart contrasts harmoniously with the sweetness, creating a refreshing dessert experience.
-
Fresh Fruit Salad: Juicy berries and crisp apples provide a fresh contrast that brings out the jelly’s floral essence.
-
Almond Biscotti: The nutty crunch adds a delightful texture, perfect for dunking into your morning coffee alongside a spread of Daylily Jelly.
-
Fizzy Prosecco: The bubbles and lightness of this sparkling wine makes it a fantastic, celebratory drink that complements the sweetness of the jelly beautifully.
Expert Tips for Making Daylily Jelly
Harvest Smartly: Choose daylily blooms early in the morning when they’re fully open. This gives you the freshest flavor for your Daylily Jelly.
Boiling Precision: Always use water at a rolling boil to steep the blooms effectively. A gentle simmer won’t extract the full essence you need.
Sugar Balance: Adjust sugar based on your taste and the type of sweetener used. Too little can result in a runny jelly; follow proportions carefully.
Pectin Awareness: Don’t skip reading the pectin package instructions. Cooking time changes depending on the brand and type you use, which affects jelly consistency.
Seal Tight: Ensuring jars are properly sealed is key to prolonging shelf life. Check lids for a tight fit after the water bath to guarantee freshness.
How to Store and Freeze Daylily Jelly
Room Temperature: Store unopened jars of Daylily Jelly in a cool, dark place for up to a year. This preserves their vibrant flavor and color.
Fridge: Once opened, keep your Daylily Jelly refrigerated. It’ll stay fresh for up to 3 weeks, giving you plenty of time to enjoy its floral goodness.
Freezer: If you want to extend its shelf life, you can freeze Daylily Jelly. Transfer it to freezer-safe containers, leaving some space for expansion, and it can last up to a year.
Reheating: To enjoy the jelly, simply scoop out what you need and let it come to room temperature, or gently warm it in a saucepan over low heat to restore its lovely spreadability.
Daylily Jelly Variations & Substitutions
Feel free to get creative and make this delightful Daylily Jelly truly your own—each twist elevates the flavor profile!
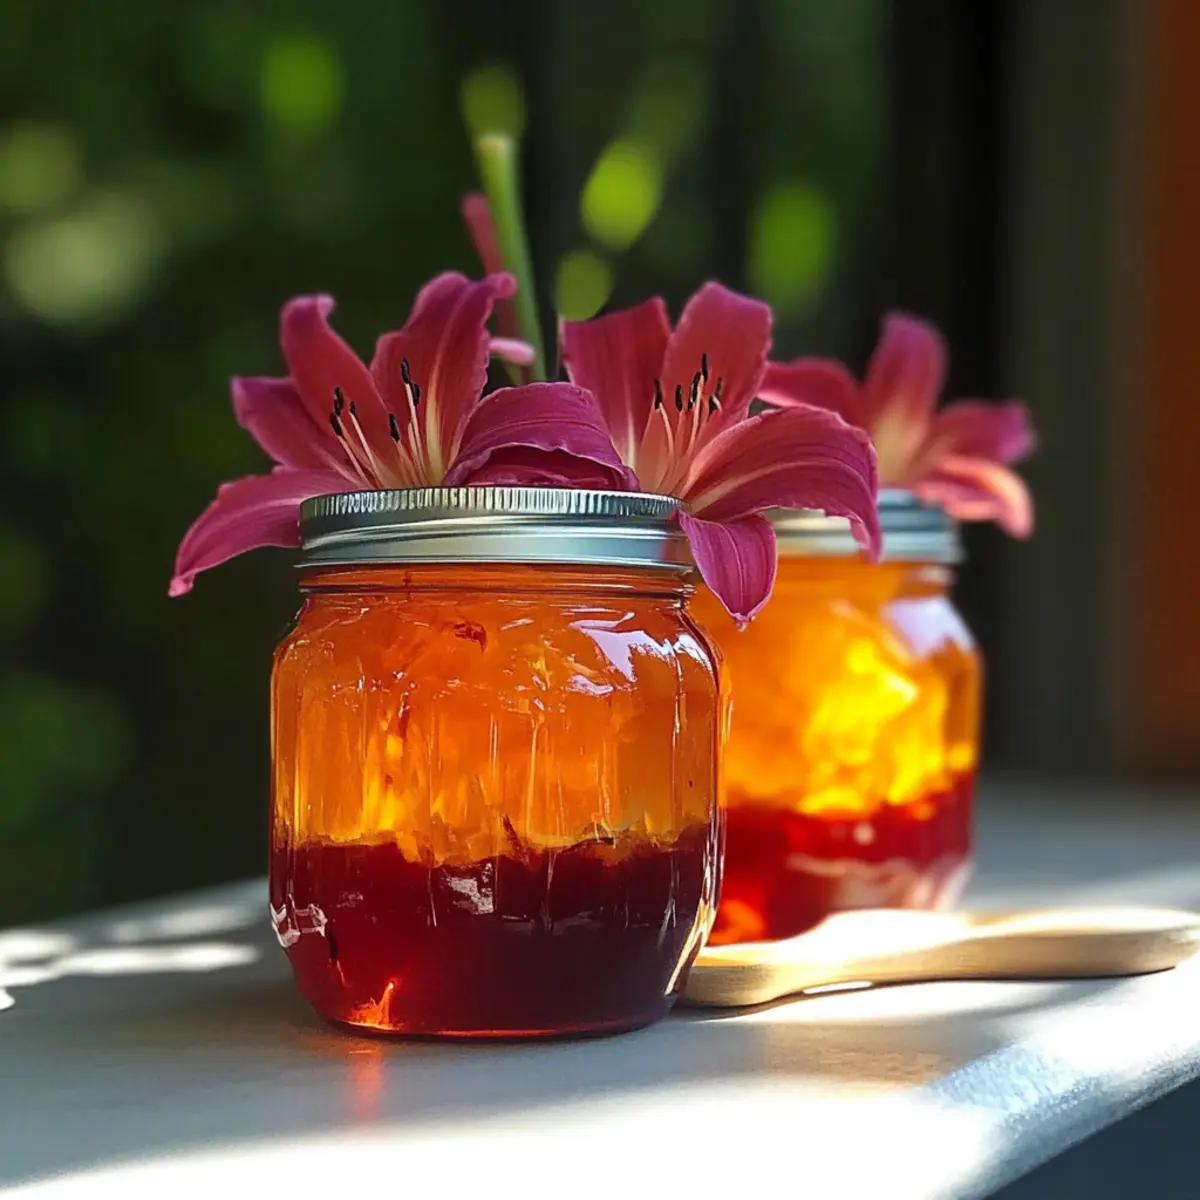
- Colorful Blooms: Experiment with various colored daylily blooms to see how each shade influences the jelly’s color and taste.
- Herbal Fusion: Blend in other edible flowers like lavender or rose, adding a unique aromatic note that complements the daylilies beautifully.
- Spicy Kick: For a zesty surprise, incorporate a pinch of cayenne or chili flakes into the mixture before cooking. This will bring a whole new level of excitement to your jelly.
- Honey Sweetened: Substitute sugar with honey for a natural sweetness that also lends a pleasant earthy flavor. Remember to adjust the liquid ratio accordingly for the best results.
- Citrus Burst: Brighten up your jelly with additional citrus! Try using orange or lime juice along with lemon for a vibrant blend of flavors.
- Herb Infusion: Enhance the floral notes by steeping fresh mint or basil leaves with the daylily blooms. The result is a fragrant, unusual twist that refreshes traditional jelly tastes.
- Ginger Spice: Add some freshly grated ginger to the mixture for a warm, spicy undertone that adds complexity to your floral jelly.
- Silken Texture: For a smoother texture, puree some of the daylily blooms in the boiling water before straining. This creates a silkier mouthfeel.
Embrace new tastes and share your experience! If you’re eager to dive deeper into preserving techniques, check out my guide on the preserving process.
Make Ahead Options
Preparing Daylily Jelly can be a breeze with a little advanced planning! You can steep the daylily blooms in boiling water up to 24 hours ahead of time, allowing the floral essence to develop fully. Simply cover the blooms submerged in water and refrigerate until you’re ready to proceed. Additionally, you can mix the strained daylily tea with sugar, lemon juice, and pectin, and store the mixture in the fridge for up to 3 days before cooking. When you’re ready to finish, just heat the mixture over medium heat until it reaches a boil, then follow your regular jarring process. This method not only saves time on busy days but also ensures that your Daylily Jelly remains just as delicious when you’re ready to serve it!
Daylily Jelly Recipe FAQs
What type of daylily blooms should I use?
Absolutely! Opt for fresh, untreated daylily blooms that are fully open. Early morning is the best time to harvest them for optimal flavor and aroma. Avoid any wilted or damaged flowers to ensure the best quality for your Daylily Jelly.
How should I store my Daylily Jelly?
Very! Unopened jars of Daylily Jelly can be stored in a cool, dark place for up to a year. Once opened, refrigerate and consume the jelly within 3 weeks to maintain its vibrant flavor and quality.
Can I freeze Daylily Jelly?
Of course! To freeze your Daylily Jelly, transfer it to freezer-safe containers, leaving about ½ inch of headspace for expansion during freezing. It will keep well for up to a year. When you’re ready to enjoy it, you can thaw it in the fridge overnight or gently reheat it in a saucepan on low heat.
What if my jelly doesn’t set properly?
Don’t worry! If your Daylily Jelly doesn’t set as firm as you’d like, you can try reheating it. Here’s how: Pour the jelly back into a saucepan, add a little more pectin dissolved in water according to the package instructions, and bring it to a boil again for a few minutes. This should help thicken it. Remember to practice good sanitation measures throughout this process.
Are there any dietary considerations I should keep in mind?
Definitely! Ensure that the daylily blooms you use are from a variety that is edible and free of chemical treatments. If you’re serving this jelly to guests, it’s wise to check for allergies—some individuals may have sensitivities to certain flowers or to high sugar content typically found in jellies.
Can I use other flowers in my Daylily Jelly?
Absolutely! Experimenting with other edible flowers like lavender or rose can enhance the flavors and colors of your jelly. Just ensure you adjust the quantities and follow the pectin guidelines as needed. This can lead to delightful and unexpected combinations!
Delightful Daylily Jelly: A Floral Twist for Your Table
Ingredients
Equipment
Method
- Harvest fresh daylily blooms in the early morning, rinse them gently and place them in a heatproof container. Pour boiling water over the blooms and cover the container to steep for 12 to 24 hours.
- Strain the infused water through a fine mesh sieve into a large pot, discarding the flowers. Measure the liquid and mix in sugar, lemon juice, and pectin.
- Place the pot over medium heat and stir continuously until boiling. Boil for 1-2 minutes until the jelly thickens.
- Sterilize mason jars and lids by boiling them for 10 minutes. Pour the hot jelly into the jars, leaving ¼ inch of headspace.
- Wipe the rims of the jars and seal with sterilized lids. Process the jars in a boiling water bath for 10 minutes.
Leave a Reply