
As I stood in my kitchen, the aroma of sizzling chicken filled the air, transporting me straight to a cozy Italian trattoria. With each golden-brown piece of crispy goodness, I rediscovered the joy of making Italian Chicken Cutlets, a dish that effortlessly elevates any meal into something special. Not only do these cutlets boast a satisfyingly crunchy exterior, but they’re also incredibly easy to prepare, making them perfect for busy weeknights or delightful gatherings. With the added bonus of being a versatile canvas for your favorite sauces or sides, these cutlets may just become your go-to recipe for comfort food. Curious to see how to make these irresistible Italian Chicken Cutlets? Let’s dive in!
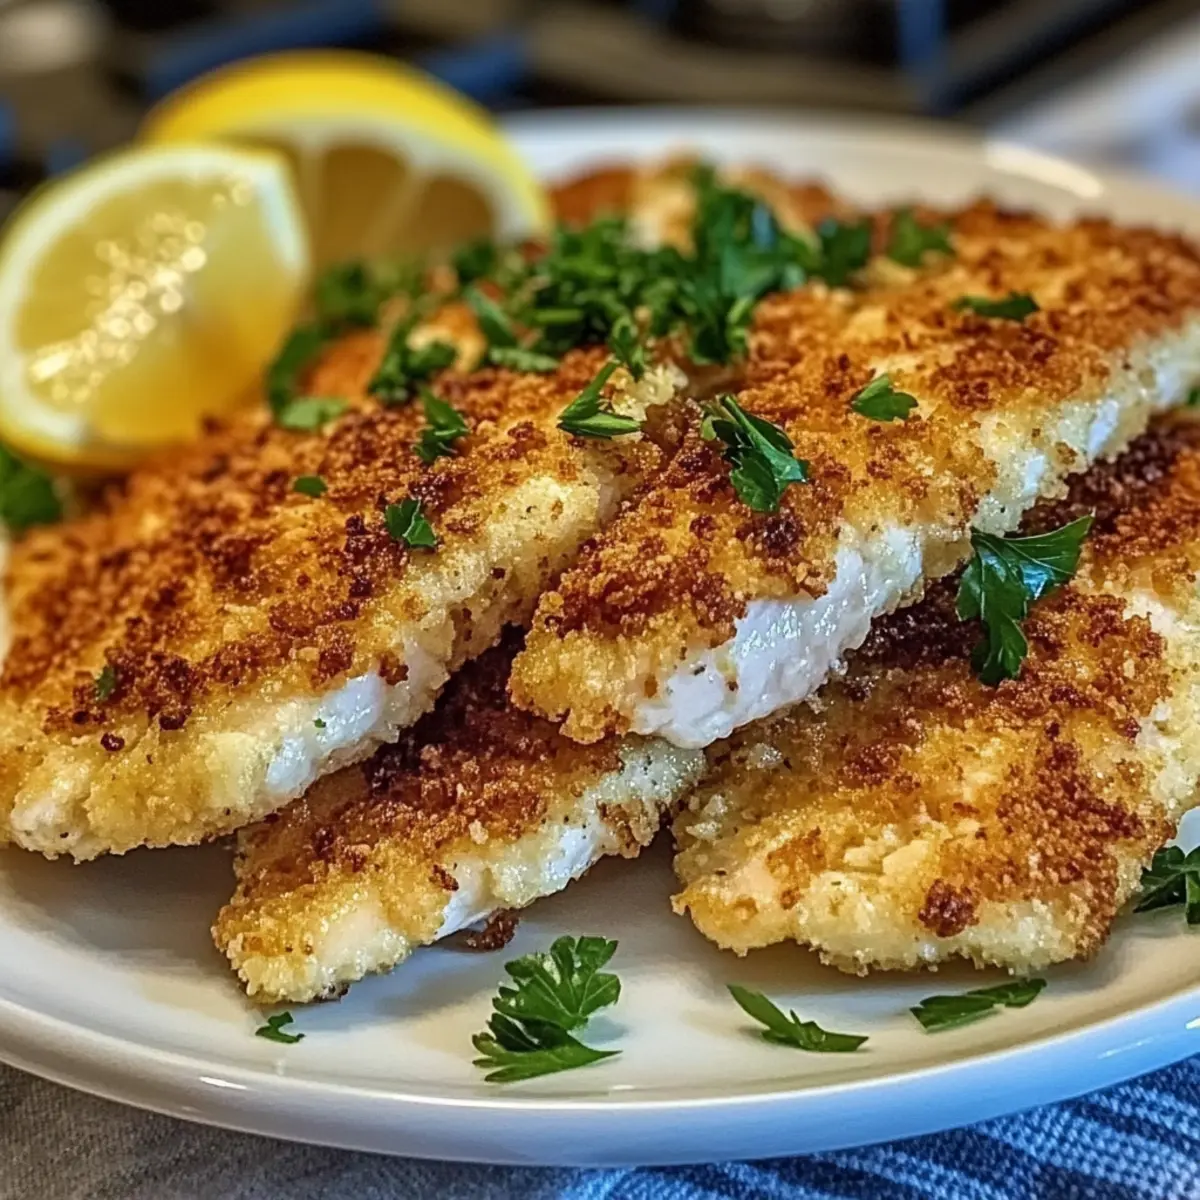
Why Are Italian Chicken Cutlets Irresistible?
Flavor Explosion: Each bite delivers a satisfying crunch paired with juicy chicken guaranteed to wow your taste buds.
Versatile Dish: Perfectly accompany a variety of sauces, like marinara or creamy alfredo, allowing for endless pairings.
Easy Preparation: A friendly recipe that requires minimal skills—ideal for both novice cooks and seasoned chefs alike.
Crowd-Pleasing Appeal: Make them for family dinners or casual gatherings, and watch everyone rush back for seconds.
Quick Cooking: These cutlets fry up in just a few minutes, making them a fantastic choice for busy weeknights.
Ready to explore more? You might also enjoy my Cajun Chicken Sloppy for a kick or try the delectable Cheesy Chicken Spaghetti as a next-level comfort dish!
Italian Chicken Cutlet Ingredients
For the Cutlets
- Chicken Breasts – Use boneless and skinless for easy preparation.
- Flour – Ideal for dredging; substitute with gluten-free flour if desired.
- Eggs – Serve as the binding agent; beat well for better adherence.
- Breadcrumbs – Choose panko for crunch or Italian-seasoned for more flavor.
- Parmesan Cheese – Optional, but adds a rich flavor enhancing the chicken.
- Italian Seasoning – Infuses robust flavor; swap with dried basil and oregano if preferred.
- Salt and Pepper – Essential for seasoning; adjust according to your taste.
For Cooking
- Cooking Oil (e.g., olive oil) – Fry the cutlets in heated oil for a perfect crispy crust.
Unlock the secret to your next family favorite with these Italian Chicken Cutlets!
Step‑by‑Step Instructions for Crispy Italian Chicken Cutlets
Step 1: Prepare Chicken
Begin by placing your boneless, skinless chicken breasts in a plastic bag and pounding them to an even thickness of about ½ inch. This ensures they will cook uniformly, yielding tender and juicy results. Aim for a consistent size to avoid any undercooked pieces, which could take about 5 minutes of pounding.
Step 2: Set up Breading Station
Create a breading station by setting out three shallow dishes. Fill the first with seasoned flour, the second with beaten eggs, and the third with a combination of breadcrumbs, grated Parmesan, and Italian seasoning. This assembly line will streamline the breading process for your Italian Chicken Cutlets, making it efficient and fun.
Step 3: Dredge Chicken
Take one pounded chicken breast and coat it thoroughly in the seasoned flour, shaking off any excess. Next, dip it into the egg mixture to ensure even coverage, then transfer it to the breadcrumb mixture, pressing gently to secure the crumbs. Repeat this process for each piece of chicken, ensuring they are well-coated for maximum crispiness.
Step 4: Rest Cutlets
Allow the breaded chicken cutlets to rest on a plate for 5-10 minutes. This crucial step helps the breading adhere better during frying, reducing the chances of it falling off. As they rest, you can preheat your oil to get it ready for the frying process.
Step 5: Heat Oil
In a large skillet, pour enough cooking oil to reach a depth of about ¼ inch and heat it over medium-high heat. Use a thermometer to check the oil’s temperature; it should reach around 350°F. The oil is ready when shimmering appears around the edges and a small amount of breadcrumbs dropped in sizzles immediately.
Step 6: Fry Cutlets
Carefully place the breaded chicken cutlets into the hot oil, ensuring not to overcrowd the skillet. Fry each piece for 3-4 minutes on each side, until they are golden brown and reach an internal temperature of 165°F. Use tongs to flip them and achieve an even crispiness, keeping an eye on the color to ensure they don’t burn.
Step 7: Drain
Once cooked, transfer the crispy Italian Chicken Cutlets to a paper towel-lined plate to absorb any excess oil. This step is essential for maintaining their delightful crunch. Allow them to rest briefly as you finish frying any remaining cutlets, ensuring that everyone gets a taste of this delicious dish.
Make Ahead Options
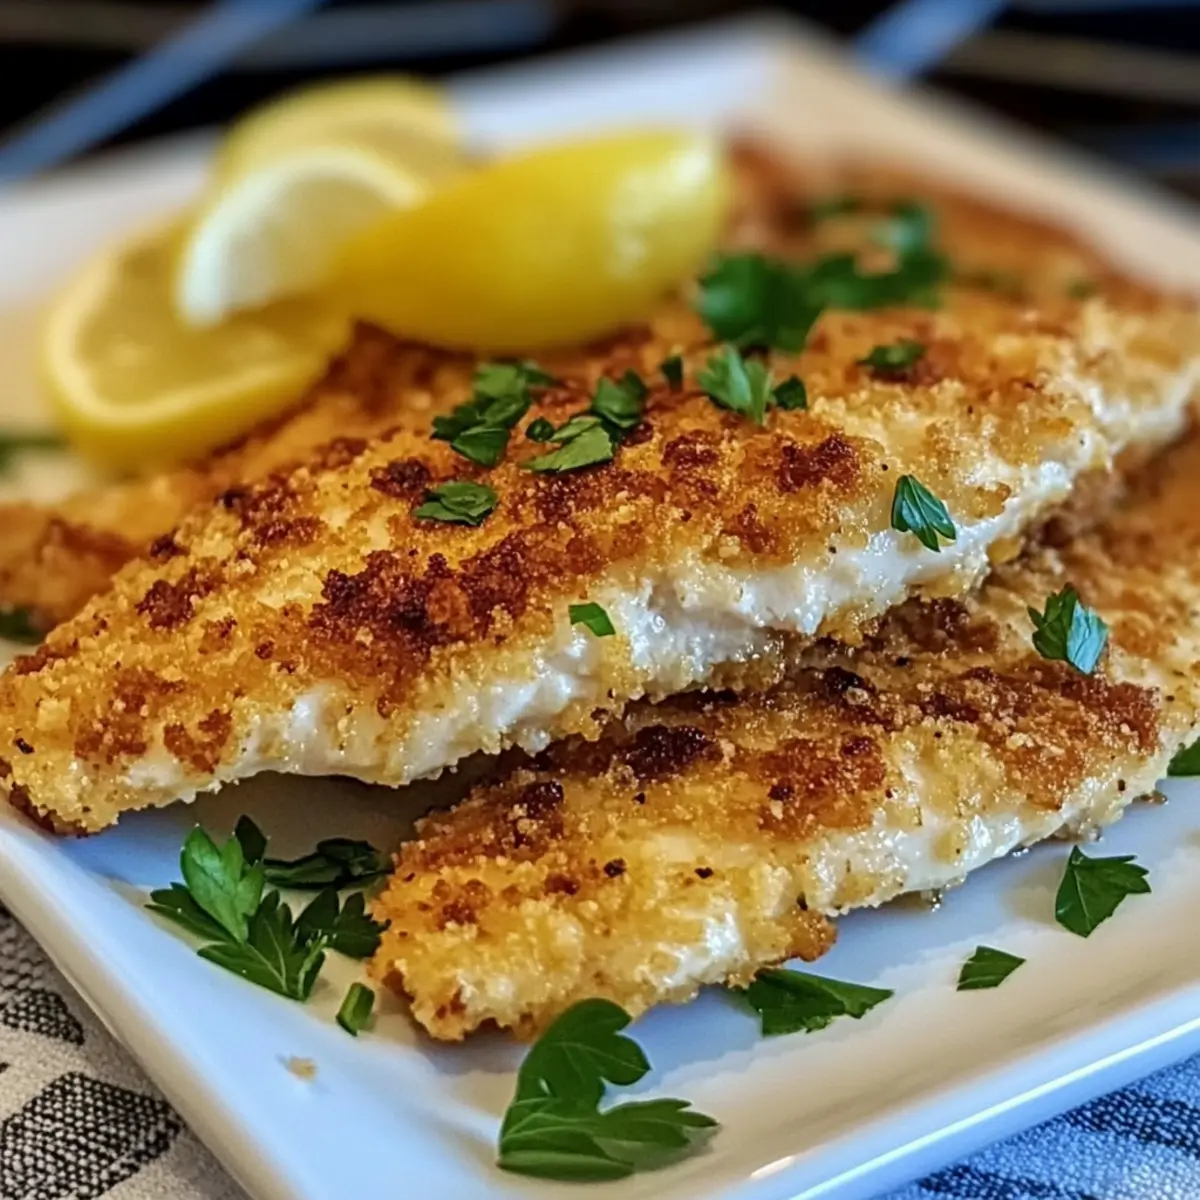
These Italian Chicken Cutlets are perfect for busy meal prep! You can bread the chicken cutlets up to 24 hours in advance, storing them in the refrigerator (make sure to separate layers with parchment paper to prevent sticking). For an even quicker option, you can also prepare the breading station by combining the seasoned flour, egg mixture, and breadcrumbs in advance. When you’re ready to cook, simply heat your oil and fry the cutlets straight from the fridge, ensuring they crisp up beautifully. This way, you’ll enjoy restaurant-quality Italian Chicken Cutlets with minimal effort on your busy weeknight! Just remember to keep them covered in the fridge to maintain their freshness.
Italian Chicken Cutlets Variations & Substitutions
Feel free to get creative! With a few simple tweaks, these Italian Chicken Cutlets can be tailored to your taste and preferences.
- Vegetarian Option: Substitute chicken with eggplant slices for a delightful meat-free alternative that’s just as satisfying.
- Gluten-Free: Use gluten-free flour and breadcrumbs to make this dish accessible for those with gluten sensitivities.
- Spice It Up: Add crushed red pepper flakes to the breadcrumb mixture for a flavorful kick that entices the palate.
- Herb Infusion: Experiment with fresh herbs such as thyme or rosemary mixed into the breadcrumbs for a burst of aroma and flavor.
- Creamy Twist: Drizzle with a creamy garlic sauce or tangy marinara for a luxurious finish. Your taste buds will be dancing!
- Cheesy Goodness: For an extra cheesy flavor, mix more grated Parmesan into the breadcrumbs or sprinkle cheese on top during the last minute of frying.
- Crunch Factor: Swap breadcrumbs with crushed cornflakes or tortilla chips for a unique crunch that’s hard to resist.
- Side Options: Serve alongside tangy coleslaw or a fresh arugula salad to elevate your meal with contrasting flavors and textures.
Whatever variation you choose, these cutlets are sure to shine! For more delightful inspirations, try my comforting Cheesy Chicken Spaghetti or dive into the rich flavors of Cowboy Butter Chicken.
How to Store and Freeze Italian Chicken Cutlets
Fridge: Store cooked Italian Chicken Cutlets in an airtight container for up to 3 days. To enhance freshness, separate layers with parchment paper.
Freezer: Freeze cutlets in a single layer on a baking sheet before transferring to a freezer bag. They can be stored for up to 2 months.
Reheating: For crispy cutlets, reheat in the oven at 375°F for about 10-15 minutes. This ensures they retain their delightful crunch!
Thawing: To thaw frozen cutlets, place them in the fridge overnight before reheating. Avoid using the microwave for best results.
What to Serve with Italian Chicken Cutlets
Crafting the perfect meal is an art, and these crispy chicken cutlets are the perfect centerpiece to spark your culinary creativity.
-
Creamy Mashed Potatoes: Their velvety texture perfectly complements the crunchy cutlets, creating a comforting dish that feels like a warm hug on your plate.
With a drizzle of gravy, the potatoes soak up all the savory flavors, making each bite heavenly. -
Garlicky Green Beans: These tender-crisp veggies add a fresh, vibrant touch, balancing the richness of the fried chicken.
Sautéed with olive oil and a hint of garlic, they bring a delightful crunch that enhances the overall meal. -
Caesar Salad: A classic accompaniment, with its crunchy romaine lettuce and creamy dressing, this salad introduces a refreshing contrast.
Topped with parmesan shavings and croutons, it’s a complimentary harmony that elevates your rustic cutlets. -
Lemon-Caper Sauce: Drizzling this zesty sauce over the cutlets elevates them to new flavor heights with each bite.
Its tangy brightness cuts through the richness, providing a sophisticated twist that will impress your guests. -
Pasta Marinara: A comforting bowl of spaghetti slathered in marinara sauce makes for a delicious addition to the crispy chicken.
The flavors meld together beautifully, presenting a delightful Italian meal that’s sure to satisfy. -
Raspberry Lemonade: This refreshing beverage brings a touch of sweetness and acidity to balance the meal beautifully.
Its bright flavors are the perfect match for the crispy cutlets, making every sip a delightful experience. -
Tiramisu: For dessert, this classic Italian treat adds a sweet finish to your meal, combining coffee-soaked layers of sponge cake and creamy mascarpone.
The rich, decadent flavors will leave everyone asking for just one more bite!
Expert Tips for Italian Chicken Cutlets
-
Temperature Matters: Ensure oil is at 350°F before frying; too cool will make cutlets greasy instead of crispy.
-
Perfect Coating: Press breadcrumbs firmly to secure them on the chicken, preventing a heavy loss during frying.
-
Resting Time: Don’t skip the resting period after breading; it helps the coating adhere better, ensuring ultimate crispiness.
-
Batch Fry: Fry in small batches to maintain oil temperature, promoting even cooking and a perfectly crispy Italian Chicken Cutlet.
-
Check for Doneness: Always confirm the internal temperature of chicken reaches 165°F to guarantee food safety and tenderness.
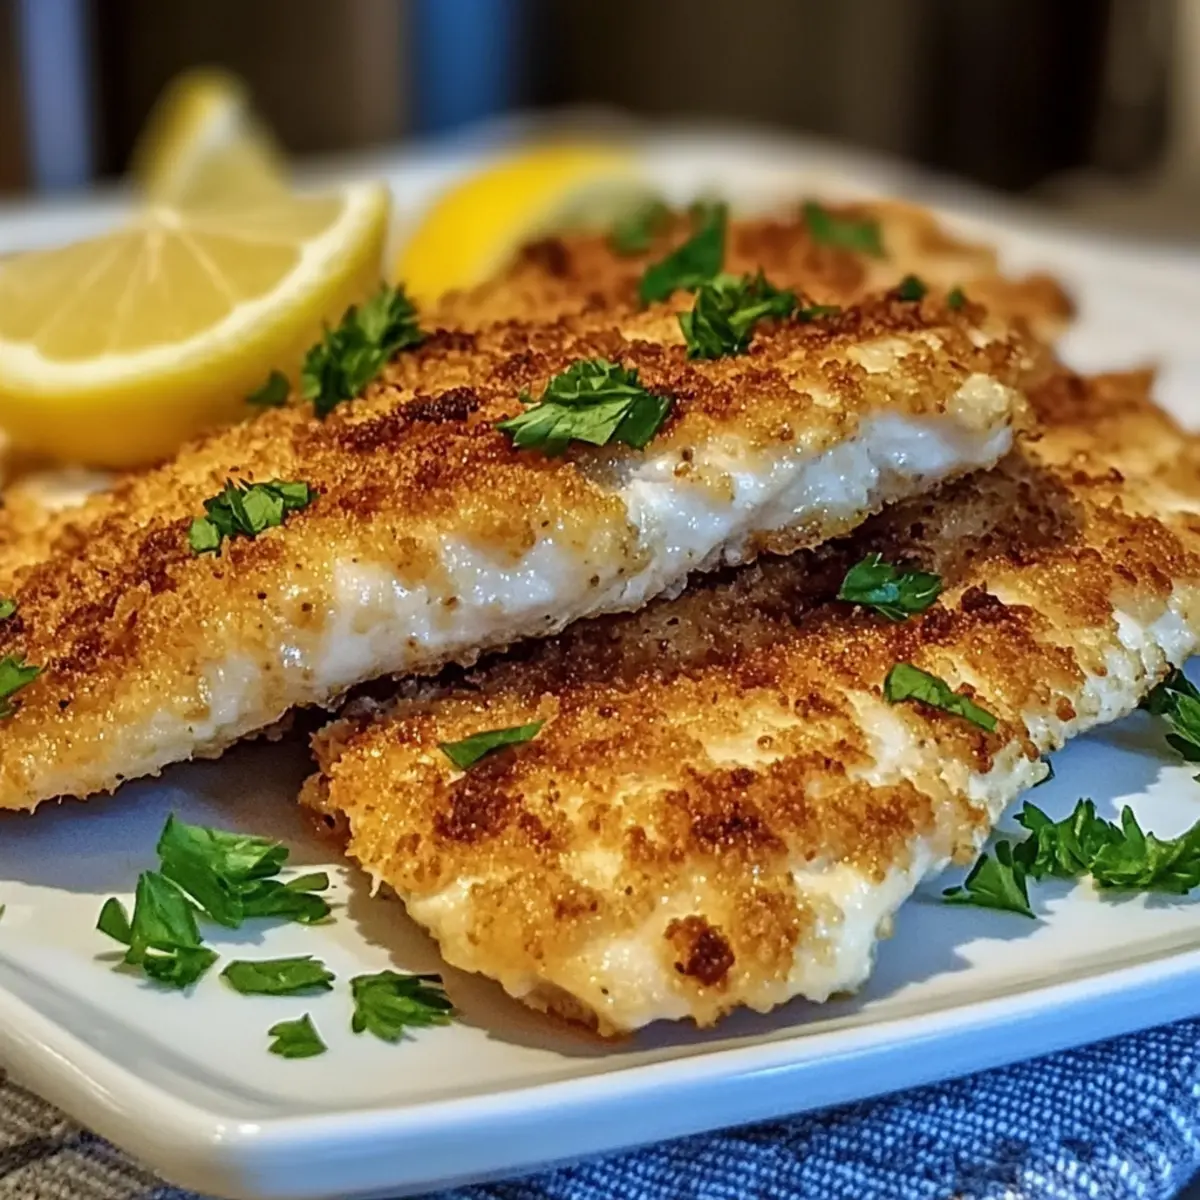
Italian Chicken Cutlets Recipe FAQs
What type of chicken breasts should I use for Italian Chicken Cutlets?
Absolutely! Use boneless and skinless chicken breasts for the easiest preparation. These cuts ensure even cooking and tender results. If you prefer, you could also use chicken thighs, which provide a bit more moisture and flavor.
How should I store leftover Italian Chicken Cutlets?
Very simple! Place the cooked cutlets in an airtight container and store them in the refrigerator for up to 3 days. To maintain their crispiness, separate each layer with parchment paper, which helps to prevent them from sticking together.
Can I freeze Italian Chicken Cutlets?
Absolutely! To freeze, lay the cooked cutlets in a single layer on a baking sheet and freeze them until solid. Once frozen, transfer them into a freezer bag or container. They can be stored for up to 2 months. This method keeps them from sticking together.
What’s the best way to reheat Italian Chicken Cutlets while keeping them crispy?
The best method is to reheat them in the oven. Preheat your oven to 375°F and place the cutlets on a baking tray. Bake for about 10-15 minutes, flipping them halfway through. This will help retain their delightful crunch, contrasting the juicy chicken inside!
Can I make Italian Chicken Cutlets ahead of time?
Of course! You can prepare the cutlets by breading them and then store them in the refrigerator for about 24 hours before frying. Just be sure to cover them with plastic wrap to prevent them from drying out. Fry them fresh when you’re ready!
Are Italian Chicken Cutlets safe for pets or people with allergies?
If you’re considering sharing with your furry friends, it’s important to know that cooked plain chicken is generally safe for dogs. However, avoid any seasonings or breading. For those with allergies, ensure you use gluten-free flour and breadcrumbs if needed, and check for any specific allergens in the ingredients you choose.
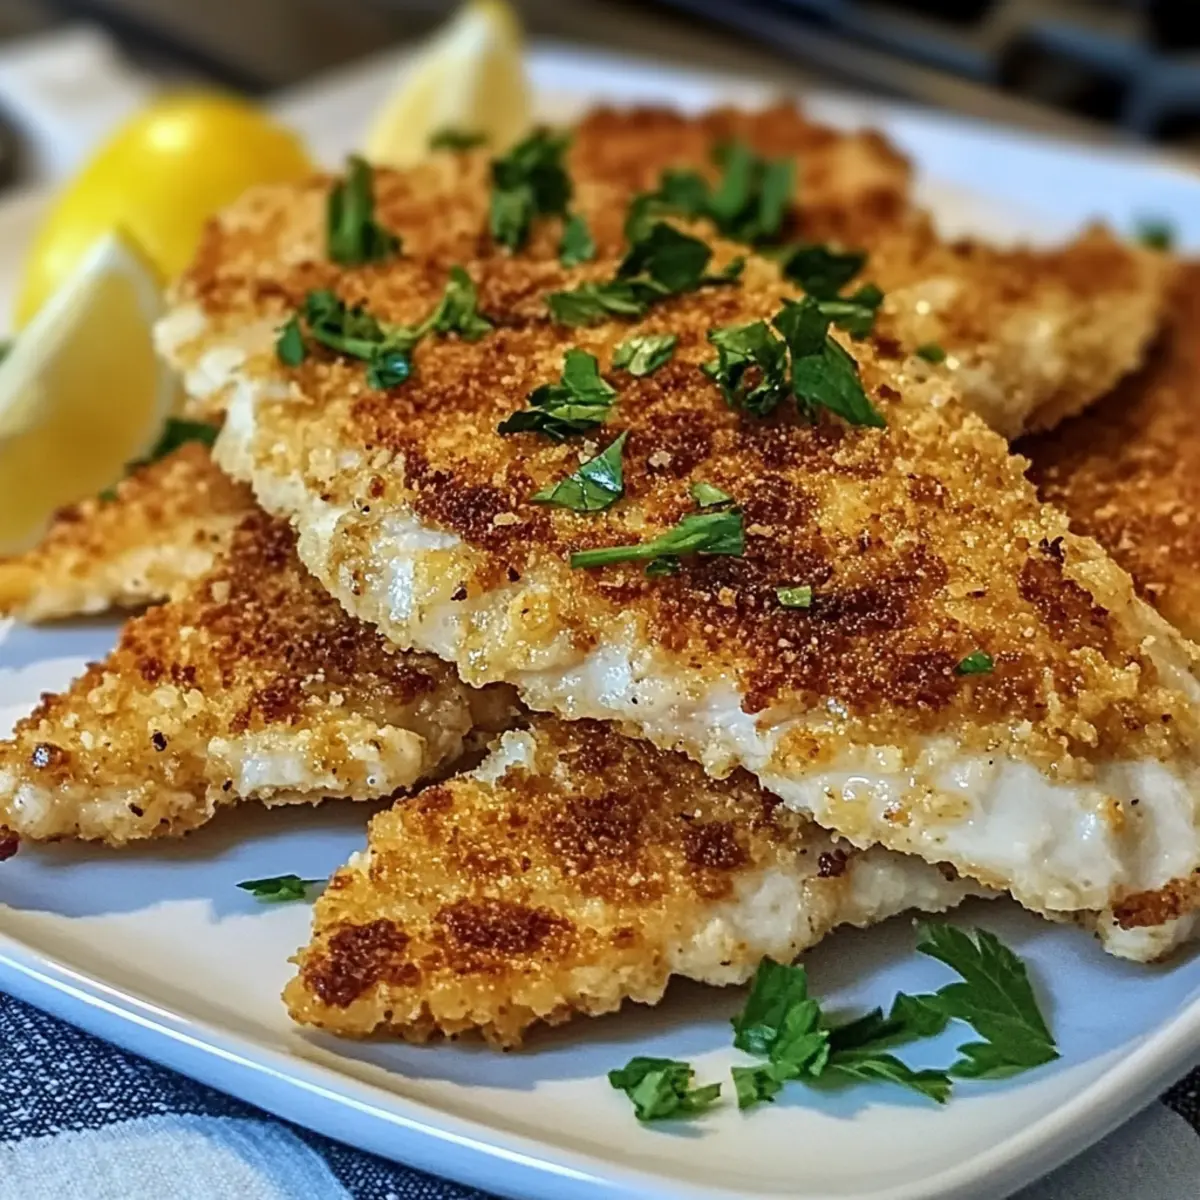
Irresistibly Crispy Italian Chicken Cutlets You’ll Love
Ingredients
Equipment
Method
- Begin by placing your boneless, skinless chicken breasts in a plastic bag and pounding them to an even thickness of about ½ inch.
- Create a breading station by setting out three shallow dishes: one with seasoned flour, the second with beaten eggs, and the third with a mixture of breadcrumbs, grated Parmesan, and Italian seasoning.
- Coat one pounded chicken breast thoroughly in the seasoned flour, shake off any excess, dip in the egg mixture, then transfer to the breadcrumb mixture, pressing gently.
- Allow the breaded chicken cutlets to rest on a plate for 5-10 minutes.
- In a large skillet, pour enough cooking oil to reach a depth of about ¼ inch and heat it over medium-high heat to around 350°F.
- Carefully place the breaded chicken cutlets into the hot oil, frying for 3-4 minutes on each side until golden brown and cooked through.
- Transfer the crispy chicken cutlets to a paper towel-lined plate to absorb any excess oil.
Leave a Reply