
As I pulled these dazzling green velvet brownies from the oven, a wave of excitement washed over me. They’re not just a treat for the eyes, but they also combine the rich, nostalgic flavors of classic red velvet with a vibrant twist that’s perfect for any celebration. Topped with a luscious cream cheese frosting, these fudgy squares redefine what dessert should be—delightfully soft and irresistibly sweet. Plus, the best part? They’re incredibly easy to prepare and can be made ahead, making them a stress-free option for your next gathering. So, whether it’s a festive party or a cozy night in, these Green Velvet Brownies With Cream Cheese Frosting are sure to impress. Ready to dive into the kitchen and create something spectacular? Let’s get started!
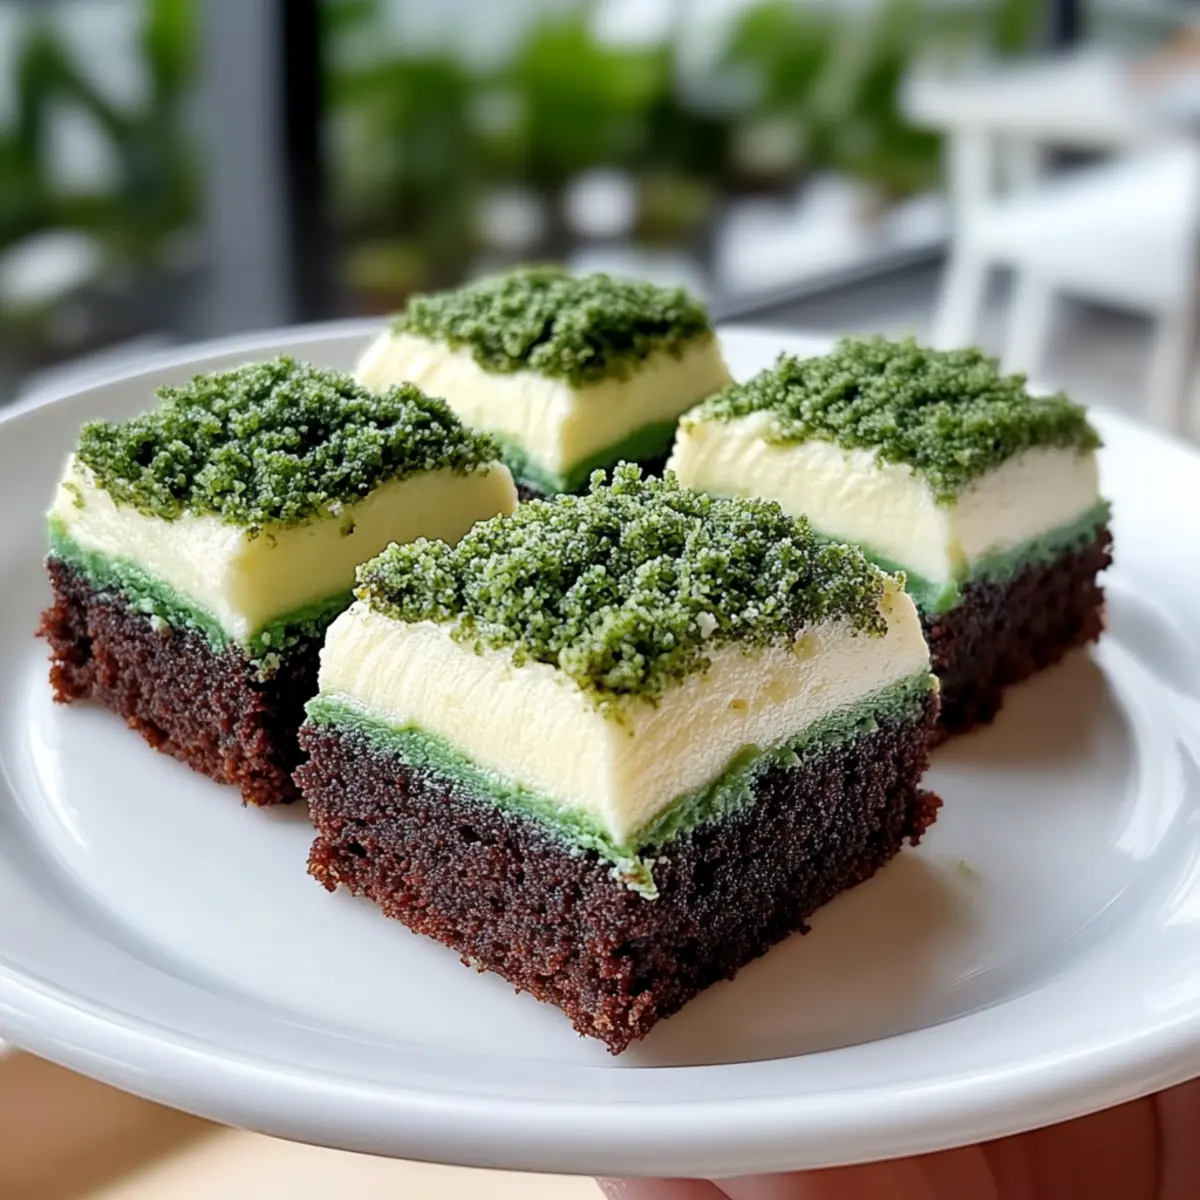
Why Are These Brownies So Special?
Irresistible flavor: The combination of rich cocoa and cream cheese frosting brings a delightful sweetness that’s hard to resist.
Festive flair: Perfectly suited for any celebration, these brownies add a pop of color to your dessert table, making them a feast for the eyes.
Easily customizable: Feel free to add toppings like nuts or chocolate chips, or swap the frosting with whipped cream for a lighter touch!
Make-ahead convenience: Bake a batch in advance. They stay fresh for days, making them a perfect treat to prepare beforehand.
Crowd-pleasing delight: These brownies are certain to impress family and friends, just like my scrumptious Apple Brownies Deliciously or the fun twist of a Grilled Cheese Burrito.
Easy to create: With simple ingredients and straightforward steps, even novice bakers will shine with this recipe.
Green Velvet Brownie Ingredients
For the Brownies
• Unsalted Butter – Adds richness and creates a tender crumb; use margarine for a dairy-free option.
• Granulated Sugar – Provides sweetness and contributes to moist texture; substituting brown sugar can enhance flavor.
• Eggs – Ensures structure and richness; for a vegan swap, consider using flax eggs.
• Vanilla Extract – Enhances flavor; opt for pure vanilla for the best result.
• Green Gel Food Coloring – Delivers vibrant color; liquid food coloring can substitute but may alter batter consistency.
• Unsweetened Cocoa Powder – Adds subtle chocolate notes, crucial for the ‘velvet’ quality.
• All-Purpose Flour – Gives structure to the brownies; a gluten-free flour blend works for a gluten-free version.
• Salt – Balances sweetness; never skip, as it elevates flavors.
For the Frosting
• Cream Cheese – Provides tanginess and creaminess; vegan cream cheese is a great dairy-free alternative.
• Powdered Sugar – Sweetens and smoothens the frosting; sugar alternatives can help reduce calories.
• Milk or Heavy Cream – Adjusts frosting consistency for easy spreadability; non-dairy milk is also suitable.
For Decoration
• Green Sprinkles – Optional but adds visual appeal, making your Green Velvet Brownies stand out!
These delightful Green Velvet Brownies With Cream Cheese Frosting are perfect for any festive occasion, combining easy preparation with show-stopping results!
Step‑by‑Step Instructions for Green Velvet Brownies With Cream Cheese Frosting
Step 1: Preheat and Prepare
Begin by preheating your oven to 350°F (175°C). While the oven warms, line an 8×8-inch baking pan with parchment paper, ensuring the paper hangs over the sides for easy removal later. This step guarantees beautifully baked Green Velvet Brownies and helps with effortless cleanup.
Step 2: Whisk Butter and Sugar
In a mixing bowl, combine melted unsalted butter and granulated sugar. Use a whisk to blend the ingredients until the mixture becomes glossy and well-combined, about 2 minutes. This creamy base will enhance the texture of your brownies, adding rich flavor before you move on to the next step.
Step 3: Mix in Wet Ingredients
Add eggs, vanilla extract, and green gel food coloring to the butter and sugar mixture. Whisk vigorously until all the ingredients are thoroughly incorporated and the batter achieves a uniform green hue, which should take about 1-2 minutes. The lively color is what makes these Green Velvet Brownies so enchanting!
Step 4: Combine Dry Ingredients
In a separate bowl, whisk together all-purpose flour, unsweetened cocoa powder, and salt. This helps ensure an even blend of dry ingredients. Gradually fold this dry mixture into the wet ingredients, being careful not to overmix. Stir just until no flour streaks remain, which will keep your brownies delightfully fudgy and tender.
Step 5: Spread and Bake
Pour the brownie batter into the prepared baking pan, spreading it evenly with a spatula. Place the pan in the preheated oven and bake for 24-28 minutes. You’ll know they’re ready when a toothpick inserted into the center comes out with moist crumbs. Avoid overbaking to maintain the fudgy texture.
Step 6: Cool the Brownies
Once baked, remove the brownies from the oven, and allow them to cool in the pan for about 15 minutes. Then, lift them out using the parchment paper and transfer them to a wire rack to cool completely. This cooling step is crucial for frosting; it prevents the cream cheese from melting into the warm brownies.
Step 7: Prepare Cream Cheese Frosting
While the brownies cool, prepare the cream cheese frosting. In a clean mixing bowl, beat the cream cheese until it’s smooth and free of lumps, which should take about 2-3 minutes. Gradually mix in powdered sugar, followed by a splash of milk, until you achieve a spreadable consistency. The frosting should be creamy and easy to work with.
Step 8: Frost and Decorate
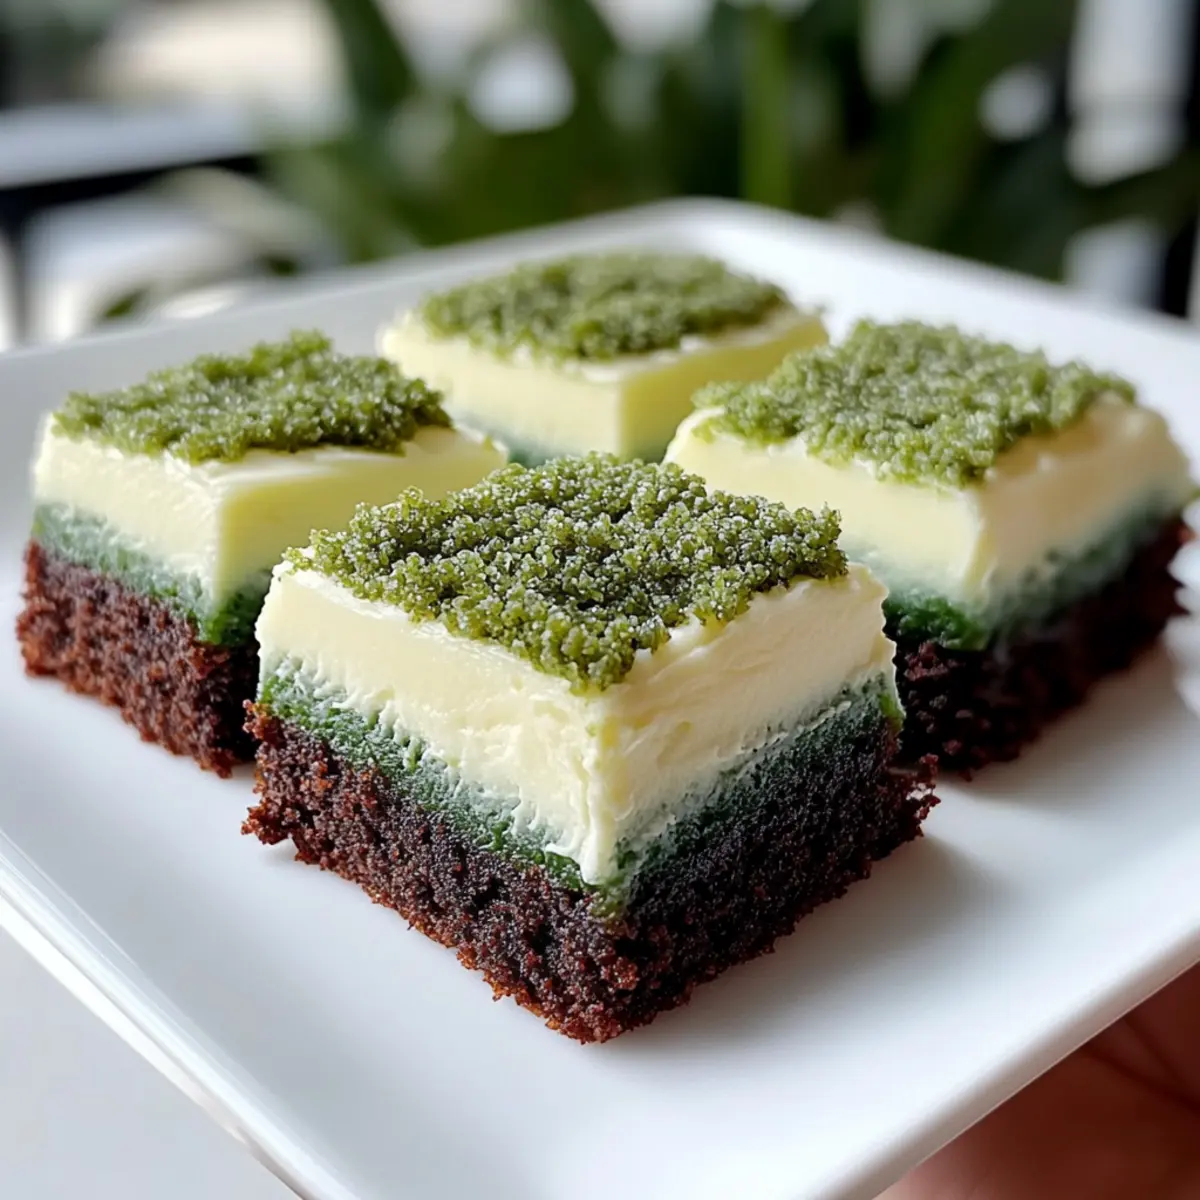
Once the brownies are completely cooled, spread the cream cheese frosting generously on top using a spatula. For an extra festive touch, sprinkle green sprinkles over the frosting. Allow the assembled brownies to chill in the refrigerator for about 30 minutes, which enhances the frosting’s texture and allows flavors to meld beautifully.
Step 9: Slice and Serve
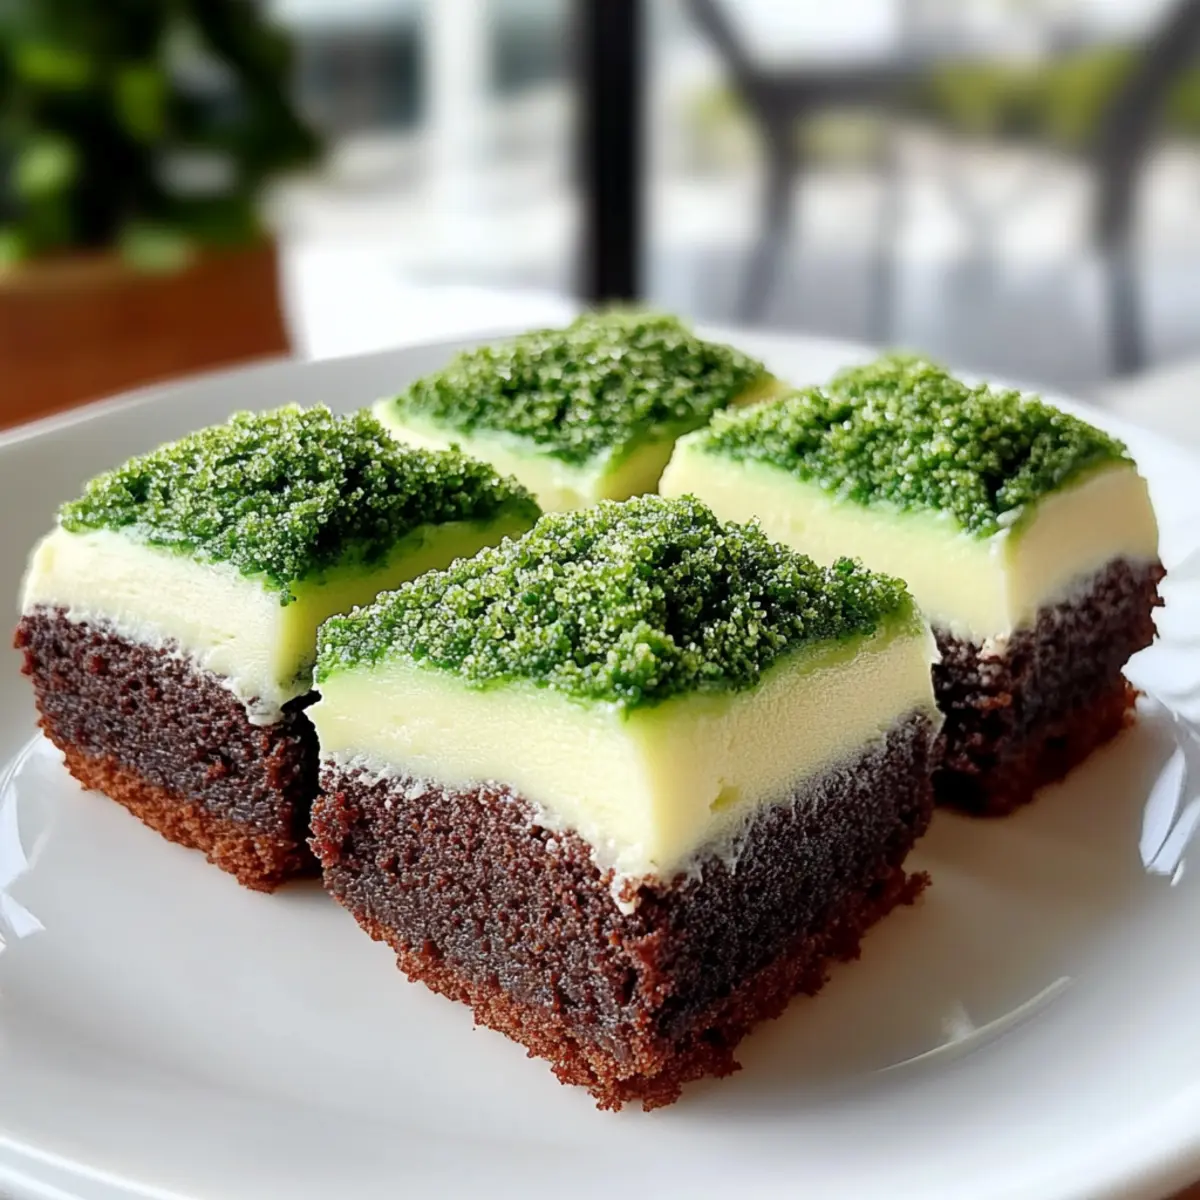
Finally, after chilling, slice the Green Velvet Brownies into squares using a sharp knife. This step ensures clean cuts and a beautiful presentation. Serve them chilled for the best experience, perhaps alongside fresh strawberries or a scoop of vanilla ice cream for an extra special treat!
Make Ahead Options
These Green Velvet Brownies With Cream Cheese Frosting are perfect for meal prep and can save you time during busy weeks! You can bake the brownies up to 24 hours in advance; just make sure to let them cool completely before storing them tightly in an airtight container. For the cream cheese frosting, prepare it a day ahead, refrigerate it, and simply spread it on the brownies before serving. To maintain their quality, place parchment paper between layers of brownies to prevent sticking and keep the frosting intact. When you’re ready to enjoy, slice the chilled brownies and serve them with your favorite treats for an undeniably delightful dessert experience!
How to Store and Freeze Green Velvet Brownies With Cream Cheese Frosting
Room Temperature: Keep brownies in an airtight container at room temperature for up to 3 days; ensure they are completely cooled before sealing to prevent moisture buildup.
Fridge: Store brownies in the refrigerator for up to 5 days. The cool temperature helps preserve the cream cheese frosting’s texture and flavor.
Freezer: For longer storage, freeze brownies wrapped in plastic wrap and then in aluminum foil; they’ll last up to 3 months. Thaw in the fridge before serving to maintain their delicious taste.
Reheating: If enjoyed warm, pop the brownies in the microwave for 10-15 seconds; be careful not to overheat, as this can melt the frosting.
What to Serve with Green Velvet Brownies With Cream Cheese Frosting
Indulging in a sweet treat is always better when paired with delightful accompaniments that elevate the experience.
-
Fresh Strawberries: Their juicy sweetness and slight acidity beautifully balance the rich chocolatey flavors of the brownies.
-
Vanilla Ice Cream: A scoop of creamy vanilla adds a delightful contrast to the fudgy texture of the brownies, enhancing their indulgence.
-
Coffee: The deep, robust flavors of coffee perfectly complement the sweetness of the brownies, creating a comforting and satisfying duo.
-
Mint Tea: Refreshing and soothing, mint tea provides a herbal twist that cuts through the richness of the brownies for a delightful aftertaste.
-
Chocolate Ganache: For the chocolate lovers, a drizzle of warm chocolate ganache intensifies the brownie experience, making each bite utterly irresistible.
-
Whipped Cream: Light and airy, whipped cream adds a velvety texture that perfectly contrasts the dense brownies while providing a touch of sweetness.
-
Creamy Lemon Curd: The tartness of lemon curd contrasts beautifully with the richness of the brownies, creating an exciting flavor pairing that’s refreshing.
-
Fizzy Lemonade: A glass of fizzy lemonade offers a refreshing burst that balances the bites of rich brownie with a zesty kick.
-
Chocolate Milkshake: Thick, creamy, and indulgent, a chocolate milkshake is the ultimate companion for brownie lovers seeking a deliciously sweet treat experience.
Pairing these delicious options will ensure that your Green Velvet Brownies With Cream Cheese Frosting are the star of any dessert table!
Expert Tips for Green Velvet Brownies
Check for doneness: Always test brownies a few minutes before the time is up; they should be soft but not underbaked.
Smooth frosting: Beat cream cheese until completely lump-free before adding powdered sugar for a silky cream cheese frosting.
Color consistency: Use gel food coloring for vibrant color without affecting the batter’s consistency. Liquid versions may lead to overly runny batter.
Proper storage: Keep brownies in an airtight container and consider layering parchment paper between them to maintain the integrity of the cream cheese frosting.
Chill before cutting: Allow brownies to set in the fridge after frosting for easier slicing and to enhance flavor melding.
Green Velvet Brownies With Cream Cheese Frosting Variations
Feel free to elevate your baking experience with these exciting twists on the classic green velvet brownies!
- Extract Swaps: Replace vanilla with almond or lemon extract for a delightful flavor twist.
- Nuts Added: Mix in chopped walnuts or pecans for a crunchy texture that balances the fudginess.
- Chocolate Chips: Stir in semi-sweet or white chocolate chips for an extra layer of decadence!
For an adventurous experience, try adding raspberry frosting instead of cream cheese; the tartness beautifully contrasts the brownie’s sweetness.
- Fruit Topping: Fresh strawberries or sliced bananas make for a refreshing, fruity topping that brightens each bite.
- Whipped Cream Frosting: Lighten your treat by swapping the cream cheese frosting with fluffy whipped cream.
- Cacao Nibs: Sprinkle cacao nibs on top for a deep chocolate flavor and a satisfying crunch.
And if you’re looking for more inspiration, don’t forget to check out my delicious Baked Broccoli Cheese for savory fun and bright desserts like Sweet Coconut Cream Pancakes.
Green Velvet Brownies With Cream Cheese Frosting Recipe FAQs
Are there specific tips for selecting ripe or ideal ingredients?
Absolutely! For the best results with your Green Velvet Brownies, choose room temperature eggs, as they incorporate better into the batter. When it comes to your butter, use unsalted for precise control over flavor; look for smooth, pale cream cheese, devoid of lumps, for that luscious frosting.
How should I store leftover brownies, and how long do they last?
Store your brownies in an airtight container at room temperature for up to 3 days. If you want to extend their life, refrigerate them for up to 5 days. Make sure they are completely cooled before sealing to avoid moisture buildup, which can affect the texture of that delicious cream cheese frosting.
Can I freeze my Green Velvet Brownies, and how should I do it?
Yes, you can freeze these brownies! Wrap the cooled brownies tightly in plastic wrap, then in aluminum foil to prevent freezer burn. They will stay fresh for up to 3 months. When you’re ready to enjoy them, simply thaw them in the fridge overnight, then enjoy their decadent taste restored!
What should I do if my brownies are too dry?
If you find that your brownies are turning out dry, it may be due to overbaking. Ensure to check for doneness a few minutes before the stated baking time. They should come out with a few moist crumbs on the toothpick. Additionally, consider adding a splash more of buttermilk or an egg next time for added moisture.
Are there any dietary considerations for pets or allergies?
Yes! These Green Velvet Brownies contain ingredients that may not be safe for pets, especially chocolate. Always keep baked goods out of reach of furry friends. If you’re concerned about allergies, you can easily swap the eggs for flax eggs for a vegan option, and be cautious with gluten-free flour if gluten allergies are a concern.
How do I make my frosting perfectly smooth?
To achieve a luxuriously smooth frosting, start with softened cream cheese and beat it until completely free of lumps before gradually adding powdered sugar. If it seems too thick, add milk a tablespoon at a time until you reach the desired spreadable consistency. This will enhance the overall texture of your Green Velvet Brownies With Cream Cheese Frosting!
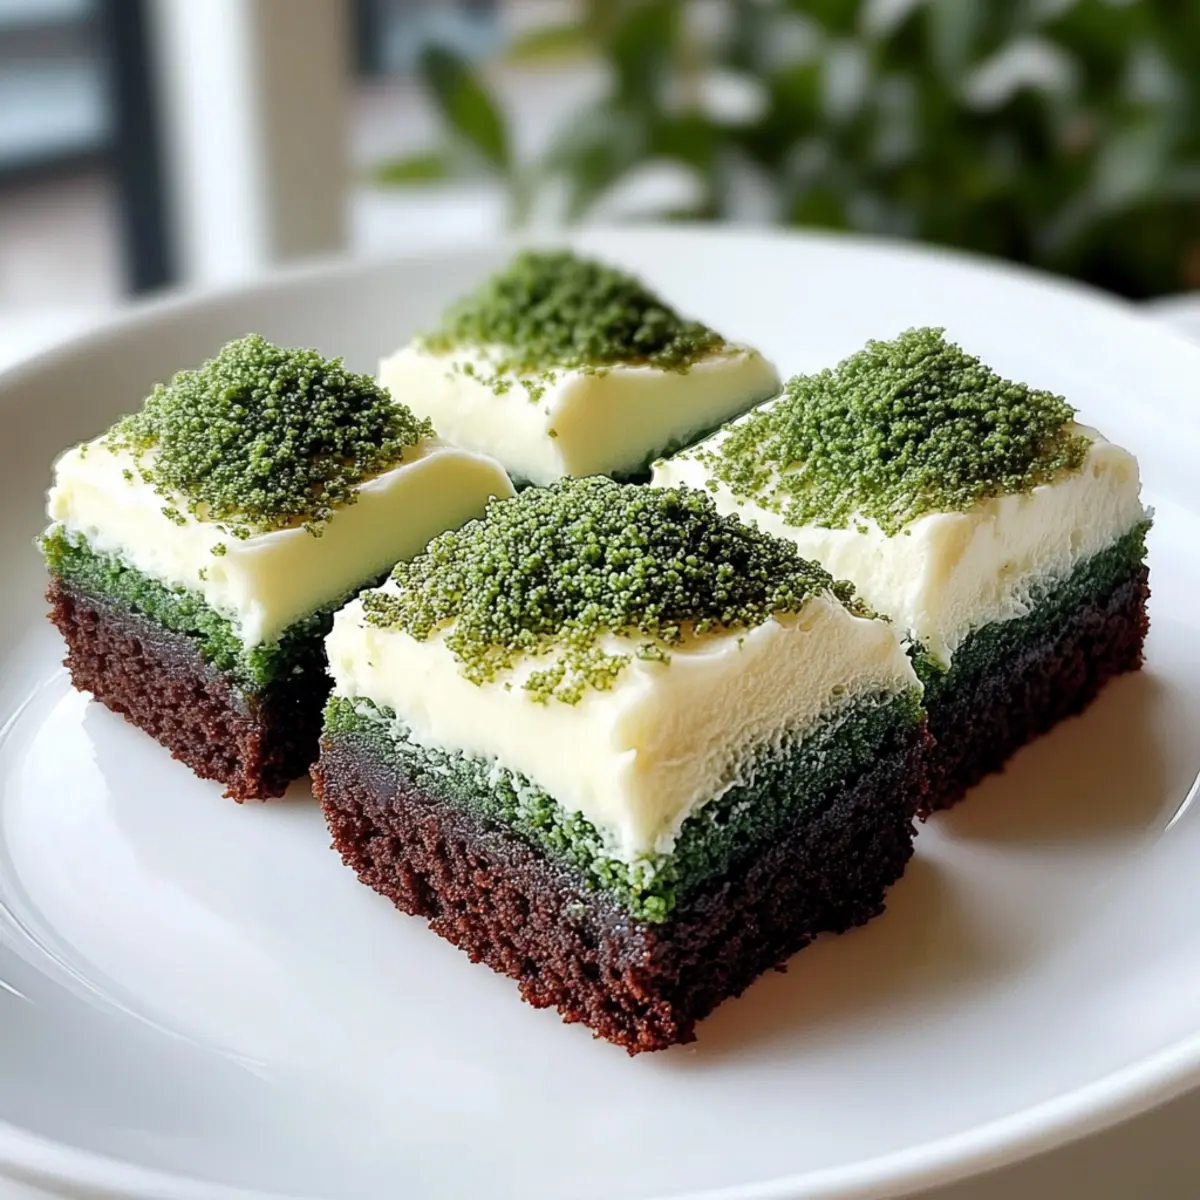
Decadent Green Velvet Brownies With Cream Cheese Frosting Delight
Ingredients
Equipment
Method
- Preheat your oven to 350°F (175°C) and line an 8x8-inch baking pan with parchment paper.
- In a mixing bowl, combine melted unsalted butter and granulated sugar, whisking until glossy.
- Add eggs, vanilla extract, and green gel food coloring; whisk until well combined.
- In a separate bowl, whisk together all-purpose flour, unsweetened cocoa powder, and salt; fold into the wet ingredients.
- Pour the batter into the prepared baking pan and bake for 24-28 minutes; test with a toothpick.
- Let the brownies cool in the pan for about 15 minutes, then move to a wire rack.
- Prepare the cream cheese frosting by beating cream cheese until smooth; mix in powdered sugar and milk.
- Spread the frosting on the cooled brownies and sprinkle with green sprinkles.
- Slice into squares and serve chilled, optionally with fresh strawberries or vanilla ice cream.
Leave a Reply