
Standing in my kitchen, I can feel that electric buzz of anticipation as I whip up my latest obsession: the Irresistible Earthquake Cake. This delightful creation isn’t just a dessert; it’s an experience. With its gooey cream cheese-filled layers and rich chocolate goodness, it’s the perfect show-stopper for any gathering. The best part? It’s incredibly easy to make, allowing you to impress guests without spending hours in the kitchen. Plus, you can easily customize it with nuts, different cake mixes, or toppings, making it a versatile choice for everyone’s taste buds. Are you ready to discover how to make this decadent chocolate delight that guarantees smiles all around? Let’s dive into the delicious chaos!
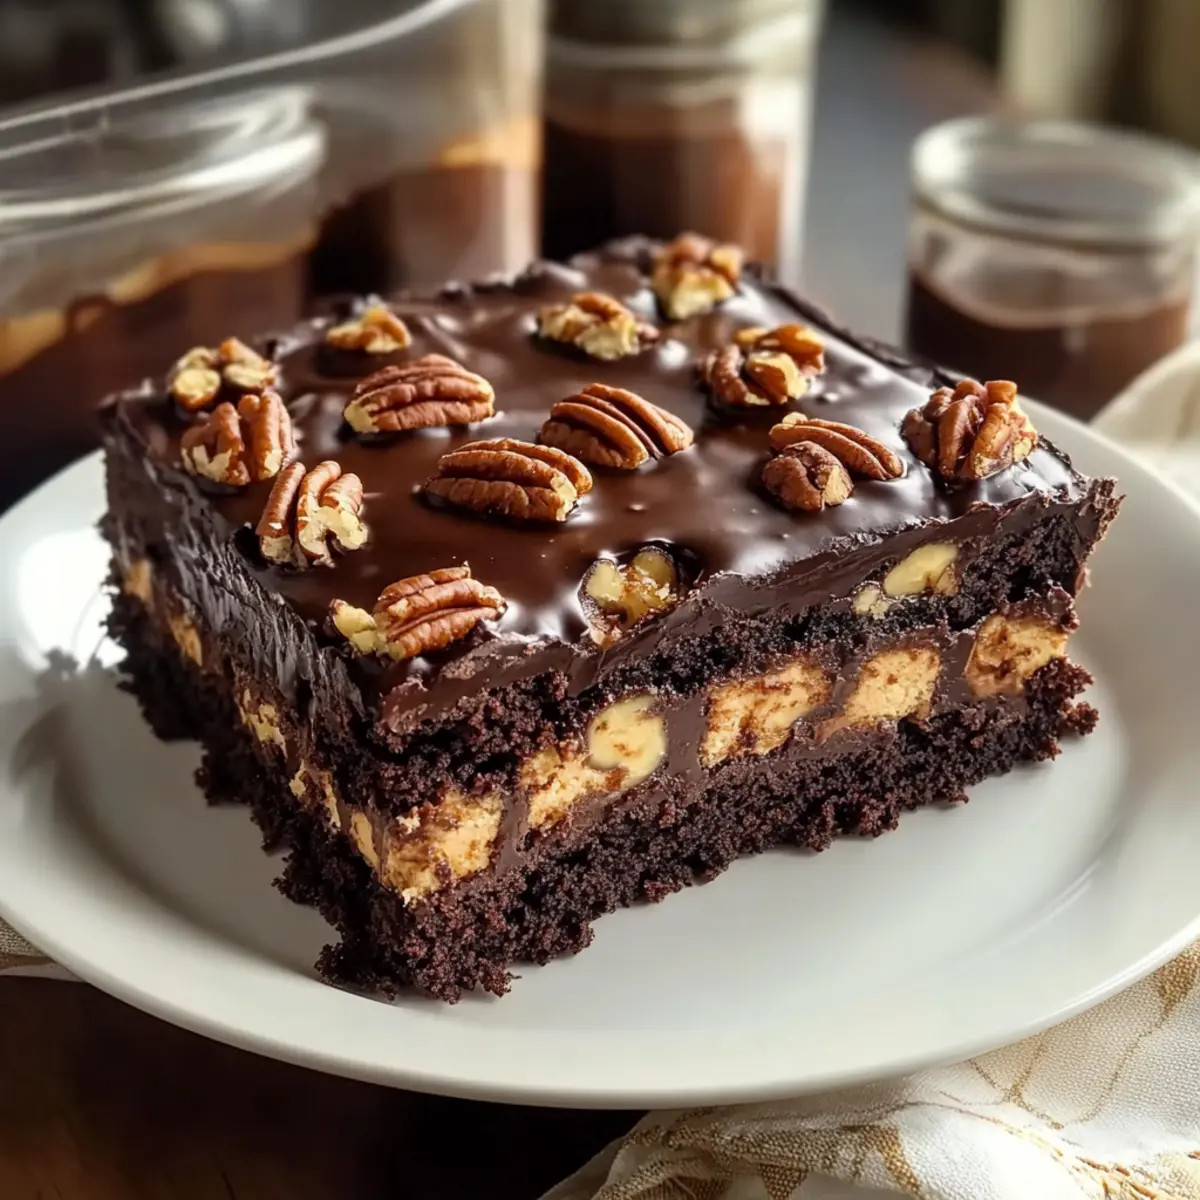
Why Is Earthquake Cake So Irresistible?
Decadent Layers: The Irresistible Earthquake Cake combines rich chocolate and gooey cream cheese pockets that create a delightful explosion of flavor in every bite.
Customizable Delight: You can easily tailor the recipe to your tastes—opt for pecans or walnuts or even leave out nuts entirely for a nut-free version.
Quick & Easy: Perfect for those busy days, this cake comes together quickly using a simple cake mix, allowing you more time to enjoy with friends or family, much like my easy Pumpkin Cupcakes Brown or delightful Coconut Cream Pancakes.
Crowd-Pleaser: Its unique, chaotic appearance is sure to impress guests at any gathering, making it a conversation starter as sweet as it is scrumptious!
A Warm Treat: Best served warm with a scoop of vanilla ice cream or drizzled with chocolate sauce, this cake guarantees cozy moments and smiles. Dive in, and enjoy every gooey slice!
Irresistible Earthquake Cake Ingredients
For the Cake Mix
• Cake Mix – Base structure; provides sweetness and easy preparation. Can be substituted with yellow or devil’s food cake mix.
• Eggs – Binds the ingredients; contributes to moisture.
• Oil – Adds moisture and fat for a decadent texture.
• Water – Activates the cake mix; helps achieve proper consistency.
For the Creamy Filling
• Cream Cheese – Central component creating gooey pockets; enhances creaminess. Dairy-free cream cheese can be used for lactose-free options.
• Pecans (or Walnuts) – Adds crunch and nuttiness; optional. Can be omitted or replaced with additional chocolate chips or coconut.
• Coconut Flakes – Adds texture and flavor. Can be left out for a simpler version.
• Chocolate Chips – Enhances chocolate flavor; adds moisture and richness.
Whip up this Irresistible Earthquake Cake and indulge in layers of chocolatey bliss!
Step‑by‑Step Instructions for Irresistible Earthquake Cake
Step 1: Preheat the Oven
Preheat your oven to 350°F (175°C). This step is crucial as it ensures even baking for your Irresistible Earthquake Cake. As the oven warms, take a moment to gather your ingredients and prepare your workspace for a smooth cooking experience.
Step 2: Prepare the Baking Pan
Grease a 9×13-inch baking dish with cooking spray or line it with parchment paper for easy removal. This will help achieve that perfect golden crust on your cake while preventing it from sticking. Set the prepared pan aside and get ready for the delicious layers to come.
Step 3: Mix the Batter
In a large mixing bowl, combine your cake mix, eggs, oil, and water. Use a whisk or electric mixer to blend the ingredients until smooth and well combined, about 2-3 minutes. The batter should be thick and creamy. Pour half of this delectable mixture into the prepared baking dish, ensuring an even layer at the bottom.
Step 4: Prepare the Cream Cheese Filling
In a separate bowl, mix the softened cream cheese with your choice of pecans, coconut flakes, and chocolate chips. Stir well until everything is evenly combined, creating a rich, gooey filling. Spoon this delightful mixture over the first layer of batter, distributing it evenly to ensure every bite of your Irresistible Earthquake Cake is filled with creamy goodness.
Step 5: Layer with Remaining Batter
Pour the remaining cake batter over the cream cheese filling, making sure to cover it completely. This will trap all the lusciousness inside as it bakes. Use a spatula to gently spread the batter and smooth the top, ensuring a uniform appearance.
Step 6: Bake the Cake
Slide the baking dish into the preheated oven and bake for 30-35 minutes. Keep an eye on the edges, which should turn golden brown, while the center remains slightly soft. To check for doneness, insert a toothpick into the cake’s center; it should come out clean or with a few moist crumbs.
Step 7: Cool Before Serving
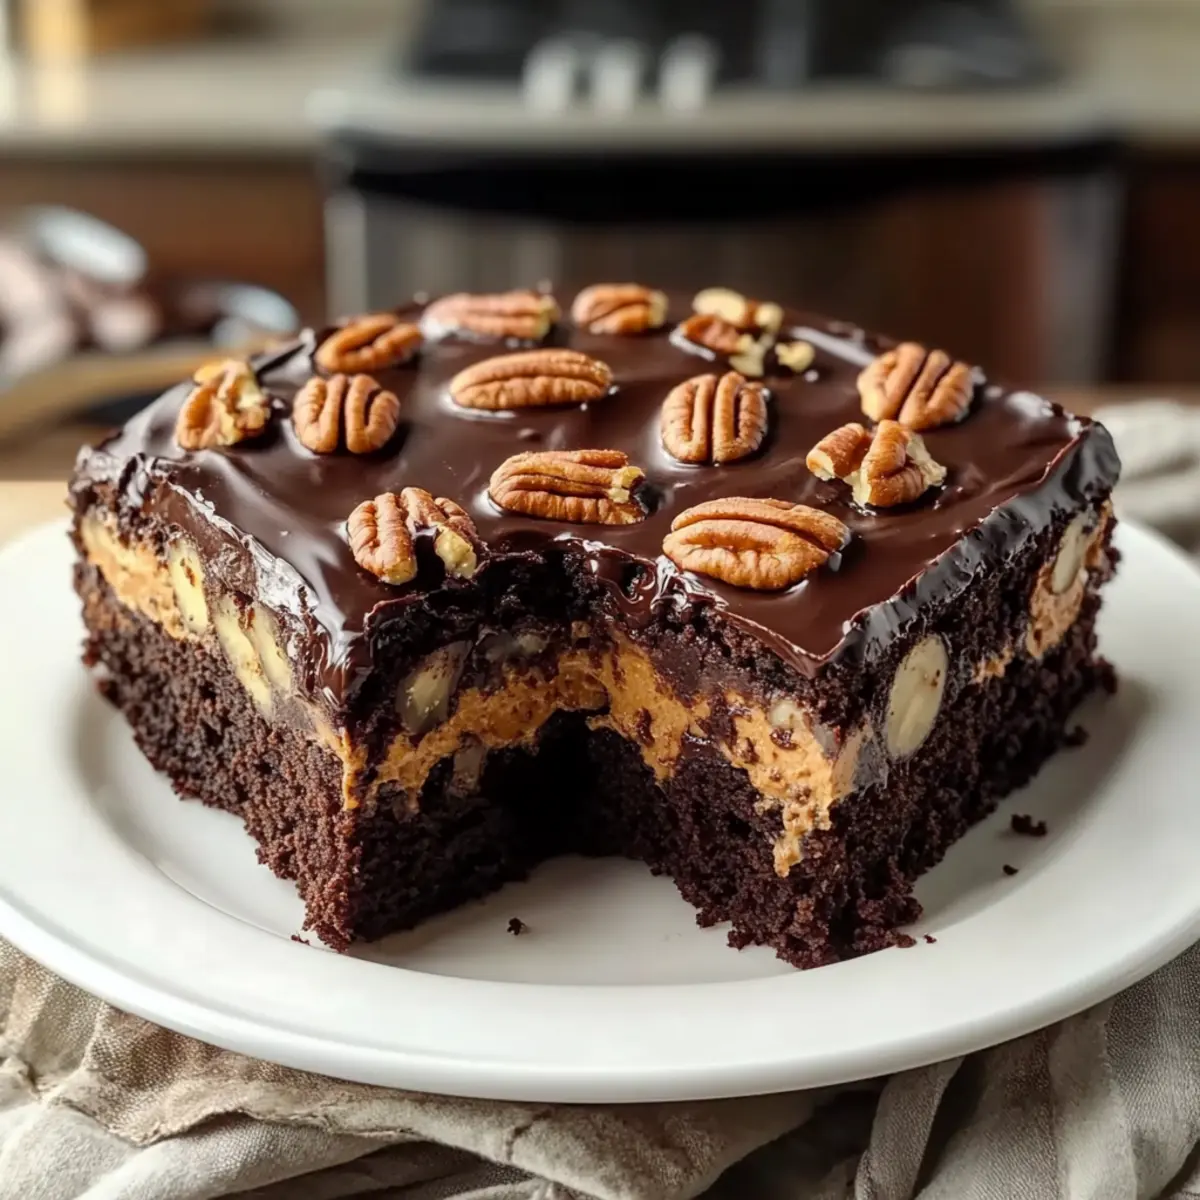
Once baked, remove the Irresistible Earthquake Cake from the oven and allow it to cool in the pan for about 10-15 minutes. This short cooling period makes slicing easier. Afterward, cut into squares and serve warm or at room temperature, enjoying the delightful layers of chocolate and cream cheese.
Make Ahead Options
These Irresistible Earthquake Cake make ahead options are perfect for busy home cooks looking to save time! You can prepare the cake batter up to 24 hours in advance by mixing it and storing it in an airtight container in the refrigerator. The cream cheese filling can also be made ahead—just mix all the filling ingredients and keep it chilled until you’re ready to bake. On baking day, simply pour half of the batter into your prepared pan, add the filling, and top with the remaining batter. Bake as instructed for a delicious dessert that’s just as delightful as if made fresh!
What to Serve with Irresistible Earthquake Cake
Nothing enhances the rich flavors of this indulgent cake like the right accompaniments.
-
Vanilla Ice Cream: The creamy, cool scoop contrasts beautifully with the warm cake, elevating each decadent bite.
-
Whipped Cream: Light and airy, a dollop of whipped cream adds a delightful fluffiness that balances the cake’s richness. Dive in and relish the combination!
-
Caramel Sauce: Drizzling warm caramel over the cake introduces a buttery sweetness that resonates with chocolate, creating a luxurious experience.
-
Chocolate Sauce: For the ultimate chocolate lover, a drizzle of chocolate sauce intensifies the dessert’s allure. It’s a truly indulgent union of flavors.
-
Fresh Berries: Raspberries or strawberries offer a refreshing tartness that cuts through the sweetness and adds a vibrant pop of color—a delightful contrast to the rich cake!
-
Coffee: A warm cup of coffee pairs exceptionally well, bringing out the chocolate notes while providing a comforting finish to your dessert experience.
Savor these pairings to create a memorable experience that highlights the delicious chaos of your Irresistible Earthquake Cake!
Irresistible Earthquake Cake Variations
Feel free to get creative with your Irresistible Earthquake Cake for a delicious twist that suits your taste buds!
- Nut-Free: Omit the pecans or walnuts entirely for a nut-free dessert that’s just as scrumptious.
- Caramel Drizzle: Add a warm caramel drizzle on top of the cake after baking for a sweet, gooey finish that everyone will love.
- Alternative Cake Mix: Swap in yellow or devil’s food cake mix for a different flavor profile while keeping that delightful chocolate goodness.
- Peanut Butter Chips: For a nutty flavor, toss in some peanut butter chips with the chocolate chips for a rich, savory surprise.
- Coconut-Free: Leave out the coconut flakes to simplify the recipe while still enjoying those decadent chocolate layers.
- Spicy Kick: Sprinkle in a pinch of cayenne pepper or chili powder to instill a subtle heat that perfectly complements the sweetness.
- Dark Chocolate Delight: Use dark chocolate chips for a richer, slightly more intense chocolate experience that chocolate lovers will adore.
- Vegan Version: Replace eggs with flax eggs and use plant-based cream cheese for a vegan take on this delightful cake.
Don’t forget, for more delightful inspirations, you can check out my easy Strawberry Shortcake Sushi for a fun dessert twist or the delightful Pumpkin Cupcakes Brown for another crowd-pleasing treat! Enjoy customizing your cake!
How to Store and Freeze Irresistible Earthquake Cake
Fridge: Store leftovers in an airtight container in the refrigerator for up to 5 days to maintain freshness and flavor.
Freezer: For longer storage, wrap individual portions tightly in plastic wrap, then place in a freezer-safe bag. It can be frozen for up to a month.
Thawing: When ready to enjoy, simply thaw in the fridge overnight before serving. This ensures the cake retains its rich texture.
Reheating: Warm slices in the microwave for about 10-15 seconds, or until just heated through—enjoy these decadent bites of your Irresistible Earthquake Cake!
Expert Tips for Irresistible Earthquake Cake
Softened Cream Cheese: Ensure your cream cheese is at room temperature before mixing to achieve a smooth, creamy filling without lumps.
Mind the Baking Time: Keep an eye on your cake during baking; if you notice the edges browning too quickly, cover with foil to prevent overbaking while the center cooks fully.
Cool for Clean Slices: Let the cake cool slightly before slicing; this helps maintain the structure and prevents the gooey filling from spilling out.
Customize Smartly: When adding nuts or alternative toppings, be mindful not to overload the filling; balance is key for your Irresistible Earthquake Cake to shine!
Serve Warm: For the best experience, serve your cake warm with a scoop of ice cream or whipped cream; it enhances the chocolatey decadence!
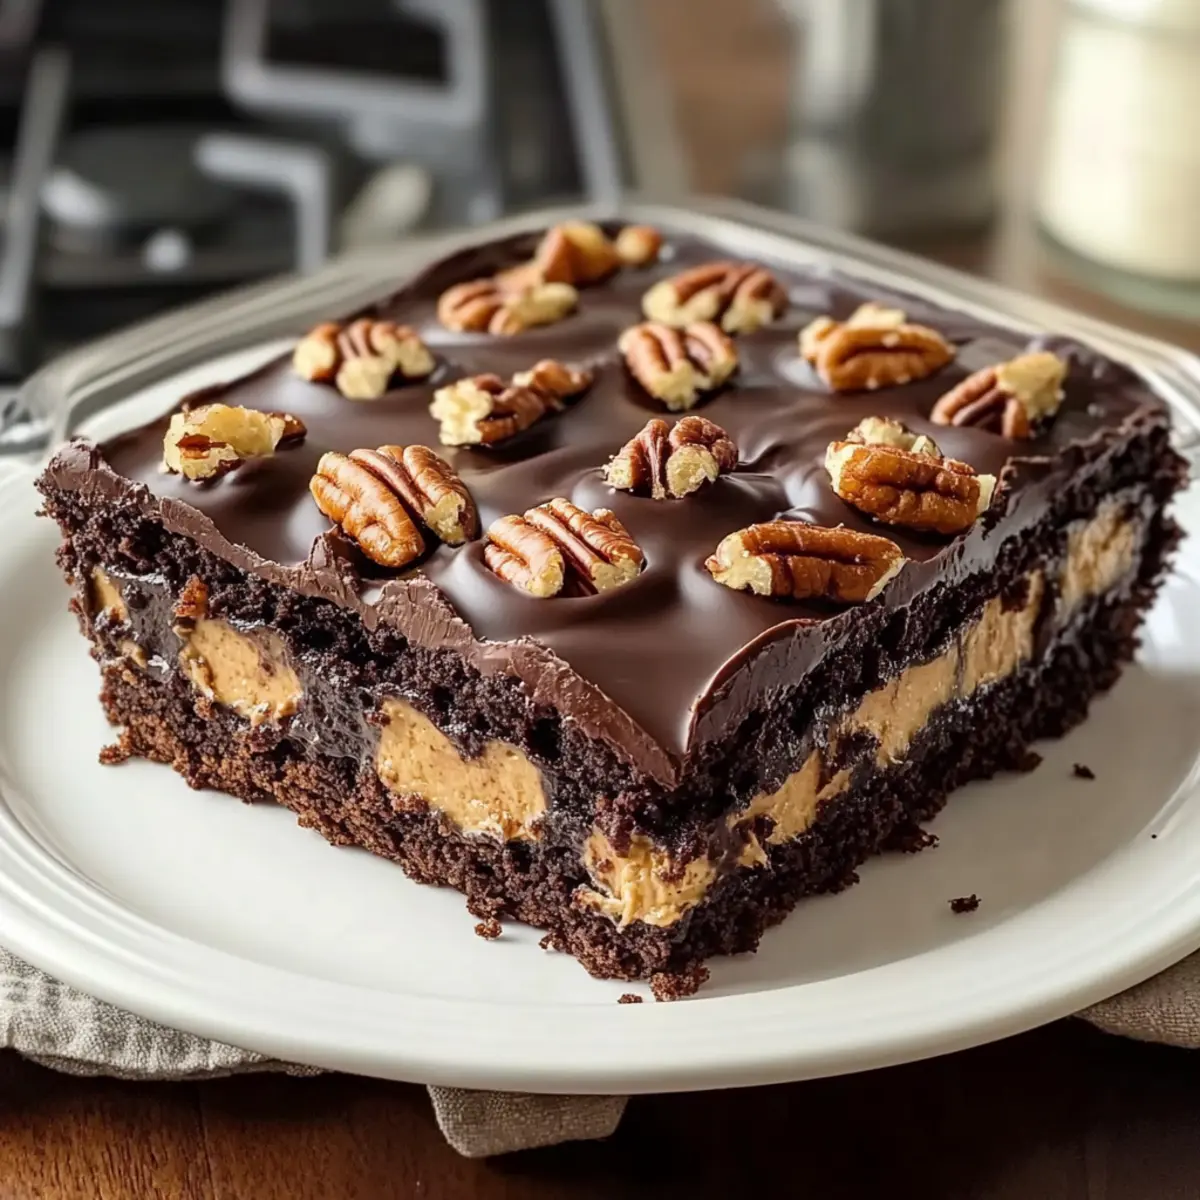
Irresistible Earthquake Cake Recipe FAQs
What type of cake mix should I use for an Earthquake Cake?
Absolutely! The best option is a chocolate cake mix, but you can also substitute it with yellow or devil’s food cake mix for a different flavor. This flexibility allows you to customize your cake to suit your taste preferences, making it a delightful treat every time!
How should I store my leftover Earthquake Cake?
For optimal freshness, store any leftovers in an airtight container in the refrigerator for up to 5 days. This preserves the decadence of your Irresistible Earthquake Cake while keeping it moist and flavorful. Make sure the container is sealed tightly to prevent any moisture loss!
Can I freeze Earthquake Cake? What’s the best method?
Very! To freeze your Earthquake Cake, cut it into individual portions and wrap each piece tightly in plastic wrap. Then, place the wrapped portions into a freezer-safe bag or container. It will remain delicious for up to 3 months! When you’re ready to enjoy a slice, simply thaw it in the fridge overnight.
What if I want to make this cake nut-free?
Not a problem! You can omit the pecans or walnuts altogether. Alternatively, replace them with extra chocolate chips or coconut flakes for added texture without the nuts. This way, you still achieve a wonderfully rich flavor profile while accommodating dietary needs.
How can I tell when my Earthquake Cake is done baking?
To check for doneness, insert a toothpick into the center of the cake. It should come out clean or with a few moist crumbs attached. If the edges are browning too quickly, you can cover the cake with aluminum foil halfway through the baking time to ensure the center cooks fully without overbaking the edges.
Is there a dairy-free option for the cream cheese?
Absolutely! You can use dairy-free cream cheese alternatives that are widely available in stores. These substitutes work wonderfully to maintain the creamy, gooey texture of your filling while keeping the Irresistible Earthquake Cake suitable for those with lactose sensitivities.
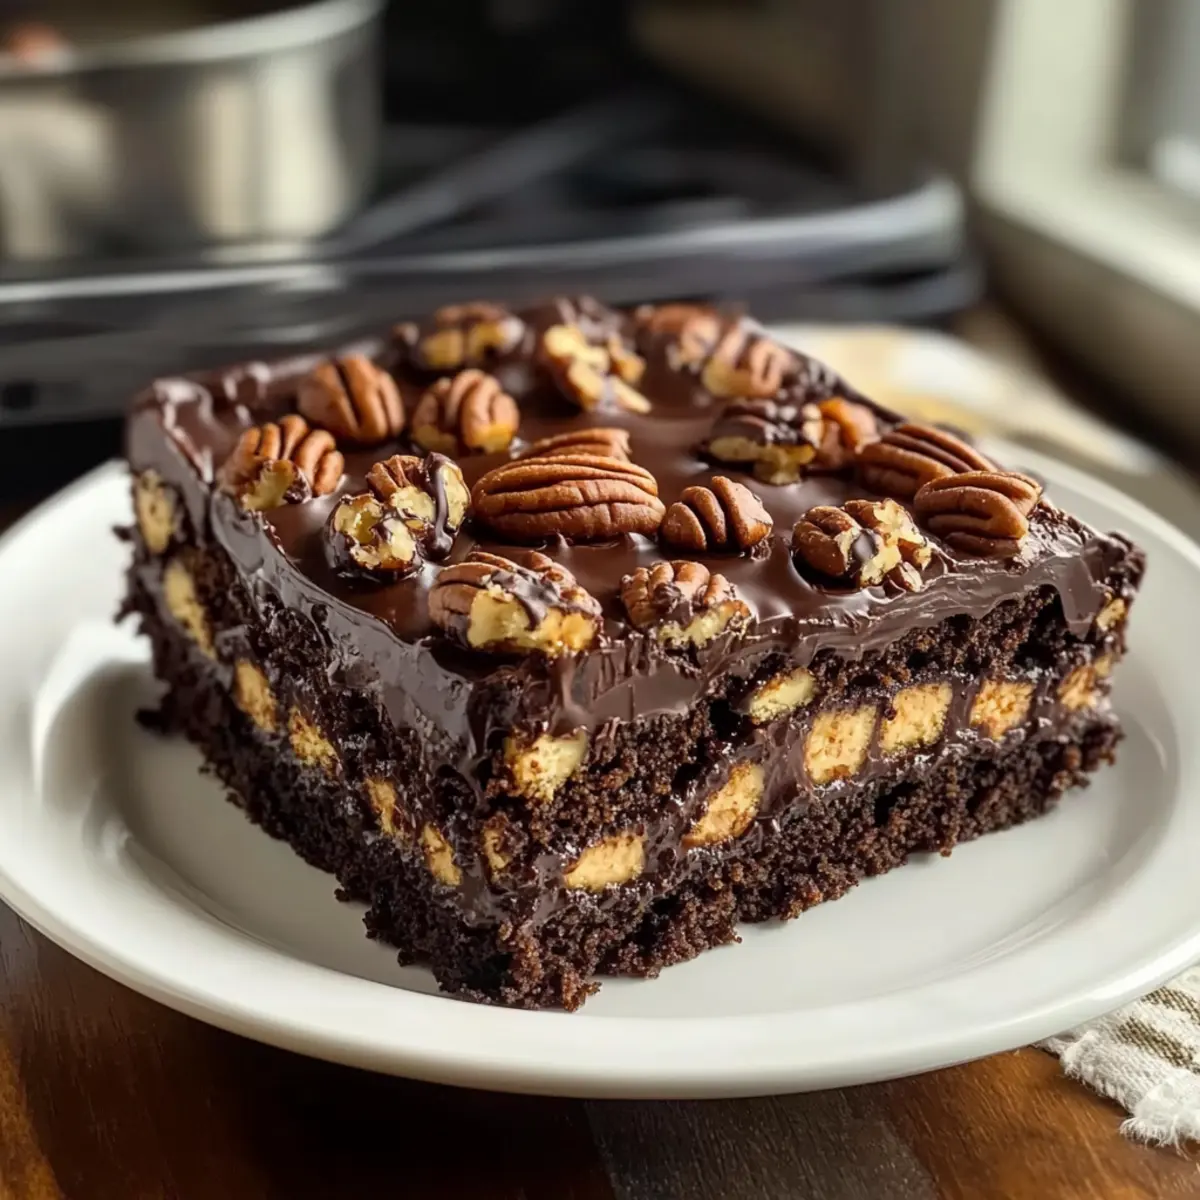
Irresistible Earthquake Cake That's Pure Chocolate Bliss
Ingredients
Equipment
Method
- Preheat your oven to 350°F (175°C).
- Grease a 9x13-inch baking dish with cooking spray or line it with parchment paper.
- In a large mixing bowl, combine your cake mix, eggs, oil, and water. Blend until smooth and well combined, about 2-3 minutes. Pour half of this mixture into the prepared baking dish.
- In a separate bowl, mix softened cream cheese with pecans, coconut flakes, and chocolate chips until evenly combined. Spoon this mixture over the first layer of batter.
- Pour the remaining cake batter over the cream cheese filling, ensuring to cover it completely.
- Bake for 30-35 minutes, until edges are golden brown and a toothpick inserted into the center comes out clean or with a few moist crumbs.
- Allow the cake to cool in the pan for about 10-15 minutes before slicing.
Leave a Reply