
As I scrolled through my favorite baking blogs the other day, the rich allure of chocolate whispered to me, beckoning for attention. This craving led me to create a show-stopping delight: the Matilda Chocolate Cake. This splendidly rich and ultra-moist dessert is a true celebration of chocolate, featuring three luscious layers intricately enhanced by a touch of espresso powder. Perfect for birthdays, intimate dinner parties, or simply when you want to spoil yourself, this cake is as adaptable as it is delicious, with options for gluten-free and dairy-free variations. Whether you’re a seasoned baker or just starting out, you’ll cherish how easy it is to whip up this masterpiece at home. Are you ready to take a bite into chocolate paradise? Let’s dive in!
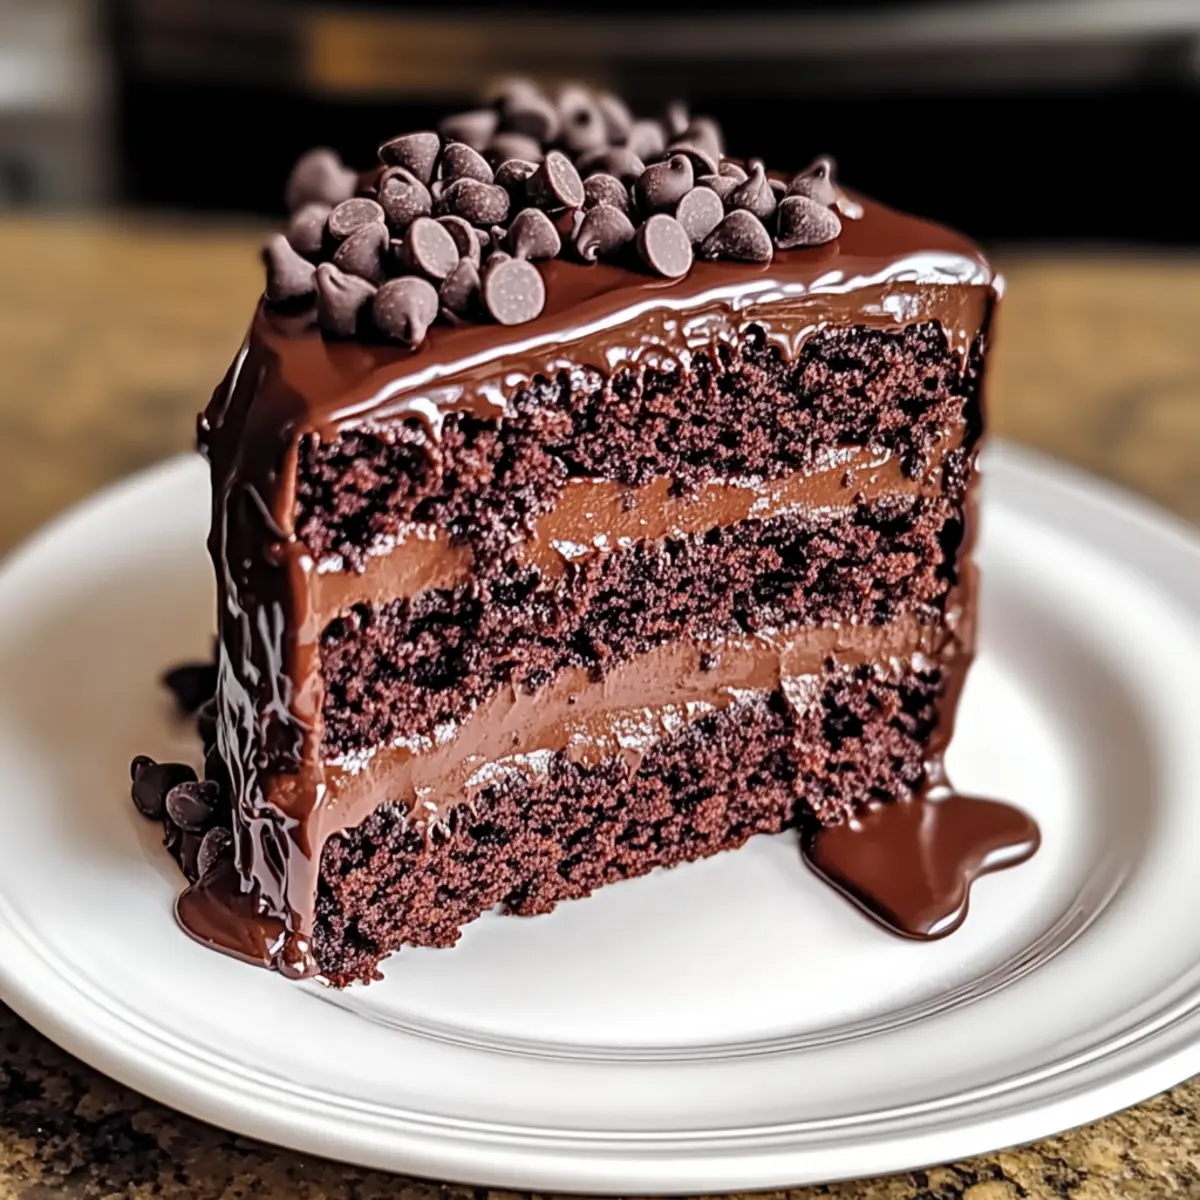
Why is Matilda Chocolate Cake a Must-Try?
Indulgent flavors await you in every bite of this cake! Simplicity in preparation means anyone can master this recipe, regardless of baking skill. Versatile and adaptable, it welcomes gluten-free and dairy-free options without sacrificing taste. Crowd-pleaser status is guaranteed at any gathering, as guests rave about its rich, moist layers. Ultimate chocolate fix for dessert lovers, this cake serves as a centerpiece for memorable celebrations, drawing inspiration from the beloved film it’s named after. Treat yourself and discover your new favorite with this Matilda Chocolate Cake!
Matilda Chocolate Cake Ingredients
For the Cake
• Unsalted Butter – Provides moisture and richness; substitute with dairy-free margarine for a non-dairy option.
• Granulated Sugar – Adds sweetness and texture; brown sugar can deepen flavor.
• Light Brown Sugar – Contributes moisture and a hint of caramel; can be swapped with more granulated sugar.
• Eggs – Essential for structure and richness; use flax eggs for a vegan alternative.
• Pure Vanilla Extract – Enhances flavor; non-alcoholic vanilla extract is a great substitute.
• Chopped Dark Chocolate – The main flavor component; opt for high-quality chocolate for the best results.
• All-Purpose Flour – Provides structure; gluten-free flour works as a fantastic alternative.
• Sifted Cocoa Powder – Imparts rich chocolate flavor; ensure it’s unsweetened for the best outcome.
• Baking Soda and Baking Powder – Leavening agents; make certain they’re fresh for effective rising.
• Espresso Powder (optional) – Enhances chocolate flavor; feel free to omit if desired.
• Salt – Balances sweetness; a small amount can amplify flavors beautifully.
• Buttermilk – Adds moisture and tang; substitute with milk plus a splash of vinegar or yogurt for a faux buttermilk.
• Semi-Sweet Chocolate Chips – Provide pockets of melted chocolate throughout; dark chocolate chips can elevate richness.
For the Ganache
• Heavy Cream – Creates that smooth, glossy finish; coconut cream works as a dairy-free option.
• Corn Syrup (optional) – Adds shine to the ganache; you can omit this for a less sweet glaze.
Experience the magic of making a delicious Matilda Chocolate Cake that will have everyone coming back for seconds!
Step‑by‑Step Instructions for Matilda Chocolate Cake
Step 1: Preheat the Oven
Begin by preheating your oven to 350°F (175°C). Prepare two 9-inch cake pans by lining the bottoms with parchment paper and greasing the sides generously with butter or baking spray. This will ensure your rich and decadent Matilda Chocolate Cake releases easily after baking.
Step 2: Melt the Chocolate
In a microwave-safe bowl or using a double boiler, melt about 8 ounces of chopped dark chocolate. Heat it in 30-second increments in the microwave, stirring in between until smooth. Allow the melted chocolate to cool slightly while you prepare the other ingredients; this prevents curdling when added to the egg mixture.
Step 3: Cream the Butters and Sugars
In a large mixing bowl, beat together ½ cup of unsalted butter, ¾ cup of granulated sugar, and ¾ cup of light brown sugar using an electric mixer. Mix on medium speed for about 3 minutes, or until the mixture is light and fluffy. This step adds air to the batter and creates a delightful texture in your Matilda Chocolate Cake.
Step 4: Add Eggs and Vanilla
One at a time, add 3 large eggs to the sugar mixture, blending well after each addition to ensure everything is fully combined. Pour in 2 teaspoons of pure vanilla extract, mixing until just incorporated. This will contribute to the rich flavor profile that complements the chocolate beautifully in this cake.
Step 5: Incorporate the Melted Chocolate
Pour the slightly cooled melted chocolate into the bowl with the butter and sugar mixture. Beat on low speed until smooth and evenly mixed, ensuring that the chocolate is fully combined without cooking the eggs. This step enhances the deep cocoa flavor of your Matilda Chocolate Cake.
Step 6: Mix Dry Ingredients
In a separate bowl, whisk together 1 ¾ cups of all-purpose flour, ¾ cup of sifted cocoa powder, 1 teaspoon of baking soda, 1 teaspoon of baking powder, and ½ teaspoon of salt. If using, add 1 teaspoon of espresso powder to elevate the chocolate’s richness. Ensure these dry ingredients are well-blended to create an even texture in your cake.
Step 7: Combine Wet and Dry Ingredients
Gradually add the dry ingredients to the wet mixture in three alternating batches, starting with the dry mix, followed by 1 cup of buttermilk. Mix gently until just combined, being careful not to overmix. You want to retain the cake’s light and airy texture, which is essential for a heavenly Matilda Chocolate Cake.
Step 8: Fold in Chocolate Chips
Carefully fold in 1 cup of semi-sweet chocolate chips into the batter using a spatula. This step creates delightful pockets of melted chocolate throughout your cake, adding to its indulgent flavor and moistness. The rich additions will make for a truly decadent Matilda Chocolate Cake experience.
Step 9: Bake the Cake Layers
Divide the batter evenly between your prepared cake pans, smoothing the tops with a spatula. Bake in the preheated oven for 30-35 minutes, or until a toothpick inserted in the center comes out with moist crumbs. Keep an eye on your cakes; they should rise beautifully and smell divine!
Step 10: Cool the Cakes
Once baked, remove the pans from the oven and let them cool in the pans for about 10 minutes. Then, carefully transfer the cakes to wire racks to cool completely. Allowing the cakes to cool thoroughly is essential before frosting, ensuring the ganache stays intact and doesn’t melt.
Step 11: Prepare the Ganache
To make the glossy ganache, heat 1 cup of heavy cream in a saucepan until it begins to simmer. Pour the hot cream over 8 ounces of chopped dark chocolate in a mixing bowl and let it sit for a minute. Stir until completely smooth, then mix in 2 tablespoons of butter and, if desired, 1 tablespoon of corn syrup for added shine.
Step 12: Assemble the Cake
Once the cakes are completely cool, place one layer on a serving plate. Spread a generous layer of ganache over the top, then carefully place the second layer on top. Pour the remaining ganache over the entire cake, letting it drizzle beautifully down the sides. Your Matilda Chocolate Cake is now ready to impress!
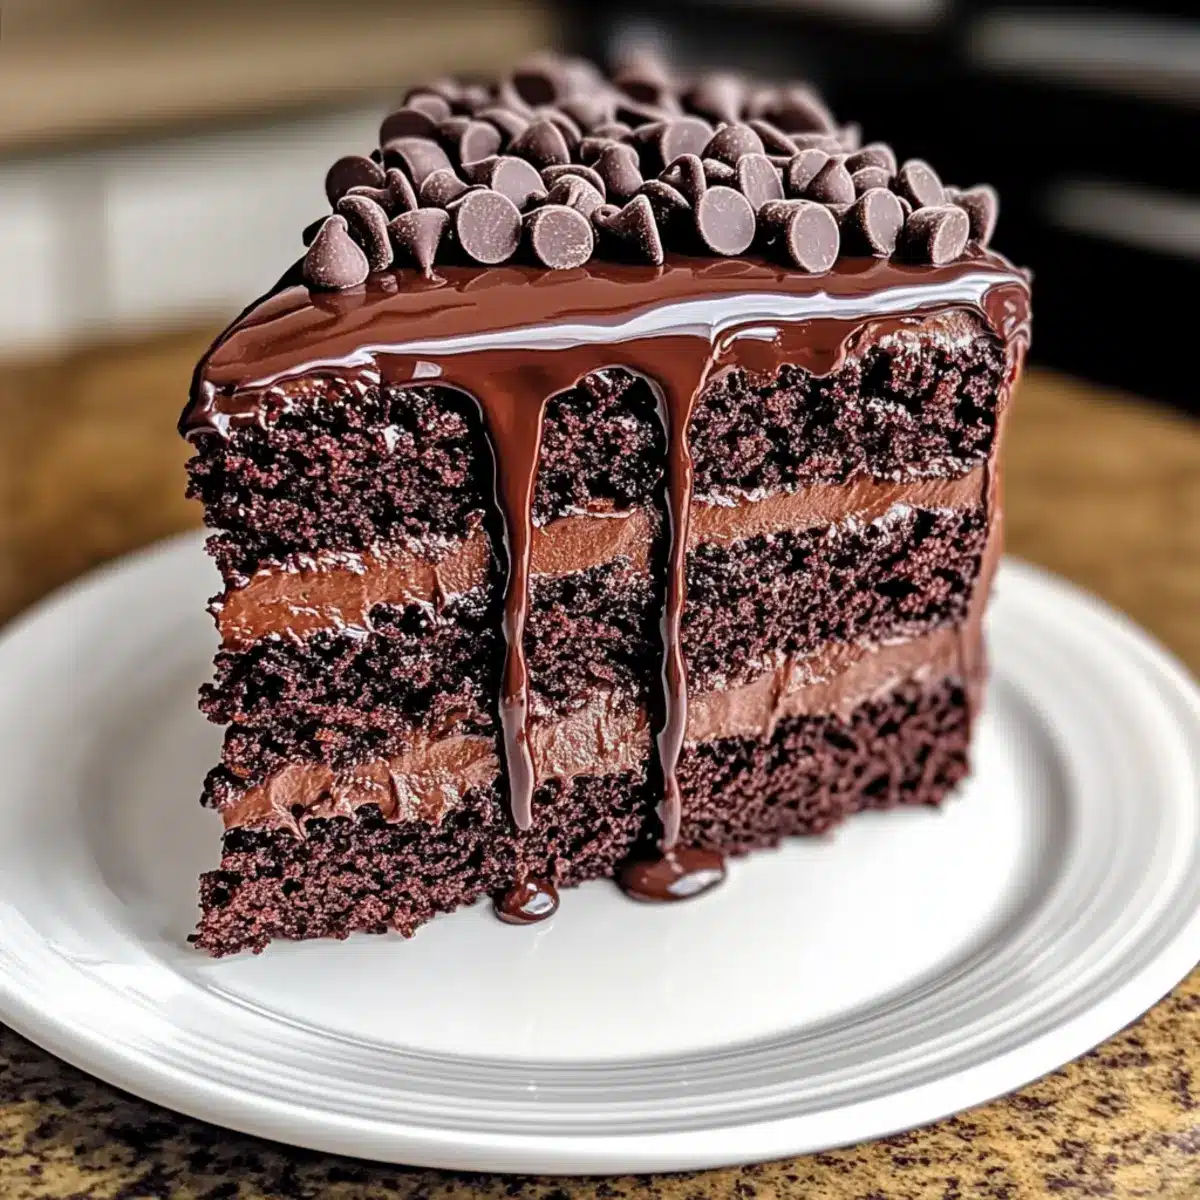
What to Serve with Matilda Chocolate Cake
Indulging in a slice of this decadently rich cake is just the beginning of a delightful dining experience!
-
Fresh Fruit Salad: Light and refreshing, this salad cuts through the cake’s richness and adds a burst of color and flavor.
-
Vanilla Ice Cream: The creamy, silky texture complements the ultra-moist chocolate layers perfectly, enhancing every chocolatey bite.
-
Espresso Coffee: A robust cup of espresso will heighten the chocolate experience, enhancing the cake’s flavors while keeping you energized.
-
Chocolate Mousse: For the ultimate chocolate feast, pairing this cake with light, airy mousse creates a delightful contrast in texture.
-
Coconut Macaroons: These chewy, lightly sweet treats add a chewy texture that contrasts beautifully with the cake’s smooth ganache.
-
Minty Mojito: The fresh mint and zesty lime in this refreshing cocktail balance out the cake’s sweetness for a perfect palate cleanser.
-
Raspberry Coulis: Drizzling a tangy raspberry sauce over the cake adds a vibrant pop of color and flavor that complements the richness of the chocolate.
-
Mini Cheesecake Bites: These bite-sized desserts offer creamy goodness that complements the cake without overshadowing it.
-
Whipped Cream: A dollop of lightly sweetened whipped cream adds an airy texture, making each slice even more indulgent.
Matilda Chocolate Cake Variations
Feel free to explore delightful twists on your Matilda Chocolate Cake! Each variation adds a unique flavor or texture that might just become your new favorite.
-
Gluten-Free: Use a 1:1 gluten-free flour blend instead of all-purpose flour for a cake everyone can enjoy.
-
Dairy-Free: Substitute the butter and cream with coconut oil and coconut cream, keeping that luscious, rich flavor intact.
-
Fruity Addition: Add 1 cup of fresh raspberries or chopped strawberries into the batter for a fruity burst that balances the richness beautifully. They make each slice visually stunning too!
-
Nutty Crunch: Fold in 1 cup of chopped walnuts or pecans for added texture and a delightful nutty flavor that pairs perfectly with chocolate.
-
Citrus Zest: Incorporate 1 tablespoon of orange zest into the batter for a bright, refreshing twist that enhances the cake’s richness. The citrus notes will give you a pleasant surprise with each bite!
-
Cupcake Version: Transform this recipe into decadent cupcakes for a fun, portion-controlled treat. Simply adjust baking time to 18-20 minutes.
-
Coffee Lovers: Intensify the mocha flavor by adding 1 tablespoon of instant coffee granules to the dry ingredients, enhancing both aroma and taste.
-
Layered Joy: Consider making a “Neapolitan” version by layering with a raspberry or vanilla frosting, creating a beautiful and festive dessert that’s perfect for celebrations.
For more delicious variations, you might want to try out the White Chocolate Pumpkin or maybe indulge in some Halloween Chocolate Chip treats! Your dessert journey doesn’t have to stop here!
Make Ahead Options
These Matilda Chocolate Cakes are perfect for busy home cooks looking to save time without compromising on taste! You can prepare the cake layers up to 3 days in advance, wrapping each cooled layer tightly in plastic wrap and refrigerating to keep them moist. The ganache can also be made ahead and stored in the refrigerator for up to 5 days; just reheat it gently when you’re ready to assemble. When you’re ready to serve, simply layer the chocolate cakes with the chilled ganache and let it come to room temperature before pouring the remaining ganache over the top. This method ensures your Matilda Chocolate Cake remains just as delicious and decadent as if it were freshly made!
Expert Tips for Matilda Chocolate Cake
• Temperature Matters: Make sure your chocolate isn’t too hot when added to the egg mixture to avoid curdling. Allow it to cool slightly after melting.
• Fresh Ingredients: Always use fresh baking soda and baking powder. Stale leavening agents can lead to a dense cake, missing the lightness of the rich, ultra-moist Matilda Chocolate Cake.
• Cooling Time: Allow cakes to cool completely before frosting. This prevents the ganache from melting and keeps your layers looking perfect.
• Test for Doneness: Check for doneness with a toothpick—it should come out with moist crumbs, not wet batter. This ensures you achieve that desired moist texture.
• Layer with Love: When assembling your cake, use a generous amount of ganache between layers for a decadent experience that will wow your guests.
How to Store and Freeze Matilda Chocolate Cake
Room Temperature: Keep the Matilda Chocolate Cake in an airtight container at room temperature for up to 5 days. This maintains its moisture and flavor without refrigeration.
Fridge: If you need to store the cake longer, refrigerate it in an airtight container. It can last for up to 1 week. Allow it to come to room temperature before serving for the best texture.
Freezer: For longer storage, wrap slices or the whole cake tightly in plastic wrap, followed by aluminum foil. It can be frozen for up to 3 months. Thaw in the refrigerator overnight before serving.
Reheating: To enjoy the cake warm, pop individual slices in the microwave for 10-15 seconds. Be careful not to overheat, as this can alter the delightful texture of your rich Matilda Chocolate Cake.
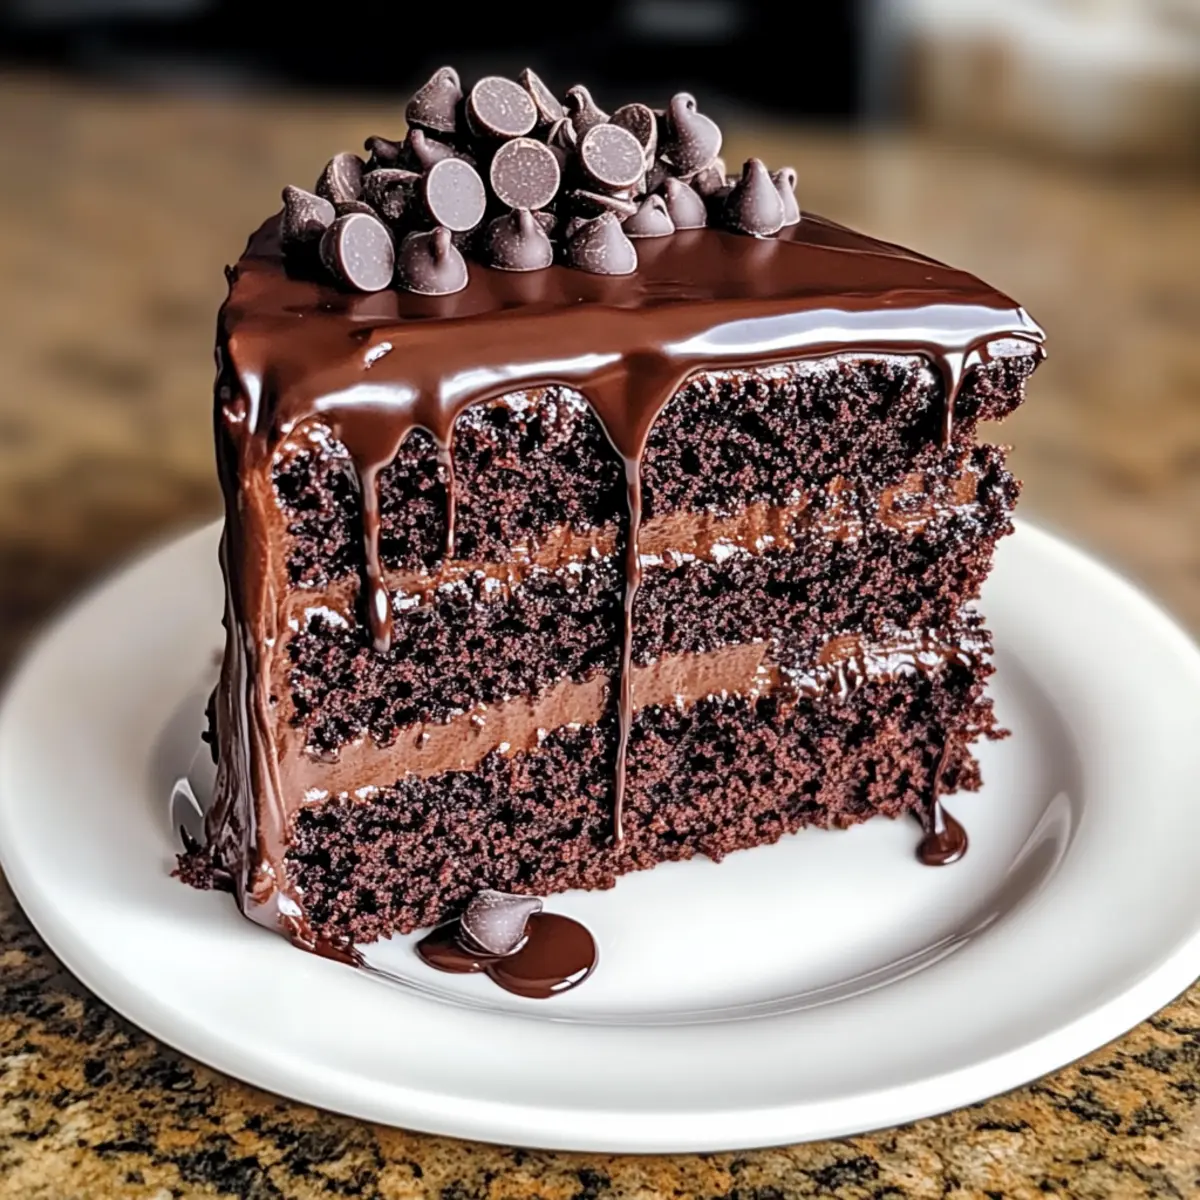
Matilda Chocolate Cake Recipe FAQs
How do I choose the right chocolate for my cake?
Absolutely! For the best flavor, select high-quality dark chocolate with at least 60% cocoa content. This will ensure a rich and decadent taste. If you’re after a sweeter profile, you can use milk chocolate; just keep in mind it will alter the overall flavor.
How should I store leftover Matilda Chocolate Cake?
Very! Store your cake in an airtight container at room temperature for up to 5 days to keep it moist. If you need to save it longer, refrigerate it, where it will stay fresh for about a week. Remember to let it come back to room temperature before serving for the best taste!
Can I freeze Matilda Chocolate Cake for later?
Absolutely! To freeze it, wrap the whole cake or individual slices tightly in plastic wrap, followed by a layer of aluminum foil to prevent freezer burn. It can be stored for up to 3 months. When you’re ready to enjoy, simply thaw it overnight in the refrigerator.
What if my cake layers are too dense?
If you find the layers are denser than expected, it may be due to overmixing the batter or using stale leavening agents. Mix just until combined and ensure your baking soda and powder are fresh. Another potential culprit could be not properly measuring your flour; too much can lead to a heavy cake.
Are there any dietary considerations I should keep in mind?
Very! If you’re baking for someone with dietary restrictions, you can easily adapt this Matilda Chocolate Cake. Use gluten-free flour for those with gluten sensitivities and dairy-free margarine along with coconut cream for those who need a dairy-free option. Always double-check for allergies when using chocolate or other ingredients.
How do I know when my cake is done baking?
To test for doneness, insert a toothpick into the center of the cake. It should come out with moist crumbs clinging to it, not wet batter. If the toothpick comes out clean, the cake may be overdone. Keep a close eye after the 30-minute mark to avoid overbaking!
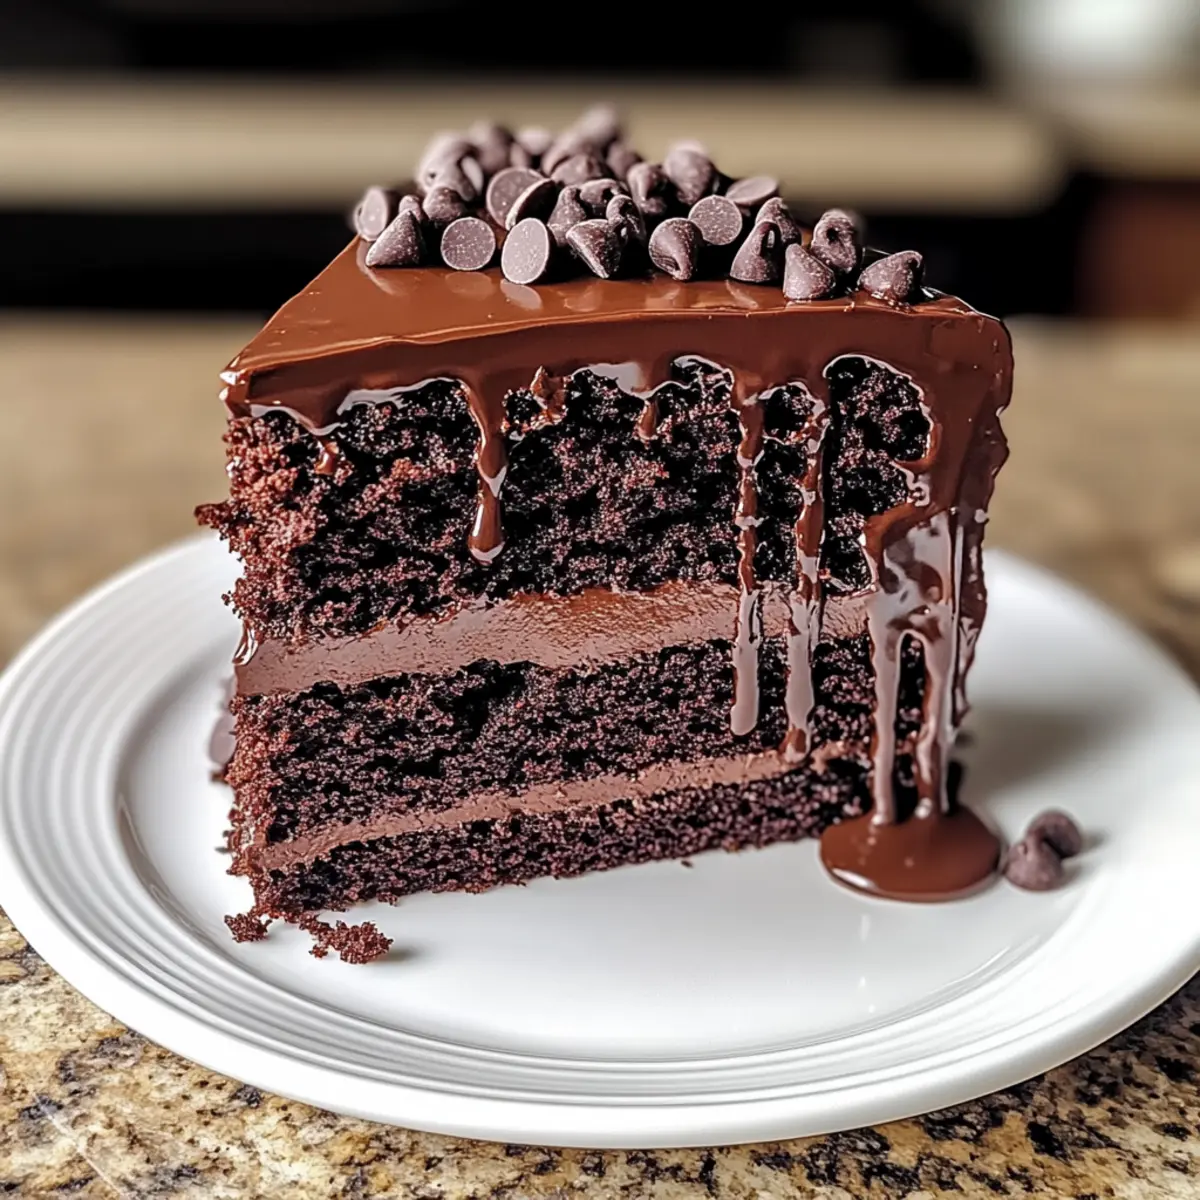
Decadent Matilda Chocolate Cake for Unforgettable Moments
Ingredients
Equipment
Method
- Preheat your oven to 350°F (175°C) and prepare two 9-inch cake pans by lining with parchment paper and greasing the sides.
- Melt about 8 ounces of chopped dark chocolate in a microwave-safe bowl or double boiler until smooth. Allow to cool slightly.
- In a large mixing bowl, beat ½ cup unsalted butter, ¾ cup granulated sugar, and ¾ cup light brown sugar until light and fluffy.
- Add eggs one at a time and mix well. Pour in 2 teaspoons vanilla extract and mix until incorporated.
- Slowly pour in the slightly cooled melted chocolate and mix until smooth.
- In a separate bowl, whisk together 1 ¾ cups flour, ¾ cup cocoa powder, 1 teaspoon baking soda, 1 teaspoon baking powder, and ½ teaspoon salt. Add 1 teaspoon espresso powder if using.
- Gradually add dry ingredients to the wet mixture in three alternating batches, starting with dry and then 1 cup buttermilk, mixing until just combined.
- Gently fold in 1 cup semi-sweet chocolate chips into the batter.
- Divide batter evenly between prepared cake pans and bake for 30-35 minutes until a toothpick comes out with moist crumbs.
- Cool cakes in pans for 10 minutes, then transfer to wire racks to cool completely.
- To make ganache, heat 1 cup heavy cream until simmering, pour over 8 ounces chopped dark chocolate, let sit, stir until smooth. Add 2 tablespoons butter and mix.
- Once cooled, assemble the cake by layering ganache and placing the second cake on top, pouring remaining ganache over the top.
Leave a Reply