
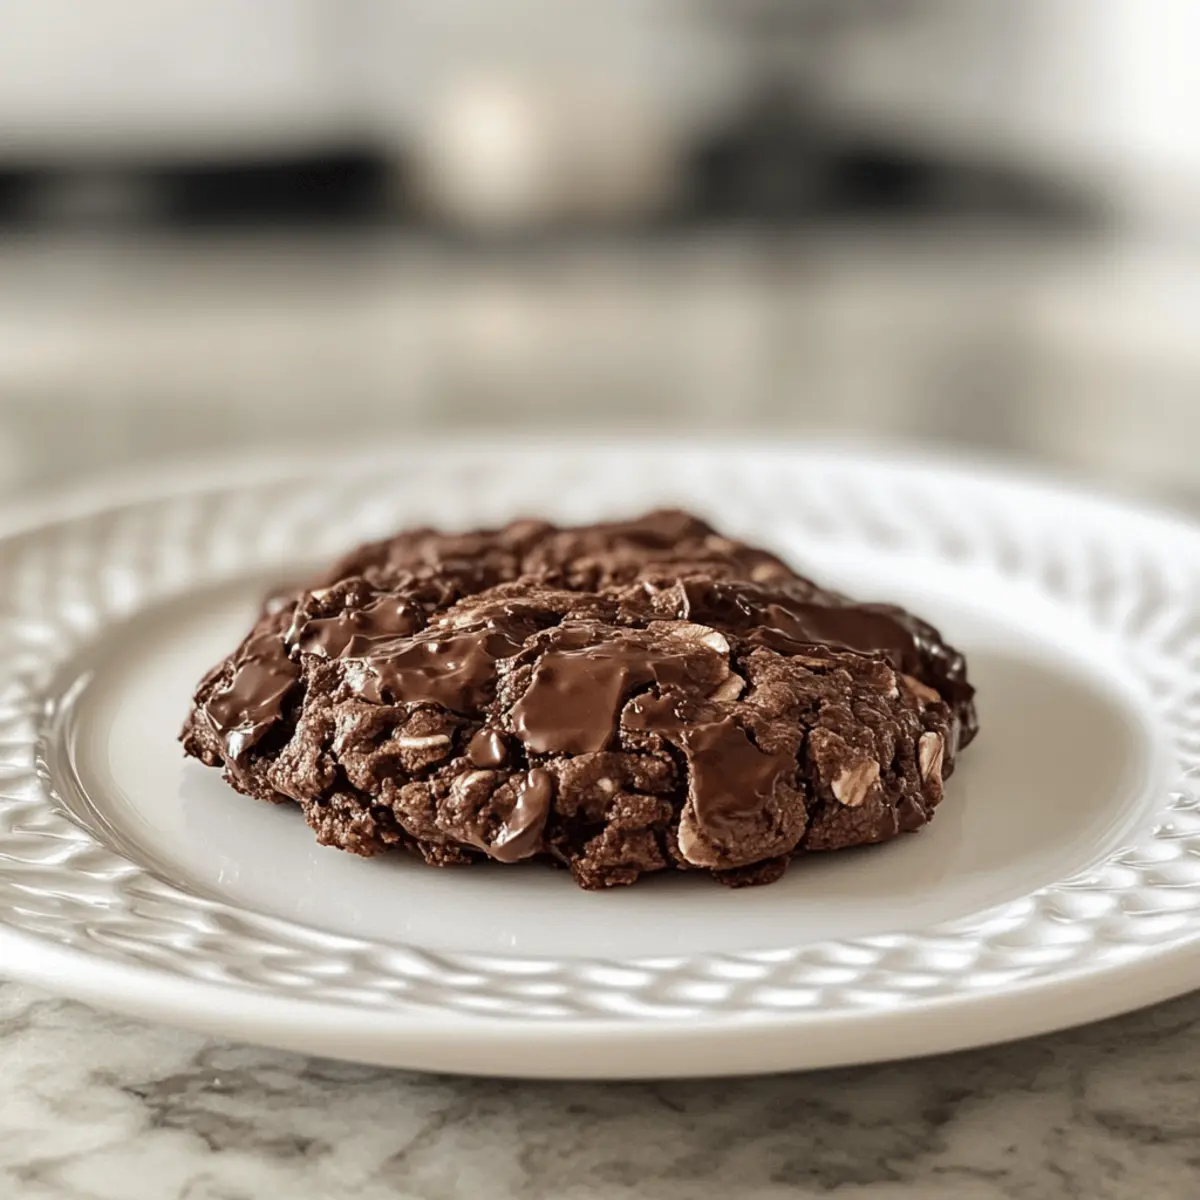
As I stood in my kitchen, the aroma of melting chocolate wafting through the air, I felt that delicious wave of nostalgia wash over me—a reminder of carefree afternoons spent baking with loved ones. This is where the magic of my 4-Ingredient Gluten-Free Chocolate Oat Cookies begins! With just a handful of pantry staples, these delightful treats come together quickly and effortlessly, making them ideal for anyone craving a sweet snack without the guilt. Not only do they cater to gluten-free diets, but they also boast a wholesome texture that will leave you feeling satisfied. Whether you’re whipping them up for an after-school snack or a late-night indulgence, these cookies promise both simplicity and joy. Curious about how to transform just a few ingredients into luscious, chewy goodness? Let’s dive in!
Why Are These Cookies So Irresistible?
Simplicity at Its Finest: With only four ingredients, making these cookies is a breeze—perfect for those chaotic afternoons.
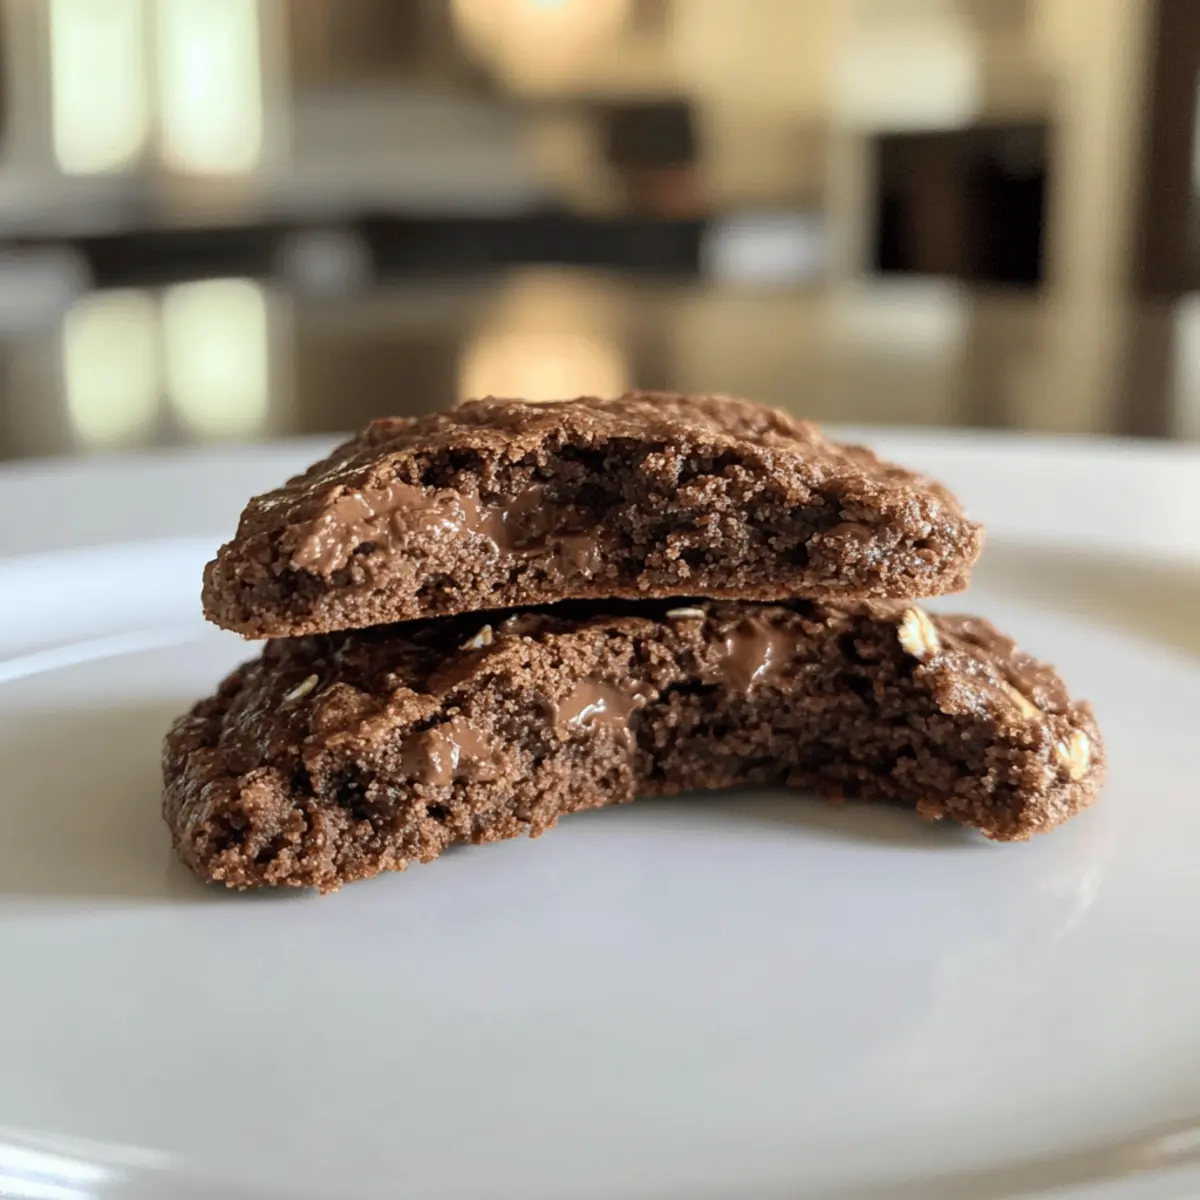
Rich Chocolate Flavor: The combination of oats and cocoa powder brings a deliciously deep chocolatey taste that will keep you coming back for more.
Versatile Adaptations: Whether you need gluten-free or nut-free options, these cookies can easily accommodate your dietary needs. Try replacing nut butter with sunflower seed butter or adding some chocolate chips for a treat that’s uniquely yours!
Quick to Prepare: Bake these delightfully chewy cookies in just 10-12 minutes, making them an ideal choice for those sudden cravings.
Crowd-Pleasing Treat: Everyone will love sharing these cookies; they’re soft, chewy, and perfect for dunking in milk or coffee—a true companion to your favorite warm beverage! Enjoy them alongside our Pumpkin Cupcakes Brown or a tasty Pumpkin Cinnamon Roll.
Chocolate Oat Cookie Ingredients
Unlock the secret to the perfect chocolate treat with these simple ingredients!
For the Dough
- Oats – The foundation for texture; quick-cooking oats yield a softer bite, while rolled oats create a chewier cookie.
- Nut Butter – Acts as a binder and adds a creamy richness; substitute with sunflower seed butter for a nut-free twist.
- Honey or Maple Syrup – A natural sweetener that enhances flavor and moisture; opt for maple syrup for a vegan-friendly option.
- Cocoa Powder – Infuses rich chocolate flavor; be sure to choose unsweetened for perfect balance.
Optional Add-ins
- Chocolate Chips – Sprinkle in dark chocolate chips for an extra chocolatey treat.
- Dried Fruits – Add raisins or cranberries for a touch of sweetness and texture.
- Spices – A dash of cinnamon can enhance the warm flavors of these cookies, providing a delightful twist.
Enjoy crafting your delicious Chocolate Oat Cookies with these delightful ingredients!
Step‑by‑Step Instructions for 4-Ingredient Gluten-Free Chocolate Oat Cookies
Step 1: Preheat the Oven
Begin by preheating your oven to 350°F (175°C). While the oven heats up, grab a baking sheet and line it with parchment paper to prevent sticking and ensure an easy cleanup. This setup will allow you to bake your chocolate oat cookies evenly and avoid any mess while enjoying your delightful treats.
Step 2: Mix the Ingredients
In a mixing bowl, combine the quick-cooking oats, nut butter, honey or maple syrup, and cocoa powder. Use a sturdy spoon or spatula to mix these ingredients together thoroughly, allowing the rich chocolate flavor to meld with the creamy texture of the nut butter. You should end up with a thick and cohesive dough that holds together beautifully.
Step 3: Portion the Dough
Scoop tablespoon-sized amounts of dough and drop them onto the prepared baking sheet. Make sure to space the mounds a few inches apart, as these chocolate oat cookies will expand slightly while baking. This careful spacing will ensure that each cookie has enough room to bake freely and maintain its shape.
Step 4: Shape the Cookies
Using the back of a spoon, gently flatten each cookie mound to achieve an even thickness. This step is crucial for creating a soft and chewy texture in your chocolate oat cookies; you want them to bake through properly while retaining a delicious, melt-in-your-mouth quality.
Step 5: Bake the Cookies
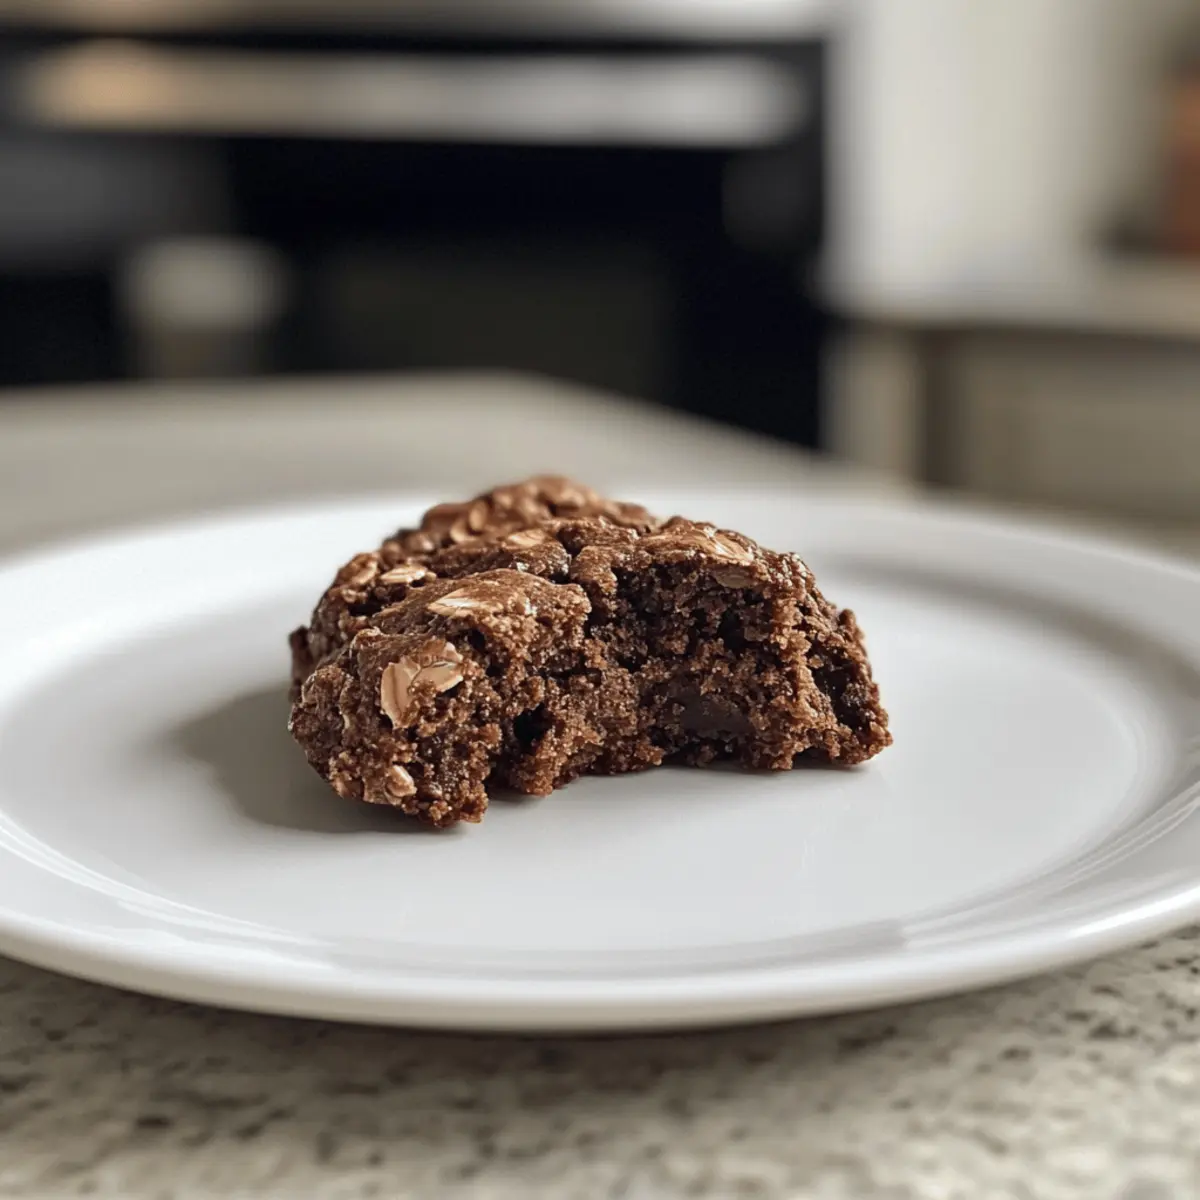
Place the baking sheet in the preheated oven and bake for 10-12 minutes. You’ll know your cookies are ready when they’re set around the edges but still soft in the center. Be careful not to overbake them, as they will continue to firm up while cooling, ensuring a pleasingly chewy bite.
Step 6: Cool and Enjoy
Once baked, remove the cookies from the oven and allow them to cool on the baking sheet for a few minutes. Then, transfer them to a wire rack to cool completely. This cooling process allows the cookies to finish setting and enhances their chewy texture, making your chocolate oat cookies irresistible and ready to enjoy!
What to Serve with 4-Ingredient Gluten-Free Chocolate Oat Cookies
Elevate your cookie experience with delightful pairings that will make every bite more enjoyable and satisfying.
- Almond Milk: A refreshing, creamy drink that beautifully complements the rich flavors of the chocolate oat cookies.
- Vanilla Ice Cream: The cool, creamy texture of vanilla ice cream contrasts wonderfully with the chewy cookies, creating a decadent dessert experience!
- Fresh Berries: Bright, juicy berries add a fresh burst of flavor, enhancing the chocolatey indulgence with their natural sweetness.
- Coffee or Espresso: The boldness of coffee perfectly balances the sweetness of the cookies, making it an ideal pairing for coffee lovers.
- Nut Butter Dip: A small bowl of creamy nut butter for dipping brings an extra touch of richness that complements the cookie’s chewy texture exceptionally well.
- Coconut Whipped Cream: Light and airy coconut whipped cream provides a tropical twist that softens the cookie’s chocolate flavor, making it a tropical delight.
- Dark Chocolate Chunks: For an extra chocolate hit, serve additional dark chocolate chunks alongside the warm cookies, perfect for those who crave an intense chocolate experience.
- Chai Tea: The spiced warmth of chai tea offers a comforting backdrop to the cookies, creating a cozy afternoon treat.
- Caramel Sauce: Drizzling caramel sauce over cookies adds a sweet and buttery flavor, making them a luscious treat for special occasions.
Chocolate Oat Cookies Variations & Substitutions
Feel free to get creative with these cookies and make them your own by exploring these delightful variations!
- Nut-Free: Switch nut butter for sunflower seed butter to create a nut-free cookie without compromising flavor.
- Vegan Delight: Use maple syrup instead of honey to whip up a vegan-friendly version that everyone can enjoy.
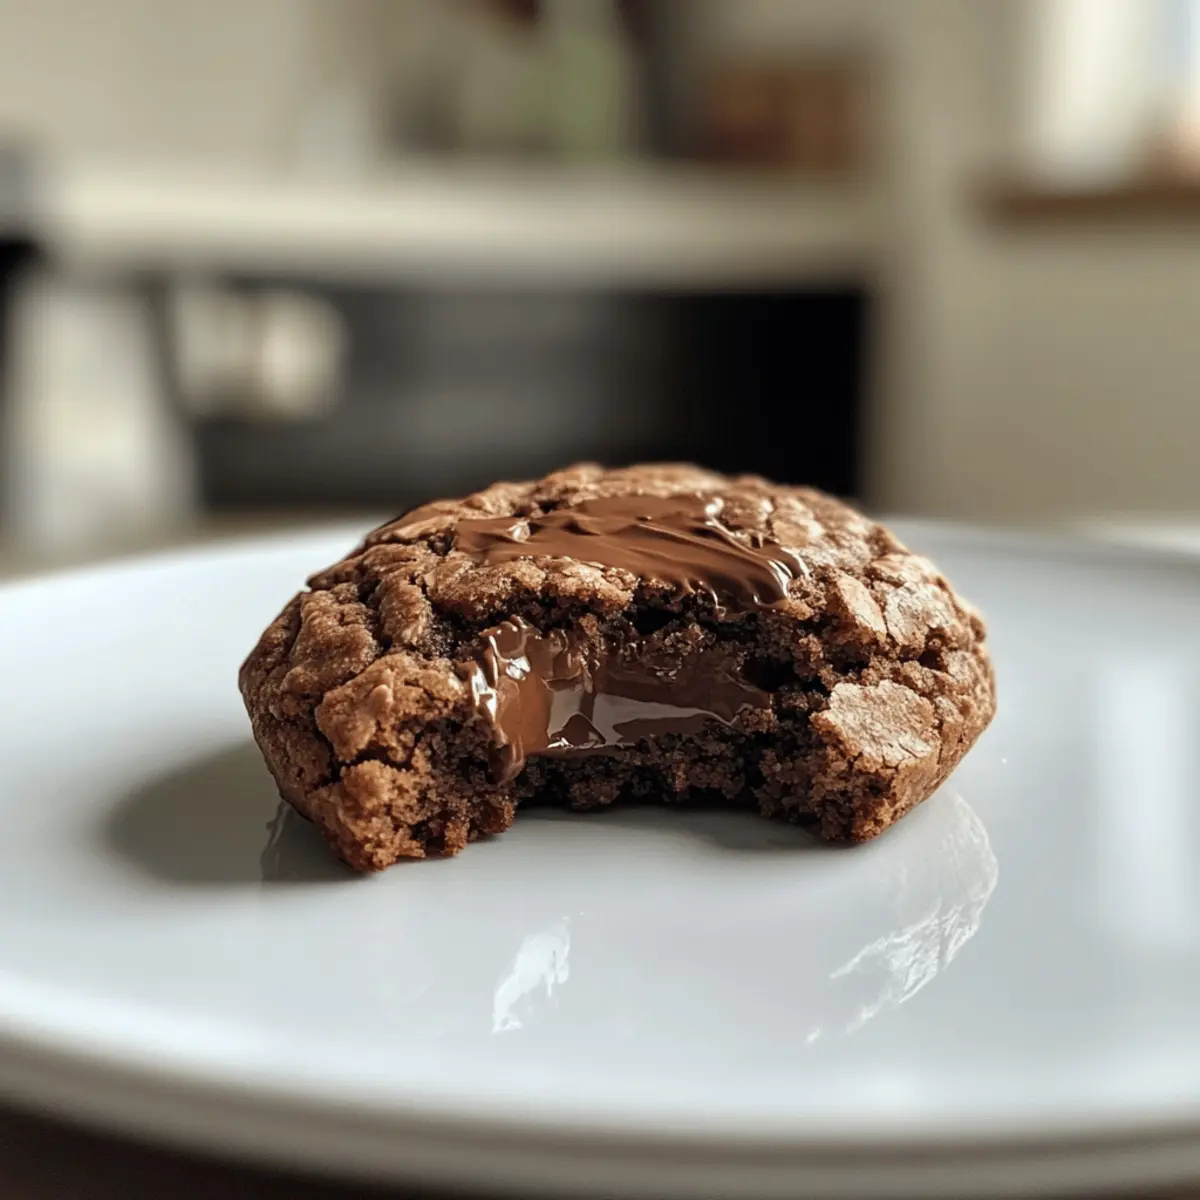
- Extra Chocolatey: Add dark chocolate chips or chunks to the dough for an intensified chocolate experience in every bite.
- Crunchy Texture: Mix in some finely chopped nuts or seeds for a satisfying crunch that contrasts beautifully with the chewiness of the oats.
- Cinnamon Swirl: Sprinkle in a dash of cinnamon to bring a warm, cozy flavor to your cookies—perfect for the fall season!
- Dried Fruit Boost: Toss in dried cranberries or raisins to add natural sweetness and fruity flair to the rich chocolate base.
- Coconut Twist: Blend in shredded coconut for a tropical touch that perfectly complements the chocolatey goodness.
- Spicy Kick: Incorporate a hint of cayenne pepper or chili powder for those who like their cookies with a bit of heat, balancing sweet and spicy flavors beautifully.
With these variations, you can tailor your homemade Chocolate Oat Cookies to suit your taste buds. And if you’re in the mood for more pumpkin-inspired treats, give our Pumpkin Bread Moist or the delightful Apple Pumpkin Streusel a try! Enjoy the baking adventure!
Expert Tips for Chocolate Oat Cookies
- Combine Well: Ensure all ingredients are mixed thoroughly to prevent the cookies from falling apart during baking. A cohesive dough is key!
- Perfect Bake Time: Don’t overbake! The cookies will firm up while cooling, and you want them to remain soft and chewy for that perfect chocolate oat cookie experience.
- Ingredient Quality: Use good-quality cocoa powder for rich flavor—it makes a difference! Unsweetened cocoa ensures a balanced taste in your cookies.
- Space it Out: Remember to space the cookie mounds a few inches apart on the baking sheet to allow for expansion and even baking.
- Mix-in Magic: Feel free to experiment! Adding chocolate chips or dried fruit can elevate your cookies and make them uniquely yours.
Make Ahead Options
These 4-Ingredient Gluten-Free Chocolate Oat Cookies are perfect for meal prep enthusiasts looking to save time during busy weeknights! To make ahead, you can mix the dough and refrigerate it for up to 24 hours before baking. Just be sure to cover the bowl tightly to maintain freshness and prevent the oats from absorbing moisture. When you’re ready to enjoy, simply scoop and bake the chilled dough directly, adding a minute or two to the cooking time. You can also freeze the cookie dough in portioned mounds for up to 3 months. Thaw in the refrigerator overnight before baking, and you’ll have deliciously soft cookies at a moment’s notice, just as good as freshly made!
How to Store and Freeze Chocolate Oat Cookies
Room Temperature: Store leftover cookies in an airtight container at room temperature for up to 1 week to keep them fresh and chewy.
Fridge: For a longer shelf life, refrigerate the cookies in an airtight container for up to 2 weeks, allowing you to enjoy your chocolate oat cookies anytime.
Freezer: Freeze cookies in a single layer on a baking sheet, then transfer to a freezer-safe bag or container for up to 3 months—perfect for quick treats!
Reheating: When you’re ready to enjoy your frozen cookies, simply thaw at room temperature for a few minutes or warm them in the microwave for about 10-15 seconds.
Chocolate Oat Cookies Recipe FAQs
What type of oats should I use for the best texture?
For these cookies, I recommend using quick-cooking oats for a softer texture or rolled oats for a chewier bite. Quick oats absorb moisture quicker, helping the cookies remain soft, while rolled oats lend a heartier feel. The choice depends on your personal preference!
How should I store my cookies to keep them fresh?
To keep your chocolate oat cookies fresh, store them in an airtight container at room temperature for up to 1 week. If you prefer a longer shelf life, refrigerate them in the same type of container for up to 2 weeks. Just be sure they’re completely cooled before sealing to prevent sogginess.
Can I freeze Chocolate Oat Cookies, and how?
Absolutely! To freeze your chocolate oat cookies, place them in a single layer on a baking sheet and freeze until solid. Then, transfer them to a freezer-safe bag or container, where they can stay fresh for up to 3 months. When you’re ready to enjoy them, simply thaw at room temperature or pop them in the microwave for about 10-15 seconds for that freshly baked taste!
What if my cookies turn out too dry or crumbly?
If your cookies are dry or crumbly, it could be due to overbaking or not having enough moisture in the dough. Make sure to bake them just until set but still soft in the center. If they’re too dry, try adding a tablespoon more nut butter or honey to the dough next time to increase moisture. Also, ensure you mix the ingredients well so the dough binds tightly.
Are these cookies safe for children with nut allergies?
Yes, you can make these chocolate oat cookies nut-free quite easily! Simply replace the nut butter with sunflower seed butter or another nut-free alternative. Always double-check ingredient labels to make sure there are no hidden allergens. This way, everyone in the family can enjoy these delicious treats!
Irresistibly Soft Pumpkin Cheesecake Cookies You’ll Love
Ingredients
Equipment
Method
- Preheat the oven to 350°F (175°C) and line a baking sheet with parchment paper.
- In a mixing bowl, combine the oats, nut butter, honey or maple syrup, and cocoa powder. Mix thoroughly.
- Scoop tablespoon-sized amounts and place them on the baking sheet, spacing them apart.
- Gently flatten each cookie mound using the back of a spoon.
- Bake for 10-12 minutes until edges are set and centers are still soft. Do not overbake.
- Allow to cool on the baking sheet for a few minutes, then transfer to a wire rack to cool completely.
Leave a Reply