
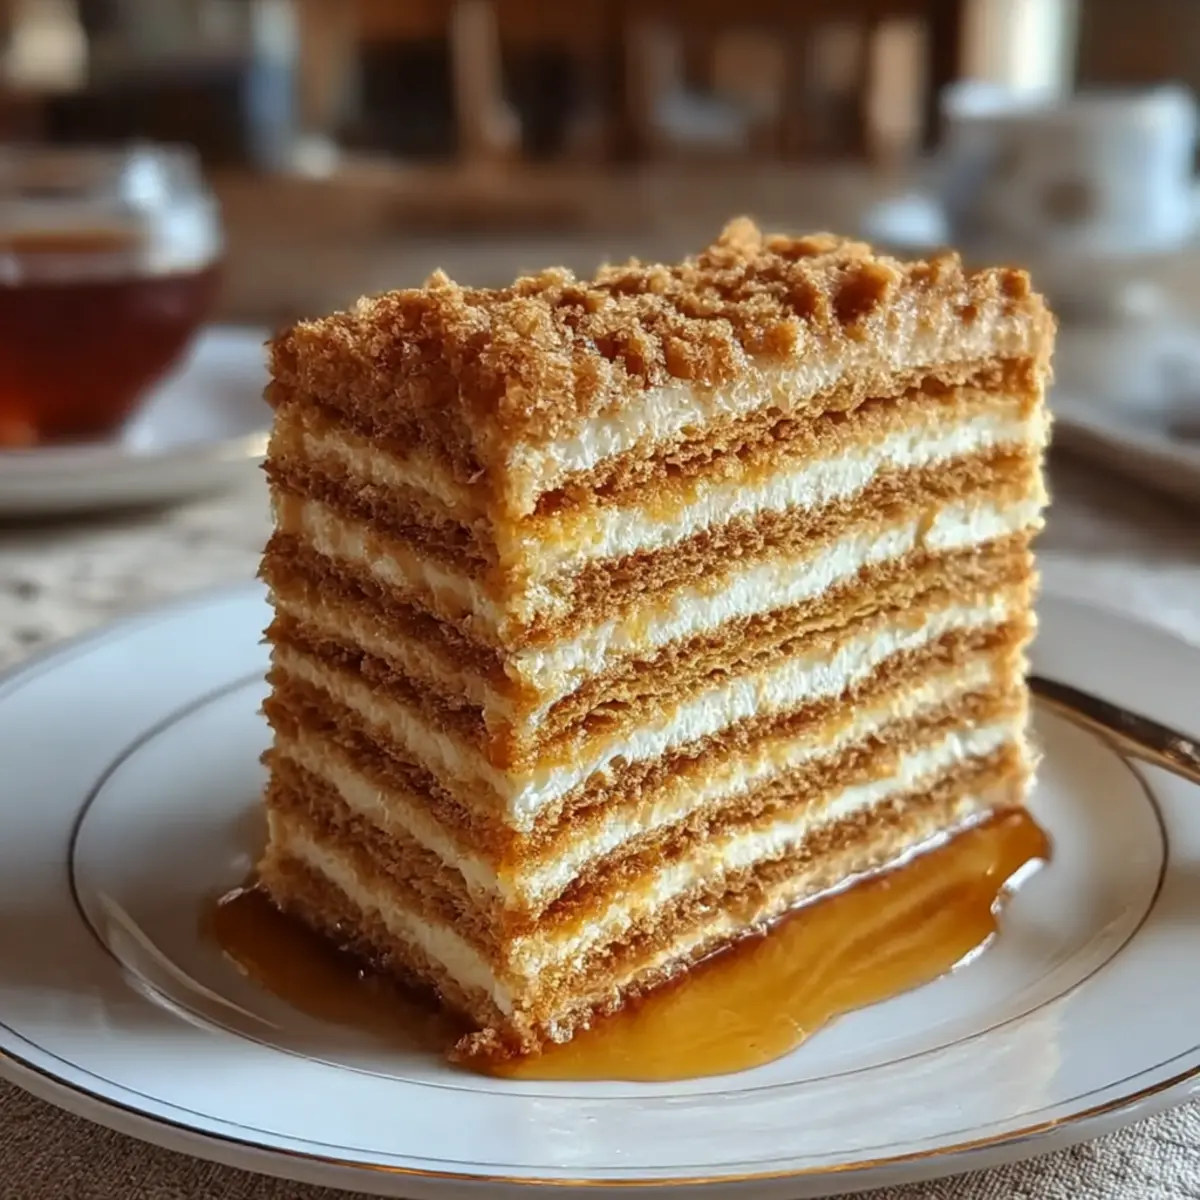
As I stood in my kitchen, the warm, golden aroma of honey filled the air, transporting me back to my grandmother’s cozy home where every holiday was celebrated with her Traditional Medovik Honey Layer Cake. This delightful treat is a classic Eastern European dessert, charmingly known for its heavenly layers of honey-infused cake and a luxuriously creamy filling. Not only is this cake a true showstopper for gatherings and celebrations, but it’s also surprisingly simple to make, turning any ordinary day into a special occasion. With its balance of sweetness and slight tang, you’ll find each bite evoking memories of love and family. Are you ready to create a cake that will impress your loved ones and fill your home with warmth? Let’s dive into this sumptuous recipe!
Why is Medovik Cake So Special?
Layers of Love: The Traditional Medovik Honey Layer Cake is not just a dessert; it’s a heartfelt celebration of family and tradition.
Sweet Harmony: The perfect balance of honey and cream creates a rich flavor that’s simply irresistible—ideal for impressing guests!
Delightfully Simple: With straightforward instructions, even novice bakers can create a stunning masterpiece without any fuss, making it accessible for everyone.
Versatile Serving: Pair it with Coconut Cream Pancakes or serve it alongside your favorite tea.
Cultural Richness: This cake carries the essence of Eastern European heritage, inviting everyone to share in stories and memories.
A Taste of Home: Every slice brings a swirl of nostalgia, making it the perfect centerpiece for any gathering or cozy night in.
Traditional Medovik Honey Layer Cake Ingredients
For the Cake Layers
• All-Purpose Flour – Provides structure; use whole wheat flour for a denser cake.
• Sugar – Offers sweetness and aids in browning; brown sugar will add a richer flavor if desired.
• Honey – Adds natural sweetness and a distinctive flavor; high-quality honey is recommended for the best taste.
• Baking Soda – Acts as a leavening agent to create a light texture.
• Eggs – Binds ingredients together and contributes moisture; fresh eggs yield the best results.
• Vanilla Extract – Enhances flavor and adds warmth; use pure vanilla extract for a more intense taste.
• Salt – Balances sweetness and enhances flavor.
For the Cream Filling
• Sour Cream – Provides creaminess and a slight tang; Greek yogurt can be used for a lighter option.
• Heavy Cream – Creates a rich, fluffy cream filling; for a lighter version, use whipped coconut cream.
• Powdered Sugar – Sweetens the cream filling without graininess; a sugar alternative can be used if desired.
Each ingredient in this Traditional Medovik Honey Layer Cake contributes to the cake’s rich, heartfelt flavor, making it a delightful treat for any occasion!
Step‑by‑Step Instructions for Traditional Medovik Honey Layer Cake
Step 1: Prepare Honey Mixture
In a medium saucepan, combine the honey, sugar, and eggs. Heat the mixture over low to medium heat, stirring continuously for about 5 minutes until the sugar has fully dissolved and the mixture is smooth and glossy. This honey-infused base will be the heart of your Traditional Medovik Honey Layer Cake.
Step 2: Add Baking Soda
Once the honey mixture is well combined, stir in the baking soda. Continue stirring for another 3 minutes until the mixture becomes frothy and increases in volume. Remove the saucepan from the heat and allow it to cool slightly before proceeding. This step aerates the mixture, ensuring your cake layers are light and fluffy.
Step 3: Form Dough
Gradually mix in the all-purpose flour and salt, stirring until a soft dough forms. Turn the dough out onto a lightly floured surface and divide it into 6 equal portions. Wrap each portion in plastic wrap and chill them in the refrigerator for about 30 minutes. Chilling the dough firms it up, making it easier to roll out for your cake layers.
Step 4: Roll and Bake Layers
Preheat your oven to 350°F (175°C). Take one chilled dough portion and roll it out on a floured surface until it’s about 1/8 inch thick. Use a sharp knife to trim the edges into a circle. Bake the layer for 5-7 minutes, or until it is just golden brown. Repeat this process with the remaining dough portions and let all layers cool completely.
Step 5: Create Cream Filling
In a large mixing bowl, whip the heavy cream until soft peaks form. In a separate bowl, combine sour cream, powdered sugar, and vanilla extract, mixing until smooth. Gently fold the whipped heavy cream into the sour cream mixture until well blended. This rich cream will add a luscious texture to your Traditional Medovik Honey Layer Cake.
Step 6: Assemble Cake
Start layering your cooled cake circles on a serving platter. Spread a generous layer of cream filling between each cake layer, making sure to reserve some for the top and sides. Continue until all layers are stacked, then chill the assembled cake in the refrigerator for at least 4 hours, preferably overnight. This allows the flavors to meld beautifully.
Step 7: Finish
Once chilled, spread the reserved cream filling over the top and sides of the cake for a smooth finish. If desired, you can garnish with crushed nuts or a drizzle of honey for an extra special touch. Your Traditional Medovik Honey Layer Cake is now ready to wow your guests and create sweet memories!
Storage Tips for Traditional Medovik Honey Layer Cake
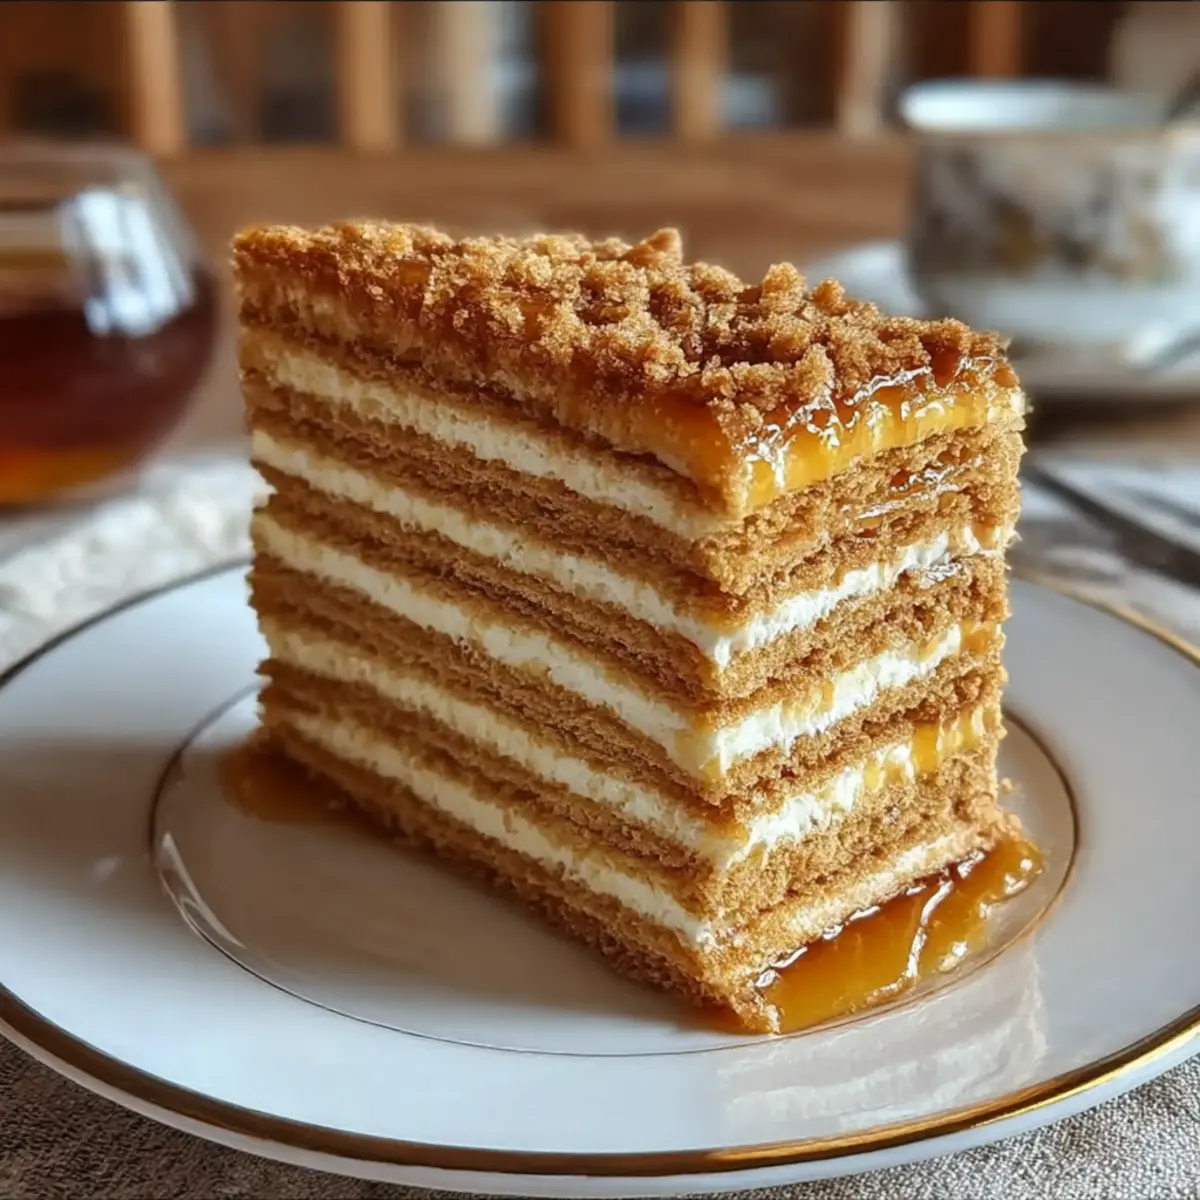
Fridge: Store leftover cake in an airtight container for up to 5 days. The cream filling remains fresh and delicious, allowing you to enjoy a slice whenever the craving strikes.
Freezer: For longer storage, wrap the cake tightly in plastic wrap and foil, then freeze for up to 3 months. Be sure to thaw it overnight in the refrigerator before serving to maintain its texture and flavor.
Reheating: If you’d like to enjoy the layers slightly warm, heat individual slices in the microwave for 10-15 seconds. This will bring back some of that freshly baked goodness!
Wrap it Well: Always ensure the cake is well-wrapped to prevent freezer burn, allowing you to savor the delightful flavors of your Traditional Medovik Honey Layer Cake whenever you want.
What to Serve with Traditional Medovik Honey Layer Cake
A delightful dessert experience awaits as you explore the perfect pairings to enhance your Traditional Medovik Honey Layer Cake.
-
Steaming Tea: A warm cup of Earl Grey or chamomile tea provides a soothing, fragrant backdrop that beautifully complements the cake’s sweetness.
-
Fresh Berries: Juicy strawberries or raspberries add a refreshing burst of flavor, enhancing the cake’s rich honey layers while offering a delightful contrast in textures.
-
Vanilla Ice Cream: A scoop of creamy vanilla ice cream melts deliciously against the cake, adding a luscious and indulgent touch that elevates each bite.
-
Coffee or Espresso: The bold flavors of freshly brewed coffee or a shot of espresso balance the sweetness of the cake, making for an invigorating pairing.
-
Whipped Cream: Adding a light dollop of whipped cream on the side creates a cloud-like experience that heightens the cake’s delightful cream layers.
-
Chocolate Ganache Drizzle: A rich chocolate ganache can take the dessert to the next level, adding depth and a luxurious finish to your cake presentation.
Consider mixing and matching these complementary flavors to create a truly memorable dessert experience that gathers friends and family around for sweet moments.
Expert Tips for Traditional Medovik Honey Layer Cake
-
Consistent Thickness: Ensure even thickness when rolling out the dough for uniform baking, which prevents some layers from overcooking while others remain underdone.
-
Chill for Flavor: Allow your cake to chill overnight—this helps the layers meld beautifully, enhancing the overall flavor of the Traditional Medovik Honey Layer Cake.
-
Whip Cream Properly: Beat the heavy cream to soft peaks rather than stiff; this keeps the cream filling light and fluffy, making each bite of cake heavenly.
-
Sharp Knife: Use a serrated knife to slice the cake for clean edges and a stunning presentation, avoiding messy cuts that could ruin the beauty of your masterpiece.
-
Quality Honey: Opt for high-quality honey, as it significantly enhances the flavor of the cake, giving it that authentic and delightful taste typical of a Traditional Medovik Honey Layer Cake.
Make Ahead Options
Busy home cooks will love how easy it is to prepare the Traditional Medovik Honey Layer Cake ahead of time! You can make the cake layers up to 3 days in advance. Simply bake and cool each layer, then store them in an airtight container at room temperature, which helps retain their moisture and texture. The cream filling can be whipped and refrigerated up to 24 hours before assembly to save you time on the day of serving. When you’re ready to enjoy your cake, simply layer the cooled cake circles with the prepared cream filling, chill for at least 4 hours (or preferably overnight) to let the flavors meld, and then spread the remaining cream on top before serving. This way, you’ll have a wonderfully delicious cake that tastes just as delightful as if made fresh that day!
Traditional Medovik Honey Layer Cake Variations
Feel free to sprinkle your creativity into this delightful recipe and make it your own!
-
Dairy-Free: Substitute sour cream with coconut yogurt and heavy cream with whipped coconut cream for a dairy-free delight.
It’s incredibly creamy and serves as a perfect base for that honey goodness! -
Gluten-Free: Replace all-purpose flour with a gluten-free flour blend to enjoy this cake without the gluten.
You’ll still achieve that delightful texture and taste, just without the gluten! -
Flavorful Twist: Add a splash of almond extract or citrus zest for a unique flavor twist.
This small change can elevate the whole cake, bringing freshness and surprise! -
Nutty Variation: Incorporate crushed nuts, like walnuts or hazelnuts, into the cream filling for added texture and flavor.
The crunch contrasts beautifully with the smooth cream, enhancing every bite. -
Layered with Fruit: Alternate cake layers with fresh fruit like raspberries or strawberries for a pop of color and added sweetness.
Not only does it look stunning, but it also adds a fresh zing to each slice! -
Chocolate Overload: Mix cocoa powder into the cream filling for a delicious chocolate twist.
It transforms your Traditional Medovik into a heavenly chocolate hazelnut treat that’s simply irresistible! -
Indulgent Ice Cream Addition: Serve slices of the cake topped with a scoop of vanilla ice cream for that ultimate dessert experience.
The combination of cold and warmth creates a delightful contrast you’re sure to love.
Explore these variations to create your perfect Traditional Medovik Honey Layer Cake! Looking for more delicious inspirations? Try pairing it with Coconut Cream Pancakes or serving it with a cup of your favorite tea. You could even enjoy it with a drizzle of Crunchy Hot Honey to add a touch of flavor magic!
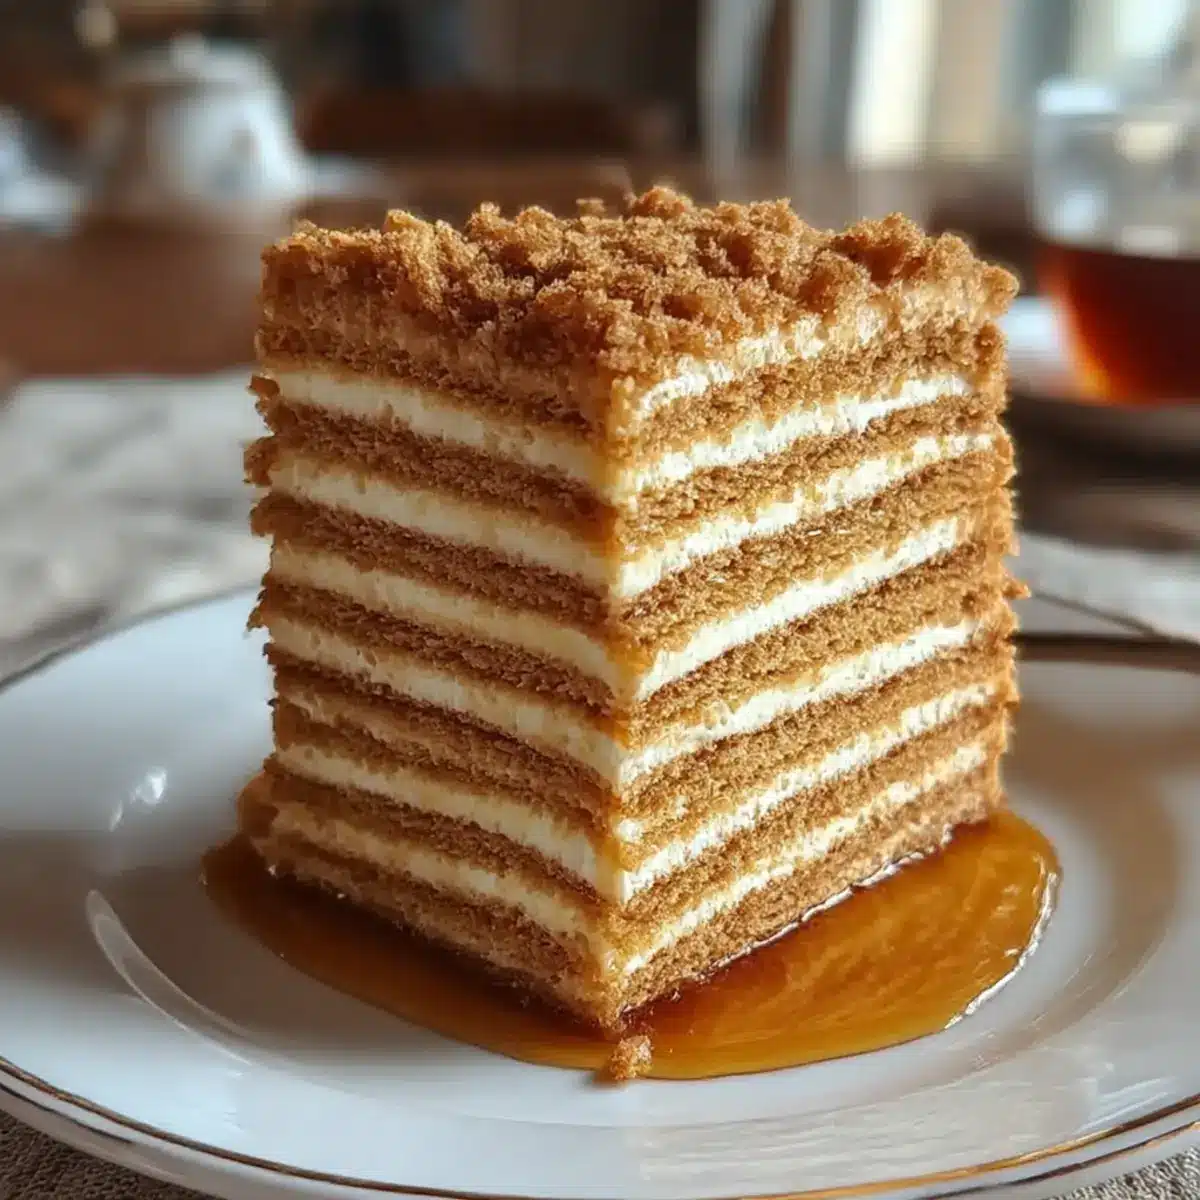
Traditional Medovik Honey Layer Cake Recipe FAQs
What type of honey should I use?
I recommend using high-quality honey for the best flavor in your Traditional Medovik Honey Layer Cake. Opt for pure, natural honey without any additives or artificial flavors. Wildflower or clover honey are excellent choices that will complement the cake’s sweetness beautifully.
How should I store leftovers?
To keep your leftover cake fresh, store it in an airtight container in the refrigerator for up to 5 days. The cream filling will retain its delicious flavor and texture, allowing you to enjoy a slice any time you crave something sweet!
Can I freeze the Traditional Medovik Honey Layer Cake?
Absolutely! For longer storage, wrap the entire cake tightly in plastic wrap and then in aluminum foil to prevent freezer burn. It can be frozen for up to 3 months. When you’re ready to enjoy it, thaw it slowly in the refrigerator overnight, ensuring that it retains its flavor and texture.
What if my cake layers are uneven?
If you find that some layers of your cake have baked unevenly, don’t worry! You can use a serrated knife to trim the edges of the layers for a more uniform look. This will also help your cake assemble more neatly. Additionally, always ensure that your dough is rolled out evenly to avoid this issue.
Is this cake suitable for people with allergies?
The Traditional Medovik Honey Layer Cake contains eggs, dairy, and gluten, so it may not be suitable for those with allergies to these ingredients. However, you can make substitutions such as using egg replacers or dairy-free whipped cream. Always check ingredient labels to ensure safety for anyone with allergies or dietary restrictions.
How long should I chill the assembled cake?
Chilling the cake for at least 4 hours is essential, but I highly recommend chilling it overnight for optimal flavor. This resting time allows the layers to meld beautifully and enhances the overall taste of the Traditional Medovik Honey Layer Cake, making each bite even more delightful!
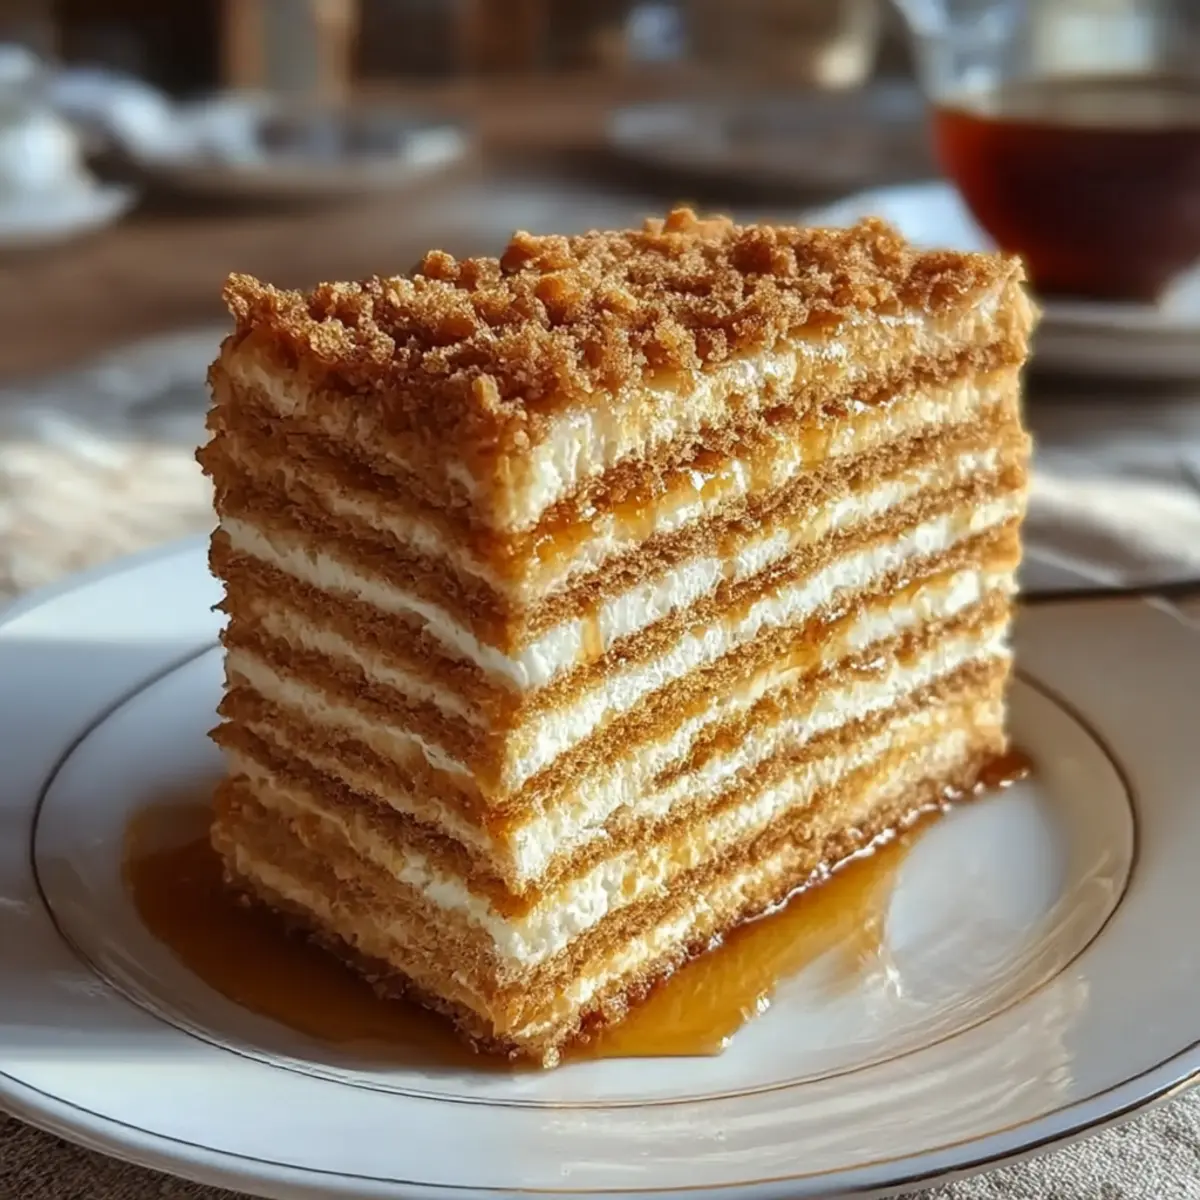
Deliciously Layered Traditional Medovik Honey Cake Bliss
Ingredients
Equipment
Method
- In a medium saucepan, combine the honey, sugar, and eggs. Heat over low to medium heat, stirring continuously for about 5 minutes until smooth and glossy.
- Stir in the baking soda and continue stirring for another 3 minutes until frothy and increased in volume. Remove from heat and cool slightly.
- Mix in the all-purpose flour and salt until a soft dough forms. Divide into 6 equal portions, wrap in plastic wrap, and chill for about 30 minutes.
- Preheat oven to 350°F (175°C). Roll out one dough portion to about 1/8 inch thick, trim into a circle, and bake for 5-7 minutes until just golden brown.
- Whip the heavy cream until soft peaks form in a mixing bowl. In another bowl, mix sour cream, powdered sugar, and vanilla extract until smooth. Fold whipped cream into sour cream mixture.
- Layer cooled cake circles on a serving platter, spreading cream filling between each layer. Chill assembled cake in the refrigerator for at least 4 hours.
- Spread reserved cream filling over the top and sides of the cake. Optionally garnish with crushed nuts or a drizzle of honey.
Leave a Reply