
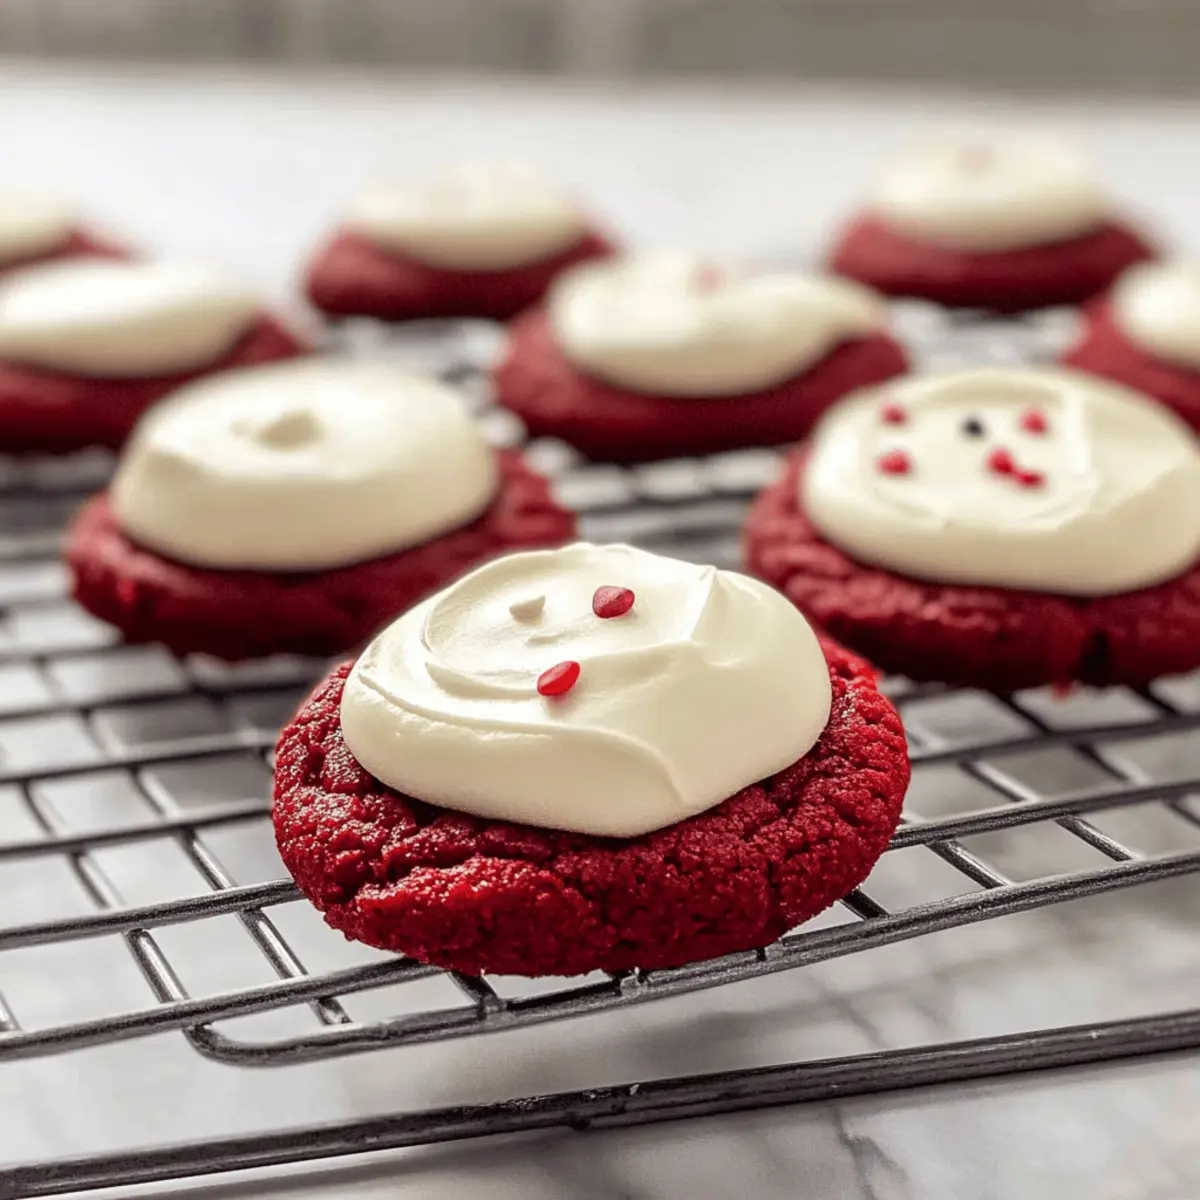
As I stood in the kitchen, the aroma of rich cocoa wafted through the air, instantly transporting me back to my favorite bakery. It’s amazing how the simple act of baking these Chewy Red Velvet Cookies with Cream Cheese Frosting can conjure such warm memories. You won’t need to chill the dough or navigate any complicated steps; these cookies are made from scratch and are perfect for anyone looking to trade fast food for something truly delightful. Not only are they quick to prepare, but their vibrant red color and creamy frosting make them an irresistible crowd-pleaser for any occasion. Are you ready to dive into a baking adventure that will sweeten your day?

Why Are These Cookies So Irresistible?
Deliciously Easy: With no chilling required, you can whip up these cookies in no time. Crowd-Pleaser: Their stunning red hue and creamy frosting elevate any occasion, making them perfect for parties and family gatherings. Scratch-Made Goodness: This recipe uses simple ingredients for a homemade taste that beats any store-bought option. Pair them with a glass of milk or coffee for an unforgettable treat! For more delightful baking ideas, check out my recipe for Cheese Bread Cozy and try these classic Chocolate Chip Cookies.
Red Velvet Cookies Ingredients
• No chilling needed for this delightful treat!
For the Cookies
- All-Purpose Flour – Provides structure and base for the cookies; be sure to measure accurately for best results.
- Unsweetened Cocoa Powder – Adds a hint of chocolate flavor; feel free to substitute with Dutch-processed cocoa for a deeper taste.
- Baking Soda – Acts as a leavening agent to puff up your cookies while baking.
- Salt – Balances flavors and enhances sweetness; don’t skip this essential ingredient!
- Unsalted Butter – Brings richness and moisture; use softened butter for smooth mixing.
- Granulated Sugar – Sweetens the cookies and contributes to their chewy texture.
- Egg – Binds the dough and adds moisture for that lovely chewy bite.
- Vanilla Extract – Deepens the flavors; replace with almond extract for a new twist.
- Red Food Coloring – Gives those cookies their signature stunning red hue; use gel coloring for vibrant results.
For the Frosting
- Full Fat Cream Cheese – Essential for a rich and creamy frosting; block cream cheese is best to achieve the right consistency.
- Powdered Sugar – Sweetens and thickens the frosting for a smooth, luscious texture.
- Additional Unsalted Butter – Adds extra creaminess to your frosting, enhancing overall flavor.
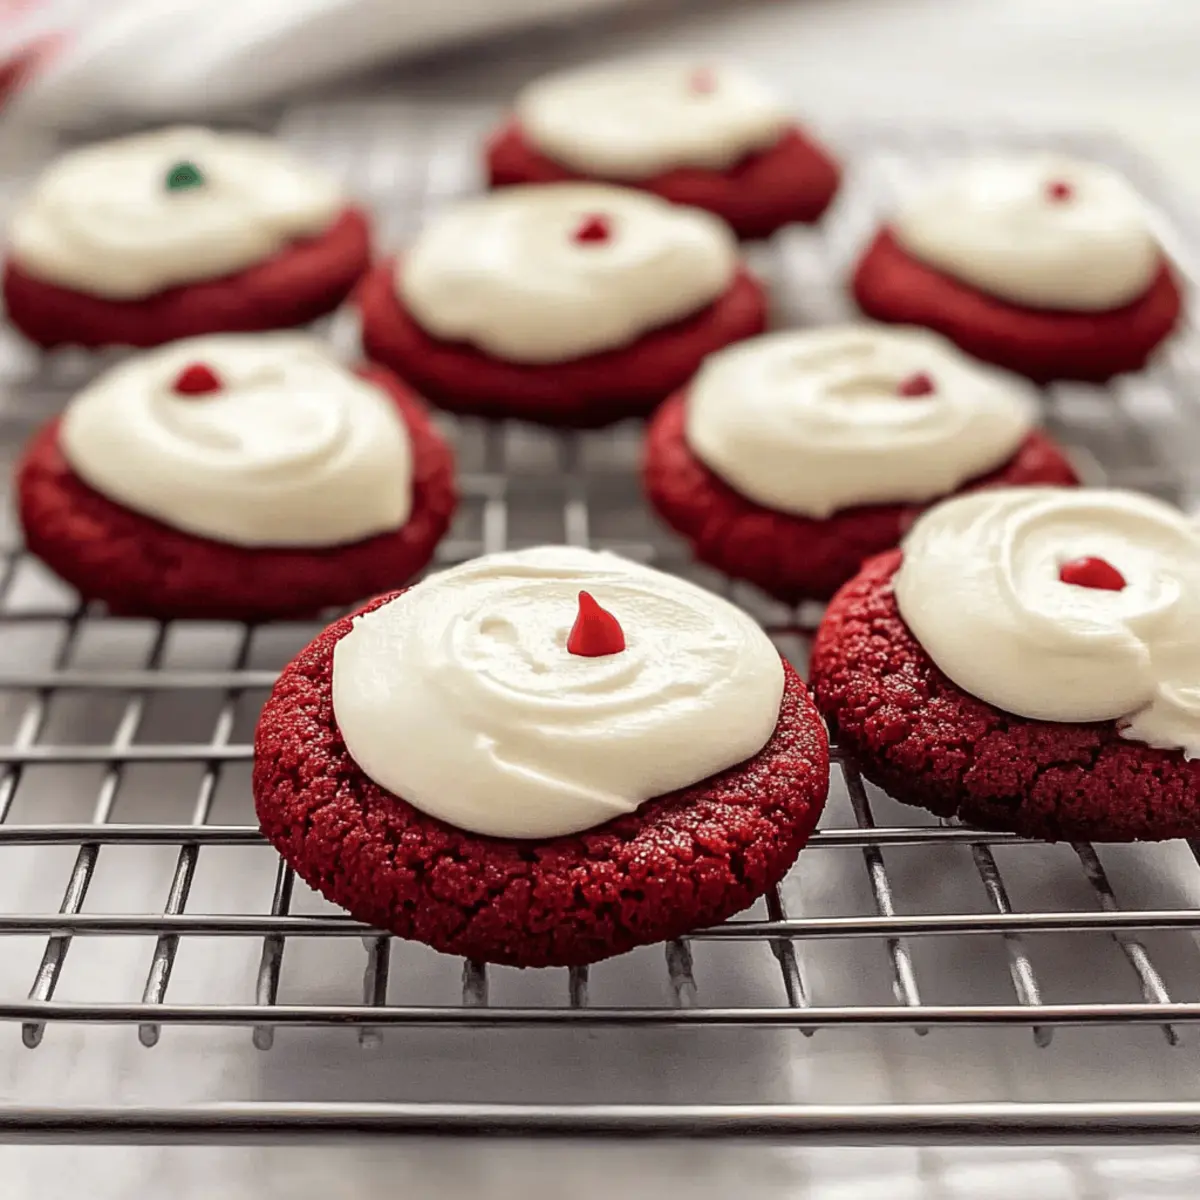
These Red Velvet Cookies with Cream Cheese Frosting are sure to be a hit at your next gathering!
Step‑by‑Step Instructions for Chewy Red Velvet Cookies with Cream Cheese Frosting
Step 1: Preheat the Oven
Begin by preheating your oven to 350°F (177°C). While the oven warms, take a moment to line two baking sheets with parchment paper, ensuring a non-stick surface for your cookies. This initial setup is essential to help your Chewy Red Velvet Cookies bake evenly and achieve that perfect chewy texture.
Step 2: Mix Dry Ingredients
In a medium bowl, whisk together the all-purpose flour, unsweetened cocoa powder, baking soda, and salt until well combined. This dry mixture provides structure to your cookies and adds a delightful chocolatey depth. Once thoroughly blended, set the bowl aside, letting the aroma of cocoa fill your kitchen with anticipation.
Step 3: Cream Butter and Sugar
In a large mixing bowl, beat the softened unsalted butter with the granulated sugar using an electric mixer on medium speed. Continue mixing for about 2-3 minutes, or until the mixture looks light and fluffy. Then, add the egg, vanilla extract, and red food coloring, blending until everything is fully incorporated. This will give your Chewy Red Velvet Cookies their characteristic vibrant hue.
Step 4: Combine Dry and Wet Ingredients
Gradually add the flour mixture to the butter mixture, mixing gently with a spatula until just combined. Be careful not to over-mix as this can lead to tougher cookies. The dough should come together beautifully with a rich red color, showcasing the signature look of your Chewy Red Velvet Cookies.
Step 5: Scoop and Flatten Dough
Using a medium cookie scoop, portion out the dough onto the prepared baking sheets, spacing them about 2 inches apart. Gently flatten each mounded scoop with the back of a spoon or your hand to ensure even baking. This step helps your cookies spread perfectly while keeping the thick, chewy center that makes them so delightful.
Step 6: Bake
Place the baking sheets in the preheated oven and bake the cookies for 10-11 minutes. You’ll know they are ready when they are slightly puffed and the edges look set but the centers are still soft. Once done, allow the cookies to cool on the baking sheet for a few minutes before transferring them to a wire rack to cool completely.
Step 7: Prepare Frosting
While the cookies cool, it’s time to make the luscious cream cheese frosting. In a mixing bowl, beat the full-fat cream cheese and additional unsalted butter on medium speed until the mixture is smooth and creamy. Gradually add the powdered sugar, followed by vanilla extract and a pinch of salt; mix until everything is combined and fluffy.
Step 8: Frost Cookies
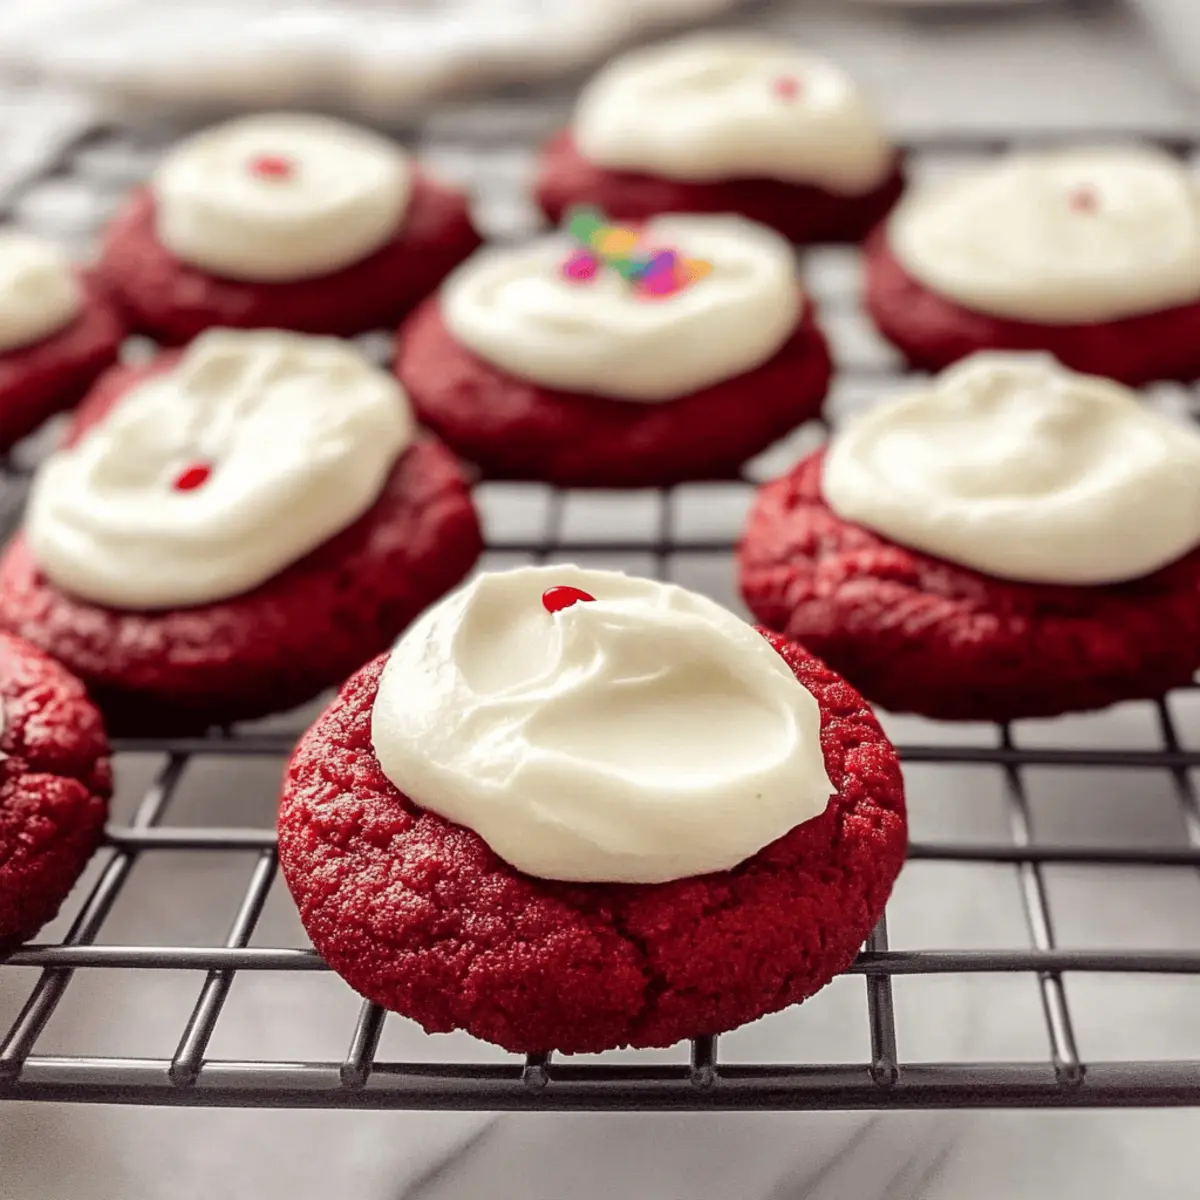
Once the cookies are completely cooled, spread a generous layer of the cream cheese frosting on top of each cookie using an offset spatula. The frosting should glide on smoothly, creating a beautiful creamy contrast to the rich red of the cookies.
Step 9: Decorate (optional)
For an extra touch of fun, sprinkle some colorful decorations on top of the cream cheese frosting while it’s still wet. This step adds a festive flair to your Chewy Red Velvet Cookies, making them even more inviting for your family and friends.
Expert Tips for Red Velvet Cookies
- Cool Completely: Allow cookies to cool entirely before frosting. This prevents the cream cheese frosting from melting into a gooey mess.
- Measure Carefully: Use a kitchen scale or proper measuring cups to ensure accurate ingredient quantities for perfect red velvet cookies every time.
- Avoid Over-Mixing: Be gentle when combining wet and dry ingredients; over-mixing can lead to tougher cookies instead of a soft, chewy texture.
- Check Oven Temperature: Make sure your oven is preheated correctly; an inaccurate temperature can affect the baking time and texture of your cookies.
- Uniform Sizes: Utilize a cookie scoop for evenly sized dough portions, ensuring consistent baking and that all your red velvet cookies come out just right.
What to Serve with Chewy Frosted Red Velvet Cookies?
Indulging in these delightful cookies calls for the perfect pairings that will create a memorable meal or treat experience.
-
Creamy Vanilla Ice Cream: The cool, velvety ice cream complements the warm cookie while enhancing its rich flavors.
-
Fresh Berries: Juicy strawberries or raspberries add a fresh pop of acidity and brightness, balancing the sweetness of the cookies beautifully.
-
Rich Hot Chocolate: Sip on a rich cup of hot chocolate to enhance the cozy, nostalgic pleasure of the red velvet cookies.
-
Classic Milk: A glass of cold milk is a traditional pairing that’s timeless, adding a comforting element that everyone loves.
-
Coffee: A bold coffee brings out the cocoa notes, making each cookie bite even more delightful with a splash of caffeine.
-
Chocolate Ganache: Drizzling homemade chocolate ganache over the cookies adds an extra layer of indulgence that any chocolate lover would adore.
These pairings will elevate your dessert experience and make every bite of your Chewy Frosted Red Velvet Cookies even more special!
How to Store and Freeze Red Velvet Cookies
Room Temperature: Store your cookies at room temperature in an airtight container for up to 5 days to maintain freshness.
Fridge: If you prefer, you can keep your frosted cookies in the refrigerator for about a week. Just make sure they are well sealed to avoid drying out.
Freezer: For longer storage, freeze your cookies in a single layer on a baking sheet before transferring them to an airtight container. They can last up to 3 months.
Reheating: To enjoy your frozen red velvet cookies, thaw them at room temperature for a few hours. Reheat in the microwave for 10-15 seconds if you prefer them warm!
Make Ahead Options
These Chewy Red Velvet Cookies with Cream Cheese Frosting are ideal for meal prep, allowing you to enjoy fresh-baked delights with minimal effort! You can prepare the cookie dough up to 24 hours in advance; simply cover and refrigerate it in an airtight container. For an even longer option, the cookies can be baked and frozen for up to 3 months—just ensure they are completely cooled before placing them in a freezer-safe bag. When you’re ready to serve, simply frost them after thawing at room temperature. These steps will keep your cookies just as delicious and tender as if made fresh!
Red Velvet Cookies with Cream Cheese Frosting Variations
Feel free to get creative with these cookies to make them perfectly tailored to your taste!
-
Chocolatey Bliss: Add a handful of chocolate chips to the dough. This twist will introduce bursts of melty chocolate that complement the red velvet beautifully.
-
Almond Extract Twist: Substitute vanilla extract with almond extract for a nutty flavor. The warm undertones will add a delightful surprise to each bite.
-
Beet Juice Boost: For a natural coloring method, use beet juice instead of red food coloring. Not only will you maintain the vibrant hue, but you’ll also add a hint of earthy flavor!
-
Dairy-Free Option: Swap the butter and cream cheese for vegan alternatives, making it friendly for dairy-sensitive friends. Your frosted cookies will be just as delicious with this change.
-
Texture Variance: For a crispier cookie, bake them a minute or two longer. This slight adjustment will give you that perfect crunch, offsetting the chewy center.
-
Nutty Addition: Fold in some chopped nuts, like pecans or walnuts, into the dough. They’ll not only add texture but also an extra layer of flavor that enhances the red velvet experience.
-
Marshmallow Frosting: Instead of cream cheese frosting, try topping your cookies with a light and fluffy marshmallow frosting for a fun change. The sweetness of marshmallows beautifully contrasts the richness of red velvet!
-
Spiced Elegance: Add a pinch of cinnamon or nutmeg to the dough for a warm, spiced flavor. This simple adjustment elevates the cookies, making each bite comforting and enticing.
Your next baking adventure awaits! For more exciting ideas, don’t forget to check out my delightful Sweet Coconut Cream Pancakes and those crispy, flavorful Baked Broccoli Cheese Balls. Happy baking!
Frosted Red Velvet Cookies Recipe FAQs
How do I choose ripe ingredients for this recipe?
Absolutely! Make sure your unsalted butter is softened to room temperature before starting. This not only helps in blending but also ensures that your Chewy Red Velvet Cookies achieve that delightful chewy texture. For the best frosting, using block cream cheese is ideal, as it provides a richer flavor compared to spreadable varieties.
How should I store my baked cookies?
You can store your cookies at room temperature in an airtight container for up to 5 days. If you want to keep them fresher for longer, it’s a good idea to refrigerate the frosted cookies for about a week. Just ensure they’re well sealed to maintain that delicious creaminess!
Can I freeze frosted red velvet cookies?
Certainly! To freeze your cookies, first lay them out on a baking sheet in a single layer and place them in the freezer for about 1-2 hours until solid. Then, transfer them to an airtight container or freezer bags. They can be safely frozen for up to 3 months. When ready to enjoy, simply let them thaw at room temperature or pop them in the microwave for a few seconds!
What are some common troubleshooting tips?
Very! If your cookies spread too much while baking, you might have added too much butter or not enough flour. Make sure to measure correctly or try using a kitchen scale for accuracy. Another tip is to avoid over-mixing the dough, as this can lead to cookies that are more cake-like rather than the chewy texture we crave. Keep it gentle, and you’re set!
Are there any dietary considerations?
Absolutely! If you have dietary restrictions, remember that these cookies contain gluten and dairy. For a gluten-free version, you can substitute all-purpose flour with a gluten-free blend. If you’re looking to make them dairy-free, alternatives like coconut cream and dairy-free butter can be used in both the cookies and frosting. Just be sure to check labels for any allergens!
What should I do if I don’t have red food coloring?
If you find yourself without red food coloring, no worries! You can use beet juice as a natural alternative to achieve that stunning red hue. Simply replace the food coloring with an equal amount of beet juice until you reach your desired color. It’s a great way to keep things natural while still enjoying the vibrancy of these Chewy Red Velvet Cookies!
Chewy Red Velvet Cookies with Cream Cheese Frosting Bliss
Ingredients
Equipment
Method
- Preheat your oven to 350°F (177°C) and line two baking sheets with parchment paper.
- In a medium bowl, whisk together the all-purpose flour, cocoa powder, baking soda, and salt.
- In a large mixing bowl, beat the butter and sugar together until light and fluffy. Add the egg, vanilla extract, and red food coloring and mix well.
- Gradually add the flour mixture to the butter mixture and mix gently until just combined.
- Scoop out dough onto prepared baking sheets, spacing 2 inches apart, and gently flatten each scoop.
- Bake for 10-11 minutes until slightly puffed and the edges look set but centers remain soft.
- Allow the cookies to cool for a few minutes on the baking sheet before transferring to a wire rack.
- Beat the cream cheese and butter until smooth. Gradually add powdered sugar and mix until fluffy.
- Spread the cream cheese frosting on cooled cookies using an offset spatula.
- Optionally, sprinkle colorful decorations on top of the frosted cookies while the frosting is wet.
Leave a Reply