
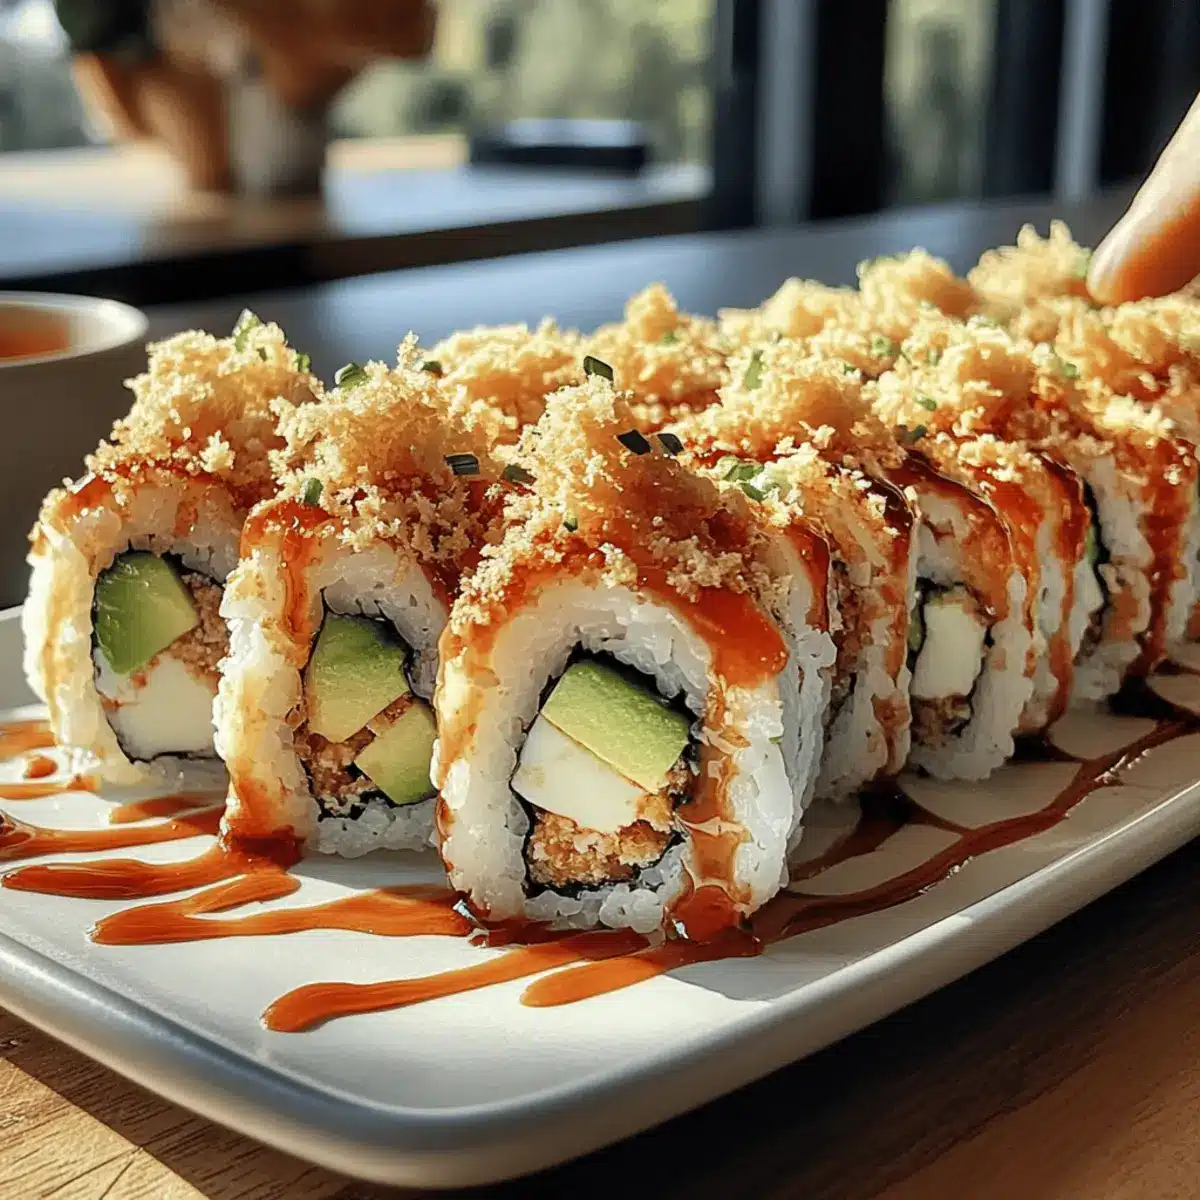
As I stood in my kitchen, the tantalizing scent of seasoned rice wafted through the air, reminding me of my favorite sushi spot. I couldn’t help but think about how easy it is to recreate that experience at home with my homemade California Crunch Roll Sushi. This delightful twist on a classic is not just a feast for the taste buds, but it’s also a visual delight, showcasing the vibrant colors of creamy avocado, crunchy cucumber, and a crispy topping that brings it all together. Whether you’re a novice or a seasoned chef, this customizable recipe offers the perfect blend of flavors and textures while being beginner-friendly. Plus, it’s a fun project you can effortlessly adapt for any dietary preference, from gluten-free to vegan! Ready to roll up something amazing? Let’s dive in!
Why is California Crunch Roll Sushi a Must-Try?
Simplicity of preparation makes this sushi accessible to everyone, even if you’re new to rolling. Customizable options allow you to mix and match ingredients, catering to different tastes or dietary needs. Visual appeal is undeniable; the vibrant colors will impress your guests. Delicious flavor combinations create an unforgettable taste experience, reminiscent of your favorite sushi bar. Serve it alongside refreshing dishes like a Pineapple Cucumber Salad to elevate your meal, or try it with Cherry Cream Cheese Danish for dessert!
California Crunch Roll Sushi Ingredients
• Discover the essential components for making the perfect California Crunch Roll Sushi at home!
For the Sushi Rice
- Sushi Rice – The sticky base that holds everything together; consider using brown sushi rice for a healthier option.
- Water – Essential for hydrating and cooking the rice.
- Rice Vinegar – Adds a delicate tanginess that balances the flavors in the rice.
- Sugar – Helps to offset the acidity of the vinegar, enhancing overall taste.
- Salt – Elevates the flavor profile of the rice.
For the Roll
- Roasted Nori Sheets (sushi-grade) – Acts as the wrap for your sushi; make sure they’re dry and shiny for the best results.
- Imitation Crab (or real crab) – The main filling, offering a touch of sweetness and protein; feel free to swap with marinated tofu for a vegan alternative.
- Avocado – Adds a creamy texture that harmonizes beautifully with the other ingredients.
- Cucumber – Brings a refreshing crunch to each bite.
For the Topping
- Spicy Mayo (mayo + sriracha) – A creamy, spicy drizzle that enhances flavor and adds an exciting kick.
- Eel Sauce – This sweet and savory glaze adds a rich depth of flavor to your roll.
- Toasted Panko Breadcrumbs or French Fried Onions – These add the irresistible crunch that makes the California Crunch Roll special; you can use either or combine for extra texture variety.
Optional Add-ins
- Cream Cheese Strips – Introduce an extra layer of richness and creaminess.
- Thinly Sliced Jalapeño – For those who love a bit of heat in their rolls.
- Teriyaki Glaze – A flavorful addition for a sweet touch!
With these ingredients at hand, you’re all set to create your California Crunch Roll Sushi masterpiece!
Step‑by‑Step Instructions for California Crunch Roll Sushi
Step 1: Prepare the Rice
Begin by rinsing the sushi rice under cold water until the water runs clear, then drain. In a medium saucepan, combine the rinsed rice and water, bringing it to a boil over medium heat. Once boiling, reduce the heat to low, cover, and simmer for 18 minutes. After cooking, remove from heat, and mix the warm rice vinegar, sugar, and salt into the rice gently. Allow the rice to cool to room temperature.
Step 2: Set Up Your Rolling Station
While the rice cools, prepare your rolling station. Lay a bamboo sushi mat on a flat surface and line it with plastic wrap to prevent sticking. Have a bowl of water mixed with rice vinegar nearby—this will help keep your hands moist and the rice from adhering. Gather all your ingredients, including the sushi rice, fillings, and toppings, for a smooth assembly process.
Step 3: Assemble the Roll
Orient the nori sheet shiny side down on the bamboo mat. With wet hands, take a handful of the cooled sushi rice and spread it evenly over two-thirds of the nori, pressing it gently but firmly. Flip the nori over so the rice is facing downward. In the center of the nori, layer your fillings—imitation crab, avocado slices, cucumber strips, and any optional ingredients like cream cheese or jalapeños.
Step 4: Roll the Sushi
Starting from the end closest to you, lift the bamboo mat and roll it away from you, tucking the nori and fillings tightly. Use the mat to help shape the roll, pressing gently as you go. When you reach the exposed edge of the nori, moisten it with water to seal the roll. Ensure that your California Crunch Roll Sushi is tight and uniform in shape.
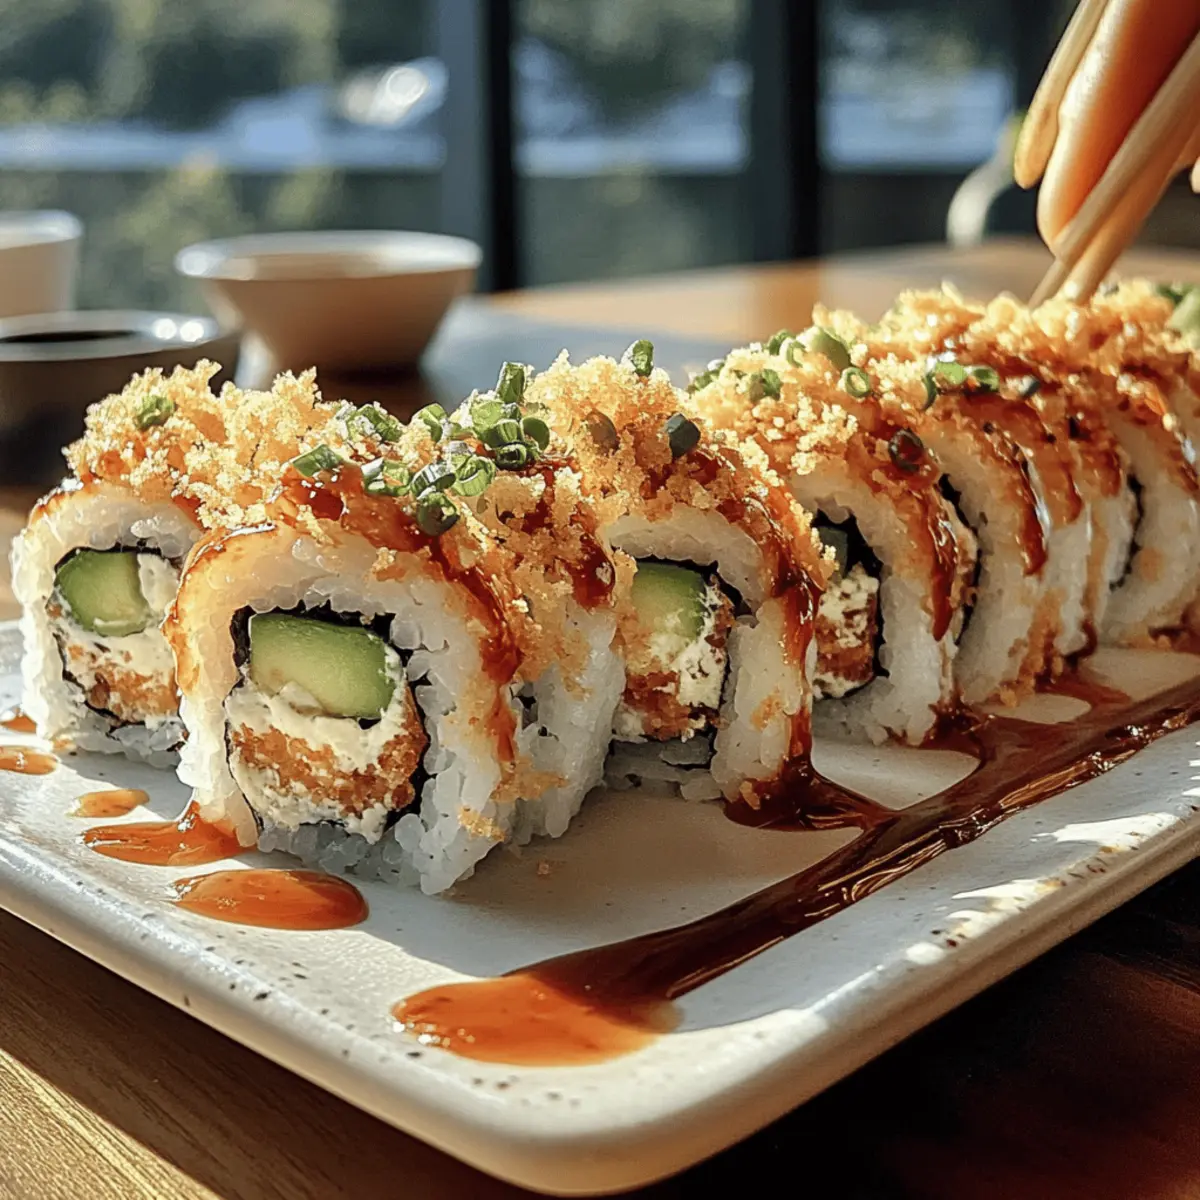
Step 5: Add the Crunch
With the sushi roll sealed, now it’s time to add that signature crunch! Lightly brush the top of the roll with spicy mayo or eel sauce to create a flavorful base. Sprinkle generously with toasted panko breadcrumbs or French fried onions, pressing gently to adhere them. This step enhances your California Crunch Roll Sushi’s texture and brings depth to the flavors.
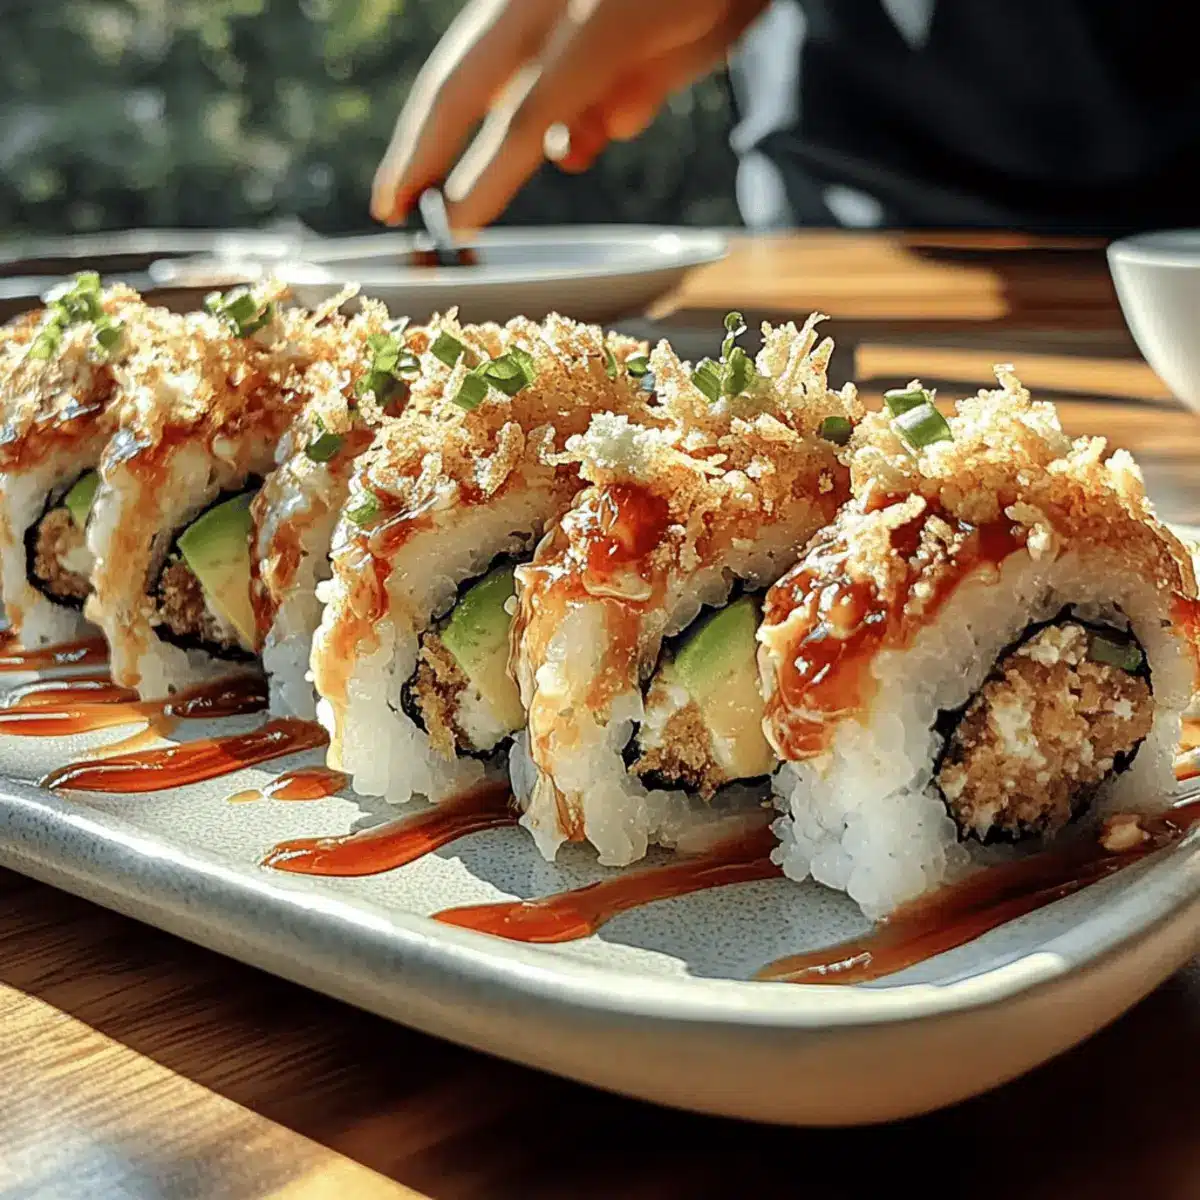
Step 6: Slice and Serve
Using a sharp, damp knife, slice the roll into 8 equal pieces, applying a gentle sawing motion to avoid squashing it. If desired, drizzle extra spicy mayo or eel sauce over the pieces for added flavor. Serve your beautiful California Crunch Roll Sushi alongside soy sauce, pickled ginger, and wasabi to create a delightful and tasty presentation.
Storage Tips for California Crunch Roll Sushi
- Room Temperature: If you’re enjoying your California Crunch Roll Sushi immediately after making, it’s best served fresh and at room temperature. However, avoid leaving it out for more than 2 hours.
- Fridge: Wrap leftovers tightly in plastic wrap and store in the refrigerator for up to 24 hours. This helps to retain moisture and keeps the sushi fresh.
- Freezer: For longer storage, you can freeze the rolls, but be aware that the texture may change. Wrap tightly in plastic wrap and aluminum foil and store for up to 1 month.
- Reheating: If you decide to reheat, allow the frozen sushi to thaw in the fridge overnight, but avoid using a microwave as it can make the rice too hard. Instead, enjoy it cold or at room temperature for the best flavor experience.
Make Ahead Options
These California Crunch Roll Sushi are perfect for meal prep, allowing you to enjoy a fun, homemade sushi night without the last-minute rush! You can prepare the sushi rice and store it in the refrigerator for up to 3 days in an airtight container; this will help maintain its texture. Additionally, you can slice the avocado and cucumber, storing them separately in lemon juice to prevent browning, and these can be prepped 24 hours in advance. When you’re ready to roll, simply assemble the sushi with your prepped ingredients, brush with spicy mayo or eel sauce, add your crunchy topping, and slice as instructed. This method ensures your sushi remains fresh and just as delicious!
California Crunch Roll Sushi Variations
Feel free to let your creativity shine as you customize your California Crunch Roll Sushi with these mouthwatering alternatives!
-
Vegan Option: Substitute imitation crab with marinated tofu or hearts of palm for a delightful plant-based twist. This swap not only adds a savory depth but also keeps the roll light and refreshing.
-
Low-Carb Alternative: Replace standard sushi rice with cauliflower rice for a healthier, low-carb version. This variation allows you to enjoy the same delicious flavors without the carbs!
-
Spicy Kick: Add thinly sliced jalapeño to your fillings for a fiery flavor boost. It brings a zesty heat that complements the creamy avocado beautifully.
-
Creamy Addition: Include cream cheese strips for an irresistible richness. This ingredient enhances the creamy texture while adding another layer of flavor to your sushi.
-
Sweet and Savory: Mixed in teriyaki glaze can elevate the taste of the roll with a sweet note and umami richness. Drizzle generously to bring complexity to every bite.
-
Colorful Crunch: Experiment with thinly sliced bell peppers or purple cabbage for a colorful crunch. These veggies not only offer texture but also make your sushi visually appealing!
-
Gluten-Free: Use gluten-free soy sauce for dipping if you’re avoiding gluten altogether. It provides that familiar umami taste without compromising on flavor.
-
Fruity Flavor: Add slices of mango for a tropical flair to your roll. This sweet addition pairs surprisingly well with the savory elements and adds a fresh taste!
Ready to try these variations? Pair your sushi masterpieces with a tasty Pineapple Cucumber Salad or a delectable dessert like Cherry Cream Cheese Danish for a well-rounded meal!
Expert Tips for California Crunch Roll Sushi
-
Rice Consistency: Ensure your rice is sticky enough. Rinse thoroughly and enjoy the magic of well-cooked, seasoned sushi rice for the best flavor and texture.
-
Avoid Overfilling: Less is more! Overstuffing can lead to bursts during rolling. Aim for a balanced distribution of fillings within your California Crunch Roll Sushi.
-
Sealing the Roll: Moisten the edge of the nori with water to help it seal tightly. This ensures your roll stays intact when slicing and serving.
-
Cutting Technique: Use a sharp, wet knife to slice through the roll. A gentle sawing motion prevents squishing and maintains the beautiful presentation.
-
Fresh Ingredients: Always choose the freshest ingredients you can find. Fresh produce and quality seafood make a world of difference in flavor and overall experience!
-
Experiment with Flavors: Don’t hesitate to try new ingredients! Customizing your California Crunch Roll Sushi with unique add-ins can lead to delightful flavor combinations.
What to Serve with Homemade California Crunch Roll Sushi
Enhance your sushi night with delightful sides and desserts that will complete your meal beautifully.
-
Pineapple Cucumber Salad: A refreshing blend of sweet and tangy flavors. The crispness of cucumber and pineapple brightens every bite of sushi, balancing its richness.
-
Miso Soup: This traditional Japanese soup offers warmth and umami that complements the sushi perfectly. It’s a comforting side that invites a touch of authenticity to your meal.
-
Edamame with Sea Salt: Simple yet satisfying. These lightly salted green soybeans provide a fun, crunchy snack between pieces of sushi while adding a protein boost.
-
Tempura Vegetables: A crispy side that matches the crunchiness of your California Crunch Roll. Serve with a dipping sauce to tie in the flavors beautifully.
-
Cherry Cream Cheese Danish: End your meal on a sweet note. This pastry’s creamy filling and fruity topping contrast beautifully with the umami flavors of your sushi.
-
Sake or Sparkling Water: A glass of chilled sake enhances the sushi experience, offering a smooth complement to the dish. If you prefer non-alcoholic options, sparkling water adds a refreshing fizz that cleanses the palate.
-
Pickled Ginger: Often served alongside sushi, its sweet and tangy flavor cleanses the palate between rolls. A touch of tradition that amplifies your sushi experience.
California Crunch Roll Sushi Recipe FAQs
How do I choose ripe ingredients for my California Crunch Roll Sushi?
Absolutely! For the best flavor, select ripe avocados that yield slightly to gentle pressure. Look for cucumbers that are firm and blemish-free. If using crab, ensure it has a fresh ocean scent. Always choose sushi-grade nori that is dry and shiny for a perfect wrap.
What’s the best way to store leftover California Crunch Roll Sushi?
Very! To retain the freshness, wrap any leftover sushi tightly in plastic wrap and store it in the refrigerator. It’s best eaten within 24 hours for optimal taste and texture. If you need to keep it longer, freeze it in an airtight container for up to 1 month. Just remember to thaw in the fridge for best results before serving.
Can I freeze California Crunch Roll Sushi? If so, how?
Absolutely! To freeze, first place your sushi rolls on a baking sheet and put them in the freezer until firm. Then wrap each roll tightly in plastic wrap and place them in a resealable freezer bag. This method ensures they maintain their shape. When you’re ready to enjoy, transfer the rolls to the fridge to thaw overnight. Avoid reheating as it can compromise the texture.
What should I do if my sushi rolls are falling apart?
Don’t worry! This can happen if the rice isn’t sticky enough, or if you’ve overfilled the rolls. Make sure to rinse your rice thoroughly to achieve the right texture. For a better hold, try using a little more rice next time or pressing down a bit more firmly when rolling. Also, ensure you’re moistening the nori edge before sealing; it makes all the difference!
Are there any dietary considerations I should know about for California Crunch Roll Sushi?
Definitely! For gluten-free options, use gluten-free soy sauce and make sure that your sauces, like spicy mayo, don’t contain any wheat. If you’re vegan, substitute imitation crab with marinated tofu or hearts of palm for flavor. Always check ingredient labels to avoid cross-contamination, especially for those with shellfish allergies.
How long can I keep California Crunch Roll Sushi in the fridge?
Very! While it’s best enjoyed fresh, you can keep it in the refrigerator for up to 24 hours. Be sure to store it wrapped tightly to maintain moisture. After this timeframe, the rice may become hard, and the toppings could lose their freshness, so aim to consume it as soon as possible for the best experience!
California Crunch Roll Sushi: Easy Homemade Delight Awaits
Ingredients
Equipment
Method
- Prepare the Sushi Rice: Rinse the sushi rice under cold water until clear, then drain. In a saucepan, combine rice and water, bring to a boil. Reduce heat, cover, and simmer for 18 minutes. Mix in vinegar, sugar, and salt. Cool rice to room temperature.
- Set Up Your Rolling Station: Lay a bamboo mat covered in plastic wrap on a flat surface. Prepare a bowl of water mixed with rice vinegar to keep hands moist. Arrange all ingredients for easy assembly.
- Assemble the Roll: Place nori sheet shiny side down. Spread cooled sushi rice over two-thirds of nori. Flip nori, layer fillings (crab, avocado, cucumber, and optional ingredients).
- Roll the Sushi: Start from the nearest edge, roll the mat away, tucking fillings tightly. Moisten edge with water to seal the roll. Ensure the roll is tight and uniform in shape.
- Add the Crunch: Brush the top with spicy mayo or eel sauce. Sprinkle with panko breadcrumbs or fried onions, pressing to adhere for added crunch.
- Slice and Serve: Use a sharp, damp knife to slice roll into 8 pieces. Drizzle with extra sauce if desired. Serve with soy sauce, pickled ginger, and wasabi.
Leave a Reply