
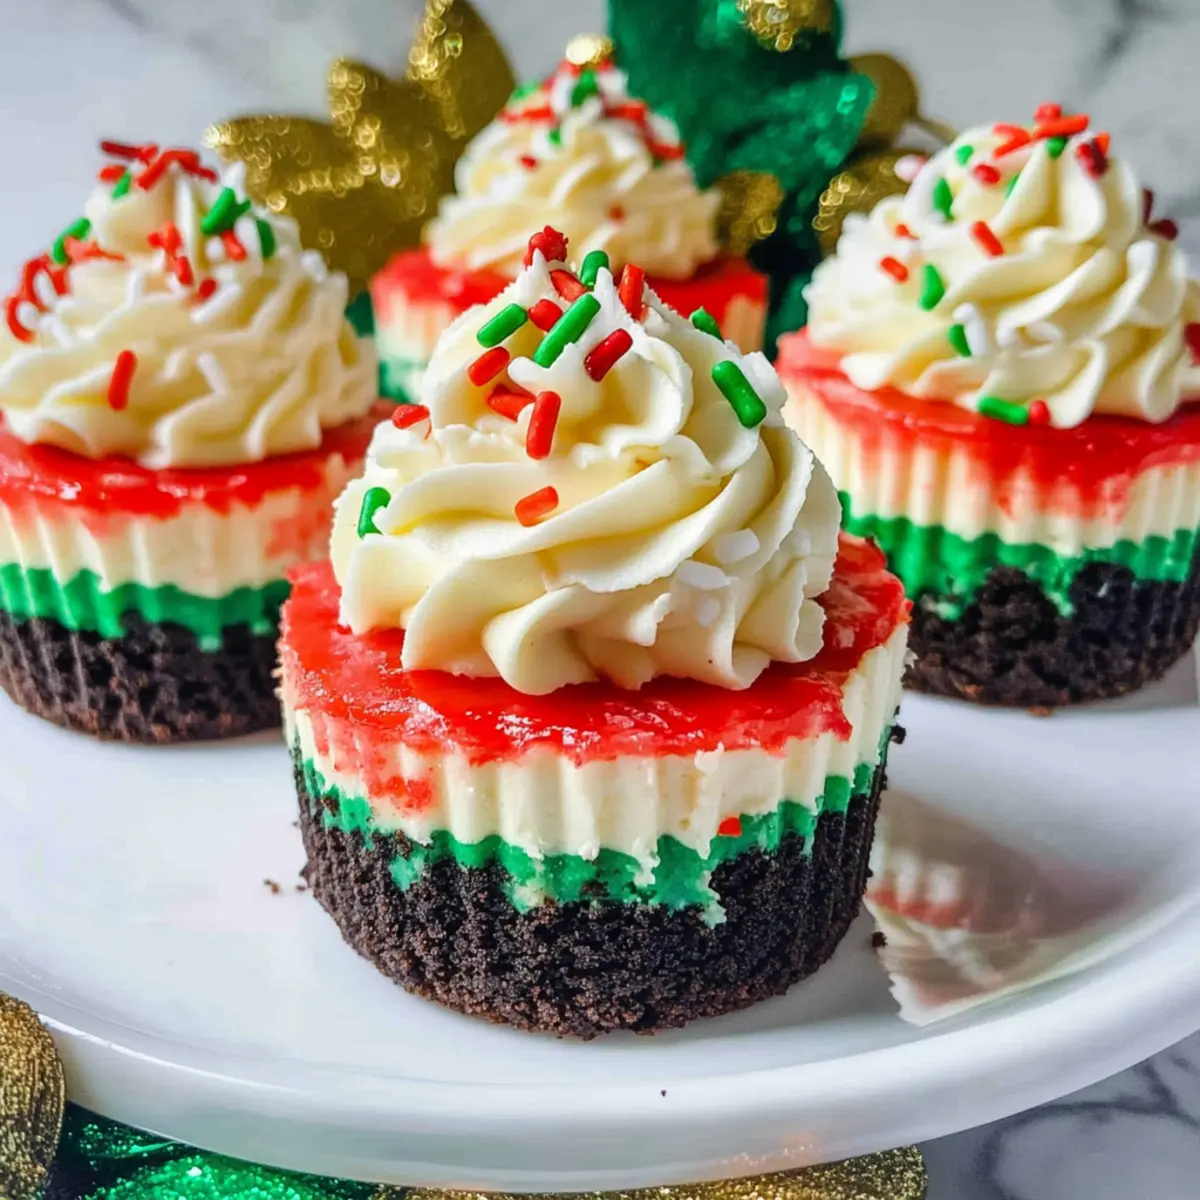
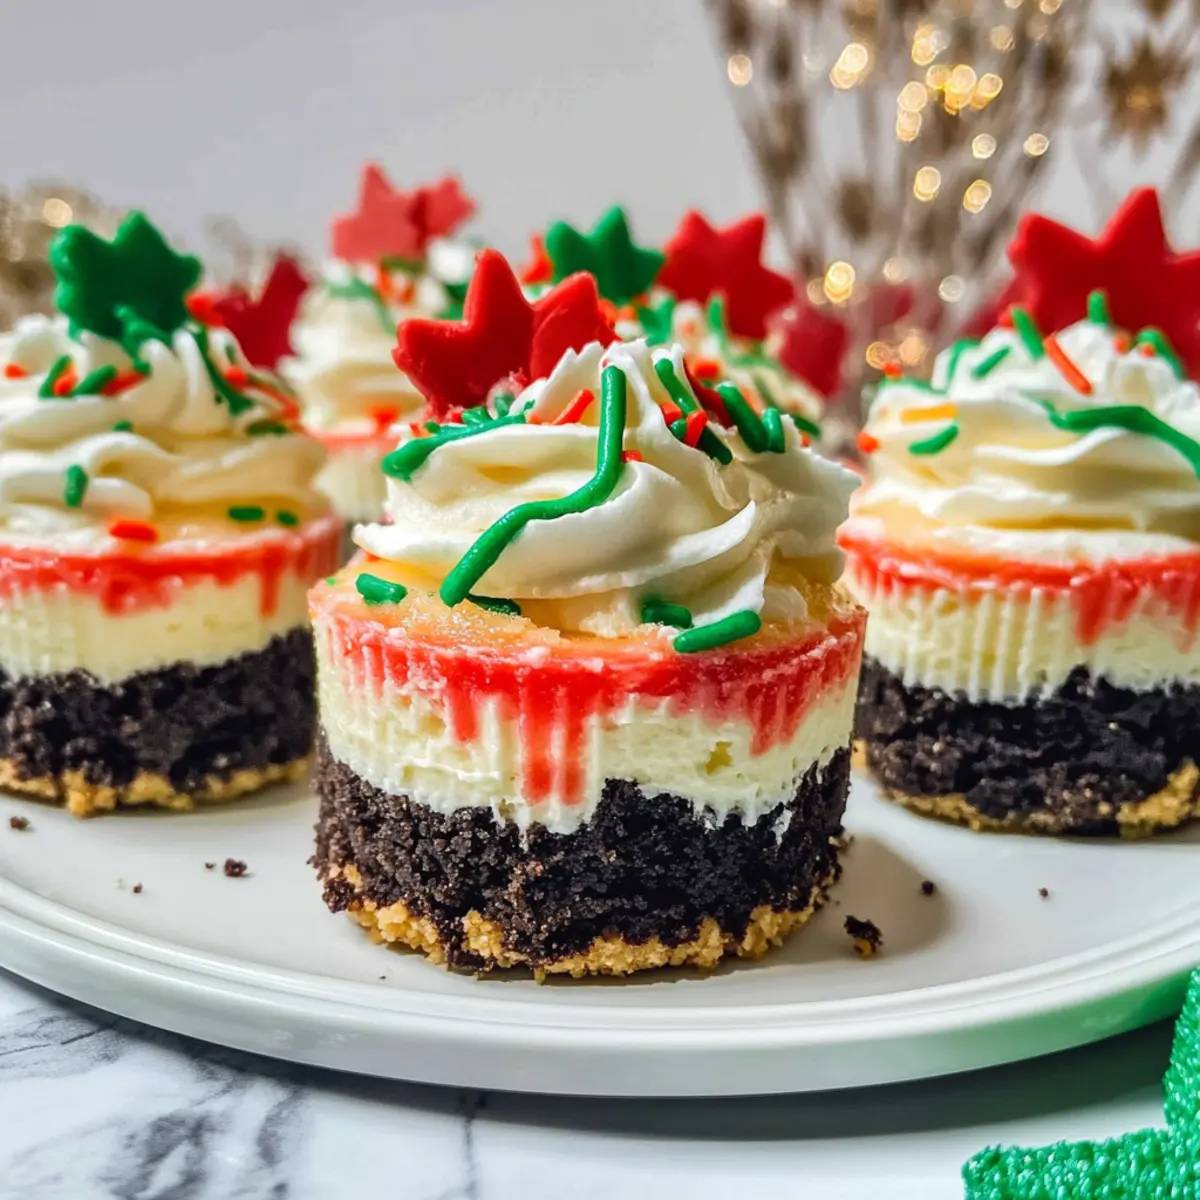
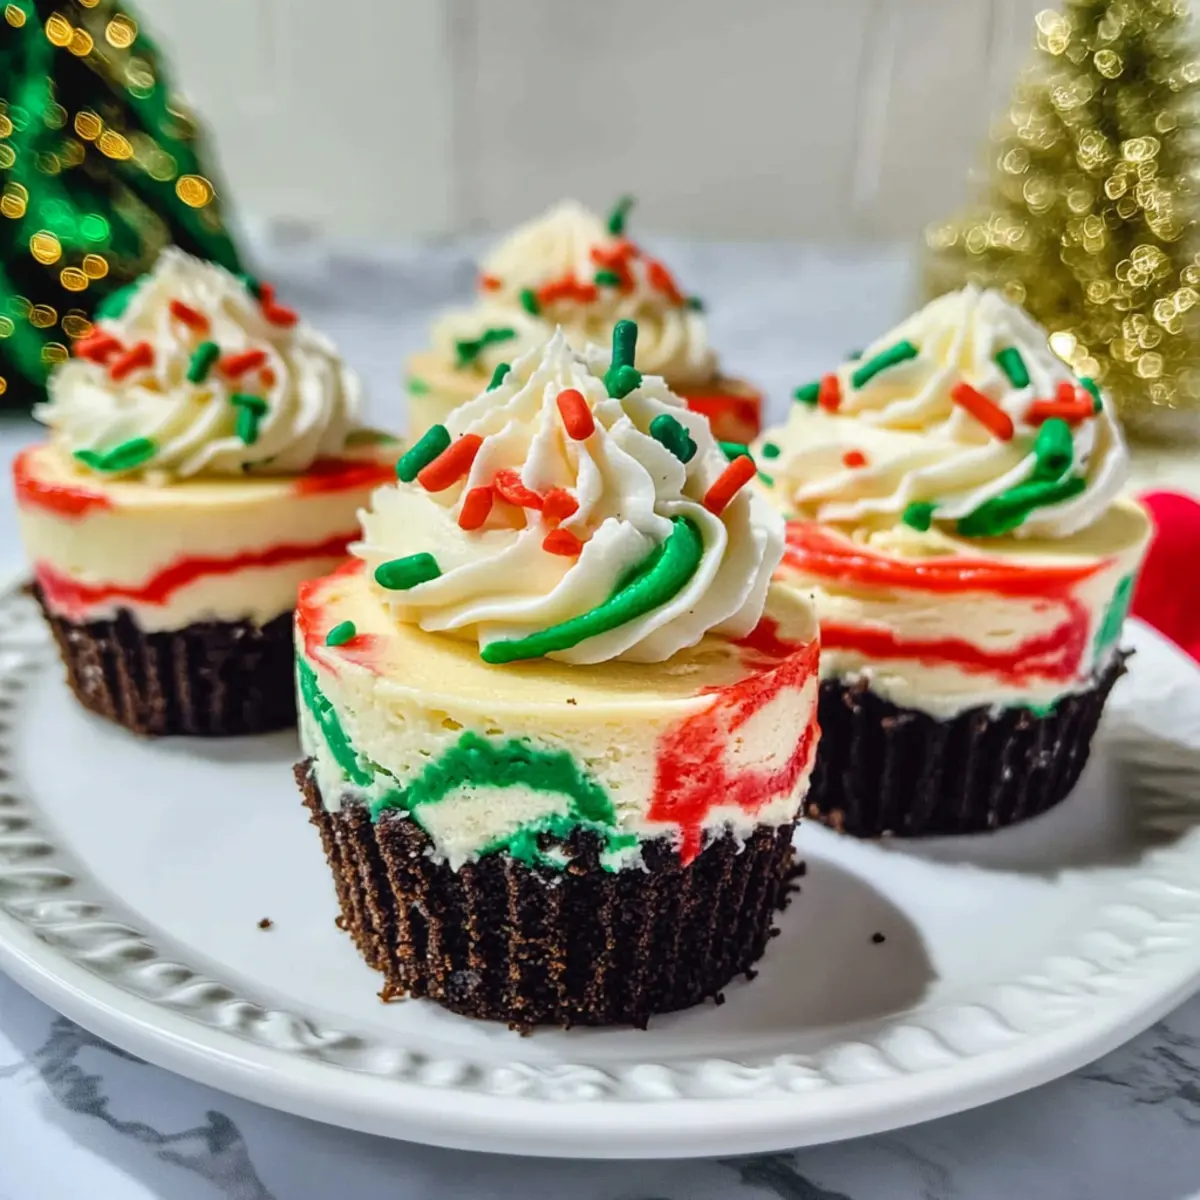
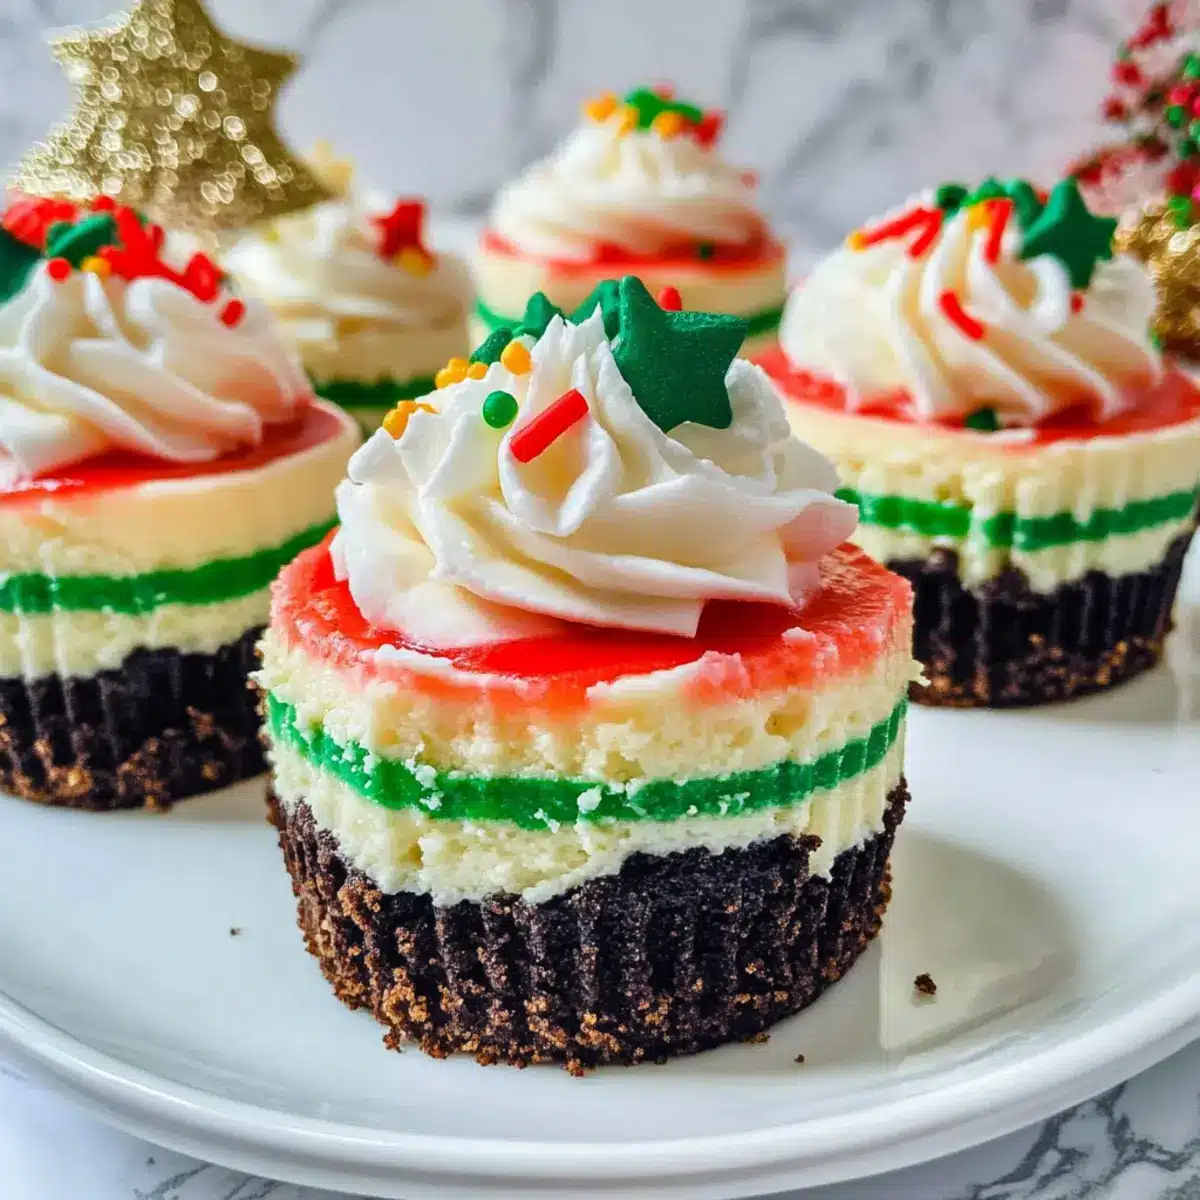
As the scent of cinnamon and pine fill the air, I find myself yearning for a festive dessert that captures the essence of the season. Enter these Mini Christmas Cheesecakes with Oreo Crust—a blissful little treat that’s as delightful to eat as it is to look at. Each individual serving features a creamy, swirled filling of red and green atop a rich, chocolatey cookie base, making them a showstopper on any holiday dessert table. The best part? They’re a breeze to whip up and eliminate the hassle of slicing, allowing you to focus on what truly matters—enjoying time with loved ones. Ready to bring a sprinkle of joy to your celebrations? Let’s dive into the deliciousness of these festive bites!
Why are Mini Christmas Cheesecakes a Must-Try?
Festive, these Mini Christmas Cheesecakes will brighten any holiday gathering with their vibrant colors and delightful flavors. Individual servings mean easy sharing without cutting—just grab and enjoy! Quick to prepare, you can whip them up in no time, freeing you to spend more time with family. Versatile options let you customize the crust or fillings to suit dietary needs, ensuring everyone can indulge. Plus, they offer a crowd-pleasing appeal, striking that perfect balance between indulgence and holiday spirit, sure to impress guests at any festive party!
Mini Christmas Cheesecake Ingredients
For the Crust
• Oreo Cookies – The base crust provides a rich, chocolatey flavor and adds a delightful crunch. You can substitute with graham crackers for a different crust.
• Butter – Binds the cookie crumbs together for a perfect texture. Use unsalted butter for better control of saltiness.
For the Filling
• Cream Cheese – The star ingredient that creates a creamy and rich filling. Soften it beforehand for easy mixing; mascarpone can be used for a different flavor.
• Granulated Sugar – Sweetens the cheesecake filling to perfection. Coconut sugar works as a less refined alternative.
• All-Purpose Flour – Stabilizes the filling and gives it structure. Omit for a gluten-free version; almond flour is a great substitute.
• Vanilla Extract – Enhances all the flavors in the cheesecake. Opt for pure vanilla extract for the best taste.
• Lemon Zest – Adds a bright flavor and a hint of tanginess. In a pinch, lemon juice makes for a suitable substitute.
• Heavy Cream – Contributes to the fluffiness and richness of the filling. Whipping cream can be used if you’re in a pinch.
• Eggs – Bind the mixture and help the cheesecake rise. For a vegan option, consider egg replacements, keeping in mind the texture may vary.
• Red & Green Food Coloring – For that festive swirl that brings holiday cheer. Gel food coloring is recommended for vibrant hues.
For the Topping
• Whipped Cream – Perfect for decorating and adding extra indulgence. Coconut whipped cream is a great dairy-free choice.
• Sprinkles – Adds a festive touch to your beautiful mini cheesecakes.
Step‑by‑Step Instructions for Mini Christmas Cheesecake
Step 1: Prepare the Crust
Preheat your oven to 150°C (300°F). In a food processor, crush the Oreo cookies until fine, then mix in melted unsalted butter until well combined. Line a muffin tin with cupcake casings and firmly pack the cookie mixture into the bottoms, forming an even layer. Bake the crusts for about 10 minutes until set, then remove them from the oven and let them cool slightly.
Step 2: Mix the Filling
In a large mixing bowl, beat the softened cream cheese with an electric mixer on medium speed until smooth and creamy. Gradually add granulated sugar, mixing until incorporated. Next, add the eggs and vanilla extract, beating gently until just combined—be careful not to overmix, as the consistency should be rich without too much air.
Step 3: Color the Batter
Divide the cheesecake filling into three separate bowls. Add red food coloring to one bowl and green to another, leaving the third bowl plain. With a spatula, carefully swirl each colored batter back into the main batter to create a festive marbled effect, ensuring a lovely blend of colors that will shine in your Mini Christmas Cheesecakes.
Step 4: Bake
Carefully pour the colorful batter over the cooled crusts in the muffin tin, filling each casing about three-quarters full. Bake for 20 minutes or until the edges are firm while the center remains slightly jiggly. For added moisture, place a dish of water in the oven, creating a steam bath that helps prevent cracking.
Step 5: Cool & Decorate
Once baked, remove the mini cheesecakes from the oven and let them cool at room temperature for about 30 minutes. Then, refrigerate for at least 4 hours, or overnight if possible, to set completely. When ready to serve, top each cheesecake with a dollop of whipped cream and sprinkle festive decorations to enhance your Mini Christmas Cheesecakes, making them irresistibly sweet and festive!
How to Store and Freeze Mini Christmas Cheesecake
- Fridge: Store your Mini Christmas Cheesecakes in an airtight container for up to 5 days. They’ll stay fresh and tasty, ready for holiday snacking!
- Freezer: Freeze these delightful treats for up to 1 month, but be sure to do so without toppings. When you’re ready to enjoy, thaw them in the refrigerator overnight for best results.
- Reheating: These mini cheesecakes are best served chilled, so no reheating is necessary! Just top with fresh whipped cream and sprinkles before serving to maintain their festive flair.
- Make-Ahead Tip: Whip up your Mini Christmas Cheesecakes a day ahead of your celebration. They keep beautifully in the fridge, giving you more time to relax and enjoy the festivities!
What to Serve with Mini Christmas Cheesecake
These delightful mini cheesecakes beautifully complement a festive holiday spread, making every bite a celebration of joy and flavor.
-
Gingerbread Cookies: The spiced flavors of gingerbread pair perfectly with the creamy sweetness of cheesecakes, creating a harmonious taste of the season.
-
Hot Cocoa: A warm, comforting mug of hot cocoa brings a cozy touch, making every bite of cheesecake feel extra indulgent. The chocolate richness complements the Oreo crust beautifully.
-
Glazed Fruit Salad: A light and refreshing fruit salad balances the richness of the cheesecake; the fruity notes enhance the festive appearance and flavor.
-
Wine Pairings: A glass of fruity Riesling or a spicy Zinfandel will elevate the dessert experience, enhancing the dessert’s flavors while adding a touch of sophistication.
-
Peppermint Bark: This layered treat provides a crunchy peppermint hit that contrasts with the rich cheesecake, while its holiday colors resonate with the festive theme.
-
Christmas Pudding: The traditional flavors of Christmas pudding create a delightful layering of textures and tastes, making for an unforgettable dessert experience.
-
Nutmeg Eggnog: A festive glass of eggnog, lightly spiced with nutmeg, complements the creamy richness and festive colors of the mini cheesecakes, enhancing your holiday celebration.
Each of these pairings creates an inviting atmosphere that will charm your guests and bring warmth to the holiday spirit!
Expert Tips for Mini Christmas Cheesecake
• Room Temperature Cream Cheese: Ensure your cream cheese is at room temperature for a smooth batter, avoiding lumps and making mixing effortless.
• Avoid Overmixing: Mix the filling gently to prevent incorporating too much air, which can lead to cracks in your cheesecake.
• Check for Doneness: Shake the tray gently; the edges should be firm, while the center remains slightly wobbly for that perfect Mini Christmas Cheesecake texture.
• Cool Gradually: Let the cheesecakes cool at room temperature before refrigerating to prevent condensation, which could affect their smooth tops.
• Freezing Tips: Consider freezing mini cheesecakes without toppings for up to 1 month. Thaw them in the fridge for the best results when ready to serve.
Make Ahead Options
These Mini Christmas Cheesecakes are a holiday lifesaver for busy cooks! You can prepare the crust and filling up to 24 hours in advance, making mealtime a breeze. Simply crush the Oreo cookies, mix with melted butter, and pack into muffin tins; store them in the fridge. Combine the filling ingredients, color it, and refrigerate it separately until you’re ready to bake. When it’s time to serve, pour the chilled filling into the crusts and bake as directed. Be sure to cool them and refrigerate for at least 4 hours or overnight for the best results. Regardless of when you make them, these mini cheesecakes will be just as delightful and festive, bringing joy to your holiday celebrations!
Mini Christmas Cheesecake Variations & Substitutions
Customize your Mini Christmas Cheesecakes to suit your tastes and dietary needs—let your creativity shine through each delightful bite!
- Graham Cracker Crust: Swap the Oreo crust for crushed graham crackers for a classic alternative that’s just as delicious.
- Gluten-Free Option: Use gluten-free cookies for the crust, ensuring that everyone can indulge without worry.
- Vegan Twist: Substitute cream cheese with dairy-free alternatives and use flaxseed eggs to make a vegan-friendly dessert.
- Flavor Boost: Incorporate a teaspoon of peppermint extract in the filling for a minty twist that’s perfect for the holidays.
- Fruit Preserves Layer: Spread a layer of raspberry or strawberry preserves between the crust and the filling for a burst of fruity goodness.
- Nutty Crunch: Add finely chopped nuts or a sprinkle of almond flour to the crust for an extra crunchy texture.
- Chocolate Swirl: Incorporate melted chocolate into some of the batter before swirling for a rich chocolate variation.
- Spicy Kick: Sprinkle a pinch of cinnamon or nutmeg into the batter to deepen the warm, festive flavors.
Mini Christmas Cheesecake Recipe FAQs
How do I choose ripe ingredients for my Mini Christmas Cheesecakes?
Absolutely! For the best flavor, ensure your cream cheese is fully softened to room temperature to achieve a smooth mixture. If using fresh lemon zest, pick lemons that are firm and slightly heavy, as they are likely to be juicier.
How should I store my Mini Christmas Cheesecakes?
Store your Mini Christmas Cheesecakes in an airtight container in the refrigerator for up to 5 days. Make sure they are completely cool before covering to avoid condensation, which can affect their texture.
Can I freeze Mini Christmas Cheesecakes?
Yes, you can freeze Mini Christmas Cheesecakes for up to 1 month. Simply remove the toppings, place them in an airtight container, and freeze. When you’re ready to enjoy them, thaw in the refrigerator overnight before serving.
What should I do if my cheesecake cracks while baking?
Very! Cracking usually happens from overmixing or sudden temperature changes. To prevent this, mix the filling gently and try using a water bath during baking. If cracks do occur, don’t worry—simply cover them with whipped cream and sprinkles!
Are there any dietary considerations for my Mini Christmas Cheesecakes?
Absolutely! For a gluten-free option, substitute all-purpose flour with almond flour and use gluten-free cookie crusts. For dairy-free versions, both cream cheese and whipped cream can be replaced with suitable alternatives, ensuring everyone can celebrate with these festive treats!
Mini Christmas Cheesecake: Festive Bites of Joy
Ingredients
Equipment
Method
- Preheat your oven to 150°C (300°F). In a food processor, crush the Oreo cookies until fine, then mix in melted unsalted butter until well combined. Line a muffin tin with cupcake casings and firmly pack the cookie mixture into the bottoms, forming an even layer. Bake the crusts for about 10 minutes until set, then remove them from the oven and let them cool slightly.
- In a large mixing bowl, beat the softened cream cheese with an electric mixer on medium speed until smooth and creamy. Gradually add granulated sugar, mixing until incorporated. Next, add the eggs and vanilla extract, beating gently until just combined—be careful not to overmix, as the consistency should be rich without too much air.
- Divide the cheesecake filling into three separate bowls. Add red food coloring to one bowl and green to another, leaving the third bowl plain. With a spatula, carefully swirl each colored batter back into the main batter to create a festive marbled effect, ensuring a lovely blend of colors that will shine in your Mini Christmas Cheesecakes.
- Carefully pour the colorful batter over the cooled crusts in the muffin tin, filling each casing about three-quarters full. Bake for 20 minutes or until the edges are firm while the center remains slightly jiggly. For added moisture, place a dish of water in the oven, creating a steam bath that helps prevent cracking.
- Once baked, remove the mini cheesecakes from the oven and let them cool at room temperature for about 30 minutes. Then, refrigerate for at least 4 hours, or overnight if possible, to set completely. When ready to serve, top each cheesecake with a dollop of whipped cream and sprinkle festive decorations to enhance your Mini Christmas Cheesecakes, making them irresistibly sweet and festive!
Leave a Reply