
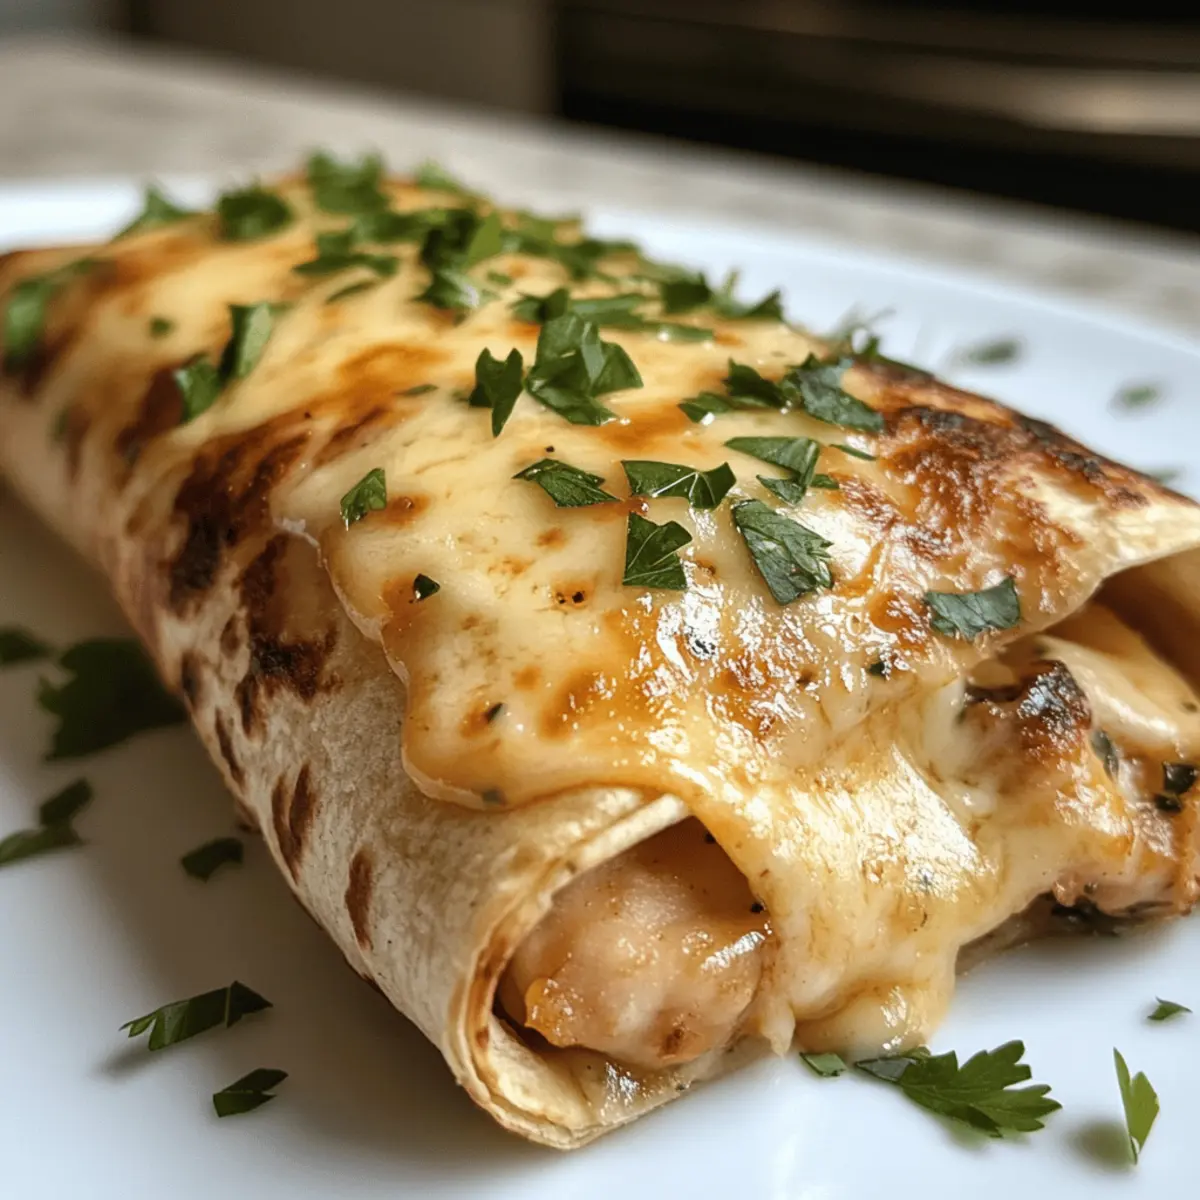
The sizzling sound of garlic hitting the pan always brings me joy; it’s like a warm hug for my kitchen. When I whip up my Ooey-Gooey Cheesy Garlic Chicken Wraps, I know I’m in for a comforting meal that’s ready in a flash. These wraps are truly a game changer for busy weeknights, packed with juicy chicken and melting cheese all enveloped in a tender tortilla. Not only are they customizable to suit any dietary needs, but they also deliver a satisfying crunch with each bite. Plus, they’re an absolute crowd-pleaser, perfect for casual get-togethers or a cozy family dinner. Curious how to turn your kitchen into your favorite takeout spot? Let’s explore this irresistible recipe together!
What Makes These Wraps So Irresistible?
Simplicity, preparing these Ooey-Gooey Cheesy Garlic Chicken Wraps is a breeze, making them ideal for any skill level. Flavor-packed, with aromatic garlic and melted cheese harmonizing with tender chicken, every bite is a delightful explosion of taste. Customizable, whether you prefer a gluten-free option or swapping proteins like ground turkey, this recipe adapts to your preferences. Quick preparation means you can have dinner ready in mere minutes, perfect for busy weeknights. And don’t forget to check out our Garlic Parmesan Crockpot Chicken and Potatoes for more easy comfort food ideas! Plus, these wraps are a sure hit at gatherings, appealing to kids and adults alike.
Ooey-Gooey Cheesy Garlic Chicken Wrap Ingredients
For the Chicken Mixture
• Chicken – Use pre-cooked rotisserie chicken for quicker preparation.
• Olive Oil – Helps sauté garlic and chicken; can substitute with canola or vegetable oil.
• Garlic – Provides bold flavor; feel free to add more for that extra kick!
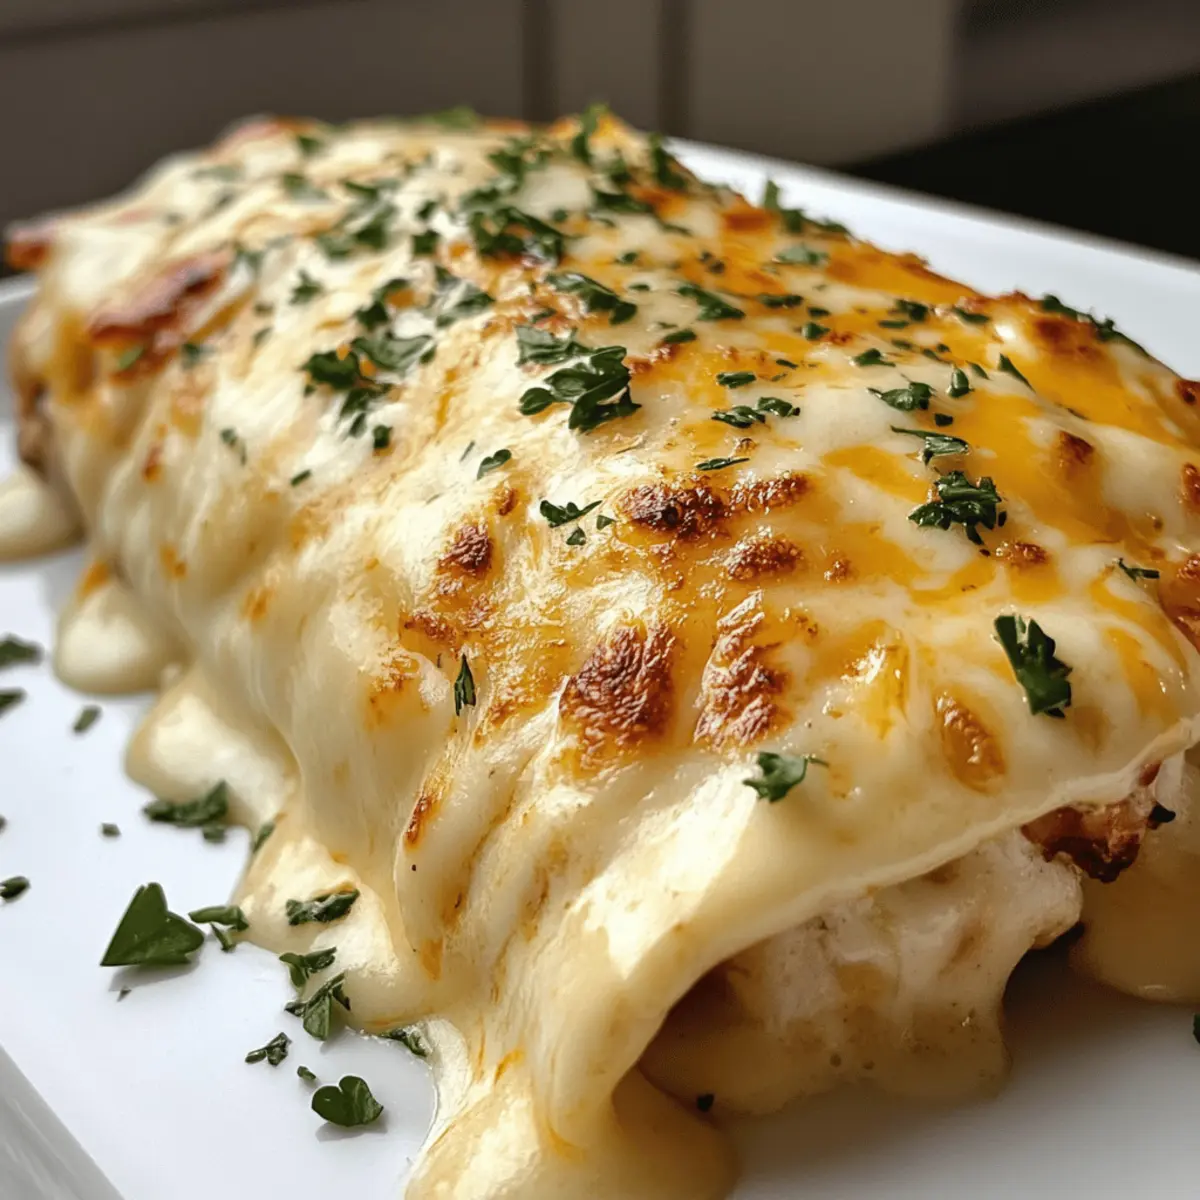
• Cheddar Cheese – Adds a rich, melty texture; substitute with pepper jack for heat or gouda for creaminess.
For the Wraps
• Tortillas – Choose flour, gluten-free, or whole wheat options based on your dietary needs.
• Butter – Used for browning wraps to a golden crisp; olive oil can be a healthier alternative.
For the Garnish
• Parsley – A fresh touch for garnishing, adding both color and flavor.
These Ooey-Gooey Cheesy Garlic Chicken Wraps will surely become a staple in your kitchen, with just the right balance of deliciousness and convenience!
Step‑by‑Step Instructions for Ooey-Gooey Cheesy Garlic Chicken Wraps
Step 1: Cook Chicken
Preheat your oven to 375°F (190°C) if using raw chicken. Season the chicken with salt and pepper, then bake, sauté, or grill until fully cooked—about 20-25 minutes if baking. Once cooked, let it cool slightly and dice the chicken into small pieces, ensuring it’s tender and juicy for your Ooey-Gooey Cheesy Garlic Chicken Wraps.
Step 2: Sauté Garlic
In a large skillet, heat 2 tablespoons of olive oil over medium heat. Add 2-3 minced garlic cloves, sautéing them for about 30 seconds until they turn a lovely golden brown and fill your kitchen with a delightful aroma. This step will infuse the oil with rich garlic flavor, vital for your wraps.
Step 3: Combine Chicken and Cheese
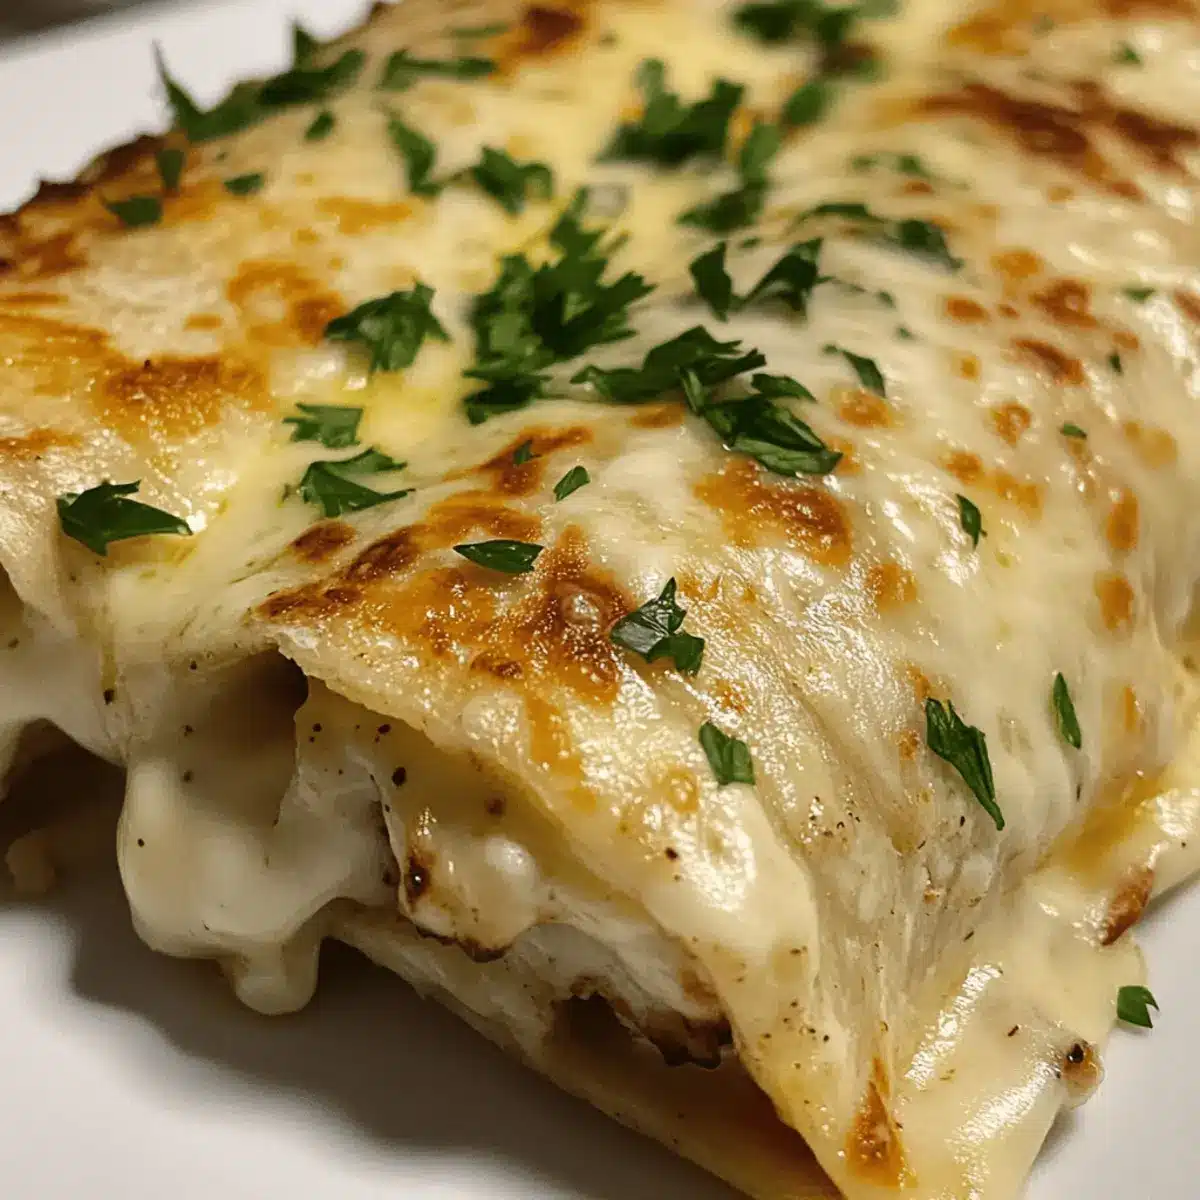
Add the diced chicken to the skillet, stirring to coat it in the garlicky oil. Cook for an additional 2-3 minutes to heat the chicken through. Then, sprinkle in 1-2 cups of shredded cheddar cheese, mixing until melted and gooey, creating a delicious filling for your Ooey-Gooey Cheesy Garlic Chicken Wraps.
Step 4: Assemble Wraps
Take a soft tortilla and place a generous scoop of the cheesy chicken mixture in the center. Fold the sides over the filling and roll it tightly, burrito-style, ensuring none of the filling escapes. Repeat this process with the remaining tortillas and chicken mixture to create all your wraps.
Step 5: Brown Wraps
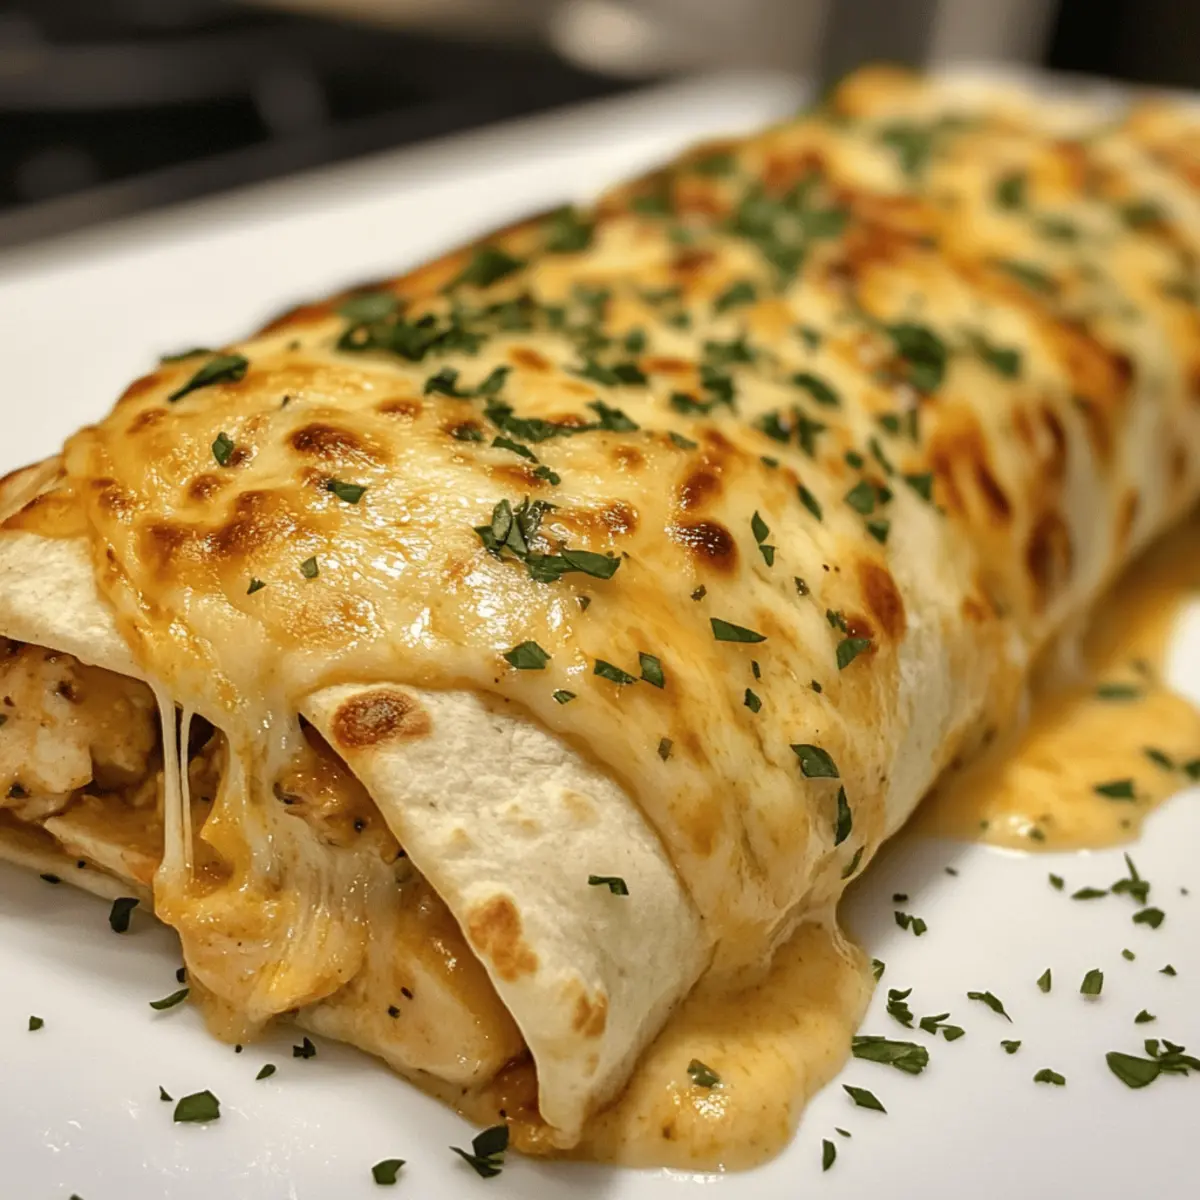
In the same skillet, melt 1 tablespoon of butter (or olive oil for a healthier option) over medium heat. Carefully place the wraps seam-side down in the skillet and press gently. Cook for 2-3 minutes per side, turning them when they’re golden brown and crispy. This step adds a delightful crunch to your Ooey-Gooey Cheesy Garlic Chicken Wraps.
Step 6: Cool & Serve
Once browned, transfer the wraps to a plate and let them rest for 1-2 minutes to cool slightly. This resting time helps the cheese firm up a bit, making them easier to slice. If desired, garnish with freshly chopped parsley before cutting each wrap into halves or thirds, ready for sharing!
Make Ahead Options
These Ooey-Gooey Cheesy Garlic Chicken Wraps are perfect for meal prep enthusiasts! You can prepare the chicken mixture and assemble the wraps up to 24 hours in advance; just refrigerate the mixture in an airtight container to maintain freshness. When you’re ready to serve, simply brown the wraps in a skillet as directed, and they will be just as delicious! If you want to save even more time, you can cook the wraps and freeze them for up to 3 months. To reheat, just pop them in the oven at 350°F (175°C) until heated through for that perfect crunch. Enjoy the convenience and joy of a homemade meal without the last-minute rush!
Ooey-Gooey Cheesy Garlic Chicken Wrap Variations
Feel free to play around with these wraps; your creativity can lead to some truly delicious twists!
- Vegetarian: Substitute the chicken with sautéed vegetables like bell peppers, zucchini, or a mix for a colorful, nutritious option.
- Spicy Kick: Add sliced jalapeños or a sprinkle of crushed red pepper flakes to the chicken mixture for a flavorful heat that tantalizes the taste buds.
- Different Proteins: Try ground turkey, beef, or even shredded pork for an exciting change to the classic chicken wrap. Each protein brings its own unique flavor and texture.
- Houston’s Own: Use BBQ sauce instead of garlic for a Southern-style twist! Pair with coleslaw for an added crunch in each bite.
- Go Green: Incorporate fresh spinach or kale into the filling for added nutrients and a pop of color. The greens wilt beautifully while adding a fresh flavor.
- Creamy Touch: Mix in a spoonful of cream cheese or sour cream with the chicken and cheese for a rich, velvety filling that elevates the entire experience.
- Fun & Funky: Swap out the tortillas for crispy wonton wrappers to create delightful bite-sized personalities. Air-frying them adds an irresistible crunch.
- Fusion Flavor: Try adding curry powder or taco seasoning to the chicken mixture for a fun fusion twist, making each bite feel like a culinary adventure!
These variations can easily be tailored to suit your dietary needs and preferences. Why not try a few alongside the classic version? And for more delicious recipes, don’t miss out on our Cheesy Chicken Wrap and Cheesy Chicken Spaghetti Casserole that will surely satisfy your cravings!
Expert Tips for Ooey-Gooey Cheesy Garlic Chicken Wraps
- Use Pre-Cooked Chicken: Opt for rotisserie chicken to save time; this allows your Ooey-Gooey Cheesy Garlic Chicken Wraps to come together in a flash.
- Don’t Skip the Garlic: Ensure to sauté the garlic until golden; undercooking can lead to a milder flavor and not achieve that rich aroma you crave.
- Get Creative with Cheese: Feel free to mix different cheeses for a unique flavor; combining cheddar, pepper jack, and gouda can elevate your wraps to a whole new level.
- Wrap It Right: When folding your wraps, make sure to tuck in the sides tightly to prevent filling from spilling out during cooking.
- Crispy Finish: For that perfect golden crisp, let the wraps brown undisturbed for a couple of minutes on each side; flipping them too soon can leave them soggy.
- Make Ahead: Consider preparing and assembling wraps ahead of time; they can be stored in the fridge and toasted later for a quick meal.
How to Store and Freeze Ooey-Gooey Cheesy Garlic Chicken Wraps
Fridge: Store cooked wraps in an airtight container for up to 3 days. Reheat in a skillet on medium heat to maintain crispiness.
Freezer: Wrap each cooled ooey-gooey cheesy garlic chicken wrap tightly in plastic wrap and then foil for up to 1 month. Thaw overnight in the fridge before reheating.
Reheating: For the best texture, reheat wraps in a skillet over medium-low heat for 4-5 minutes on each side or until warmed through. Avoid microwaving, as it can make them soggy.
Make-Ahead: Prepare the filling in advance and refrigerate for up to 2 days. Assemble and cook the wraps when ready to eat.
What to Serve with Ooey-Gooey Cheesy Garlic Chicken Wraps
Creating a memorable meal experience is all about pairing the perfect sides that complement and enhance the wonderful flavors of your wraps.
- Crispy Potato Wedges: The warm, seasoned outside of these potatoes offers a crunchy contrast that pairs beautifully with the soft, cheesy wraps.
- Fresh Garden Salad: A mix of crisp greens and vibrant veggies brings lightness to your meal, balancing the richness of the cheesy filling.
- Roasted Vegetables: Sweet, caramelized veggies like bell peppers and zucchini add hearty elements and a splash of color to your dinner plate.
- Classic Tomato Soup: This velvety soup’s acidity cuts through the richness of the wraps, making every bite refreshing and satisfying.
Add a twist by serving the wraps as pinwheels for a fun appetizer that’s sure to impress at gatherings. Don’t forget a sweet treat, like warm chocolate chip cookies, to round out the evening!
Ooey-Gooey Cheesy Garlic Chicken Wraps Recipe FAQs
What type of chicken works best for these wraps?
Absolutely, using pre-cooked rotisserie chicken not only speeds up the process but keeps the meat juicy and flavorful. If you have cooked chicken leftovers from a previous meal, feel free to use that too! Just make sure it’s seasoned to your taste before adding it to the wraps.
How should I store leftover wraps?
To keep your Ooey-Gooey Cheesy Garlic Chicken Wraps fresh, store them in an airtight container in the fridge for up to 3 days. Make sure they cool completely before sealing them, which helps prevent sogginess. When ready to eat, reheat them in a skillet over medium heat for the best texture.
Can I freeze these wraps?
Yes! To freeze your wraps, let them cool completely, then wrap each one tightly in plastic wrap followed by foil. This extra layer ensures no freezer burn. They can be stored in the freezer for up to 1 month. When you’re ready to enjoy, thaw them overnight in the fridge and reheat in a skillet for a crispy finish.
What if my wraps don’t brown evenly?
Very often, uneven browning happens if the wraps are crowded in the pan or if the heat is too high. To ensure golden wraps, give them space in the skillet and opt for medium heat. Cook them undisturbed for a couple of minutes before flipping to achieve that perfect crunch without burning.
Are there any dietary considerations for these wraps?
Certainly! You can easily make these wraps gluten-free by using gluten-free tortillas. Also, if you have allergies to dairy, swap out the cheese for a plant-based alternative. Likewise, if you’re considering making them for pets, it’s a good idea to leave out the garlic, as it can be harmful to dogs and cats.
How can I customize the flavor profile of the filling?
Of course! There are endless possibilities! You can add sautéed vegetables like spinach or bell peppers for added nutrition and flavor. If you’re looking for extra kick, consider tossing in some jalapeños or a sprinkle of crushed red pepper along with your cheeses. Mix and match to bring your unique twist to these wraps!
Ooey-Gooey Cheesy Garlic Chicken Wraps for Quick Comfort
Ingredients
Equipment
Method
- Cook the chicken by baking, sautéing, or grilling until fully cooked.
- Sauté minced garlic in olive oil until golden brown.
- Combine the cooked chicken with the sautéed garlic and stir in shredded cheddar cheese until melted.
- Assemble wraps by placing the chicken mixture in tortillas and folding tightly.
- Brown the wraps in a skillet with butter or oil until crispy.
- Let wraps cool slightly before serving, garnish with parsley if desired.
Leave a Reply