
As I peeked into my pantry, a familiar sense of excitement washed over me. It was that time of year again—Halloween! This holiday inspires not just costumes, but also delightful treats like my No-Bake White Chocolate Halloween Oreo Bark. This recipe is a lifesaver for last-minute gatherings and busy days, taking only five minutes to prepare! With the perfect blend of creamy white chocolate and crunchy Halloween Oreos, it’s a fun treat that brings smiles to both kids and adults. Plus, it’s effortlessly customizable with sprinkles and candy eyes, making it a festive hit. Curious about how to create this spooktacular dessert? Let’s dive into the magic of making your guests’ Halloween a little sweeter!

Why is This Bark a Halloween Hit?
Quick to Make: In just five minutes, you can whip up a delicious, no-bake dessert that will impress all your guests.
Crowd Pleaser: Kids and adults alike are sure to be thrilled with this playful and festive treat, making it perfect for parties or casual Halloween gatherings.
Versatile Options: Feel free to modify your bark with different candies or sprinkle styles to suit your personal taste and occasion—see more ideas in recipes like Gluten Free Chocolate!
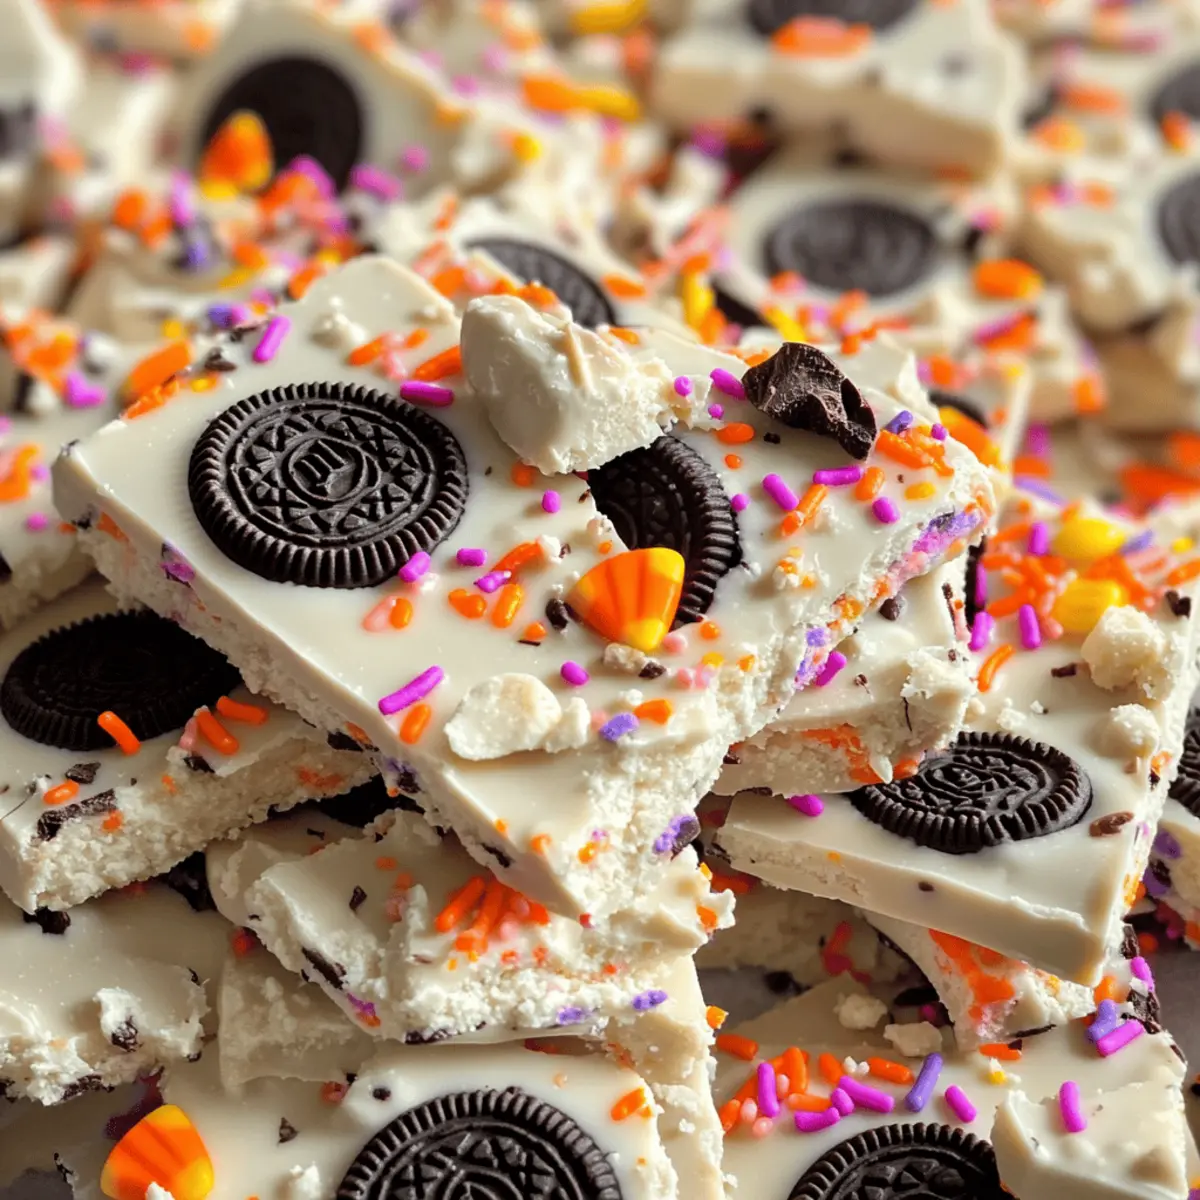
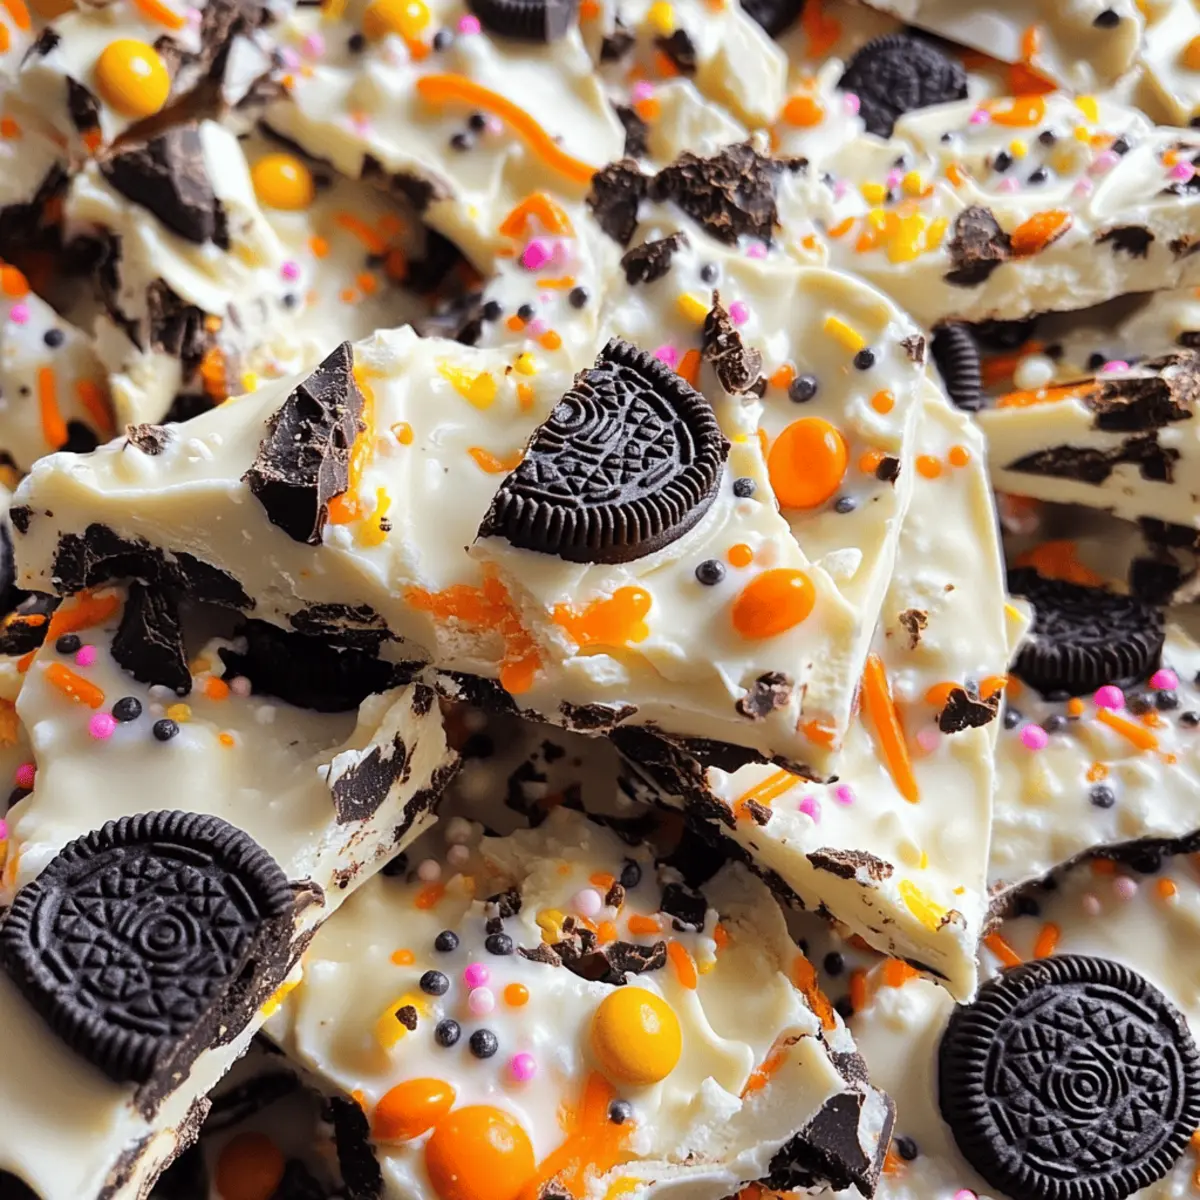
Visual Appeal: The colorful bits of Halloween candy and spooky sprinkles create a visually stunning treat that’s as fun to look at as it is to eat.
Easy Cleanup: With minimal mess involved, you can enjoy more time celebrating and less time worrying about post-party clean-up!
Let’s get started in making this delightful White Chocolate Halloween Oreo Bark!
White Chocolate Halloween Oreo Bark Ingredients
• This no-bake treat is made with simple, fun ingredients that will make your Halloween celebration unforgettable!
For the Bark
- White Chocolate – Adds a sweet and creamy base; feel free to substitute with almond bark or white candy melts if desired.
- Halloween Oreos – Imparts crunchiness and a spooky flavor thanks to the orange crème filling; standard Oreos work well as a classic alternative.
For the Decorations
- Reese’s Pieces – Introduces a chewy peanut butter flavor; M&M’s can be a delightful substitute.
- Halloween Sprinkles – Provides a festive touch of color and fun; any seasonal sprinkles can be used in place.
- Halloween Eyeball Candies – Completes the spooky look; candy eyes or similar ghoulish confections are great alternatives.
Step‑by‑Step Instructions for White Chocolate Halloween Oreo Bark
Step 1: Melt the Chocolate
Begin by chopping 12 oz of white chocolate into smaller pieces for even melting. Place the chopped chocolate in a microwave-safe bowl and heat on medium power in 30-second increments, stirring in between each interval. Continue until the chocolate is smooth and glossy, which should take about 1 to 2 minutes. Be careful not to overheat, as this can cause the chocolate to seize.
Step 2: Spread the Chocolate
Once melted, carefully pour the white chocolate onto a parchment-lined baking sheet. Use a spatula to spread the chocolate evenly across the surface, ensuring it reaches the corners for a uniform thickness. Aim for about a quarter-inch thick layer, which will create the perfect base for your White Chocolate Halloween Oreo Bark. This will also help the toppings stick well.
Step 3: Add Toppings
While the melted chocolate is still warm, it’s time to bring your bark to life! Sprinkle chopped Halloween Oreos generously over the surface, pressing them down slightly so they adhere. Next, add a scattering of Reese’s Pieces, festive sprinkles, and cute Halloween eyeball candies. The colors and textures should pop against the white chocolate, making it a visual delight.
Step 4: Chill to Set
Once all the toppings are in place, transfer the baking sheet to the refrigerator and chill for at least one hour. This step is crucial for allowing the White Chocolate Halloween Oreo Bark to harden properly. You’ll know it’s ready when the chocolate snaps slightly when pressed, indicating it is nice and firm.
Step 5: Break into Pieces
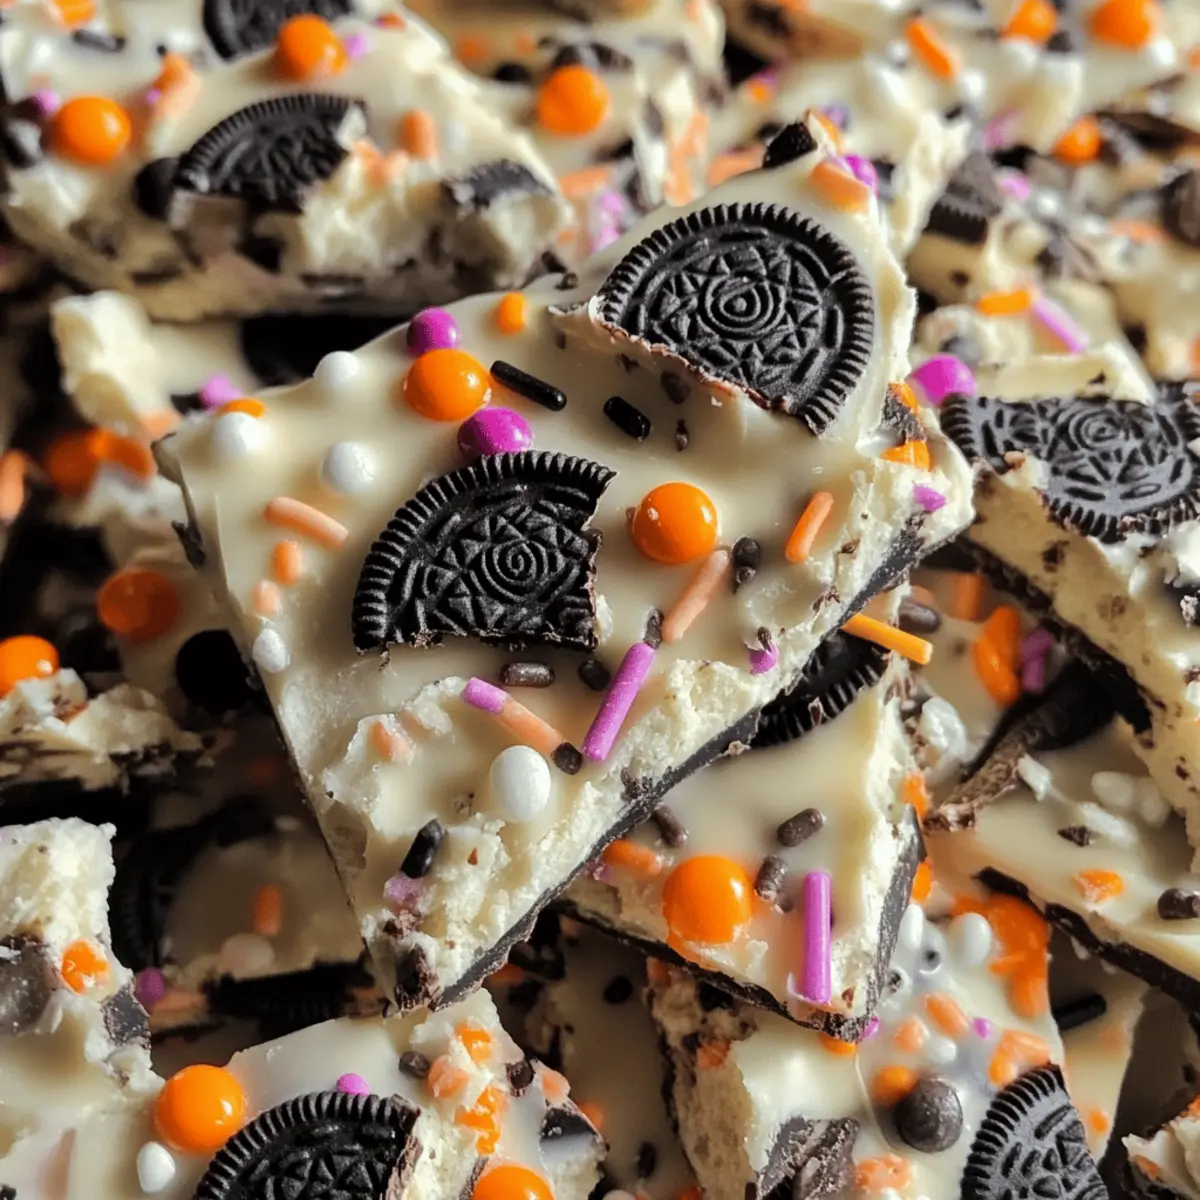
After chilling, remove the baking sheet from the refrigerator. Use your hands or a sharp knife to break the bark into irregular pieces, creating a rustic and fun presentation. The colorful bits of candy and cookie will be visible and inviting, perfect for serving at any Halloween gathering. Enjoy this delightful treat with friends and family!
Make Ahead Options
These White Chocolate Halloween Oreo Bark treats are ideal for busy home cooks looking to streamline their party prep! You can prepare the bark up to 24 hours in advance. Simply follow the melting and spreading instructions, then chill in the refrigerator. Once set, keep the bark in an airtight container to maintain its freshness and delightful crunch. If you’re planning to serve it later, consider leaving off the toppings like Reese’s Pieces and sprinkles until just before serving, to keep them vibrant and crunchy. When you’re ready, simply sprinkle on the remaining goodies, and you’ll have a stunning dessert that’s just as delicious as when it was first made!
Expert Tips for White Chocolate Halloween Oreo Bark
-
Chocolate Care: Don’t rush the melting process; burning chocolate can ruin the silky texture. Stir constantly to ensure a smooth blend.
-
Chilling Matters: Allowing the bark to chill for a full hour ensures it sets perfectly. Rushing this step can lead to a gooier texture instead of the desired firmness.
-
Storage Solutions: Keep your leftover White Chocolate Halloween Oreo Bark in an airtight container. This will help maintain freshness and flavor for up to two weeks.
-
Decorative Touch: Get creative with your toppings! Different candies, sprinkles, or even crushed nuts can personalize your bark while keeping it festive.
-
Cutting Technique: When breaking the bark into pieces, use your hands for a more organic look. This enhances the charming, rustic feel perfect for Halloween.
White Chocolate Halloween Oreo Bark Variations
Looking to add your own twist to this delightful treat? Let’s explore some fun and creative options that will elevate your Halloween bark!
-
Dairy-Free: Use dairy-free white chocolate or coconut cream for a creamy base that still delivers deliciousness.
-
Nutty Delight: Add chopped nuts like pecans or walnuts for an extra crunch and nutty flavor that complements the sweetness of the bark.
-
Spicy Kick: Sprinkle some crushed red pepper flakes or cinnamon for a subtle heat that contrasts beautifully with the sweet chocolate.
-
Gummy Treats: Swap out the Reese’s Pieces for gummy worms or bats to create a playful, spooky vibe. Kids will love this unexpected twist!
-
Flavorful Oreos: Experiment with different Oreo flavors like mint or pumpkin spice to create new taste experiences that surprise your guests.
-
Colorful Sprinkles: Use sprinkles that match your party theme or seasonal colors for a personalized touch. Think red and green for Christmas or pastels for spring!
-
Cocoa Powder Dusting: After breaking the bark into pieces, dust them lightly with cocoa powder for a more sophisticated presentation and flavor.
-
Malted Milkballs: For a crunchy texture, toss in some crushed malted milk balls for that extra twist—it’s a great way to spice up your bark.
With so many variations to choose from, you can easily make this dessert your own! If you’re exploring more delicious treats, consider trying out my White Chocolate Pumpkin or keep it gluten-free with Gluten Free Chocolate. Happy baking!
How to Store and Freeze White Chocolate Halloween Oreo Bark
Room Temperature: Store the bark in an airtight container at room temperature for up to 1 week. This is perfect for keeping it fresh and accessible for snacking!
Fridge: If you want to extend its shelf life, keep the bark in the refrigerator where it will stay fresh for up to 2 weeks. Just ensure it’s well-sealed to avoid moisture.
Freezer: For longer storage, you can freeze the White Chocolate Halloween Oreo Bark for up to 2 months. Wrap individual pieces in plastic wrap and place them in a freezer-proof container.
Reheating: There’s no need to reheat this tasty dessert. Enjoy it chilled or let it sit at room temperature for a few minutes before indulging for optimum flavor and texture!
What to Serve with White Chocolate Halloween Oreo Bark
As Halloween approaches, let’s create a full spread that perfectly complements this mesmerizing treat!
- Pumpkin Spice Hot Chocolate: This warm, spiced drink brings cozy fall flavors that resonate with the festive spirit of Halloween.
- Crispy Caramel Apple Slices: Sweet and crunchy apple slices drizzled with caramel offer a refreshing contrast to the creamy bark.
- Ghostly Mini Cupcakes: Decorated with ghost frosting, these cupcakes add whimsical fun and are perfect for a spooky dessert table.
- Chewy Gummy Worms: Their playful appearance and fruity flavors provide a chewy contrast, enhancing the whimsical Halloween theme.
- Candy Corn Medley: A colorful mix of candy corn and other festive candy brings a nostalgic autumn vibe to your treat table.
- Witches Brew Punch: This vibrant, fruity punch is a delightful, bubbly drink that balances the sweetness of the bark with its refreshing flavors.
- Chocolate Dipped Pretzels: The salty crunch of pretzels offers a delightful contrast to the rich sweetness of white chocolate Halloween Oreo bark.
- Vanilla Ice Cream: Serve a scoop drizzled with chocolate sauce beside the bark for a delectable dessert duo that mixes textures and temperatures.
White Chocolate Halloween Oreo Bark Recipe FAQs
What should I look for when selecting white chocolate?
Absolutely! When choosing white chocolate, look for bars or chips that list cocoa butter as the first ingredient, ensuring a rich and creamy texture. Avoid products labeled as “white chocolate morsels” that may contain fillers or waxes. A good quality white chocolate will melt smoothly and provide the best flavor for your bark.
How should I store my White Chocolate Halloween Oreo Bark?
I recommend storing the bark in an airtight container at room temperature for up to 1 week. If you’re hoping to keep it fresh for longer, it can be refrigerated for up to 2 weeks. Just make sure it’s well-sealed to prevent moisture, which can alter its texture.
Can I freeze the White Chocolate Halloween Oreo Bark?
Yes, you can! To freeze the bark, individually wrap each piece in plastic wrap and then place them in a freezer-proof container. This way, they can be frozen for up to 2 months. When you’re ready to enjoy, let the bark thaw in the fridge overnight or at room temperature for a few minutes.
What if my chocolate is lumpy after melting?
Very good question! If your melted white chocolate turns out lumpy, it may have overheated. To salvage it, try stirring in a teaspoon of vegetable oil, which can help smooth out the texture. If the chocolate has seized, it will be difficult to fix, so ensure to melt in short intervals and stir regularly to avoid this.
Are there any allergy concerns with this recipe?
Yes, keep in mind that this White Chocolate Halloween Oreo Bark contains ingredients like chocolate and candy that may include allergens such as dairy, peanuts (from the Reese’s Pieces), and gluten (from the Oreos). Always check labels for allergens if you’re making this for someone with dietary restrictions, and consider using gluten-free Oreos and candy alternatives to ensure it is safe for everyone.
Can I make this bark ahead of time?
Definitely! This recipe is perfect for making ahead. The White Chocolate Halloween Oreo Bark can be prepared and stored for up to two weeks in advance. It’s a fantastic treat to whip up and have on hand for unexpected guests or as a fun addition to any Halloween gathering.
Delicious White Chocolate Halloween Oreo Bark in 5 Minutes
Ingredients
Equipment
Method
- Begin by chopping 12 oz of white chocolate into smaller pieces for even melting. Place the chopped chocolate in a microwave-safe bowl and heat on medium power in 30-second increments, stirring in between each interval until smooth, about 1 to 2 minutes.
- Carefully pour the melted white chocolate onto a parchment-lined baking sheet. Use a spatula to spread the chocolate evenly across the surface to about a quarter-inch thick.
- While the chocolate is still warm, sprinkle chopped Halloween Oreos, Reese’s Pieces, sprinkles, and eyeball candies over the surface, pressing down slightly to adhere.
- Transfer the baking sheet to the refrigerator and chill for at least one hour until the chocolate hardens.
- After chilling, break the bark into irregular pieces and serve.
Leave a Reply