
As the grill sizzles and fills the air with a warm, toasty aroma, I can’t help but feel a wave of nostalgia wash over me. Japanese Grilled Rice Balls, or Onigiri, are more than just a delightful snack; they evoke memories of family picnics and casual get-togethers, where laughter mingles with the savory sweetness of perfectly grilled rice. With their crispy exterior and fluffy interior, these little gems are easily customizable, making them a perfect canvas for whatever fillings your heart desires. Whether you’re looking for a quick appetizer or a fun contribution to a potluck, these rice balls are not only simple to prepare but also gluten-free, if you choose the right rice. Curious about how to transform this comforting classic into a culinary masterpiece? Let’s dive into the deliciousness that awaits!
Why Are These Rice Balls So Irresistible?
Flavorful, each bite bursts with a unique blend of savory goodness thanks to customizable fillings. Nostalgic, these rice balls transport you to sunny picnics and family gatherings, making them more than just a snack. Customizable, make them your own with ingredients like shredded chicken or spicy kimchi. Simple to prepare, they require minimal cooking skills and are ready in no time. Plus, they’re gluten-free, ensuring everyone can enjoy them! If you love quick and tasty snacks, you might also enjoy our Broccoli Cheese Balls or for a heartier meal, check out the Corn Chicken Rice.
Japanese Grilled Rice Balls Ingredients
• Perfect for customizing your snacks!
For the Rice
- Short-Grain Rice – Essential for achieving that signature sticky texture; opt for high-quality sushi rice for authenticity.
- Water – Needed to cook the rice; adjust based on the type you’re using for perfect fluffiness.
For the Seasoning
- Soy Sauce – Adds an umami kick to each bite; use tamari for a gluten-free option.
- Toasted Sesame Oil – Infuses a rich, nutty flavor; can be swapped with olive oil for a lighter touch.
For the Fillings (optional)
- Shredded Chicken – A hearty choice for protein-packed rice balls; try marinating it for an extra flavor boost.
- Tuna – Perfect for a savory twist; consider adding a bit of mayo for creaminess.
- Pickled Plum (Umeboshi) – A unique filling that offers a delightful tang; an exciting departure from traditional methods.
- Marinated Salmon – Elevates the flavor profile with a rich taste; perfect for a gourmet option.
To Garnish
- Sesame Seeds – Sprinkle on top for added crunch and a touch of nutty flavor; a classic go-to for rice balls.
- Soy Sauce – Drizzle just before serving to enhance flavors and enjoy that savory goodness fully.
Craft these Japanese Grilled Rice Balls and make meal prep a fun adventure!
Step‑by‑Step Instructions for Japanese Grilled Rice Balls
Step 1: Rice Prep
Rinse 1 cup of short-grain rice under cold water until the water runs clear, a process that takes about 2-3 minutes. After rinsing, soak the rice in 1½ cups of water for 30 minutes; this hydration step ensures the grains absorb moisture, leading to perfectly fluffy Japanese Grilled Rice Balls.
Step 2: Cooking Rice
Transfer the soaked rice and water to a medium saucepan. Cover and bring to a boil over medium heat, then reduce to low and simmer for approximately 20 minutes, or until all water is absorbed and the rice is tender. Once cooked, remove from heat and let it rest for an additional 10 minutes, allowing the grains to firm up slightly.
Step 3: Seasoning
Fluff the warm rice gently with a wooden spoon or spatula to prevent clumping, then stir in 2 tablespoons of soy sauce and 1 tablespoon of toasted sesame oil evenly throughout. The seasoning will add a savory richness to your rice, transforming it into the flavorful base for your Japanese Grilled Rice Balls.
Step 4: Fillings Preparation
As the rice cools, gather your desired fillings such as shredded chicken, pickled plum, or marinated salmon. Finely chop the fillings so they fit perfectly within the rice balls. This preparation will allow for easy incorporation into your rice, creating delicious pockets of flavor in every bite.
Step 5: Shaping
Wet your hands with water to prevent sticking, then take about half a cup of the seasoned rice and flatten it gently in your palm. Place a teaspoon of your chosen filling in the center, folding the rice over the filling to form a tight ball or triangle shape. This shaping technique ensures that your Japanese Grilled Rice Balls hold together well during grilling.
Step 6: Grilling
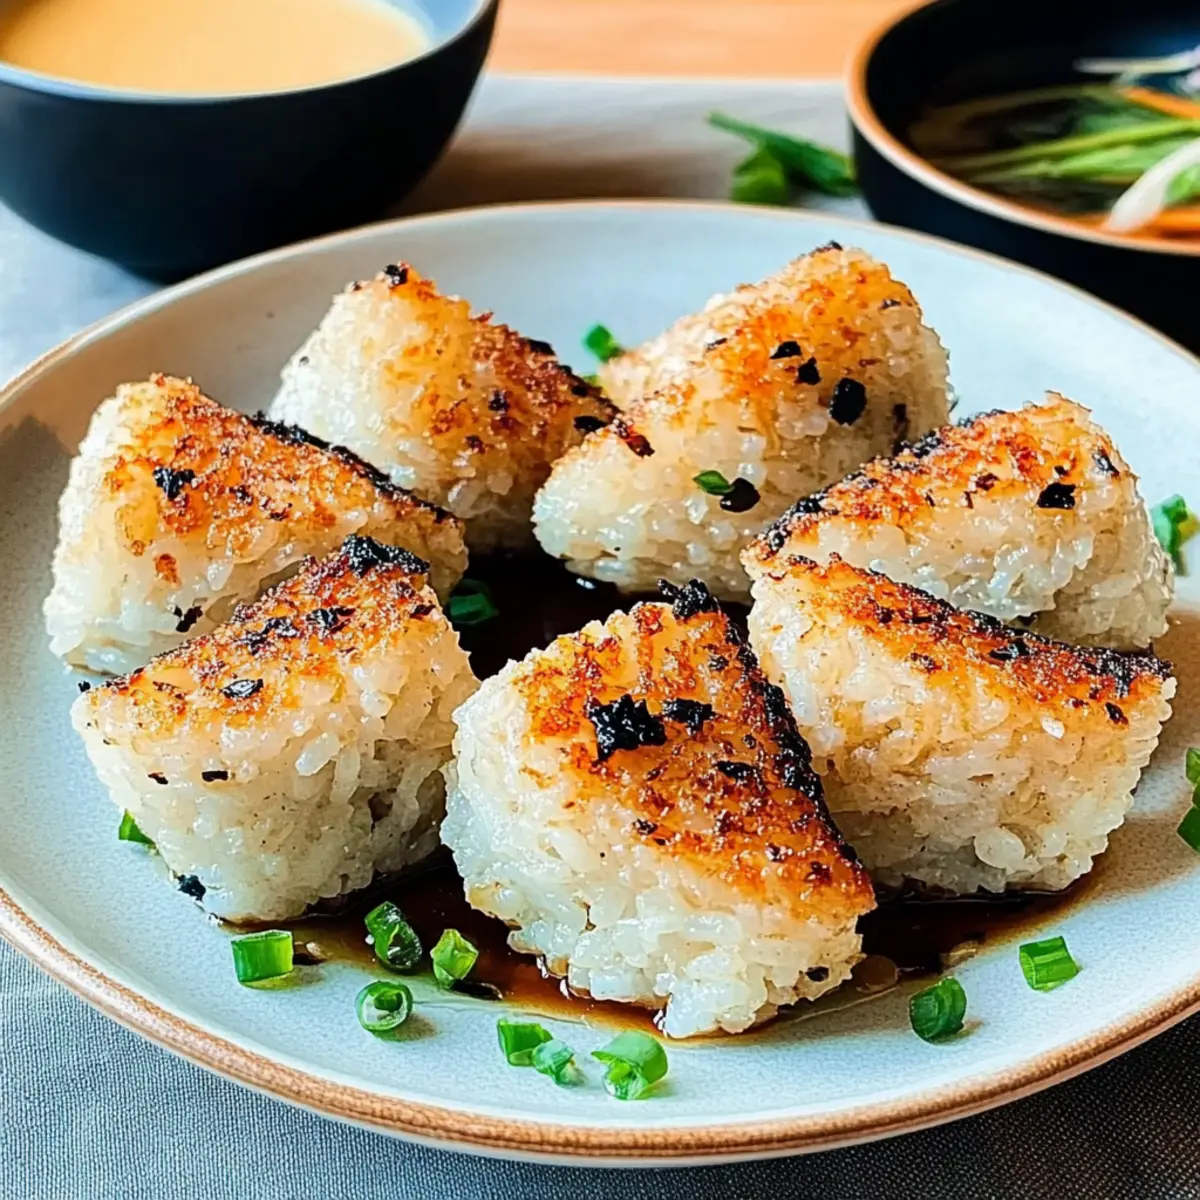
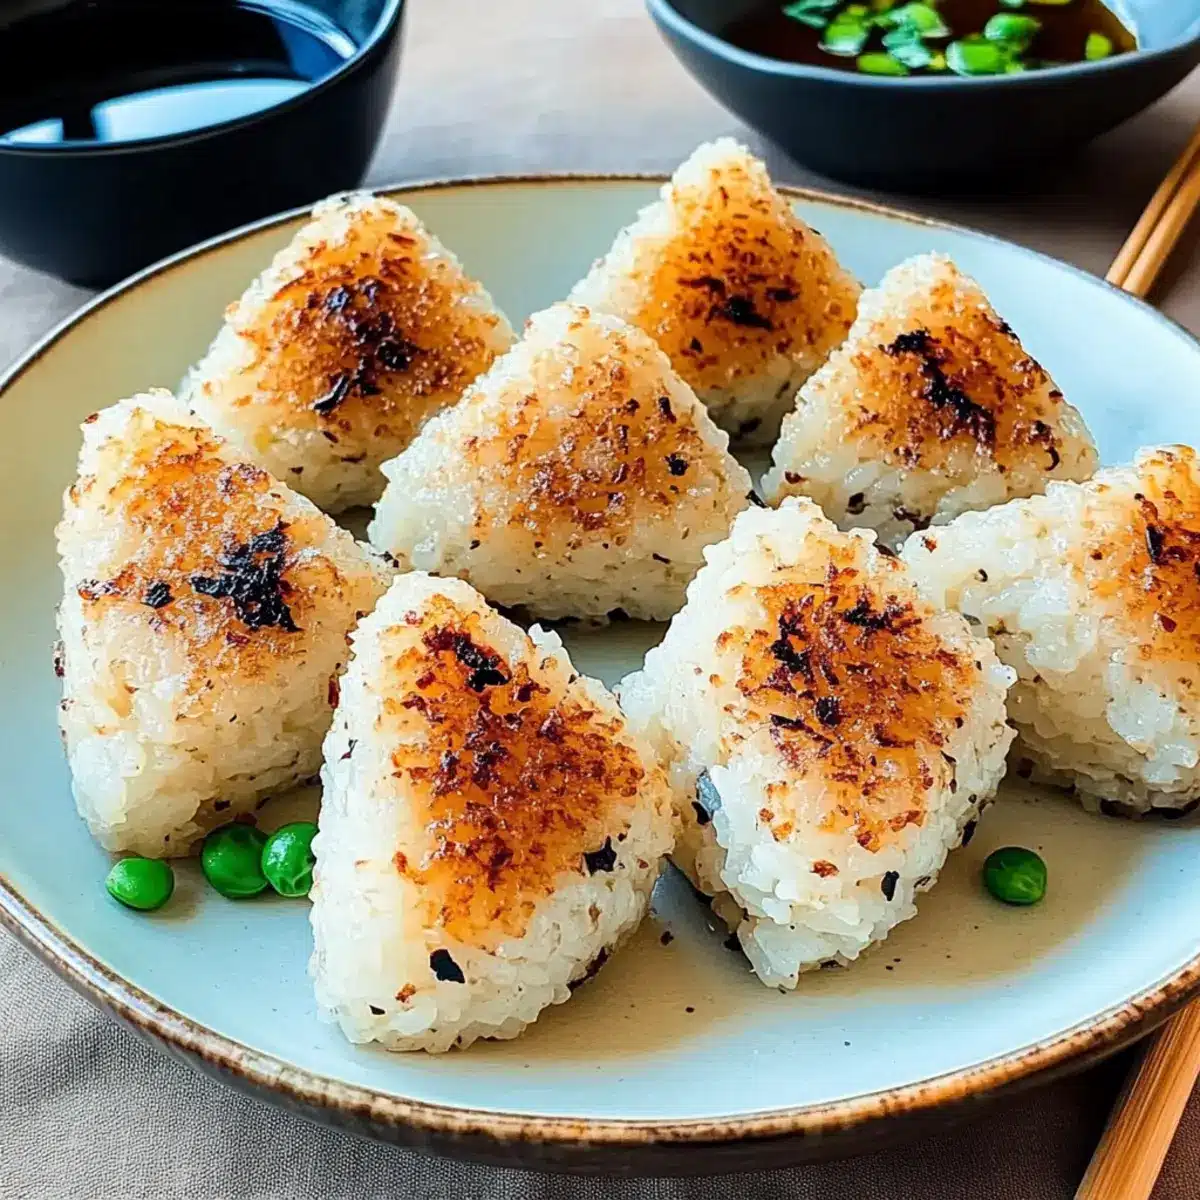
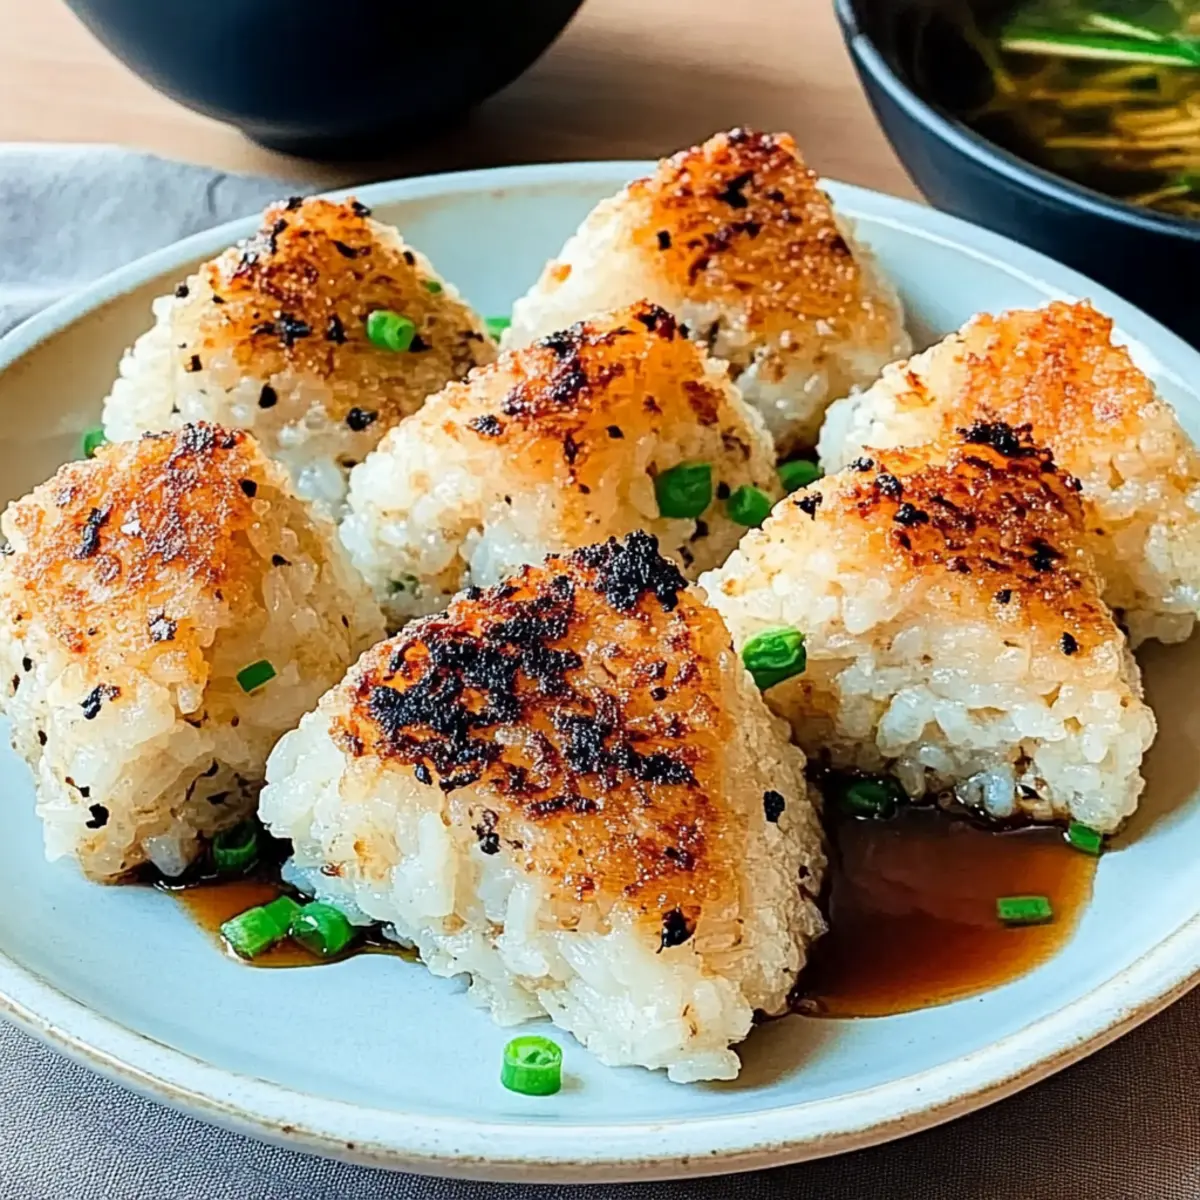
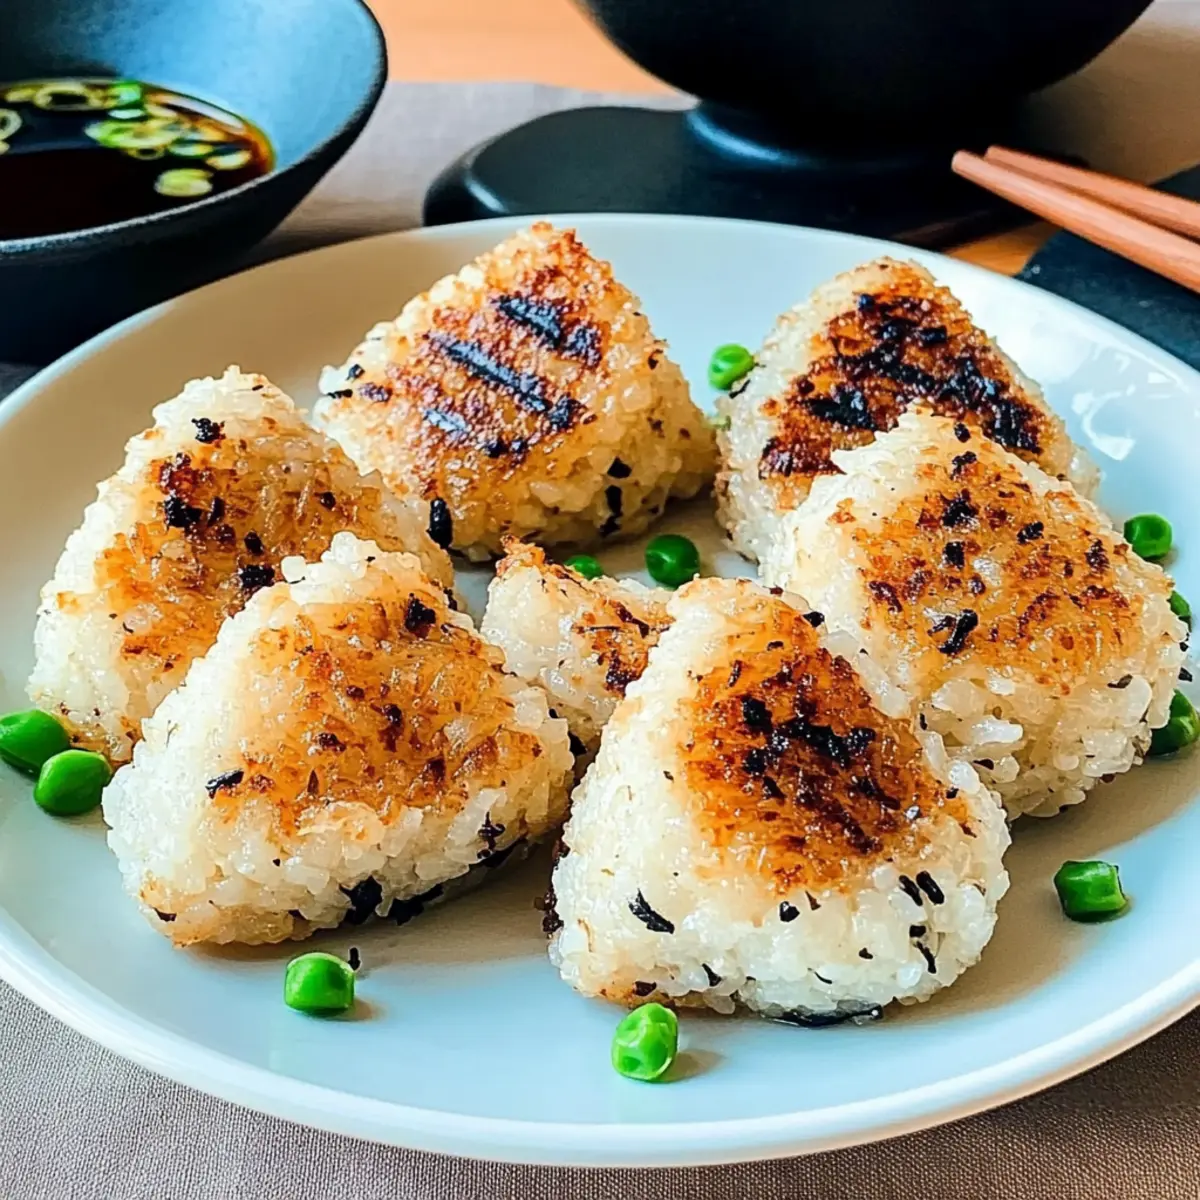
Preheat your grill to medium heat, around 350°F (175°C). Lightly oil the grill grates to prevent sticking. Grill each rice ball for approximately 3 minutes on each side until they are golden brown and crispy, watching for a delightful char and aroma that fills the air to signal they are ready to serve.
Step 7: Serving
Once grilled, carefully remove the rice balls from the grill and allow them to cool for a minute. Serve warm, drizzled with additional soy sauce or sprinkled with sesame seeds for a delightful finishing touch. Your Japanese Grilled Rice Balls are now ready to be enjoyed, bringing a taste of Japan to your table!
What to Serve with Japanese Grilled Rice Balls
Elevate your meal by pairing these delightful rice balls with complementary sides and drinks that burst with flavor!
- Crunchy Asian Salad: A refreshing mix of greens, cabbage, and sesame dressing adds a crunchy texture that balances the soft rice balls perfectly.
- Miso Soup: This warm and savory soup is a comforting choice, enhancing the umami notes of the rice balls and providing a cozy dining experience.
- Pickled Vegetables: The tangy flavor of pickled veggies cuts through the richness, adding a zesty contrast that refreshes your palate.
- Edamame: Lightly salted edamame serves as a nutritious side that brings a healthy crunch, perfect alongside the grilled texture of the rice balls.
- Teriyaki Chicken Skewers: These sweet and savory skewers enhance the Japanese theme, offering a delightful protein pairing that’s sure to please.
- Green Tea: A warm cup of green tea cleanses the palate and adds a soothing element, making it an ideal beverage choice.
- Wasabi Peas: For those who enjoy a little heat, crunchy wasabi peas add spice and texture, keeping your taste buds alive and engaged.
- Fruit Salad: A light, refreshing fruit salad brings a touch of sweetness that beautifully complements the savory flavors of the rice balls.
- Chilled Sake: Serve chilled sake for an elegant touch; its subtle sweetness and gentle aroma enhance the overall experience of dining.
Make Ahead Options
These Japanese Grilled Rice Balls are ideal for meal prep, making busy weeknights a breeze! You can prepare the seasoned rice and shape the rice balls up to 24 hours in advance. Simply follow the initial steps, cool the rice, and form the rice balls with your favorite fillings. Store them in an airtight container in the fridge to maintain freshness. When you’re ready to enjoy, just grill them straight from the fridge for 3 minutes on each side until golden brown and crispy. This way, you’ll have a delicious snack that tastes just as delightful as if you made it fresh!
Tips for the Best Japanese Grilled Rice Balls
Cool First: Allow the rice to cool before shaping. This step prevents sticking and helps maintain the rice ball’s integrity.
Wet Hands: Always wet your hands when shaping to make it easier to form perfect rice balls. This helps avoid any sticking mess.
Grill Temp: Use medium heat for grilling; too high might burn the exterior without cooking the inside. Aim for golden-brown perfection!
Don’t Rush Fillings: Take your time when adding fillings; ensure they are finely chopped and evenly distributed for delightful flavor in every bite.
Avoid the Microwave: Reheating in the microwave can make the rice soggy. Instead, warm on a grill or in a toaster oven for the best texture.
Storage Tips for Japanese Grilled Rice Balls
Fridge: Store leftover Japanese Grilled Rice Balls in an airtight container for up to 3 days to keep them fresh and flavorful.
Freezer: For longer storage, freeze rice balls separately in plastic wrap, then place them in a freezer-safe bag. They can last up to 3 months.
Reheating: Avoid using a microwave to reheat, as it can make the rice soggy. Instead, grill or use a toaster oven until heated through and crispy again.
Wrapping: If grilling multiple batches, wrap each rice ball individually to maintain their shape and prevent sticking.
Japanese Grilled Rice Balls Variations
Feel free to let your culinary creativity shine with these delightful twists! Each variation offers an exciting opportunity to enhance your flavor experience.
-
Avocado: Creamy avocado adds a rich texture; simply mash it lightly and fold it into the rice before shaping.
-
Cheese: A classic twist! Add a small cube of mozzarella or cheddar inside for a gooey surprise that melts beautifully when grilled.
-
Spicy Kimchi: For flavor enthusiasts, integrating chopped spicy kimchi adds a tangy kick; it perfectly balances the creamy rice with heat and crunch.
-
Vegetarian Delight: Substitute with sautéed mushrooms and spinach for a savory, plant-based filling; this keeps it hearty while being healthy.
-
Crispy Bacon: Crumble crispy bacon and mix it into the rice; this offers a smoky flavor that pairs perfectly with the sweet soy sauce glaze.
-
Coconut Rice: Swap regular water with coconut milk when cooking rice; this infuses a tropical flavor that complements fillings like grilled shrimp or mango.
-
More Herbs: Enhance freshness with chopped green onions or cilantro mixed throughout the rice for a burst of color and flavor; it’ll brighten up your snack!
Have fun mixing and matching these variations, and while you’re at it, why not try these fantastic Corn Chicken Rice or Coconut Chicken Rice for a delightful meal?
Japanese Grilled Rice Balls Recipe FAQs
How do I choose the right rice for making Japanese Grilled Rice Balls?
Absolutely! For authentic Japanese Grilled Rice Balls, always opt for short-grain rice or sushi rice. These types are stickier, which helps the rice balls hold their shape better. Look for high-quality brands, as the right rice can significantly affect the texture and flavor of your Onigiri.
How long can I store leftover rice balls in the fridge?
You can store leftover Japanese Grilled Rice Balls in an airtight container in the fridge for up to 3 days. Just make sure they’re sealed well to keep them from drying out. If you’re reheating, I recommend grilling them again to restore that delightful crispiness!
Can I freeze Japanese Grilled Rice Balls, and how should I do it?
Absolutely! Freezing is a great option if you want to keep your rice balls for longer. First, allow them to cool completely. Then, wrap each rice ball individually in plastic wrap and place them in a freezer-safe bag. They can be stored for up to 3 months. When you’re ready to enjoy them again, simply reheat on a grill or in a toaster oven for the best texture.
What should I do if my rice balls fall apart while grilling?
If your rice balls are falling apart, it might be because the rice isn’t sticky enough or they’re not shaped tightly. Make sure to use the right type of short-grain rice, and when shaping, pack the rice tightly around the fillings. If needed, add a bit more water next time during the rice cooking process to increase stickiness!
Are there any dietary considerations I should keep in mind for Japanese Grilled Rice Balls?
Very! If you’re making these for anyone with allergies, ensure you check the soy sauce. Regular soy sauce contains gluten, so opt for gluten-free tamari instead. Also, always be cautious with your chosen fillings, especially if using seafood or nuts, as these can provoke allergies.
Can I use different fillings for the rice balls?
The more the merrier! You can absolutely customize the fillings based on your preference. Common choices include shredded chicken, veggies, or even spicy kimchi. Just make sure to finely chop your fillings to fit inside your rice balls nicely! Experimenting with fillings not only keeps the snacks exciting but also lets you cater to various tastes.
Delicious Japanese Grilled Rice Balls: A Fun Snack Adventure
Ingredients
Equipment
Method
- Rinse the short-grain rice under cold water until the water runs clear, about 2-3 minutes. Soak in 1½ cups of water for 30 minutes.
- Transfer soaked rice and water to a medium saucepan. Cover, bring to boil, reduce to low, and simmer for approximately 20 minutes, then let it rest for 10 minutes.
- Fluff warm rice, stir in soy sauce and toasted sesame oil evenly.
- Prepare desired fillings by finely chopping them for easy incorporation.
- Wet hands, take half a cup of seasoned rice, flatten it, and place a teaspoon of filling in center. Fold rice over to form a ball or triangle.
- Preheat grill to medium heat (350°F/175°C). Lightly oil grates and grill rice balls for about 3 minutes on each side until golden brown.
- Remove grilled rice balls, allow to cool for a minute, then serve warm with soy sauce or sesame seeds.
Leave a Reply