
“Why go for a store-bought dessert when you can create your own culinary masterpiece at home?” That’s what I found myself asking as I whipped up these delightful Mini Crème Brûlée Cheesecakes—an enchanting fusion of creamy cheesecake and a crispy, caramelized topping that brings the classic dessert experience right to your kitchen. Not only are these gems easy to make, but they’re also gluten-free adaptable, ensuring everyone can relish in a bite. Whether you’re looking to dazzle your guests or simply indulge your sweet tooth, this is one recipe that fits the bill. Ready to discover how to impress without the stress? Let’s dive into this delicious adventure!
Why are these cheesecakes so irresistible?
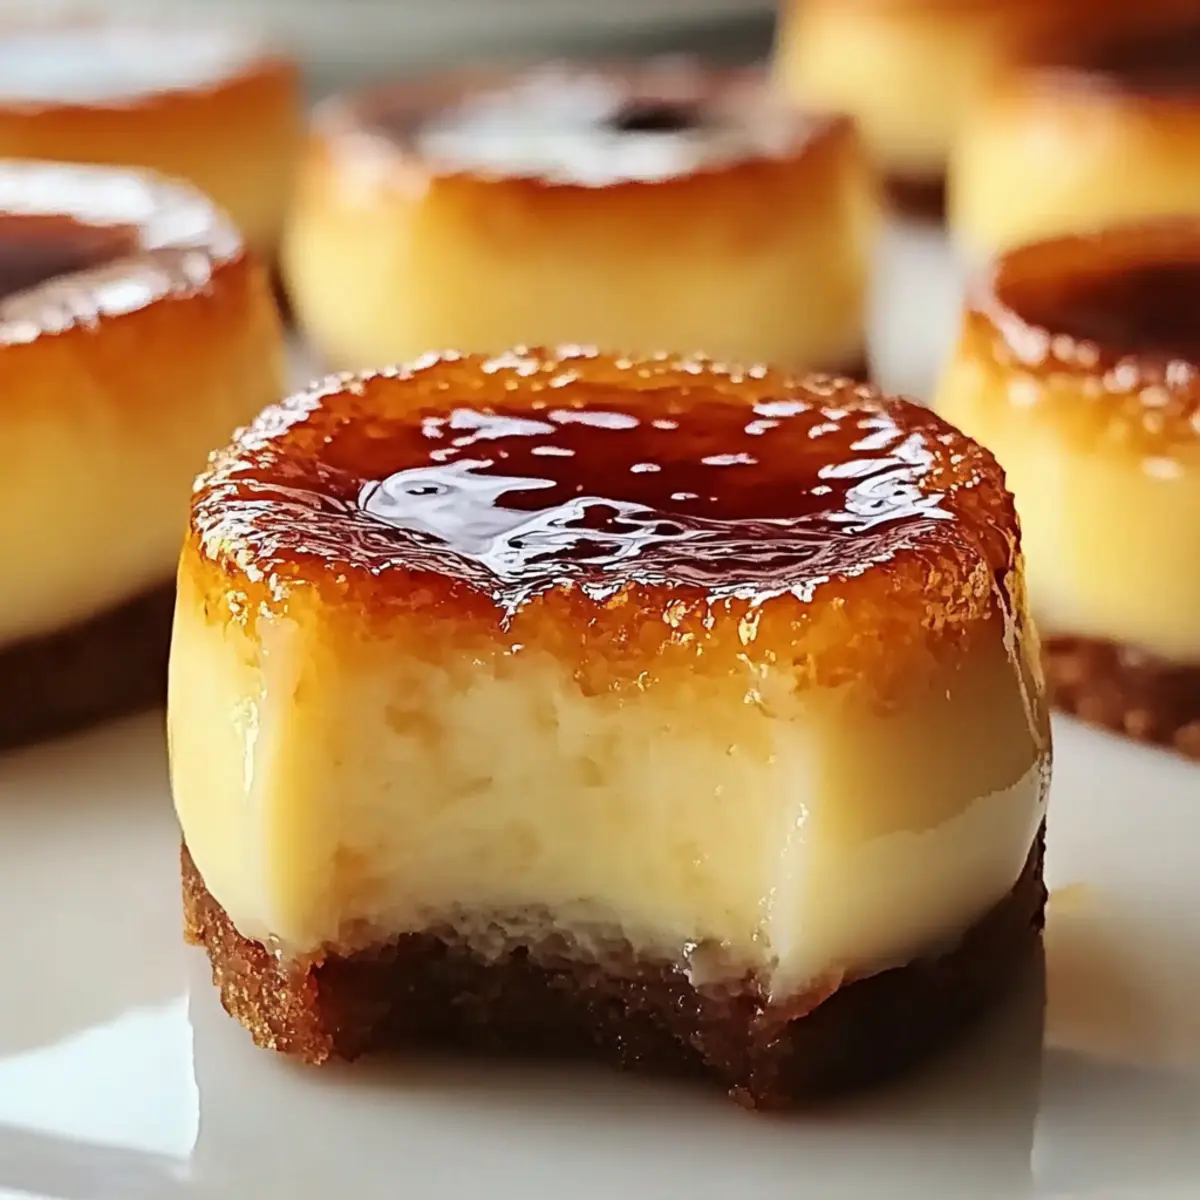
Decadent Delight: Mini Crème Brûlée Cheesecakes combine creamy cheesecake with a crunchy caramel top for a rich dessert experience.
Easy to Make: With straightforward instructions, you’ll wow your friends and family without any fuss.
Versatile Options: They can easily be made gluten-free, ensuring everyone can enjoy their deliciousness.
Perfect for Any Occasion: Whether it’s a dinner party or a simple family gathering, these mini treats are sure to impress.
Make-Ahead-Friendly: Prepare these delightful desserts in advance for stress-free entertaining. Each bite is a celebration of texture and flavor!
Mini Crème Brûlée Cheesecake Ingredients
Get ready to create a sweet masterpiece!
For the Crust
- Graham Cracker Crumbs – Provides the base crust with a buttery flavor; substitute with gluten-free graham cracker crumbs for a gluten-free version.
- Melted Butter – Binds the crust ingredients together, adding moisture; ensure it’s fully melted for best mixing.
- Granulated Sugar – Sweetens both the crust and cheesecake filling; consider using brown sugar for a caramel note.
For the Cheesecake Filling
- Cream Cheese – Essential for the cheesecake filling, providing smooth texture and tangy flavor; use full-fat for best results.
- Eggs – Acts as a setting agent for the cheesecake, providing structure; room temperature eggs mix better.
- Vanilla Extract – Adds depth of flavor; consider using pure vanilla for a more robust taste.
- Heavy Cream – Makes the filling richer and creamier; can be substituted with coconut cream for a dairy-free version.
- Granulated Sugar (for Brûlée topping) – Creates the crispy caramelized layer; use coarse sugar for a better crunch.
These Mini Crème Brûlée Cheesecakes are a delightful treat that will bring joy to anyone lucky enough to enjoy them!
Step‑by‑Step Instructions for Mini Crème Brûlée Cheesecakes
Step 1: Preheat the Oven
Begin by preheating your oven to 325°F (163°C). While the oven warms up, prepare a muffin tin by placing cupcake liners in each cup to hold the mini cheesecakes. This step ensures that your Mini Crème Brûlée Cheesecakes maintain their shape and are easy to serve.
Step 2: Make the Crust
In a mixing bowl, combine graham cracker crumbs, melted butter, and 2 tablespoons of sugar. Stir until the mixture resembles wet sand, then use your fingers or the bottom of a glass to press it firmly into the bottom of each cupcake liner. Bake the crust in the preheated oven for 5 minutes, until slightly golden, and set aside to cool.
Step 3: Prepare the Filling
In a large mixing bowl, beat the softened cream cheese and ½ cup sugar together until smooth and creamy. Add eggs one at a time, mixing well after each addition to incorporate air. Gently fold in the vanilla extract and heavy cream until the mixture is homogeneous. This filling will create the rich base for your Mini Crème Brûlée Cheesecakes.
Step 4: Fill and Bake
Carefully pour the cheesecake filling into the prepared crust-lined cups, filling each about three-quarters full. Place the muffin tin back in the oven and bake for 18-20 minutes, until the edges are set but the centers still have a slight jiggle. This slight jiggle indicates a creamy texture awaits when they cool.
Step 5: Cool and Chill
Once they are done baking, remove the Mini Crème Brûlée Cheesecakes from the oven and allow them to cool to room temperature in the muffin tin. After cooling, transfer them to the refrigerator and chill for at least 2 hours, or preferably overnight, to let the flavors meld and the texture firm up.
Step 6: Create the Brûlée Topping
Before serving, take the cheesecakes out of the refrigerator. Evenly sprinkle coarse sugar over the tops of each cheesecake. To achieve that signature crispy layer, use a kitchen torch to caramelize the sugar until it melts and turns golden brown. Alternatively, you can place them under a broiler for about 1-2 minutes; just watch closely to prevent burning.
Mini Crème Brûlée Cheesecakes Variations
Feel free to bring out your inner chef and personalize these delightful cheesecakes to suit your cravings and dietary needs!
- Chocolate Crust: Swap graham cracker crumbs for chocolate wafers to create a rich, cocoa-infused crust. This twist gives the dessert a deeper flavor that chocolate lovers will adore.
- Fruity Surprise: Layer in some fresh fruit compote, like raspberry or passion fruit, beneath the brûlée topping for a burst of sweetness and color. Fruity accents add a refreshing contrast to the creamy filling.
- Nutty Texture: Incorporate finely chopped nuts, such as almonds or hazelnuts, into the crust for added crunch and flavor complexity. This nutty twist gives a delightful texture variation that enhances the overall experience of the cheesecake.
- Coconut Cream: For a tropical spin, replace heavy cream with coconut cream for a luscious, dairy-free option that maintains decadence. Coconut adds a hint of paradise to every bite—perfect for summer gatherings!
- Liqueur Infusion: Enhance the filling with a splash of liqueurs like Amaretto or Grand Marnier for unexpected depth. Just a tablespoon or two elevates the flavor profile—making these cheesecakes uniquely yours!
- Spiced Delight: Introduce warm spices such as cinnamon or nutmeg into the filling for an aromatic twist. This slight alteration creates a cozy flavor reminiscent of fall or winter celebrations.
- Extra Sweetness: For those who crave more sweetness, consider drizzling caramel or chocolate sauce on top after torching for an indulgent finish. It not only enhances appearance but also offers a gooey surprise beneath the crunchy top.
- Caffeine Kick: Add a tablespoon of espresso powder to the filling for caffeinated cheesecake goodness. This option brings a delightful coffee flavor to the dessert, making it perfect for coffee lovers!
Feel free to experiment and share your unique creations—after all, cooking is all about discovery! For ideas on sides, consider pairing these cheesecakes with a refreshing Mixed Berry Salad or a dollop of vanilla Whipped Cream for that extra touch.
Expert Tips for Mini Crème Brûlée Cheesecakes
- Smooth Filling: Ensure cream cheese is softened properly to avoid lumps; beat until completely smooth for a perfect texture.
- Caramelization Watch: Pay close attention while caramelizing the sugar; it can quickly go from golden to burnt.
- Chill Well: Chill cheesecakes for at least 2 hours to develop their flavor and texture; overnight chilling is even better.
- Fill Gently: When pouring in the filling, do so gently to prevent disturbing the crust. Fill about three-quarters full for an ideal bake.
- Gluten-Free Option: Use gluten-free graham cracker crumbs and coconut cream to adapt these Mini Crème Brûlée Cheesecakes for gluten-sensitive guests.
Make Ahead Options
These Mini Crème Brûlée Cheesecakes are a dream come true for busy home cooks wanting to save time without sacrificing flavor! You can prepare the cheesecake filling and crust up to 24 hours in advance by storing them separately in the refrigerator. Simply make the crust and press it into the muffin tin, then prepare the filling and keep it properly sealed until you’re ready to bake. For the best quality, add the brûlée topping right before serving to retain that heavenly crunch. When you’re ready to enjoy, pour the filling over the chilled crusts and follow through with the baking instructions for a delightful dessert that’s just as delicious as if made fresh!
How to Store and Freeze Mini Crème Brûlée Cheesecakes
- Fridge: Store leftovers in an airtight container in the refrigerator for up to 3 days, ensuring they stay fresh and ready to enjoy!
- Freezer: For longer storage, freeze the cheesecakes without the brûlée topping for up to 2 months. Wrap each firmly in plastic wrap and then in aluminum foil.
- Thawing: Thaw in the fridge overnight before serving. Add the brûlée topping after thawing just before you plan to serve them for the best texture.
- Reheating: It’s best to enjoy these Mini Crème Brûlée Cheesecakes chilled; if you want to soften them slightly, let them sit at room temperature for 15-20 minutes before enjoying.
What to Serve with Mini Crème Brûlée Cheesecakes
Elevate your dessert experience with the perfect pairings that beautifully complement these luscious delights.
-
Fresh Berries: The tartness of raspberries or strawberries adds a lovely contrast to the creamy sweetness of the cheesecake.
-
Whipped Cream: A dollop of fluffy whipped cream enhances the dessert’s richness while offering a light, airy texture.
-
Chocolate Ganache: Drizzling warm, silky chocolate ganache adds indulgence, creating a luxurious flavor harmony you won’t want to miss.
-
Espresso or Coffee: A cup of dark espresso or rich coffee can cut through the richness of the cheesecake, providing a delightful finish to your meal.
-
Mint Leaves: Pair with a sprig of fresh mint for a dash of color and refreshing flavor—creating a beautiful presentation.
-
Ice Cream: A scoop of vanilla or coffee ice cream on the side adds an extra creamy layer, enhancing the dessert’s overall decadence.
-
Fruit Compote: Consider a layer of tangy fruit compote for added complexity and a burst of flavor beneath that caramel topping.
-
Dessert Wine: Treat yourself to a sweet dessert wine that echoes the rich flavors of the cheesecake while providing a delightful sip between bites.
-
Citrus Zest: A sprinkle of grated lemon or orange zest can brighten the dish, adding fresh notes that beautifully balance the richness.

Mini Crème Brûlée Cheesecakes Recipe FAQs
How should I choose ripe ingredients for the cheesecakes?
Absolutely! When selecting your ingredients, especially cream cheese, look for packages that are not bulging, indicating freshness. For the eggs, choose ones that are clean, without cracks. Fresh vanilla extract should have a rich aroma, while heavy cream should be cold and have a thick consistency.
What’s the best way to store leftover Mini Crème Brûlée Cheesecakes?
Very! Store your leftover cheesecakes in an airtight container in the refrigerator for up to 3 days. Make sure they are fully cooled before sealing to avoid condensation, which can affect the texture. If you have multiple layers, separate them with parchment paper to prevent sticking.
Can I freeze Mini Crème Brûlée Cheesecakes? How do I do it?
Certainly! To freeze, remove the brûlée topping and wrap each cheesecake tightly in plastic wrap, then in aluminum foil. They can be stored in the freezer for up to 2 months. When you’re ready to enjoy, thaw them in the refrigerator overnight. Right before serving, add the brûlée topping for that delightful crispy layer.
What if my cheesecake filling doesn’t turn out smooth?
That’s a common concern! If you find lumps in your filling, it might be due to unsoftened cream cheese. Always make sure your cream cheese is at room temperature and properly whipped until smooth before adding other ingredients. If you’ve mixed too much air in it, try gently folding rather than beating your eggs to keep it creamy.
Are Mini Crème Brûlée Cheesecakes suitable for gluten-free diets?
Absolutely! You can easily adapt this recipe to be gluten-free by substituting the graham cracker crumbs with gluten-free alternatives, such as gluten-free graham cracker crumbs or even crushed nuts. Just ensure that your other ingredients, especially the cream cheese and any toppings, are also gluten-free. Enjoy your treats without worry!
Mini Crème Brûlée Cheesecakes for an Easy Sweet Treat
Ingredients
Equipment
Method
- Preheat your oven to 325°F (163°C) and prepare a muffin tin with cupcake liners.
- In a mixing bowl, combine graham cracker crumbs, melted butter, and 2 tablespoons of sugar. Press firmly into the bottom of each cupcake liner. Bake for 5 minutes and set aside to cool.
- Beat cream cheese and 1/2 cup sugar together until smooth. Add eggs one at a time, then fold in vanilla extract and heavy cream.
- Pour cheesecake filling into crust-lined cups, filling each about three-quarters full. Bake for 18-20 minutes until slightly jiggly in the center.
- Allow the cheesecakes to cool to room temperature, then transfer to the refrigerator to chill for at least 2 hours.
- Evenly sprinkle coarse sugar over the tops and caramelize using a kitchen torch until golden brown.
Leave a Reply