
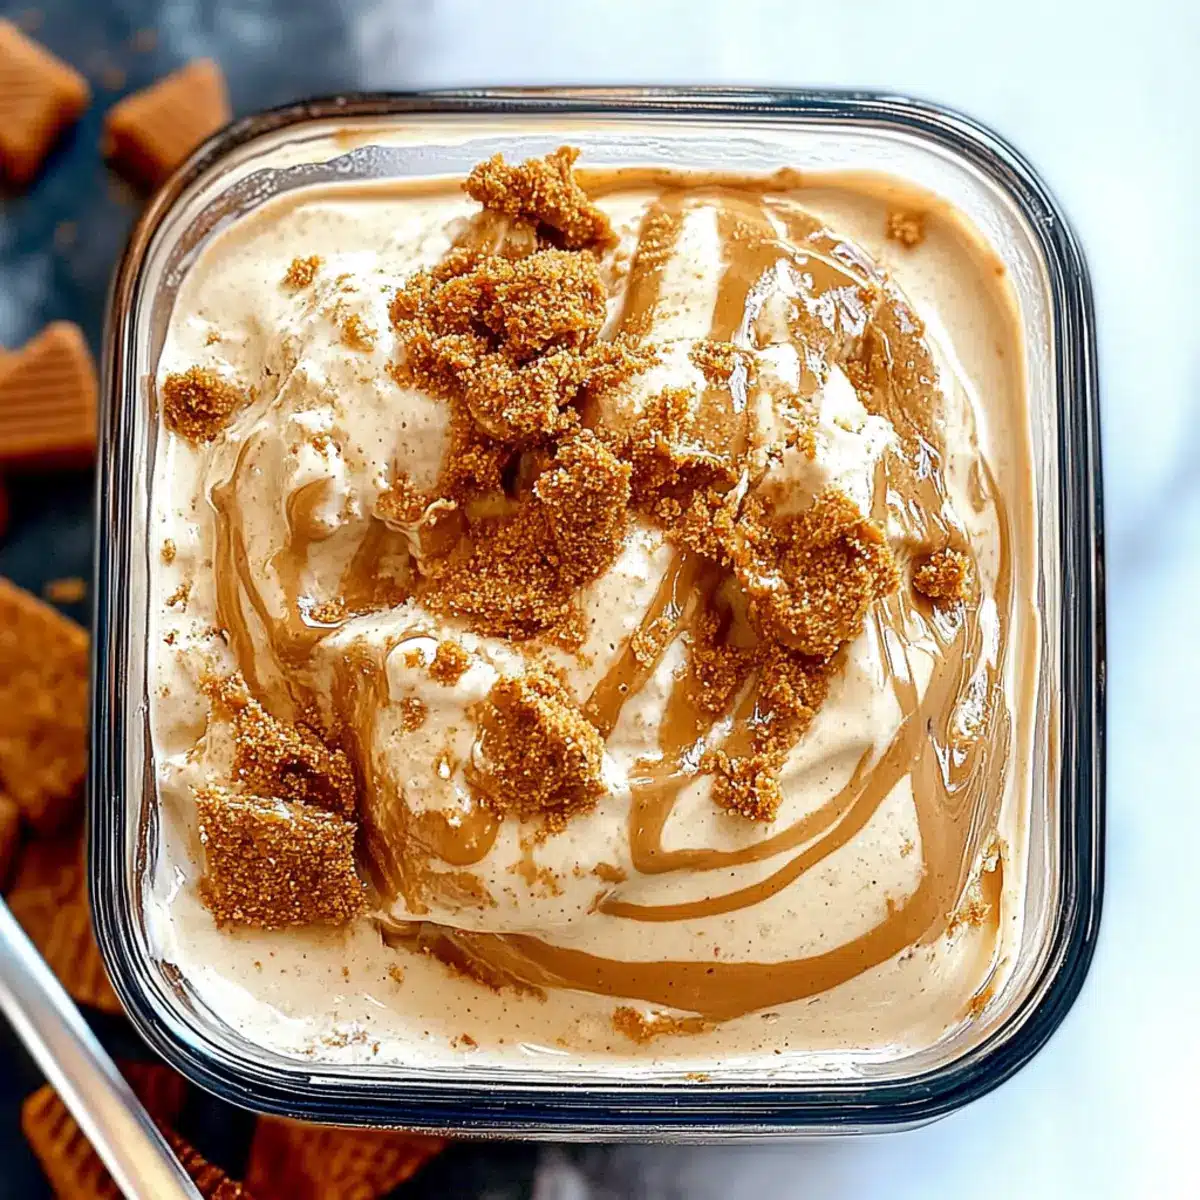
As I stood in my kitchen, the sweet scent of Biscoff cookies wafted through the air, instantly transporting me to cozy coffee shops in Belgium. This Homemade Biscoff Ice Cream is my answer to those late-night cravings for something sweet and comforting—without any fuss. With just a handful of ingredients, this no-churn ice cream comes together in under 15 minutes, making it the perfect quick and easy dessert for any occasion. The combination of creamy whipping cream and the rich, spiced flavor of Biscoff cookie butter creates a luscious texture, while delightful cookie swirls add an irresistible crunch. Imagine treating yourself to a scoop (or two) that captures the spirit of both indulgence and nostalgia! Ready to dive into this creamy delight? Let’s get started!
Why Is Biscoff Ice Cream So Special?
Easy, No-Churn Delight: This recipe requires no special equipment, making it accessible for everyone—from novice cooks to seasoned chefs.
Bursting with Flavor: The blend of creamy cookie butter and sweetened condensed milk creates a delightful harmony of spices and sweetness that will mesmerize your taste buds.
Quick Preparation: With just a few simple steps, you can whip this up in under 15 minutes—perfect for last-minute dessert cravings!
Versatile Treat: Whether you indulge on its own, top it with fresh berries, or enjoy it alongside crumbled Biscoff cookies, there are endless ways to savor this treat.
Crowd-Pleasing Dessert: Ideal for gatherings, this ice cream is sure to impress! It’s a delightful way to share the joy of homemade desserts with family and friends.
Biscoff Ice Cream Ingredients
For the Ice Cream Base
• Sweetened Condensed Milk – Essential for creaminess and sweetness; no direct substitutes.
• Biscoff Cookie Butter – Adds a rich flavor; available in most grocery stores; feel free to try other nut butters for variations.
• Heavy Whipping Cream – Creates that light and fluffy ice cream texture; use at least 36% fat cream for best results.
• Vanilla Extract – Enhances the overall flavor; you can substitute with vanilla bean for a richer taste.
For the Cookie Swirls
• Chopped Biscoff Cookies – Provides delightful texture and bursts of flavor; you can also use alternatives like graham crackers or Oreos for a twist.
This Biscoff Ice Cream is sure to become your go-to no-churn dessert that’s both quick and easy to make!
Step‑by‑Step Instructions for Biscoff Ice Cream
Step 1: Whisk Together Base
In a large mixing bowl, whisk together one can of sweetened condensed milk and ½ cup of Biscoff cookie butter until the mixture is completely smooth and well-combined. This step should take about 2-3 minutes. Make sure there are no lumps, as this will help create a creamy Biscoff Ice Cream base.
Step 2: Whip the Cream
In a separate bowl, use a hand mixer or stand mixer to whip 2 cups of heavy whipping cream with 1 teaspoon of vanilla extract. Beat the cream until stiff peaks form, which should take around 3-5 minutes. Be careful not to over-whip, as it can turn buttery. You’re looking for a light, airy texture that will give the ice cream a fluffy consistency.
Step 3: Combine Mixtures
Gently fold the whipped cream into the condensed milk and Biscoff mixture using a rubber spatula. Do this slowly until just combined, allowing the lighter mixture to incorporate without deflating the whipped cream. This delicate blending is key to achieving the airy texture of your Biscoff Ice Cream, so be gentle for about 1-2 minutes.
Step 4: Layer the Ice Cream
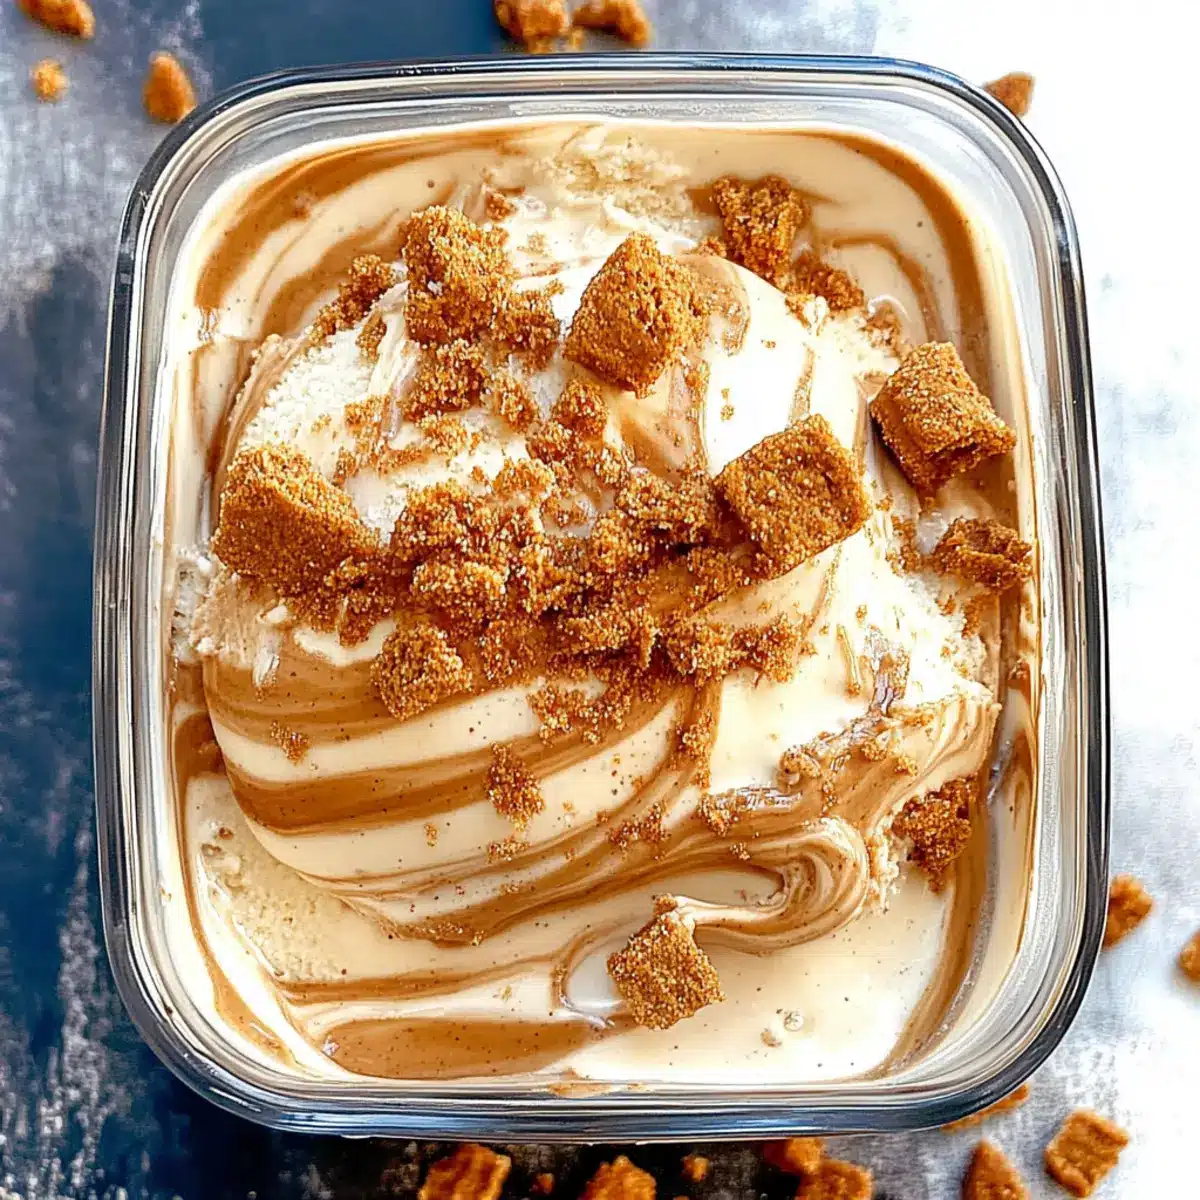
Transfer one-third of the mixture into a 9×5 inch loaf pan, smoothing it evenly with a spatula. This initial layer provides the base for your ice cream. Next, drizzle a few tablespoons of melted cookie butter over this layer for added flavor before repeating the layering process with another third of the ice cream mixture.
Step 5: Repeat and Swirl
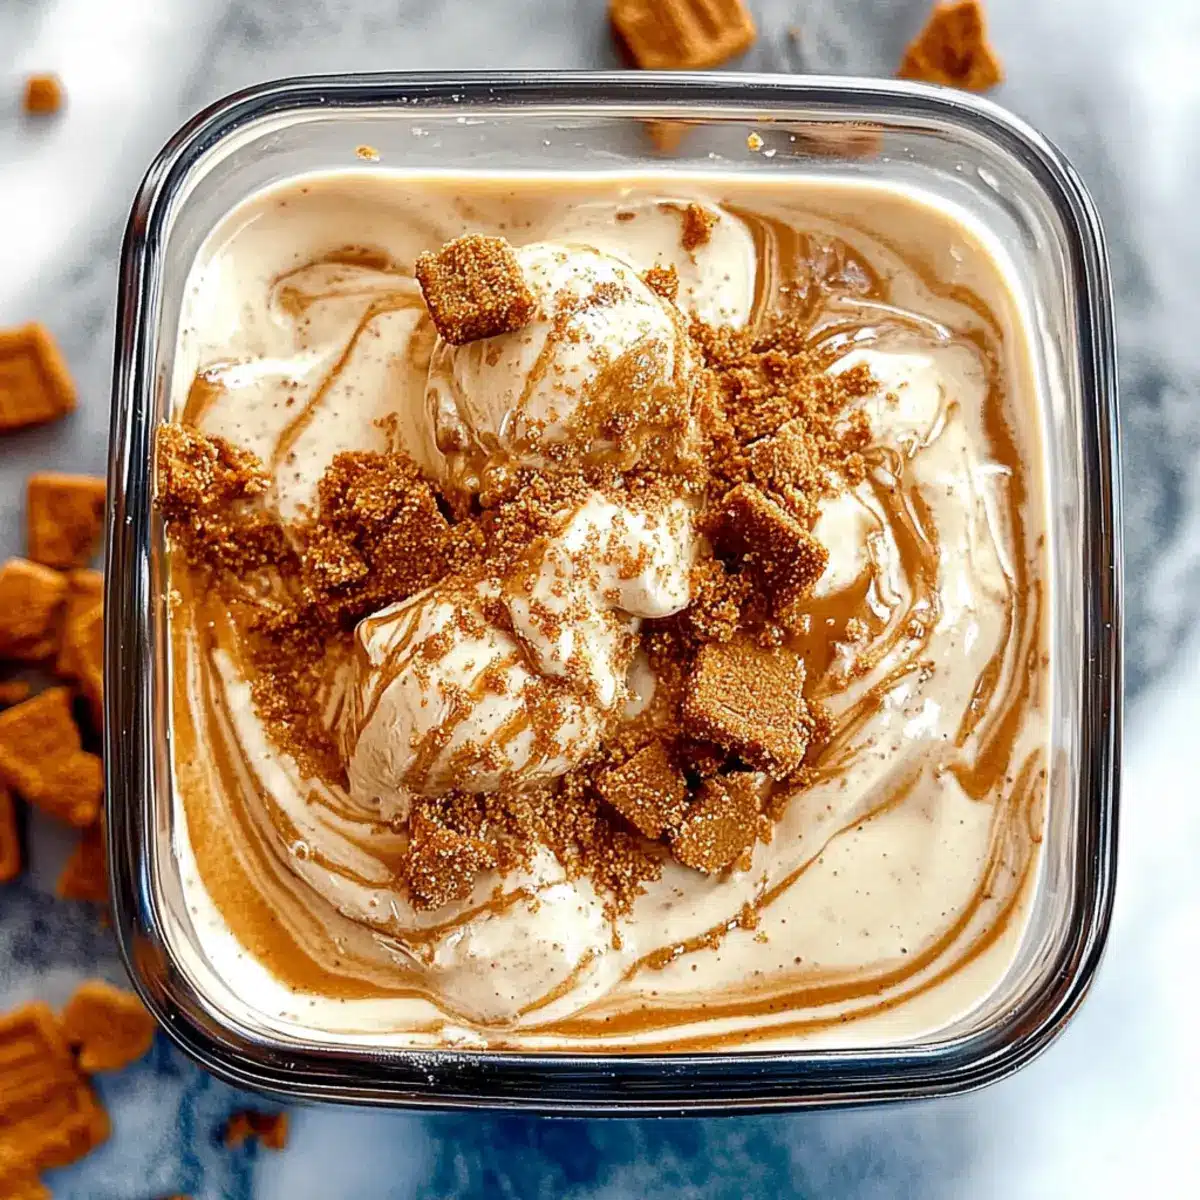
Spread the remaining ice cream mixture evenly onto the second layer and top it off with additional drizzled cookie butter. Use a knife or skewer to create gentle swirls through the layers, which will give your Biscoff Ice Cream those beautiful marbled effects.
Step 6: Add Cookie Crunch
Sprinkle any remaining chopped Biscoff cookies on top for extra texture and flavor. This will enhance your ice cream with delightful bites of cookie, ensuring every scoop is packed with tasty surprises. Aim to fully cover the top, as this will also help keep the ice cream intact during freezing.
Step 7: Freeze Until Solid
Cover the loaf pan tightly with plastic wrap and place it in the freezer. Allow the ice cream to freeze for at least 8 hours, but overnight is best for perfect firmness. Check to ensure it is completely solid before attempting to scoop, which will give you that ideal creamy texture for enjoying your homemade Biscoff Ice Cream.
Make Ahead Options
This Homemade Biscoff Ice Cream is a fantastic option for busy home cooks looking to save time! You can prepare the ice cream base up to 24 hours in advance by whisking together the sweetened condensed milk and Biscoff cookie butter, then refrigerating it until you’re ready to whip the cream. Make sure to keep the whipped cream stored in an airtight container separately, as this will maintain its airy texture. On the day you plan to serve, simply fold the whipped cream into the chilled mixture, layer in the loaf pan, and freeze for at least 8 hours (or overnight for best results). With this make-ahead strategy, you’ll have creamy Biscoff Ice Cream ready to delight your family with minimal effort!
What to Serve with Easy No-Churn Biscoff Ice Cream
Dive into the magic of flavor pairings that elevate this sweet frozen treat to new heights of delight!
-
Fresh Berries: The tartness of raspberries or strawberries contrasts beautifully with the creamy sweetness of Biscoff ice cream, adding a pop of freshness. These juicy fruits create a delightful balance and add wholesome beauty to your dessert presentation.
-
Chocolate Drizzle: A rich, warm chocolate sauce drizzled on top can enrich the flavor profile and provide an enticing touch. The decadence of chocolate mingling with the cookie flavor makes for a timeless combination.
-
Caramel Sauce: Sweet, buttery caramel syrup complements the spices of Biscoff, creating a luscious contrast that is simply irresistible. Consider adding a sprinkle of sea salt for sophistication—it’s like a sweet and salty hug!
-
Biscoff Cookie Crumbles: Elevate your dish with an extra sprinkle of crushed Biscoff cookies on top. This adds delightful crunch and enhances the existing flavors, turning each bite into sheer bliss.
-
Whipped Cream: A dollop of freshly whipped cream creates a lovely lightness that pairs beautifully with the rich ice cream. Its airy texture complements the denser, creamy body, inviting you to indulge just a little more!
-
Coffee: Serve alongside a warm cup of coffee; the deep flavors create a warm harmony with the spices in the ice cream. The combination of sweet ice cream melting into hot coffee is nothing short of magical.
-
Nut Toppings: Crunchy toasted nuts like pecans or almonds add a satisfying crunch that contrasts with the velvety texture of Biscoff ice cream. They contribute earthy notes, creating complexity in every delicious mouthful.
-
Chocolate Chip Cookies: These delightful treats served alongside your ice cream not only create a nostalgic dessert experience but also offer an extra texture contrast, making each bite memorable and fun.
-
Homemade Brownies: Pairing with fudgy brownies adds more depth with their rich chocolate flavor. A scoop of Biscoff ice cream atop warm brownies is pure decadence; the warmth melts the ice cream just enough for a heavenly treat!
Biscoff Ice Cream Variations & Substitutions
Feel free to get creative and tailor this delightful ice cream to your taste buds; let your imagination run wild in the kitchen!
- Nutty Delight: Add a handful of chopped walnuts or pecans for an extra crunch and nutty flavor.
- Chocolate Swirls: Drizzle melted chocolate along with the cookie butter for a rich, chocolatey twist.
- Spiced Pumpkin: Substitute Biscoff cookie butter with pumpkin spice for a seasonal flavor with cozy, warm notes.
- Fruit Fusion: Swirl in some pureed berries or banana for a refreshing fruity twist that pairs beautifully with the spices.
- Coconut Cream: Replace heavy cream with coconut cream for a dairy-free option and add a tropical flair.
- Ginger Snap: Swap in ginger snap cookies instead of Biscoff for an extra layer of spiciness and texture.
- Salted Caramel: Mix in some salted caramel sauce to the mixture for a sweet and salty kick that will tantalize your palate.
- Coffee Lovers: Stir in a tablespoon of instant coffee granules to add a caffeinated boost that elevates the flavor profile.
For more scrumptious ideas, you can enjoy this ice cream with a side of Creamy Garlic Shrimp over Mashed Potatoes or pair it alongside a slice of Creamy Steak Pasta Ready for a decadent meal, making it a true culinary adventure!
How to Store and Freeze Biscoff Ice Cream
Fridge: Store any leftover Biscoff Ice Cream in an airtight container; it’s best enjoyed fresh within 5 days for optimal flavor and texture.
Freezer: Keep your Biscoff Ice Cream tightly covered in the freezer for up to two weeks. For longer storage, consider using a freezer-safe container to reduce ice crystals.
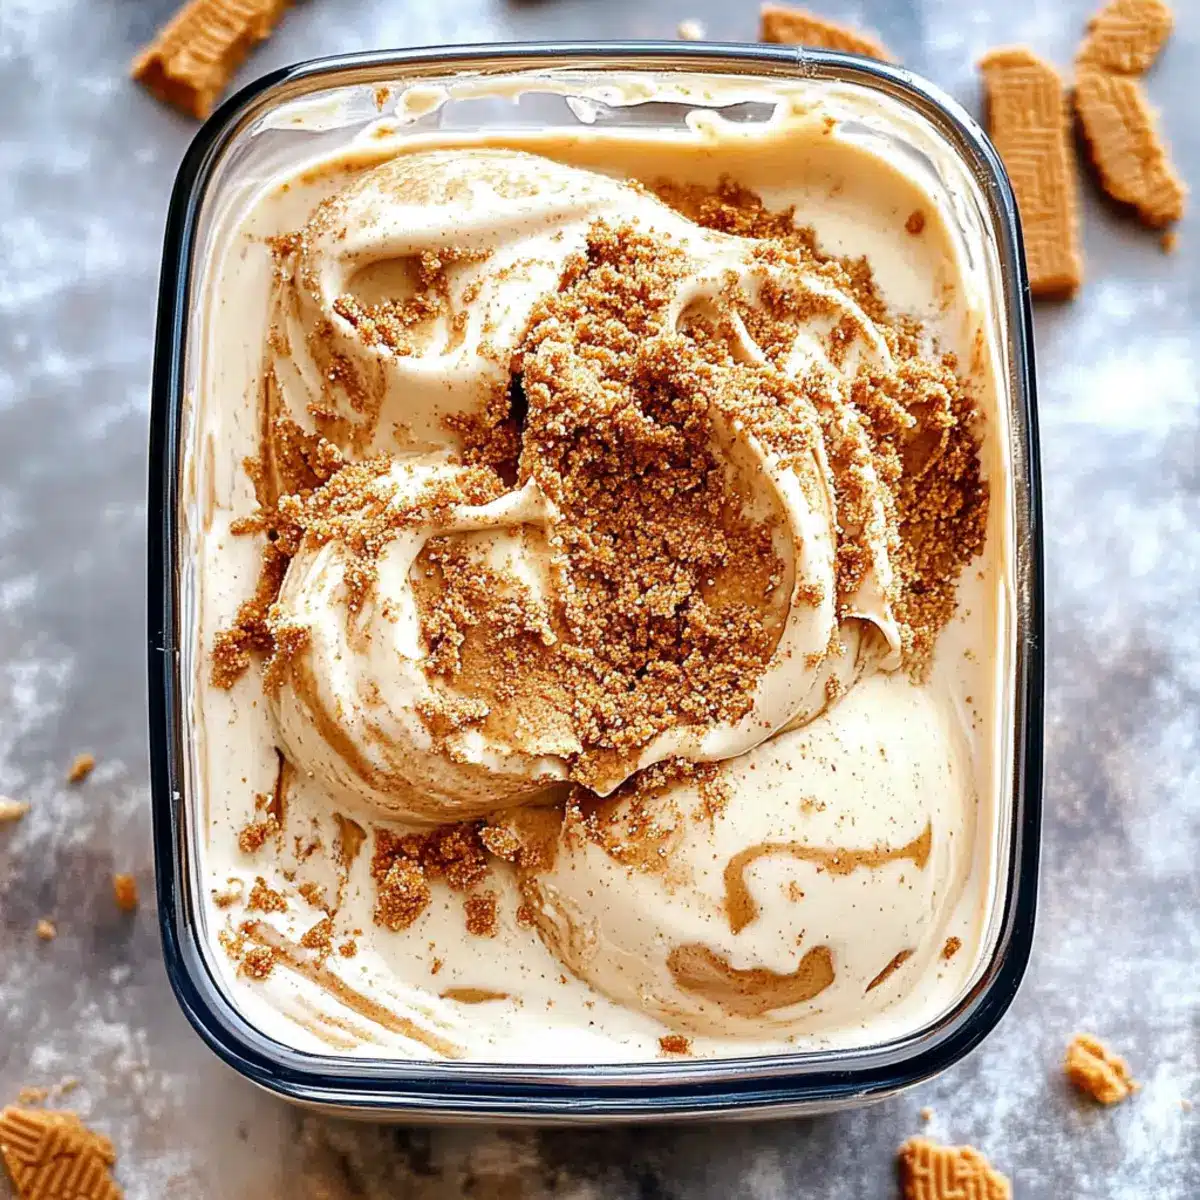
Serving Tip: Before scooping, let the ice cream sit at room temperature for 5-10 minutes to soften slightly, making it easier to serve without losing that creamy delight.
Reheating: There’s no need to reheat, but if you experience ice crystals on the surface, a brief sit at room temperature can help restore that luscious texture.
Expert Tips for Biscoff Ice Cream
-
Perfect Cream Whipping: Make sure to whip the heavy cream until stiff peaks form. This step is crucial for achieving the light and fluffy texture that makes Biscoff Ice Cream so delightful.
-
Gentle Folding: When combining the whipped cream and condensed milk mixture, fold gently to avoid deflating the whipped cream. Over-mixing can lead to a denser texture, which you want to avoid.
-
Ideal Freezing Time: While you can freeze the ice cream for at least 8 hours, letting it sit overnight will yield the best results. This allows the flavors to meld for a truly luscious experience.
-
Swirl Wisely: When creating those cookie butter swirls, use a knife to gently swirl but avoid overdoing it. Too much mixing can eliminate those beautiful marbled effects.
-
Room Temp Trick: For easier scooping, let the ice cream sit at room temperature for 5-10 minutes before serving. This allows it to soften slightly, making it easier to scoop and enjoy.
Biscoff Ice Cream Recipe FAQs
What type of Biscoff cookies should I use?
You can use regular Biscoff cookies, which are the classic choice, but feel free to experiment with other brands or flavors! Just make sure they have a similar texture that will complement the creaminess of your ice cream.
How should I store homemade Biscoff Ice Cream?
Store your Biscoff Ice Cream in an airtight container in the freezer. It’s best enjoyed within two weeks, as the flavors and textures will remain at their peak. For longer storage, consider a freezer-safe container to minimize ice crystal formation.
Can I freeze Biscoff Ice Cream for longer than two weeks?
Absolutely! While it can be stored in the freezer for up to one month, for the best taste and texture, consume it within two weeks. To freeze, make sure it’s tightly covered, as air exposure can lead to unwanted ice crystals.
What should I do if my whipped cream deflates while making the ice cream?
If you find your whipped cream has deflated, it may have been over-mixed or not whipped enough. As a workaround for future batches, ensure you whip the cream until it forms stiff peaks – typically 3-5 minutes. Also, fold gently when incorporating with the Biscoff mixture to maintain that fluffy texture.
Can I make this Biscoff Ice Cream dairy-free?
Yes! You can substitute the sweetened condensed milk with a dairy-free alternative like coconut condensed milk, and use non-dairy whipping cream. Just ensure that your Biscoff cookie butter is also dairy-free by checking the ingredients.
What if I have leftovers? Can I save them?
Yes! Any leftover Biscoff Ice Cream can be stored in an airtight container in the freezer for up to 5 days for the best flavor. To serve, let it sit at room temperature for about 5-10 minutes to soften slightly, which will help you scoop out creamy servings.
Creamy Biscoff Ice Cream: Easy No-Churn Delight to Savor
Ingredients
Equipment
Method
- In a large mixing bowl, whisk together one can of sweetened condensed milk and ½ cup of Biscoff cookie butter until smooth, about 2-3 minutes.
- In a separate bowl, whip 2 cups of heavy whipping cream with 1 teaspoon of vanilla extract until stiff peaks form, approximately 3-5 minutes.
- Gently fold the whipped cream into the condensed milk and Biscoff mixture using a rubber spatula until just combined, for about 1-2 minutes.
- Transfer one-third of the mixture into a loaf pan, drizzle with cookie butter, then repeat layering with the remaining mixture.
- Spread the remaining mixture evenly and top with drizzled cookie butter, swirling gently to create marbled effects.
- Sprinkle remaining chopped Biscoff cookies on top, covering thoroughly for better texture.
- Cover the loaf pan with plastic wrap and freeze for at least 8 hours or overnight for best firmness.
Leave a Reply