
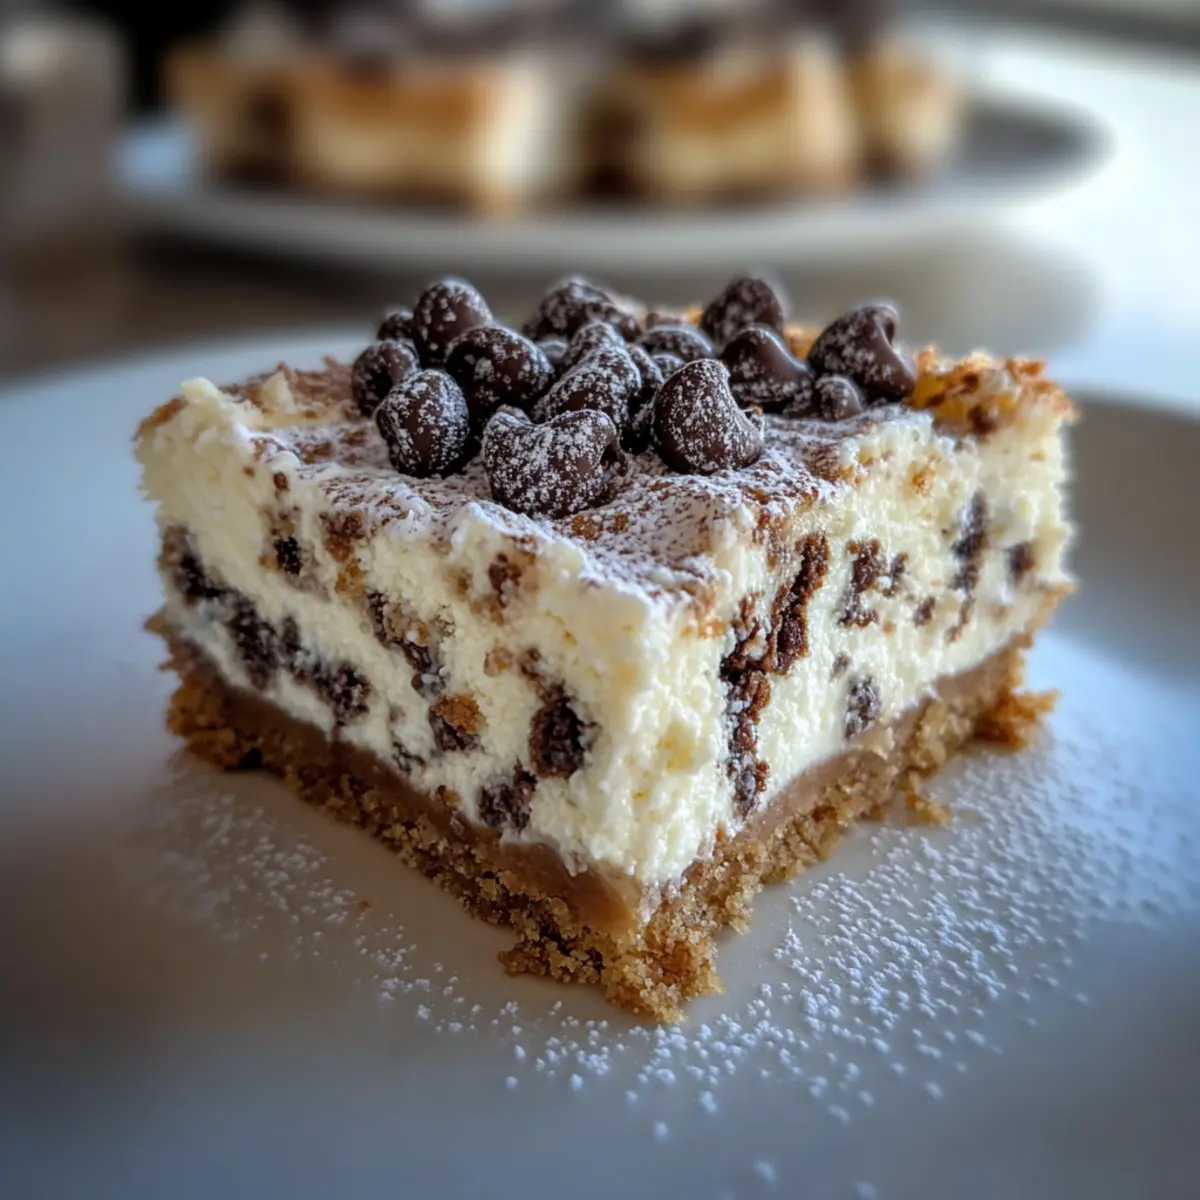
As I opened the freezer after a long day, a forgotten stash of creamy cheesecake bars peeked back at me, instantly sparking joy. These Irresistible Cannoli Cheesecake Bars are a delightful hybrid of two classics that merge the velvety richness of cheesecake with the traditional Italian cannoli flavors. I love how they come together in just 15 minutes of hands-on time, making them the ultimate crowd-pleaser or even a cheeky late-night treat. Plus, you can easily tweak the ingredients to cater to all diets, whether you want a gluten-free crust using almond flour or a dairy-free alternative with coconut cream cheese. Are you ready to whip up these charming bars and elevate your dessert game?
Why Are These Cannoli Cheesecake Bars Irresistible?
Convenience is key—get ready in just 15 minutes with minimal effort, making these bars perfect for busy days. Flavor explosion: The delightful combination of creamy ricotta and chocolate chips creates the rich taste you crave. Versatile options cater to all—easily make them gluten-free with almond flour or dairy-free using coconut cream cheese! Crowd favorite: Impress friends and family with a unique twist on two beloved desserts. Don’t forget to check out my Apple Pie Bars for more tasty inspiration!
Cannoli Cheesecake Bars Ingredients
For the Filling
- Full-Fat Cream Cheese – A rich and creamy base that must be at room temperature to prevent lumps.
- Granulated Sugar – Sweetens the filling and balances its tanginess for a delightful taste.
- Eggs – Adds structure; make sure to incorporate each egg one at a time for a smooth consistency.
- Vanilla Extract – A must-have for enhancing flavor; it brings warmth and depth to the dessert.
- Ricotta Cheese – Essential for achieving that classic cannoli flavor; blend until silky smooth.
- Mini Chocolate Chips – Offers sweet bursts of chocolate; choose mini to keep them from sinking in the filling.
For the Crust
- Graham Cracker Crumbs – Forms the base of the bars, adding a delightful crunch; substitute with almond flour for a gluten-free version.
- Unsalted Butter – Melts to bind the crust together, adding richness and flavor; melted butter is key for the right texture.
Optional Toppings
- Powdered Sugar – Dust lightly on top for a sweet finish before serving.
- Extra Chocolate Chips – Add a few on top for those who crave a double chocolate treat!
- Orange Zest – Brightens the flavor profile when sprinkled atop the bars or mixed into the filling.
These Cannoli Cheesecake Bars are not only indulgent but are also an easy way to impress at your next gathering!
Step‑by‑Step Instructions for Cannoli Cheesecake Bars
Step 1: Prepare the Crust
Begin by preheating your oven to 325°F (160°C). In a mixing bowl, combine the graham cracker crumbs and sugar, then drizzle in the melted unsalted butter. Stir until the mixture resembles wet sand. Line an 8×8-inch square baking pan with parchment paper, then press the crust mixture firmly into the bottom, ensuring you create a slight lip around the edges for the filling.
Step 2: Mix the Filling
In a large bowl, use an electric mixer to beat the room-temperature full-fat cream cheese and granulated sugar together until smooth and creamy, about 2-3 minutes. Add in eggs one at a time, mixing briefly after each addition to maintain a fluffy texture. Incorporate the vanilla extract, then gently fold in the ricotta cheese until the mixture is well-combined and silky, followed by the mini chocolate chips.
Step 3: Bake
Pour the luscious filling over the prepared graham cracker crust, spreading it evenly. Carefully transfer the pan into the preheated oven and bake for 40-45 minutes. You’ll know the Cannoli Cheesecake Bars are ready when the edges are set and the center slightly jiggles—this ensures a creamy texture without being too runny.
Step 4: Cool
Once baked, remove the pan from the oven and let it cool at room temperature for about 1 hour. This step is crucial to prevent cracks in your beautiful cheesecake bars. Afterward, cover the pan and refrigerate for a minimum of 4 hours, or preferably overnight, to allow the bars to firm up completely and hold their shape when sliced.
Step 5: Serve
To serve your delightful Cannoli Cheesecake Bars, dust the top lightly with powdered sugar for a touch of sweetness. For an extra treat, consider garnishing with additional mini chocolate chips or a sprinkle of orange zest to elevate the flavor profile. Slice into neat squares, and watch as everyone enjoys these delectable bars!
Expert Tips for Cannoli Cheesecake Bars
- Room Temperature Dairy: Ensure all dairy ingredients, like cream cheese and ricotta, are at room temperature. This prevents lumps and creates a silky smooth filling.
- Mixing Technique: Avoid overmixing the filling, especially after adding the eggs. This keeps the texture light and airy, perfect for Cannoli Cheesecake Bars.
- Cooling Matters: Let the bars cool completely at room temperature to prevent cracks. Slow cooling in the fridge is key for the best results.
- Fixing the Filling: If your filling seems runny, refrigerate it briefly before baking to help it firm up.
- Doubling the Recipe: If doubling the recipe, use a 9×13-inch pan and adjust your baking time slightly for optimal results.
What to Serve with Cannoli Cheesecake Bars
Delight your taste buds and elevate your dessert experience with these perfect pairings for your creamy, dreamy bars.
- Espresso: Its rich, bold flavor cuts through the sweetness of the cheesecake bars, making for a sophisticated pairing.
- Fresh Berries: Juicy strawberries or raspberries offer a refreshing contrast to the creamy texture, adding a pop of color and flavor.
- Whipped Cream: Light and airy, a dollop of homemade whipped cream enhances every bite, adding a luscious touch to the dessert.
- Chocolate Sauce: Drizzle warm chocolate sauce over the bars for an indulgent experience that chocolate lovers will adore.
- Pistachio Crumbles: A sprinkle of chopped pistachios introduces a delightful crunch and a hint of nutty flavor that complements the creaminess well.
- Vanilla Ice Cream: Serve with a scoop of vanilla ice cream for a classic dessert combo that’s reminiscent of cannoli and perfect for sharing.
- Hazelnut Coffee: A cup of hazelnut coffee lends a fragrant touch, harmonizing beautifully with the cannoli flavors in the bars.
- Limoncello: A shot of chilled limoncello offers a refreshing, zesty finish that brightens the palate and adds a festive flair.
Cannoli Cheesecake Bars Variations
Feel free to unleash your creativity and customize these delightful bars to suit your tastes and dietary needs!
-
Gluten-Free: Substitute almond flour for graham cracker crumbs in the crust for a delicious and gluten-free option.
-
Dairy-Free: Use coconut cream cheese and almond milk ricotta for a vegan-friendly twist. These alternatives maintain that rich flavor without dairy.
-
Citrus Infusion: Add a tablespoon of orange zest to the filling for a bright, refreshing hint of citrus that enhances the classic cannoli flavor.
-
Chocolate Upgrade: Swap out mini chocolate chips for chopped dark or white chocolate for a delightful twist on the chocolate profile that’s sure to excite your palate.
-
Nutty Crunch: Enhance the crust with a handful of finely chopped nuts like pistachios or hazelnuts. This adds great crunch and works beautifully with the creamy filling.
-
Spiced Touch: Mix a pinch of cinnamon or nutmeg into the filling for a warmth that compliments the sweetness perfectly, elevating your dessert experience.
-
Layered Delight: For a more decadent treat, try layering the filling with your favorite fruit preserves, like raspberry or cherry, in-between the crust and cheesecake filling.
-
Frozen Treat: Turn these bars into a frozen dessert by freezing them post-baking. Just let them thaw slightly before slicing for chilly, creamy bites that are perfect for summer.
With options like these, it’s easy to see why everyone keeps coming back for more! And if you’re looking for more dessert inspiration, don’t miss my Banana Oatmeal Bars for another family favorite!
How to Store and Freeze Cannoli Cheesecake Bars
Fridge: Store your Cannoli Cheesecake Bars in an airtight container for up to 5 days. This keeps them fresh and ready for late-night cravings!
Freezer: For longer storage, wrap the bars tightly in plastic wrap and then in foil. They can be stored in the freezer for up to 2 months without losing their delightful flavors.
Thawing: When you’re ready to enjoy, simply transfer the frozen bars to the fridge to thaw overnight. This helps preserve their creamy texture.
Serving Tip: Serve chilled straight from the fridge for a refreshing treat, and don’t forget that light dusting of powdered sugar for an extra touch of sweetness!
Make Ahead Options
These Cannoli Cheesecake Bars are fantastic for meal prep, allowing you to enjoy a sweet treat without the last-minute fuss! You can prepare the crust and filling up to 24 hours in advance. Simply mix the graham cracker crust and press it into your lined baking pan; cover tightly with plastic wrap and refrigerate. For the filling, you can mix the cream cheese, sugar, eggs, and ricotta cheese, then store it in the fridge until you’re ready to bake. When you’re set to serve, simply pour the filling over the crust and bake. This way, you’ll have delicious dessert bars ready to impress your guests with minimal effort!
Cannoli Cheesecake Bars Recipe FAQs
How do I select ripe ingredients for Cannoli Cheesecake Bars?
Absolutely! For the best Cannoli Cheesecake Bars, choose fresh, high-quality ingredients. Ensure your cream cheese and ricotta are fresh with no off smells or discoloration. The eggs should be large and free from cracks. If you’re using fruit or zest, select vibrant, fragrant produce to enhance the flavor.
What’s the best way to store leftover Cannoli Cheesecake Bars?
Very! Store your Cannoli Cheesecake Bars in an airtight container in the refrigerator for up to 5 days. This keeps the bars fresh and ready for a sweet treat at any time. If you want to extend their life, consider freezing them!
Can I freeze Cannoli Cheesecake Bars?
Yes, indeed! To freeze your Cannoli Cheesecake Bars, first slice them, then wrap each piece tightly in plastic wrap followed by foil, or use a freezer-safe container. They can be kept in the freezer for up to 2 months. When you’re ready to enjoy, simply thaw the bars in the refrigerator overnight to maintain their creamy texture.
What should I do if my filling turns out runny?
No worries! If your filling is runny, refrigerate the mixture for about 30 minutes before baking to help it firm up. Make sure to mix the ingredients slowly and not overbeat after adding the eggs. This will help prevent any additional air from being incorporated, keeping the texture just right.
Are there any dietary considerations for Cannoli Cheesecake Bars?
Very much so! For a gluten-free option, substitute the graham cracker crumbs with almond flour. To make the bars dairy-free, you can use coconut cream cheese and homemade almond milk ricotta. It’s always good to check for allergies, especially with chocolate chips, as they can contain traces of other allergens.
How long do Cannoli Cheesecake Bars keep in the freezer?
Sweetly, Cannoli Cheesecake Bars can be frozen for up to 2 months. Just ensure they are well-wrapped to avoid freezer burn. When you’re ready to indulge, let them thaw in the fridge for the best texture, and don’t forget that light dusting of powdered sugar before serving!
Decadent Cannoli Cheesecake Bars You’ll Crave Every Time
Ingredients
Equipment
Method
- Preheat your oven to 325°F (160°C). In a mixing bowl, combine the graham cracker crumbs and sugar, then drizzle in the melted unsalted butter. Stir until the mixture resembles wet sand. Line an 8x8-inch square baking pan with parchment paper, then press the crust mixture firmly into the bottom, ensuring you create a slight lip around the edges for the filling.
- In a large bowl, use an electric mixer to beat the room-temperature full-fat cream cheese and granulated sugar together until smooth and creamy, about 2-3 minutes. Add in eggs one at a time, mixing briefly after each addition. Incorporate the vanilla extract, then gently fold in the ricotta cheese, followed by the mini chocolate chips.
- Pour the filling over the prepared crust, spreading it evenly. Bake for 40-45 minutes until the edges are set and the center jiggles slightly.
- Let the pan cool at room temperature for about 1 hour. Afterward, cover the pan and refrigerate for a minimum of 4 hours, preferably overnight.
- Dust the top lightly with powdered sugar and optionally garnish with additional mini chocolate chips or a sprinkle of orange zest. Slice into squares and serve.
Leave a Reply