
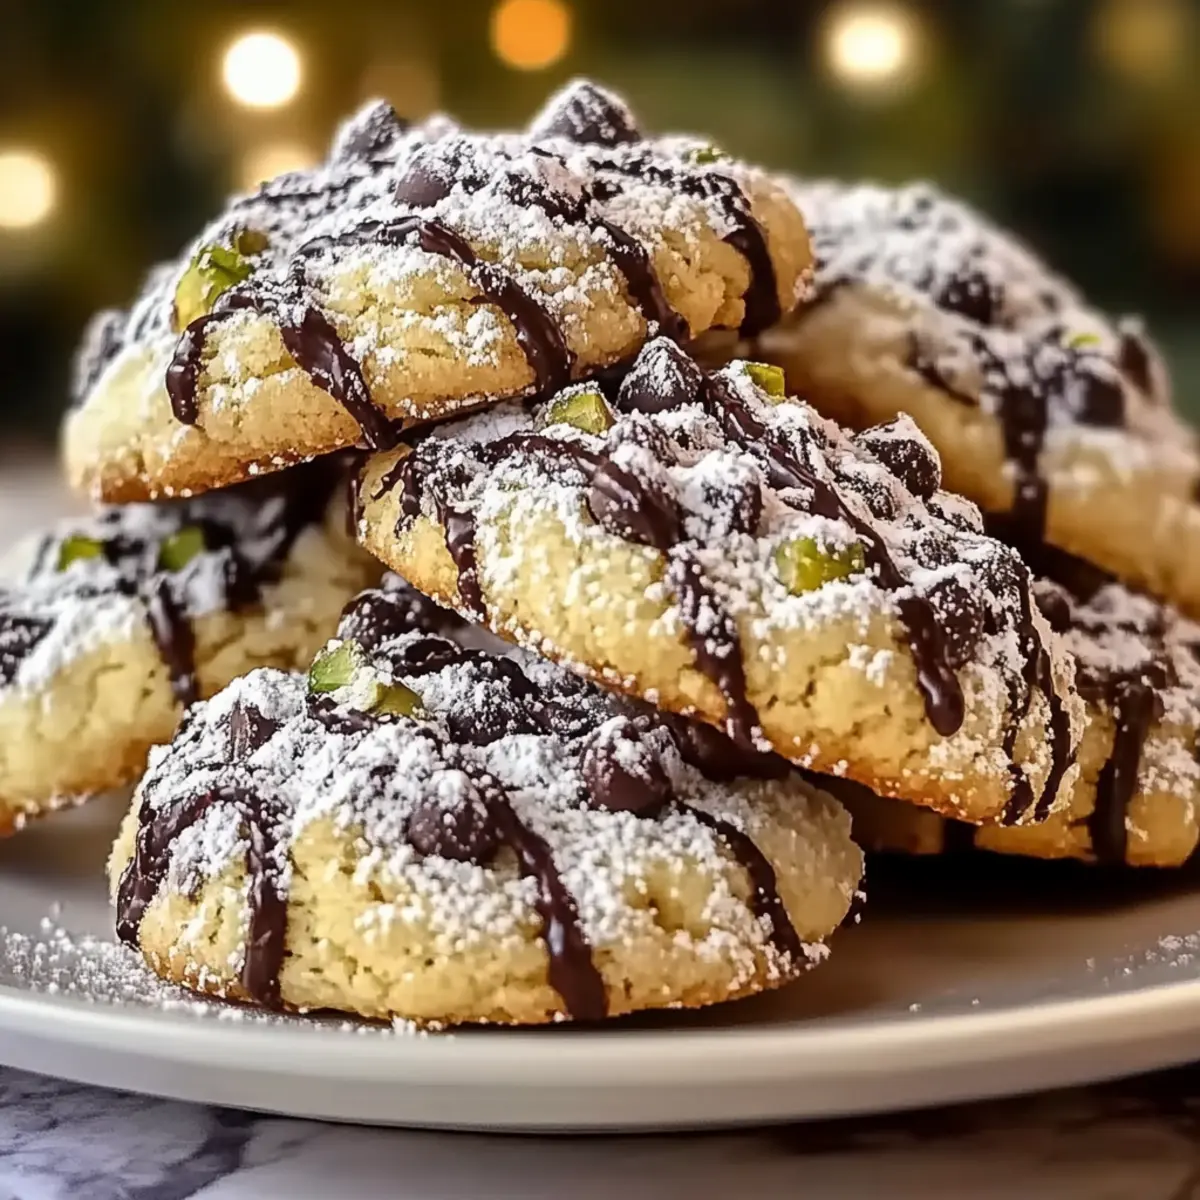
As I stood in my kitchen, flour dusting the countertops and the sweet scent of orange zest filling the air, inspiration struck—what if I could capture the joy of a festive Italian cannoli in a simpler form? Enter my Cannoli Cookies! These delectable cookies transform traditional flavors into bite-sized pieces of bliss, boasting a soft, moist texture thanks to creamy ricotta and bursts of chocolate chips. Not only do they bring the Sicilian spirit to your celebrations, but they also make for a quick and easy baking project that will impress friends and family alike. Perfect for holiday gatherings or cozy evenings at home, these cookies are a delightful twist on a classic dessert. Curious how to whip up these treats in your own kitchen? Let’s dive into the recipe and sweeten your day!
Why Try These Cannoli Cookies?
Simplicity: With just a few steps, you can create these delightful cookies that capture the essence of traditional Italian cannoli without the fuss of making pastry shells.
Flavor Explosion: The combination of ricotta, chocolate chips, and aromatic spices delivers a unique and indulgent taste that’s perfect for any occasion.
Quick Baking: These cookies come together in no time, making them an ideal choice for last-minute gatherings or sweet cravings.
Crowd-Pleaser: Whether it’s a holiday party or a cozy gathering, these Cannoli Cookies are sure to impress everyone, just like my Strawberry Crunch Cookies!
Versatility: Feel free to swap ingredients, like using almond extract instead of vanilla, to create a new twist on this classic.
Effortlessly Delicious: Who doesn’t love a sweet treat that’s as enjoyable to eat as it is to bake? Get ready to make memories and smiles with these divine cookies!
Cannoli Cookies Ingredients
For the Cookie Dough
• Ricotta Cheese – Provides moisture and distinct flavor, essential for texture; drain for 30 minutes to remove excess liquid.
• Butter – Adds richness and contributes to the cookie’s tender texture; use unsalted butter for controlled salt levels.
• Sugar – Sweetens the cookies; light brown sugar enhances flavor with a hint of molasses.
• Eggs – Provides structure and stability; bring eggs to room temperature before use for the best results.
• Flour – Forms the cookie base; be sure to measure properly for ideal texture.
• Baking Powder – A leavening agent that ensures the cookies rise perfectly.
• Salt – Balances sweetness and enhances overall flavor.
• Spices (Cinnamon, Nutmeg) – Adds warmth and depth, emulating the traditional cannoli filling.
• Mini Chocolate Chips – Offers delightful sweet bursts throughout the cookie.
• Pistachios – Adds a crunchy texture and additional flavor; can be omitted if not available.
• Vanilla Extract – Enhances the overall flavor profile of the cookies.
• Orange Zest – Infuses a fresh, citrusy note reminiscent of traditional cannoli.
Optional Toppings
• Melted Chocolate – Drizzle over cookies for an added touch of sweetness.
• Powdered Sugar – Dust on top just before serving to make these Cannoli Cookies extra special!
Step‑by‑Step Instructions for Cannoli Cookies
Step 1: Prep Ricotta
Start by draining your ricotta cheese in a fine-mesh strainer over a bowl for 30 minutes. This crucial step removes excess moisture, ensuring your Cannoli Cookies have the perfect texture. Once drained, set the ricotta aside and gather your other ingredients to keep the process smooth and efficient.
Step 2: Mix Dry Ingredients
In a large mixing bowl, whisk together 2 cups of all-purpose flour, 1 teaspoon of baking powder, ½ teaspoon of salt, 1 teaspoon of cinnamon, and ½ teaspoon of nutmeg. This dry mixture is key to the flavor and structure of your Cannoli Cookies. Set it aside, as you will combine it with the wet ingredients shortly.
Step 3: Cream Butter and Sugar
Using a stand mixer or hand mixer, beat ½ cup of softened unsalted butter and 1 cup of light brown sugar until the mixture turns light and fluffy, approximately 3-4 minutes. This airy texture contributes to the overall delightfulness of the Cannoli Cookies, heightening their cake-like feel.
Step 4: Incorporate Eggs
Add in 2 room temperature eggs, one at a time, mixing well after each addition. This helps to fully incorporate the eggs into your mixture, providing stability and structure. Ensure the mixture is well-blended and smooth before proceeding to the next step.
Step 5: Add Ricotta and Flavorings
Gently blend in the drained ricotta, 1 teaspoon of vanilla extract, and the zest of one orange. Mix until just combined; you want to maintain a thick consistency that embodies the delightful flavors of traditional cannoli. Take care not to over-mix, as this could affect the softness of your Cannoli Cookies.
Step 6: Combine Wet and Dry Ingredients
Gradually add the dry flour mixture to the wet ingredients in three additions, mixing on low speed until just incorporated. This method prevents overworking the batter, keeping the Cannoli Cookies tender and light.
Step 7: Fold in Mix-ins
With a spatula, gently fold in 1 cup of mini chocolate chips and ½ cup of chopped pistachios. This step ensures that the delightful bursts of sweetness and texture are evenly distributed throughout the cookie dough, making every bite special.
Step 8: Shape Cookies
Scoop the dough into tablespoon-sized portions and place them about 2 inches apart on parchment-lined baking sheets. This spacing allows the Cannoli Cookies to spread slightly as they bake, ensuring they don’t stick together and have room to develop their delightful shapes.
Step 9: Bake
Preheat your oven to 350°F (175°C) and bake the cookies for 12-14 minutes. Look for lightly golden edges and slightly underdone centers; this will maintain the soft, cake-like texture characteristic of Cannoli Cookies. Once baked, they should feel set but spring back when touched gently.
Step 10: Cool and Finish
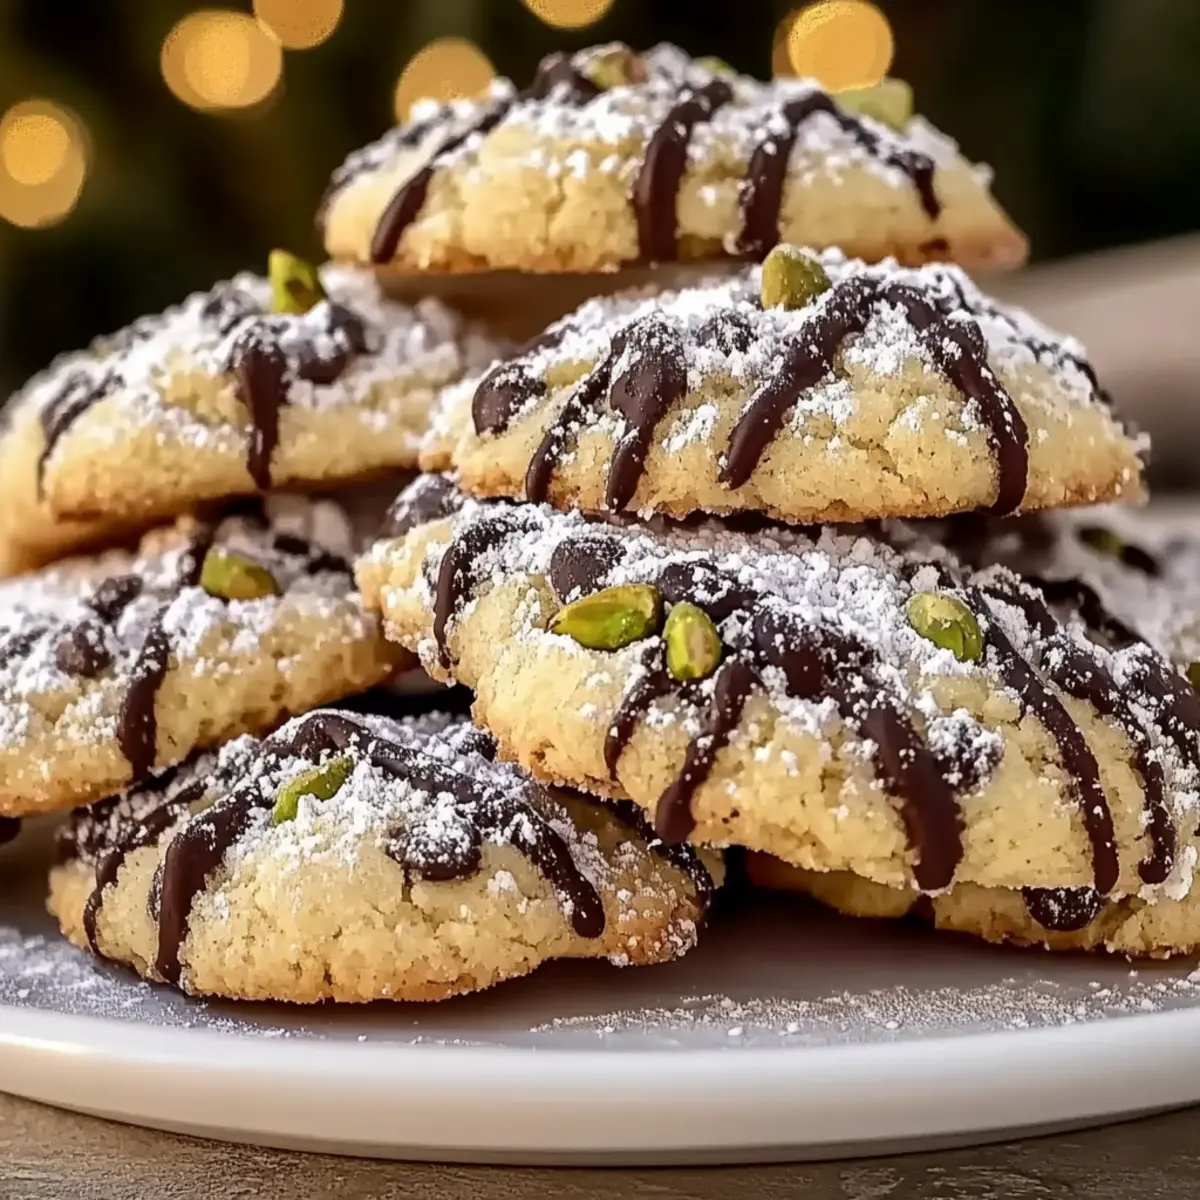
Allow the cookies to cool on the baking sheet for 5 minutes before transferring them to wire racks to cool completely. To add a special touch, drizzle with melted chocolate and dust with powdered sugar for that perfect finish before serving, ensuring your Cannoli Cookies look as amazing as they taste!
What to Serve with Cannoli Cookies
Indulging in Cannoli Cookies opens up a world of delightful pairing possibilities to enhance your dessert experience.
-
Hot Cocoa: The rich, chocolatey flavor of hot cocoa perfectly complements the sweet, creamy notes of the cookies, making for an indulgent pairing.
-
Espresso: A shot of robust espresso brings out the flavors in the cookies, adding a delightful contrast to their sweetness while keeping your palate refreshed.
-
Vanilla Ice Cream: The creamy texture of vanilla ice cream softens the cookie’s richness, creating a symphony of flavors that is simply irresistible.
-
Fruit Salad: A light, refreshing fruit salad adds a fruity brightness that balances the sweetness of the cookies, adding a pop of color to your dessert table.
-
Chocolate Drizzle: Enhance these cookies by drizzling them with warm, melted chocolate or a simple chocolate ganache for an extra treat.
-
Limoncello: This Italian lemon liqueur offers a perfect, zesty chill that complements the sweet richness of Cannoli Cookies, refreshing your palate between bites.
-
Whipped Cream: A dollop of freshly whipped cream can elevate your dessert, offering texture and a lightness that contrasts beautifully with the cookies.
Savor these combinations to make your table not just a feast for the taste buds but a delightful experience overall!
Make Ahead Options
These Cannoli Cookies are perfect for meal prep enthusiasts! You can prepare the cookie dough up to 24 hours in advance by following the steps up until shaping the cookies. Simply cover the bowl with plastic wrap and refrigerate to maintain freshness and prevent drying. If you want to prep even further ahead, you can shape the cookies and freeze them for up to 3 months. Just place the shaped dough balls on a baking sheet lined with parchment and freeze until solid, then transfer to a resealable bag. When ready to bake, simply add a minute or two to the baking time, and you’ll have fresh, delicious Cannoli Cookies that taste just as delightful as when they were first made!
Cannoli Cookies Variations & Substitutions
Feel free to sprinkle in some creativity and personalize this delightful recipe to your taste buds!
- Nutty Alternative: Substitute chopped almonds or hazelnuts for pistachios to add a different nutty flavor.
- Citrus Twist: Use lemon zest instead of orange zest for a fresh, tangy twist that brightens every bite.
- Dairy-Free Version: Replace ricotta with dairy-free cream cheese and use plant-based butter for a dairy-free delight.
- Spicy Kick: Add a pinch of cayenne or a dash of ginger powder for a subtle warmth that surprises the palate.
- Texture Variation: For a delightful crunch, fold in toasted coconut flakes or sunflower seeds for a nut-free option.
- Chocolate Lovers: Increase the mini chocolate chips to 1½ cups or substitute with white or dark chocolate chunks for extra sweetness.
- Herb-Infused: Experiment with finely chopped fresh basil or mint for a unique flavor that nods to traditional Italian desserts.
- Gourmet Drizzle: Instead of plain melted chocolate, use flavored chocolate (like espresso or raspberry) for an exciting finish.
For more delightful ideas, you might enjoy my Brown Butter Cookies or even dive into a seasonal favorite, the Halloween Chocolate Chip Cookies. Enjoy baking your customized Cannoli Cookies!
Expert Tips for Cannoli Cookies
-
Proper Ricotta Draining: Ensure the ricotta is thoroughly drained for at least 30 minutes; this prevents cookies from becoming too flat and keeps them fluffy.
-
Egg Temperature Matters: Use room temperature eggs for better emulsification in the batter, resulting in a tender, even texture for your Cannoli Cookies.
-
Measure Flour Accurately: Use the spoon-and-level method to measure flour; too much flour can lead to dry cookies, compromising their delightful moistness.
-
Avoid Over-mixing: Mix the dough just until combined after adding the flour. Over-mixing can develop gluten and lead to tough Cannoli Cookies.
-
Uniform Sizing: Use a cookie scoop to ensure even portions, helping the cookies bake consistently and look delightful on your holiday trays.
How to Store and Freeze Cannoli Cookies
Room Temperature: Store cookies in an airtight container at room temperature for up to 1 week. This helps maintain their soft, cake-like texture.
Fridge: Refrigeration is not recommended as it may alter the delightful texture of the Cannoli Cookies, making them dry and less enjoyable.
Freezer: For long-term storage, freeze the cookies in a single layer on a baking sheet before transferring to a freezer-safe bag. They can be kept for up to 3 months.
Reheating: To enjoy warm cookies again, simply microwave thawed Cannoli Cookies for about 10-15 seconds, or pop them in a preheated oven at 350°F for a few minutes.
Cannoli Cookies Recipe FAQs
How do I choose the right ricotta cheese?
Absolutely! When selecting ricotta cheese, look for one with a thick and creamy texture. Avoid brands that have excessive liquid or are grainy, as these can lead to overly wet dough. You can also opt for whole milk ricotta for a richer flavor.
What’s the best way to store Cannoli Cookies?
To keep your Cannoli Cookies fresh, store them in an airtight container at room temperature for up to 1 week. Make sure they’re fully cooled before placing them in the container to prevent moisture build-up. I recommend using parchment paper between layers if stacking!
Can I freeze Cannoli Cookies?
Very much so! To freeze Cannoli Cookies, first arrange them in a single layer on a baking sheet and freeze until solid, about 1-2 hours. Once frozen, place the cookies into a freezer-safe bag. They can be stored for up to 3 months. Just thaw at room temperature, or warm them in the oven for a few minutes before enjoying.
My cookies turn out too flat; what might be the issue?
This can happen if the ricotta isn’t drained properly or if there’s too much moisture in the dough. To avoid flat cookies, ensure you thoroughly drain the ricotta and measure your flour accurately using the spoon-and-level method. Lastly, remember to keep your cookie dough slightly sticky for that perfect cake-like texture!
Are Cannoli Cookies safe for pets?
Generally, no! Cannoli Cookies contain ingredients like chocolate and sugar, which can be harmful to pets. Always keep these sweet treats out of reach from your furry friends. For pet-friendly alternatives, you could explore recipes specifically designed for dogs that might offer a treat without harmful ingredients.
Can I make these cookies nut-free?
The more the merrier! To create nut-free Cannoli Cookies, simply omit the pistachios and replace them with seeds like sunflower seeds for added crunch. Adjusting flavors can also work—try adding a touch of coconut flakes or swapping almond extract for vanilla to maintain a delicious depth of flavor without nuts.
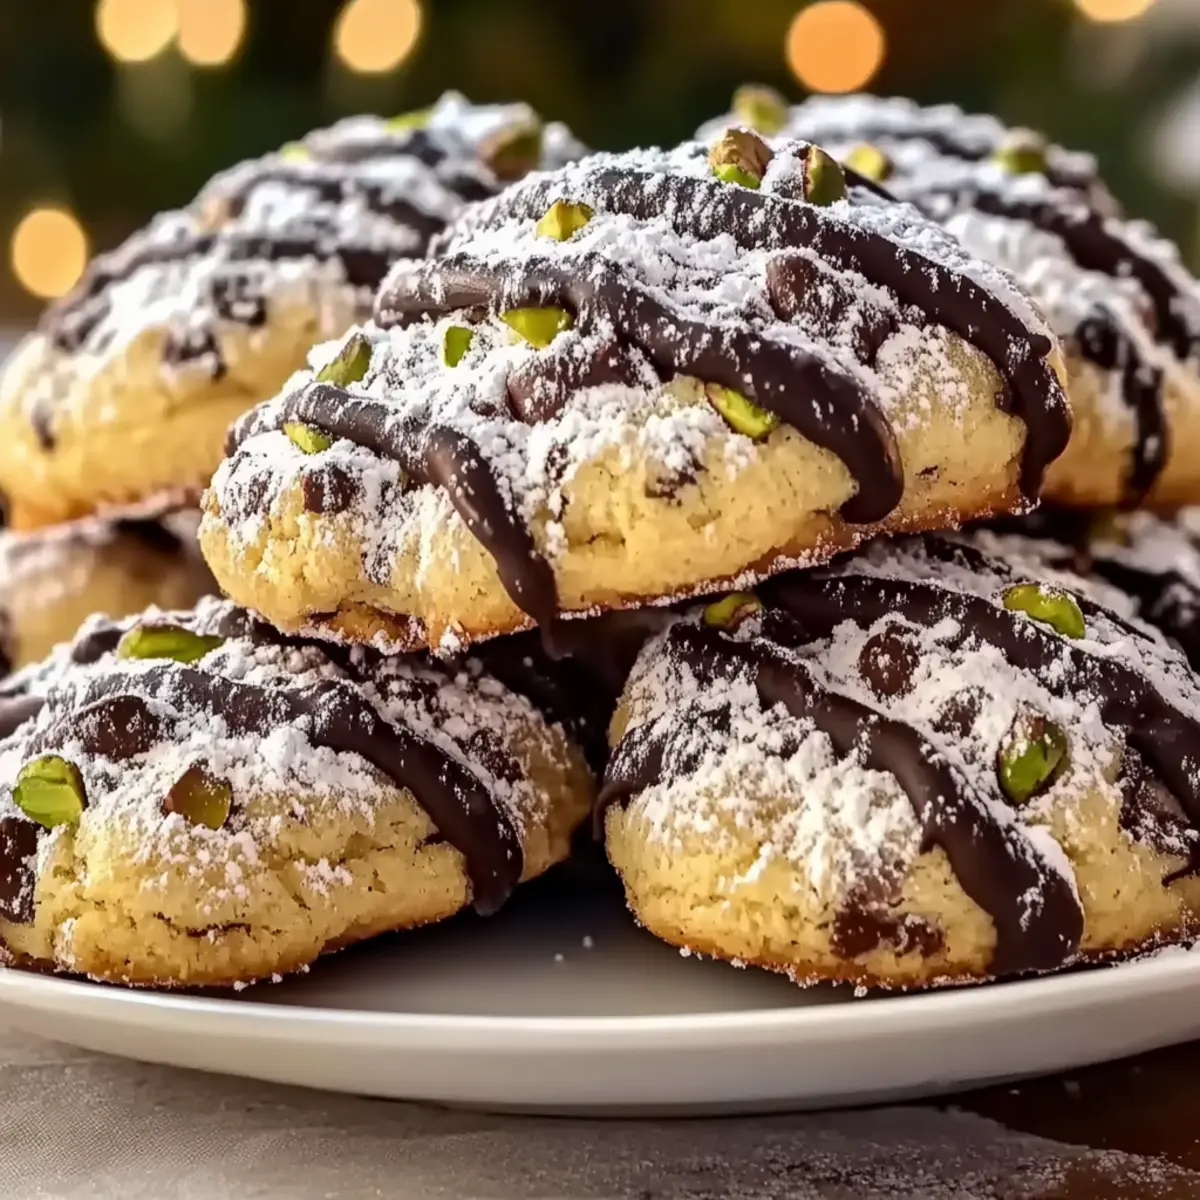
Crispy Cannoli Cookies That Will Melt in Your Mouth
Ingredients
Equipment
Method
- Start by draining your ricotta cheese in a fine-mesh strainer over a bowl for 30 minutes.
- In a large mixing bowl, whisk together 2 cups of all-purpose flour, 1 teaspoon of baking powder, ½ teaspoon of salt, 1 teaspoon of cinnamon, and ½ teaspoon of nutmeg.
- Using a stand mixer or hand mixer, beat ½ cup of softened unsalted butter and 1 cup of light brown sugar until light and fluffy, about 3-4 minutes.
- Add 2 room temperature eggs one at a time, mixing well after each addition.
- Gently blend in the drained ricotta, 1 teaspoon of vanilla extract, and zest of one orange.
- Gradually add the dry flour mixture to the wet ingredients, mixing on low speed until just incorporated.
- Fold in 1 cup of mini chocolate chips and ½ cup of chopped pistachios with a spatula.
- Scoop the dough into tablespoon-sized portions, placing them 2 inches apart on parchment-lined baking sheets.
- Preheat your oven to 350°F (175°C) and bake for 12-14 minutes.
- Allow cookies to cool on the baking sheet for 5 minutes before transferring to wire racks.
- Drizzle with melted chocolate and dust with powdered sugar before serving.
Leave a Reply