
As the holiday season approaches, the comforting aromas of baking fill our kitchens, reminding us of cherished traditions and family gatherings. If you’re looking to create a showstopping dessert that will leave a lasting impression, look no further than this Christmas Red Velvet Cheesecake. This indulgent dessert combines the classic richness of red velvet cake with a layered creamy cheesecake filling, creating a festive delight that is as beautiful as it is delicious. Not only is it visually stunning, but it’s also a crowd-pleaser that can elevate any holiday celebration. So, are you ready to make a dessert that will have everyone asking for seconds? Let’s dive into the world of festive baking!

Why is this Cheesecake a Must-Try?
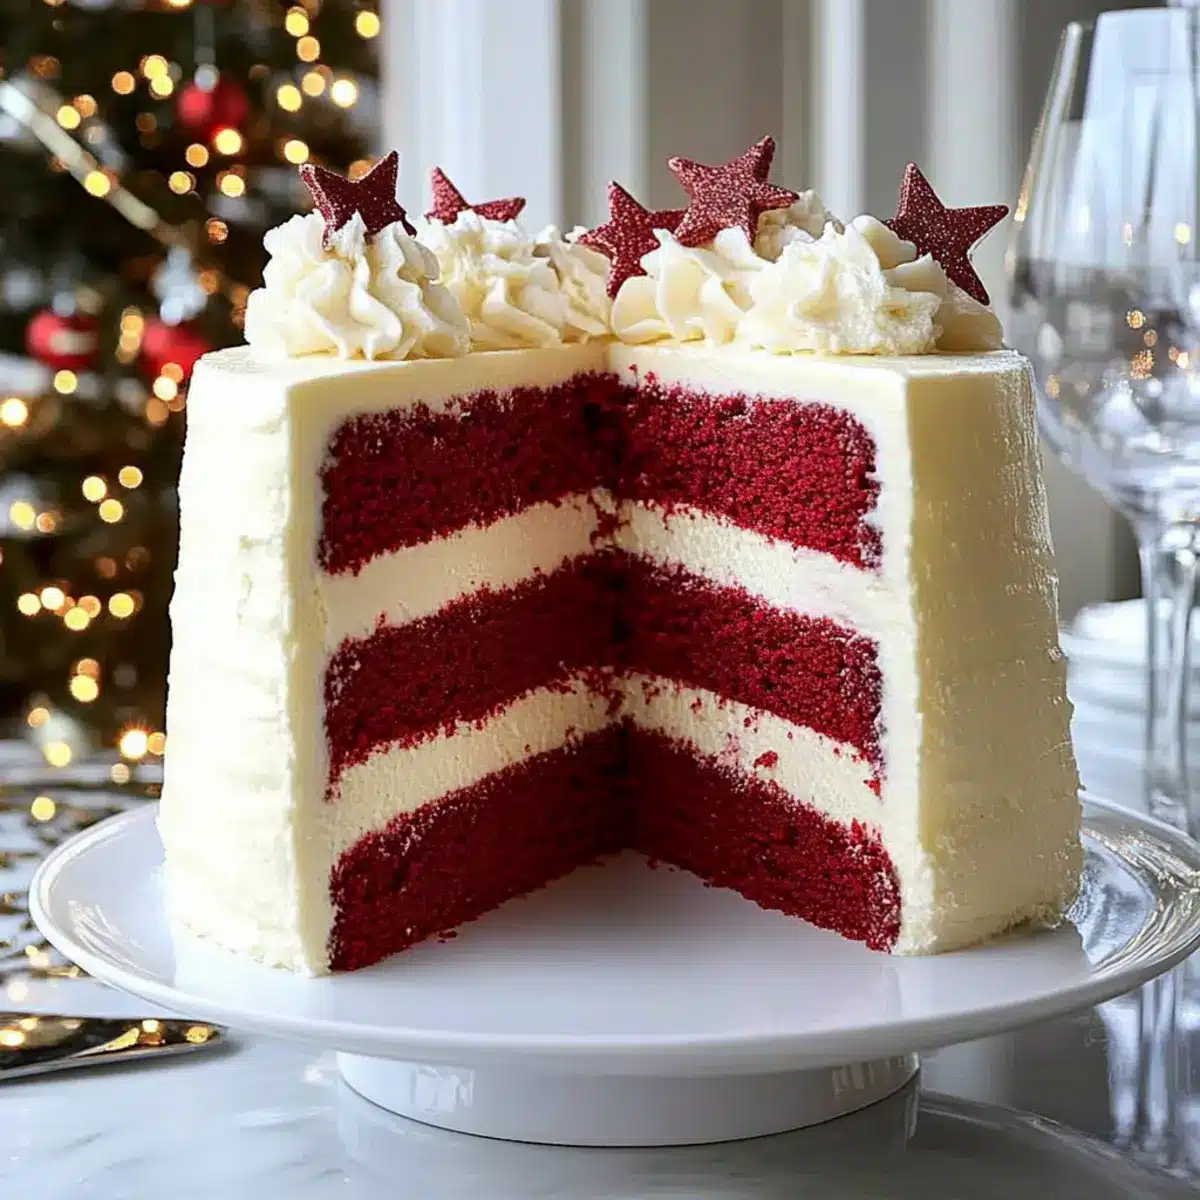
Irresistible layers of red velvet and cheesecake create a stunning visual treat that will undoubtedly impress your guests. Decadent flavors blend harmoniously, making each bite a delightful experience. Festive appeal means it’s perfect for holiday gatherings and celebrations. Plus, versatile options allow you to customize it with toppings or color, making it truly your own. And with simple instructions, you’ll be the star of the kitchen! If you love creative desserts, you might also enjoy making Chicken Alfredo Garlic or 4-Ingredient Gluten Free delights.
Christmas Red Velvet Cheesecake Ingredients
Get ready to bake a festive dessert that will be the highlight of your holiday table!
For the Cake
- All-Purpose Flour – Provides structure; substitute with gluten-free flour for a gluten-free option.
- Unsweetened Cocoa Powder – Adds rich chocolate flavor; consider using dark cocoa for deeper taste.
- Baking Powder – Helps the cake rise for a fluffy texture; ensure it’s fresh for best results.
- Baking Soda – Acts as a leavening agent; always check expiration date for effectiveness.
- Salt – Enhances flavor; sea salt can provide a more sophisticated taste.
- Granulated Sugar – Sweetens the cake; substitute with coconut sugar for a lower glycemic index.
- Vegetable Oil – Keeps the cake extra moist; can swap for unsweetened applesauce for a lighter version.
- Buttermilk – Adds a delightful tanginess; non-dairy milk mixed with vinegar works as a substitute.
- Eggs – Provide moisture and binding; consider using flax eggs for a vegan alternative.
- Red Food Coloring – Gives the cake its signature vibrant hue; explore natural dye alternatives like beet juice.
- Vanilla Extract – Infuses flavor; opt for pure vanilla for the best results.
- White Vinegar – Enhances leavening when combined with baking soda; you can substitute with lemon juice.
For the Cheesecake Layer
- Cream Cheese – Ensures creaminess in the cheesecake; low-fat cream cheese can be used for a lighter option.
- Sour Cream – Contributes richness and moisture; Greek yogurt serves as a healthier substitute.
- Eggs – Bind the cheesecake mixture; flax eggs are a great vegan option here as well.
- Granulated Sugar – Sweetens the cheesecake; you could use a sugar alternative if desired.
For the Frosting
- Unsalted Butter – Adds moisture and flavor; vegan butter can be used for a dairy-free option.
- Powdered Sugar – Sweetens and thickens the frosting; try using a sugar-free powdered alternative for a lower-sugar option.
- Vanilla Extract – Enhances the frosting flavor; stick with pure vanilla for the best taste.
With these ingredients ready, you’re all set to embark on your baking adventure! Your Christmas Red Velvet Cheesecake is going to be a showstopper that’ll leave a lasting impression on everyone.
Step‑by‑Step Instructions for Christmas Red Velvet Cheesecake
Step 1: Preheat and Prepare
Begin by preheating your oven to 350°F (175°C). While the oven warms, take two 9-inch round cake pans and line the bottoms with parchment paper to ensure easy removal later. Grease the sides lightly with cooking spray or butter, allowing your Christmas Red Velvet Cheesecake layers to gently slide out once baked.
Step 2: Mix Dry Ingredients
In a large mixing bowl, whisk together 2 cups of all-purpose flour, 1 tablespoon of unsweetened cocoa powder, 1 teaspoon of baking powder, 1 teaspoon of baking soda, and ½ teaspoon of salt. Ensure there are no lumps and the mixture is well combined. This dry blend will provide the structure and texture for your delightful cheesecake layers.
Step 3: Combine Wet Ingredients
In another bowl, mix 1 ½ cups of granulated sugar with 1 cup of vegetable oil, 1 cup of buttermilk, 2 large eggs, 2 tablespoons of red food coloring, 1 teaspoon of vanilla extract, and 1 teaspoon of white vinegar. Whisk everything together until smooth and homogenous. This vibrant, velvety mixture is what gives your Christmas Red Velvet Cheesecake its signature flavor and color.
Step 4: Combine Mixtures
Gradually add the dry ingredient mixture to the wet ingredients, stirring gently until just combined. Be cautious to avoid overmixing, as this can lead to a dense cake. Once the batter is smooth, pour it evenly into your prepared cake pans, filling each about halfway to allow for rising during baking.
Step 5: Bake the Cake Layers
Place the cake pans in the preheated oven and bake for 25-30 minutes or until a toothpick inserted into the center comes out clean. As the cakes bake, they should rise beautifully and take on a lovely red hue. Keep an eye on them, as oven temperatures can vary slightly.
Step 6: Make the Cheesecake Layer
While the cake layers cool, prepare the cream cheese layer by beating 16 ounces of cream cheese, ½ cup of granulated sugar, 1 cup of sour cream, and 2 large eggs together in a medium bowl. Use a hand mixer on medium speed until the mixture is smooth and creamy. This will create the luscious filling that perfectly complements your red velvet layers.
Step 7: Assemble and Bake the Cheesecake
Once the cake layers have cooled down, place one layer on the bottom of the prepared pan. Pour the cheesecake mixture on top of the first layer, then gently add the second red velvet cake layer on top. Return the assembled cake to the oven and bake for an additional 45-50 minutes. The cheesecake should be set but still slightly jiggly in the center.
Step 8: Cooling Time
After baking, remove the cheesecake from the oven and let it cool in the pan for about 1 hour. Then, transfer it to the refrigerator to chill for at least 4 hours, preferably overnight. This step is crucial for flavor development and allows the layers to set properly, resulting in a decadent Christmas Red Velvet Cheesecake.
Step 9: Prepare the Frosting
Make the frosting by beating 8 ounces of softened unsalted butter and 8 ounces of cream cheese together until creamy and well combined. Gradually add 4 cups of powdered sugar and 1 teaspoon of vanilla extract. Beat the mixture on low speed until smooth and fluffy, ensuring a delightful topping for your festive dessert.
Step 10: Frost and Serve
Once chilled, remove the cake from the refrigerator and carefully frost the top and sides with the cream cheese frosting. Use a spatula to create smooth edges or decorative swirls as desired. Slice the Christmas Red Velvet Cheesecake into portions, serve it chilled, and prepare for delighted reactions from your guests at your holiday gathering!

How to Store and Freeze Christmas Red Velvet Cheesecake
Fridge: Store leftover Christmas Red Velvet Cheesecake in an airtight container for up to 5 days. Ensure it’s well covered to keep it fresh and maintain its delicious flavor.
Freezer: If you want to store it for longer, wrap individual slices tightly in plastic wrap, then place them in a freezer-safe container. It will last in the freezer for up to 3 months.
Reheating: Thaw frozen cheesecake slices in the refrigerator overnight before serving. Enjoy them chilled or let them sit at room temperature for about 30 minutes to soften slightly.
Assembly Tip: If you plan to freeze the whole cheesecake, frost it after thawing to keep the frosting looking fresh and tasty.
Christmas Red Velvet Cheesecake Variations
Feel free to bring your personal flair to this delightful dessert with these fun twists and substitutions!
- Gluten-Free: Use gluten-free flour to make this cake friendly for all dietary needs, ensuring no one misses out on this festive treat.
- Vegan: Swap eggs for flax eggs and use non-dairy cream cheese for a cheesecake that’s just as creamy and delicious. The flavors remain untouched, allowing everyone to enjoy a slice.
- Chocolate Lovers: Add chocolate chips to the red velvet batter for bursts of rich chocolate goodness amidst the smooth layers. Each bite delivers a delightful surprise!
- Natural Dye: If you’re looking to go all-natural, replace red food coloring with beet juice to achieve that beautiful red hue without additives. Plus, it’s a fun conversation starter!
- Peppermint Twist: Top your cake with crushed peppermint candies or a sprinkle of peppermint extract in the cheesecake layer for a refreshing holiday flavor that complements the rich layers beautifully.
- Cheesecake Alternatives: For a lighter version, substitute sour cream with Greek yogurt. This subtle swap still brings that creamy texture without compromising flavor.
- No-Frosting Option: For a simpler treat, leave off the frosting and dust with powdered sugar instead. This keeps the focus on the vibrant layers and makes for easy serving, too!
- Spiced Variation: Stir in a pinch of cinnamon or nutmeg into the cheesecake layer to add a warm, cozy flavor that’s perfect for the holiday season.
By playing with these variations, you can make the Christmas Red Velvet Cheesecake truly your own. If you crave more delightful desserts, consider making Chicken Alfredo Garlic or whipping up 4-Ingredient Gluten Free treats to add to your festive menu!
Expert Tips for Christmas Red Velvet Cheesecake
• Room Temperature Eggs: Ensure eggs are at room temperature to achieve a fluffier batter and better incorporation of ingredients.
• Gentle Mixing: Carefully beat the cheesecake mixture to avoid overmixing, which can introduce air and cause cracks in the cheesecake layer.
• Proper Cooling: Allow the cakes to cool completely before assembling. This prevents the cheesecake layer from melting, ensuring a perfect texture.
• Use Gel Food Coloring: For a vibrant red hue without affecting the cake’s texture, opt for gel food coloring rather than liquid.
• Check Doneness: Use a toothpick to check the red velvet layers; clean means done. For the cheesecake, ensure it’s slightly jiggly in the center.
These tips will help you create a stunning Christmas Red Velvet Cheesecake that impresses all your holiday guests!
Make Ahead Options
These Christmas Red Velvet Cheesecake layers are perfect for meal prep, making your holiday baking just a little easier! You can prepare the cake layers up to 24 hours in advance; simply let them cool completely and wrap them tightly in plastic wrap to keep them moist. The cheesecake filling can also be made ahead and stored in the refrigerator for up to 3 days; just ensure it’s covered to prevent any absorption of odors. When you’re ready to serve, assemble your layers and bake as directed. This way, you’ll have a delightful dessert ready with minimal effort, allowing you to enjoy the festivities without the last-minute rush!
What to Serve with Christmas Red Velvet Cheesecake
Indulging in a slice of this luscious dessert is a treat on its own, but pairing it with delightful sides elevates the entire experience.
- Rich Eggnog: This classic holiday drink complements the creaminess of the cheesecake while adding a kick of warmth and festivity.
- Cranberry Sauce: The tartness of cranberry sauce cuts through the sweetness, creating a perfect balance with each bite.
- Vanilla Ice Cream: A scoop of velvety vanilla ice cream enhances the cheesecake’s richness, providing a satisfying contrast in temperature and texture.
- Gingerbread Cookies: The spicy aroma of gingerbread cookies adds a cozy touch, making them the perfect side for your holiday spread.
- Coffee or Espresso: Sipping on freshly brewed coffee or a shot of espresso pairs beautifully, bringing out the chocolatey notes in the red velvet.
- Chocolate-Truffles: Add a touch of decadence with rich chocolate truffles; their melt-in-your-mouth texture complements the creamy cheesecake.
- Spiced Chai Tea: This warm, aromatic drink brings a festive flair and enhances the overall flavor profile of your dessert.
- Fresh Berries: A medley of raspberries and blueberries offers a fresh, tangy counterpoint that brightens the rich flavors of the cheesecake.
- Peppermint Bark: Holiday-themed peppermint bark provides a crunchy, minty finish, adding a playful twist to your dessert experience.

Christmas Red Velvet Cheesecake Recipe FAQs
How do I select ripe ingredients for the cheesecake?
Absolutely! When selecting ingredients, especially for fresh items like eggs and dairy, ensure they are within their expiration date. For the best flavor, use room temperature eggs and soften your cream cheese for easy mixing. Fresh produce enhances the overall taste; always check for any off scents or visual signs of spoilage.
What are the best storage methods for leftover cheesecake?
Very important! Store leftover Christmas Red Velvet Cheesecake in an airtight container in the refrigerator for up to 5 days. Make sure the cake is well-covered to maintain its freshness and delicious flavors. I often place a layer of plastic wrap directly on the cake’s surface before sealing it with a lid to prevent any fridge odors.
Can I freeze the cheesecake, and if so, how?
Yes, you can! To freeze your Christmas Red Velvet Cheesecake, wrap individual slices tightly in plastic wrap, then place them in a freezer-safe container. This will protect them from freezer burn. The cheesecake will last in the freezer for up to 3 months. When you’re ready to enjoy, simply thaw in the refrigerator overnight for best results.
What if my cheesecake cracks during baking?
Don’t worry, it happens! Cracking can occur if the cheesecake is overmixed or the oven temperature is too high. To avoid cracks, gently beat the cheesecake filling and check for doneness—look for it to be set but still slightly jiggly in the center. If cracks occur, you can always use frosting to cover them up beautifully!
Are there any dietary considerations for this recipe?
Absolutely, there are plenty of options! For a gluten-free choice, substitute all-purpose flour with gluten-free flour. If you’re looking to make it vegan, use flax eggs in place of regular eggs, non-dairy milk combined with vinegar instead of buttermilk, and coconut cream or vegan cream cheese for the filling. This way, everyone can enjoy your delicious Christmas Red Velvet Cheesecake!
Irresistible Christmas Red Velvet Cheesecake to Wow Your Guests
Ingredients
Equipment
Method
- Preheat your oven to 350°F (175°C). Line two 9-inch round cake pans with parchment paper and grease the sides lightly.
- In a large mixing bowl, whisk together the dry ingredients: flour, cocoa powder, baking powder, baking soda, and salt until well combined.
- In another bowl, mix together the wet ingredients: sugar, vegetable oil, buttermilk, eggs, red food coloring, vanilla extract, and vinegar until smooth.
- Gradually add the dry mixture to the wet mixture, stirring gently until just combined, and pour evenly into the prepared pans.
- Bake for 25-30 minutes or until a toothpick inserted comes out clean. Let the cakes cool.
- Prepare the cheesecake layer by beating together cream cheese, sugar, sour cream, and eggs until smooth.
- Assemble by placing one cake layer in the pan, pouring the cheesecake mixture on top, and adding the second cake layer. Bake for an additional 45-50 minutes.
- Let the cheesecake cool in the pan for about 1 hour, then refrigerate for at least 4 hours.
- Beat together softened butter and cream cheese for the frosting, gradually adding powdered sugar and vanilla until fluffy.
- Frost the chilled cake with the cream cheese frosting and slice into portions to serve.
Leave a Reply