
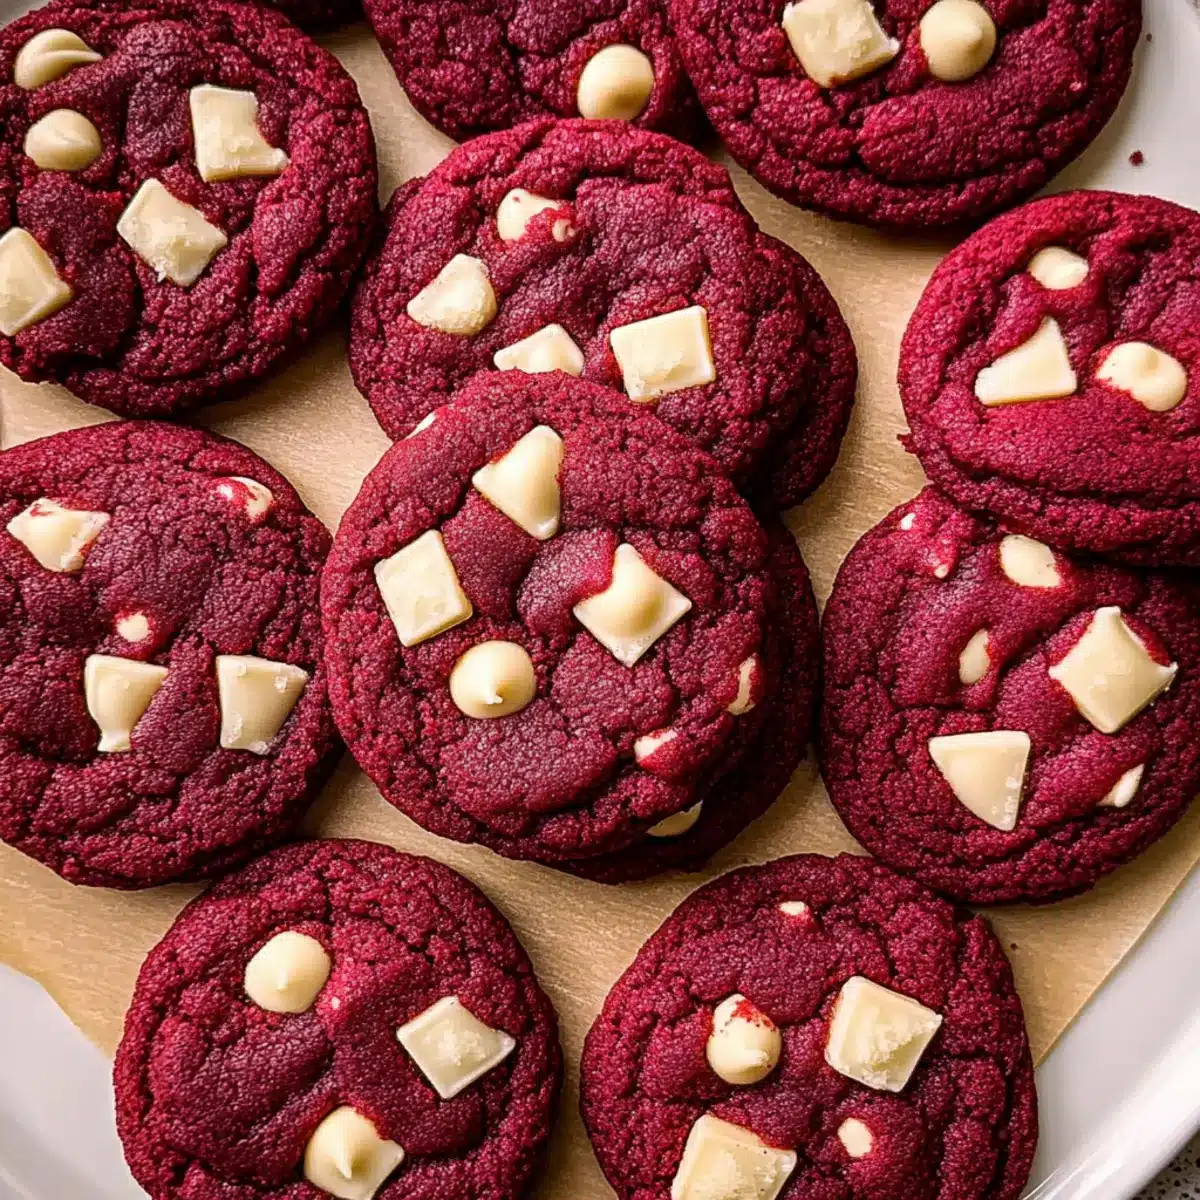
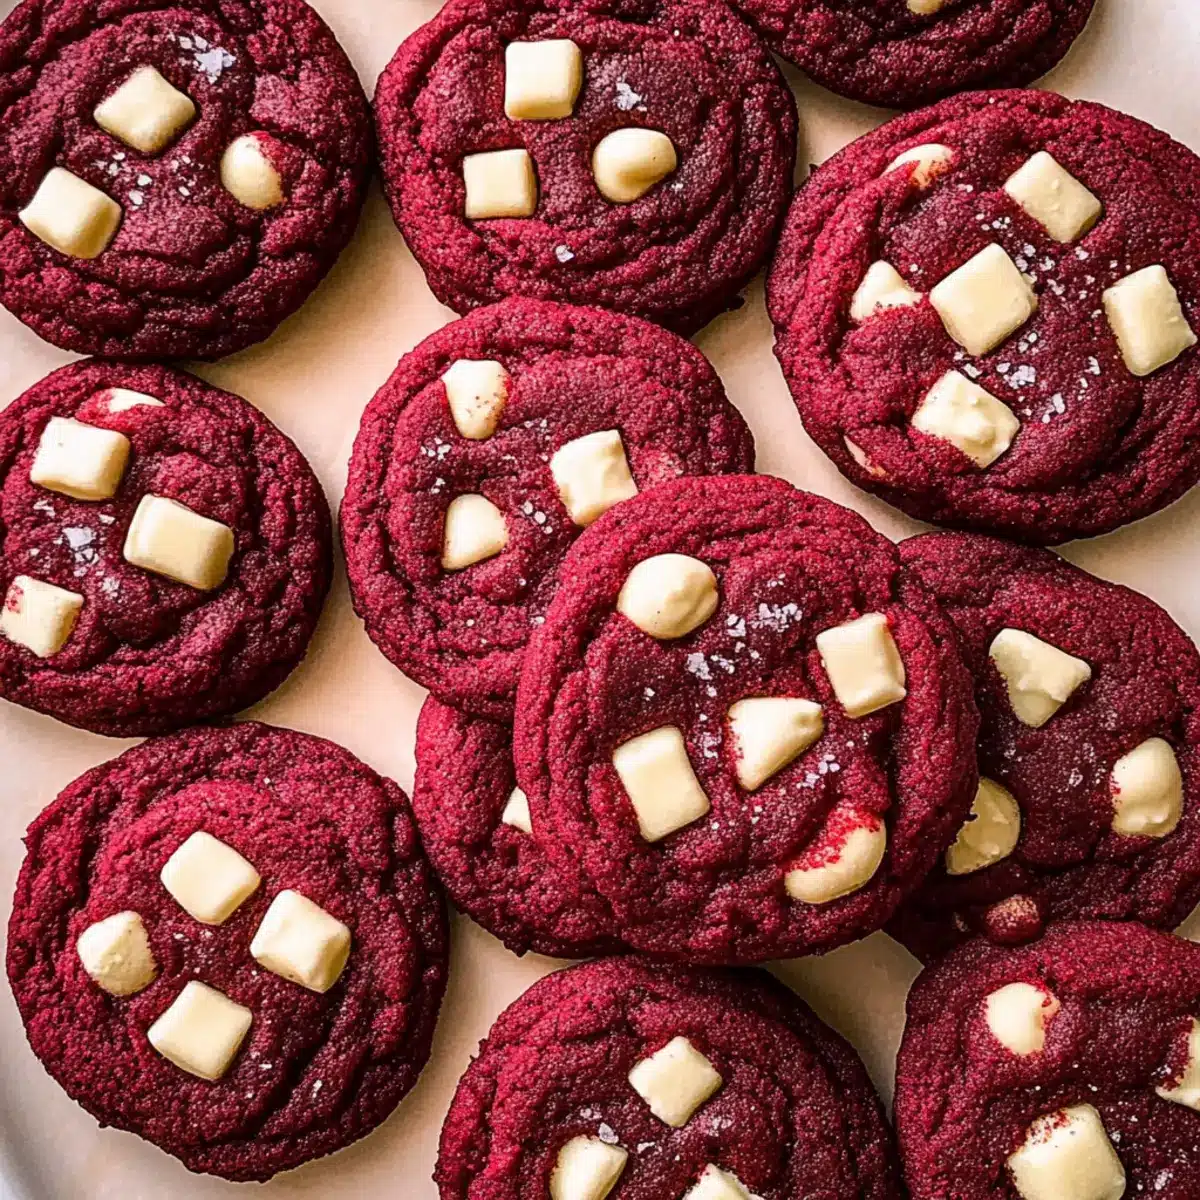
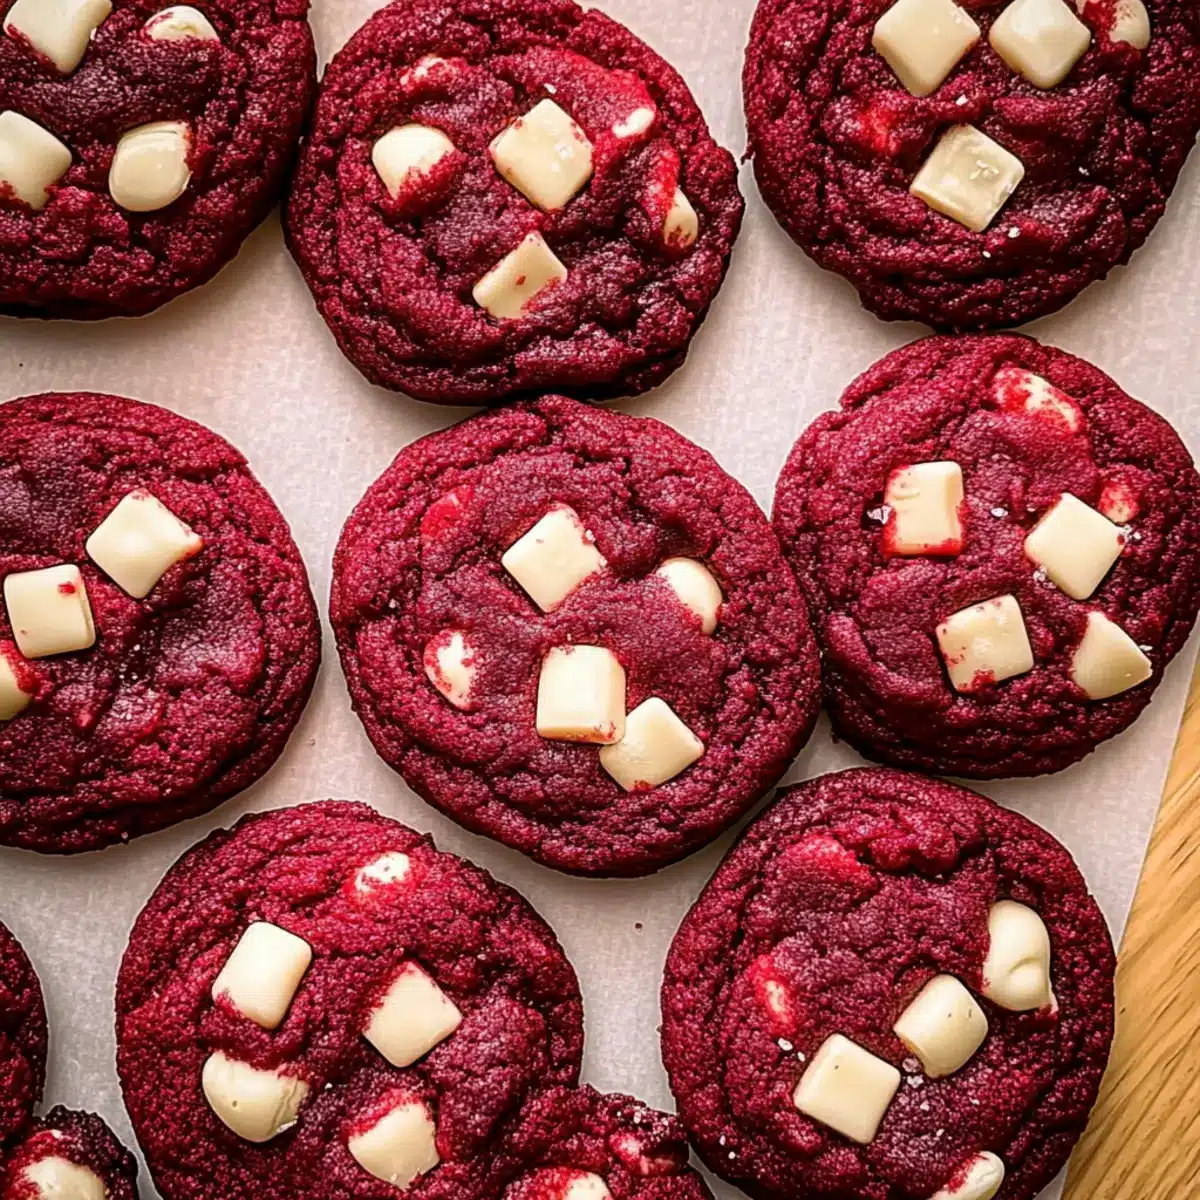
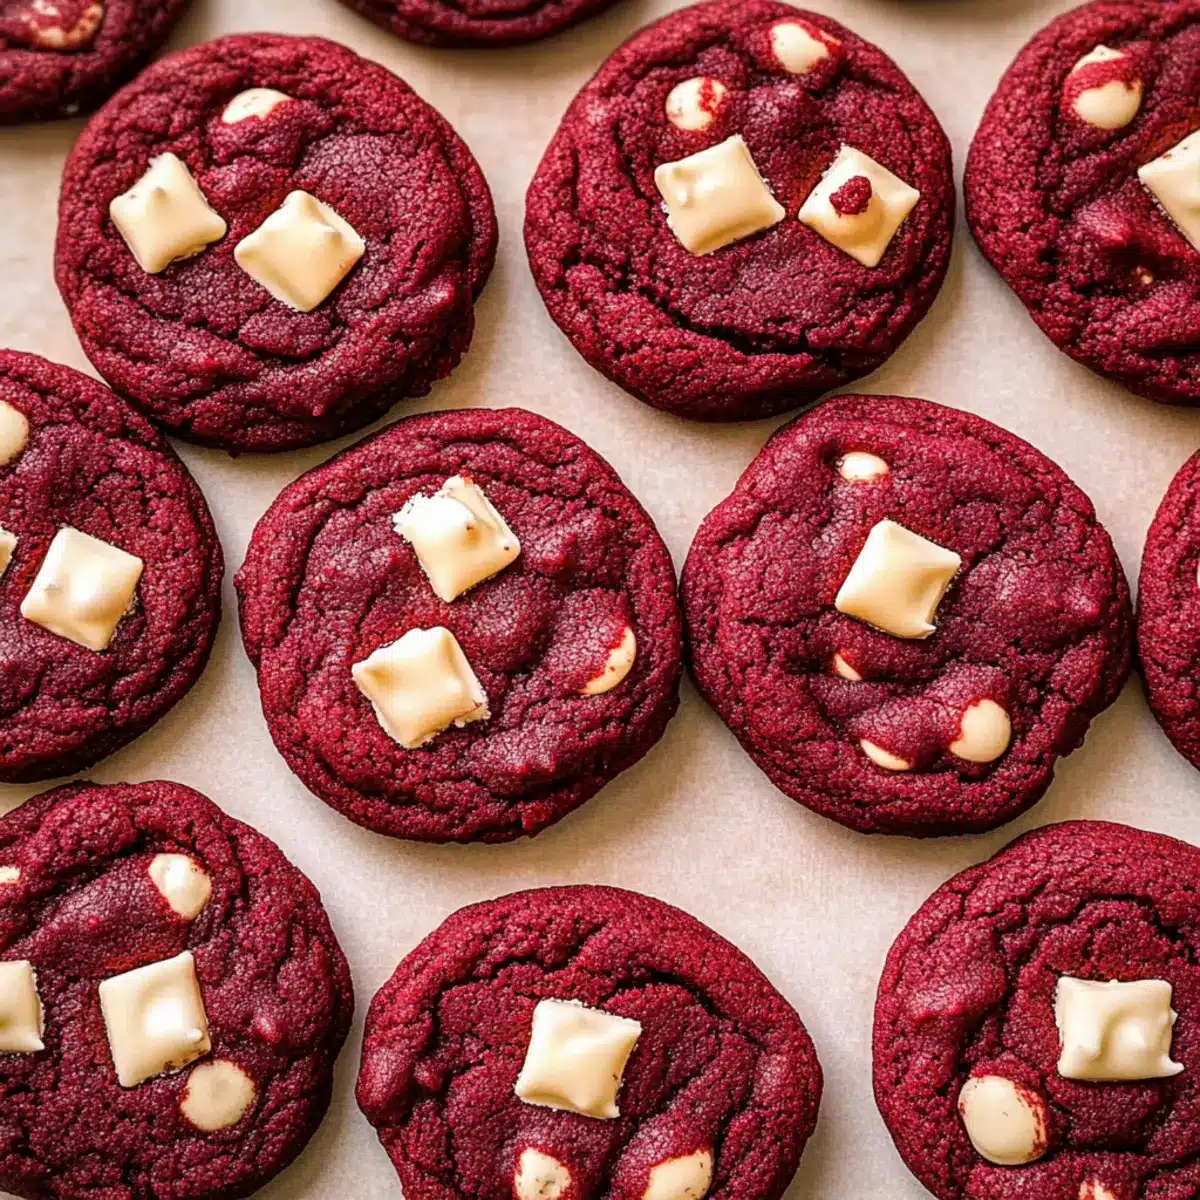
Nothing quite captures the spirit of celebration like the vibrant hue of red velvet cookies, especially when they come studded with gooey white chocolate chunks. These delightful treats are more than just eye candy; they boast a chewy texture that contrasts beautifully with their crisp edges and a whisper of cocoa flavor to keep things interesting. Best of all, this recipe for red velvet cookies requires no chill time, meaning you can whip up a batch in under 30 minutes—perfect for last-minute gatherings or those cozy nights in need of something sweet. Whether you’re planning a romantic evening or simply treating yourself, these cookies are sure to impress. Ready to dive into the world of homemade indulgence? Let’s bake!
Why Are Red Velvet Cookies So Special?
Irresistible Color: The rich, vibrant red hue makes these cookies an eye-catching treat for any occasion.
Quick to Make: With no chill time required, you can satisfy your sweet tooth in just 30 minutes!
Chewy Delight: Experience a perfect contrast of chewy centers and crisp edges that will have everyone coming back for seconds.
Customizable Goodness: Feel free to experiment! Add a cream cheese filling for a delightful twist or try different toppings like nuts.
Crowd-Pleasing Flavor: The subtle cocoa flavor paired with melty white chocolate chunks makes these cookies perfect for any celebration, from casual get-togethers to romantic dinners. Get ready to impress your guests with this deliciously fun recipe!
Red Velvet Cookies Ingredients
For the Cookie Base
• All-Purpose Flour – Helps create the chewy texture; ensure to spoon and level for accuracy.
• Cocoa Powder – Adds a hint of chocolate flavor; using Dutch process gives a richer taste.
• Baking Soda & Baking Powder – Essential leavening agents; check for freshness to ensure rise.
• Salt – Balances out sweetness, enhancing the overall flavor profile.
• Salted Butter – Provides moisture and richness; softening it beforehand helps integrate it better.
• Light Brown Sugar – Adds moisture and caramel notes; you can substitute dark brown sugar for a richer flavor.
• Granulated Sugar – Boosts sweetness and contributes to browning.
• Egg Yolks – Adds richness and moisture; use at room temperature for an easier blend.
• Vanilla Extract – Elevates the depth of flavor, making these cookies even more delightful.
• Red Gel Food Coloring – Gives the cookies their signature beautiful color; adjust the amount for more vibrancy.
For the Mix-ins
• Chopped White Chocolate – Offers delightful pockets of sweetness; white chocolate chips are a great alternative.
These red velvet cookies are sure to become a staple in your baking repertoire!
Step‑by‑Step Instructions for Chewy Red Velvet Cookies with White Chocolate Chunks
Step 1: Preheat the Oven
Begin by preheating your oven to 350°F (175°C). While it heats up, prepare your baking sheets by lining them with parchment paper to ensure the cookies don’t stick as they bake. This prep step is crucial for a successful batch of red velvet cookies, setting you up for perfect results.
Step 2: Mix the Dry Ingredients
In a large mixing bowl, whisk together 2 cups of all-purpose flour, 1 tablespoon cocoa powder, 1 teaspoon baking soda, 1 teaspoon baking powder, and ½ teaspoon salt. This dry mixture will provide the structure and flavor for your chewy red velvet cookies. Ensure everything is well combined to distribute the leavening agents thoroughly.
Step 3: Cream Butter and Sugars
In a separate bowl, cream together ½ cup softened salted butter, ½ cup light brown sugar, and ½ cup granulated sugar using an electric mixer. Mix on medium speed for about 2 minutes until the mixture appears light and fluffy. This aeration is essential for the right cookie texture, creating that delightful chewiness.
Step 4: Incorporate the Wet Ingredients
Add 2 egg yolks, 1 teaspoon of vanilla extract, and 2 tablespoons of red gel food coloring to the creamed butter and sugars. Mix on medium speed for another 2 minutes until your mixture is smooth and combined. The vibrant color will start to form, setting the stage for your beautiful red velvet cookies.
Step 5: Combine the Mixtures
Gradually add the dry ingredients to the wet mixture, mixing on low speed until just combined. Be careful not to overmix this dough; we want to maintain the tender texture of our red velvet cookies while ensuring that everything is evenly incorporated.
Step 6: Fold in White Chocolate
Gently fold in 1 cup of chopped white chocolate until evenly distributed throughout the cookie dough. This addition will create delightful pockets of sweet goodness in each chewy red velvet cookie. Use a spatula to ensure you don’t break up those melty chunks too much.
Step 7: Shape and Bake
Scoop the dough into 18 equal balls, placing them on the prepared baking sheets with at least 2 inches between each ball. Bake the cookies in your preheated oven for 10-12 minutes, watching closely. Aim for 10 minutes for soft, chewy centers and up to 12 minutes for crisp edges.
Step 8: Cool
Once baked, allow the cookies to cool on the baking sheet for about 5 minutes. This resting time helps them firm up while the centers stay chewy. Afterward, transfer the cookies to a cooling rack for an additional 5 minutes to cool completely, allowing the flavors to develop even further.
Make Ahead Options
These red velvet cookies are perfect for busy home cooks looking to save time and still enjoy delicious homemade treats! You can prepare the cookie dough up to 3 days in advance; simply refrigerate it in an airtight container to maintain freshness. This method not only saves time but also allows the flavors to deepen. When you’re ready to bake, scoop the dough directly from the fridge and shape it into balls. Bake as directed, and you’ll have freshly baked cookies that are just as delightful as if you made them on the spot. This way, you can satisfy that sweet craving with minimal effort!
Red Velvet Cookies Variations & Substitutions
Feel free to adjust and play with this recipe to suit your taste and dietary needs!
-
Brown Butter: Substitute softened butter with brown butter for a rich, nutty flavor that elevates these cookies beautifully.
The caramel notes will create a deeper taste experience, making each bite even more delightful. -
Dairy-Free: Replace the butter with a plant-based alternative like coconut oil or your favorite non-dairy butter.
This will keep your cookies rich and chewy without the dairy! -
Gluten-Free: Swap the all-purpose flour for a 1:1 gluten-free blend to accommodate gluten sensitivities.
This way, everyone can enjoy these luscious cookies without compromise. -
Chocolate Lovers: Consider adding dark chocolate chips alongside or instead of white chocolate for a more intense cocoa flavor.
The resulting cookies will surely delight chocoholics! -
Cream Cheese Filling: Inject some excitement by adding a cream cheese filling for a frosting-like experience inside the cookie.
Imagine biting into a soft cookie only to discover a sweet, tangy surprise! -
Color Variations: Change up the food coloring for different occasions; use green for St. Patrick’s Day or pastel colors for spring celebrations.
This is a playful way to adapt your cookies to any festive theme! -
Spiced Version: Add a pinch of cinnamon or nutmeg to the dry ingredients for a warm spice twist.
The spices will enhance the flavors, offering a comforting embrace in each bite. -
Nuts for Crunch: Toss in some chopped nuts like pecans or walnuts for an added crunch and flavor.
This will give your cookies a lovely contrast in texture, making each bite more interesting!
Experiment with these variations and make them your own, just like my family enjoys experimenting with our favorite recipes! If you love a little adventure in your baking, check out my Brown Butter Cookies or get inspired by Chocolate Chip Cookies for even more deliciousness!
Expert Tips for Red Velvet Cookies
-
Accurate Measurements: Measure flour correctly by spooning it into the cup and leveling it off to avoid excess, ensuring the perfect texture in your red velvet cookies.
-
Creaming Technique: Cream the butter and sugars until light and fluffy; this step is critical for aeration and helps achieve that chewy, delightful texture!
-
Avoid Overmixing: When combining the wet and dry ingredients, mix until just incorporated. Overmixing can lead to tough cookies instead of chewy perfection.
-
Watch the Bake Time: Keep an eye on your cookies as they bake; 10 minutes yields a chewy center, while 12 minutes will give you crisp edges. Adjust based on your texture preference.
-
Storage Secrets: Store leftover red velvet cookies in an airtight container for up to three days or freeze them for up to two weeks, allowing them to come to room temperature before serving.
How to Store and Freeze Red Velvet Cookies
Airtight Container: Store the cookies in an airtight container at room temperature for up to 3 days to maintain their chewy texture and avoid them becoming stale.
Freezer Friendly: If you want to extend their shelf life, freeze the red velvet cookies in a single layer on a baking sheet. Once frozen, transfer them to a resealable freezer bag for up to 2 weeks.
Thawing: Allow frozen cookies to come to room temperature before serving, enhancing the experience of their soft, chewy centers and melty white chocolate chunks.
Reheating Tips: To refresh stored cookies, simply pop them in the microwave for about 10-15 seconds for a warm, indulgent treat.
What to Serve with Chewy Red Velvet Cookies with White Chocolate Chunks?
Creating a cozy dessert experience has never been easier with these luxurious chewy delights. Let’s explore some scrumptious pairings that elevate your red velvet cookie experience!
-
Creamy Vanilla Ice Cream: A classic pairing that balances the flavors. The cold, creamy texture perfectly softens the sweet, chewy cookie.
-
Rich Hot Chocolate: Indulge in the warmth of luxurious hot chocolate. Its rich cocoa flavor will beautifully complement the cookies’ subtle cocoa notes.
-
Fresh Berries: Adding a mix of strawberries and raspberries introduces a refreshing burst of tartness that cuts through the sweetness beautifully.
-
Coffee or Espresso: A cup of your favorite brew enhances the flavor profile while offering the perfect pick-me-up alongside your chewy red velvet cookies.
-
Whipped Cream Topping: Smooth and airy, a dollop of whipped cream adds a luxurious touch, enhancing the treat’s indulgence.
-
Fruit Salad: A colorful mix of melons, grapes, and citrus brings a light, refreshing contrast, making every bite of cookie feel like a special occasion.
Embrace these pairings, and let the warmth of homemade desserts create lasting memories around your table!
Chewy Red Velvet Cookies with White Chocolate Chunks Recipe FAQs
How do I choose ripe ingredients for this recipe?
Absolutely! When selecting your ingredients, fresh eggs and high-quality salted butter are crucial for the best flavor and texture. Look for butter that feels soft to the touch but hasn’t melted. For the red gel food coloring, make sure it’s a vibrant hue for that stunning color. Lastly, check that your baking soda and baking powder are fresh; they should have a long shelf life to ensure your cookies rise beautifully!
What is the best way to store leftover red velvet cookies?
The more the merrier! Store your leftover red velvet cookies in an airtight container at room temperature for up to 3 days. This helps maintain their chewy texture. If they begin to feel a bit dry, placing a slice of bread inside the container can help keep them moist. Just make sure to replace the bread slice every few days!
Can I freeze red velvet cookies, and how?
Yes, indeed! To freeze your red velvet cookies, first, let them cool completely. Then, lay them out in a single layer on a baking sheet and place them in the freezer for about 1-2 hours until frozen solid. Once frozen, transfer the cookies into a resealable freezer bag or an airtight container, sealing out as much air as possible. You can keep them frozen for up to 2 weeks! When you’re ready to enjoy, simply thaw at room temperature, or pop them in the microwave for a quick indulgent treat.
What should I do if my cookie dough is too sticky?
No worries! If your cookie dough feels too sticky, it’s probably due to a little too much moisture or not enough flour. You can add a tablespoon of extra flour at a time until the dough reaches a workable consistency. Another tip is to chill the dough for about 15-20 minutes in the refrigerator, making it easier to scoop and shape. Just remember, don’t chill it too long as you want that chewy texture we’re aiming for!
Are these cookies suitable for those with allergies?
Very! Since this red velvet cookie recipe uses standard ingredients like flour, butter, and eggs, they may not be suitable for those with gluten or dairy allergies. However, you can make some adjustments! Substitute gluten-free flour for all-purpose flour and use a dairy-free butter alternative to make these cookies more friendly for different dietary needs. Always double-check your ingredients to ensure safety for those with allergies!
Chewy Red Velvet Cookies with White Chocolate Delight
Ingredients
Equipment
Method
- Preheat your oven to 350°F (175°C) and prepare baking sheets with parchment paper.
- In a large mixing bowl, whisk together the flour, cocoa powder, baking soda, baking powder, and salt.
- Cream together the softened butter, light brown sugar, and granulated sugar using an electric mixer until light and fluffy.
- Add the egg yolks, vanilla extract, and red gel food coloring to the creamed mixture and mix until smooth.
- Gradually add the dry ingredients to the wet mixture, mixing until just combined.
- Gently fold in the chopped white chocolate until distributed throughout the dough.
- Scoop the dough into 18 equal balls and place them on the prepared baking sheets, leaving space between each ball.
- Bake for 10-12 minutes, aiming for 10 minutes for soft centers and 12 for crisp edges.
- Allow the cookies to cool on the baking sheet for 5 minutes before transferring to a cooling rack.
Leave a Reply