
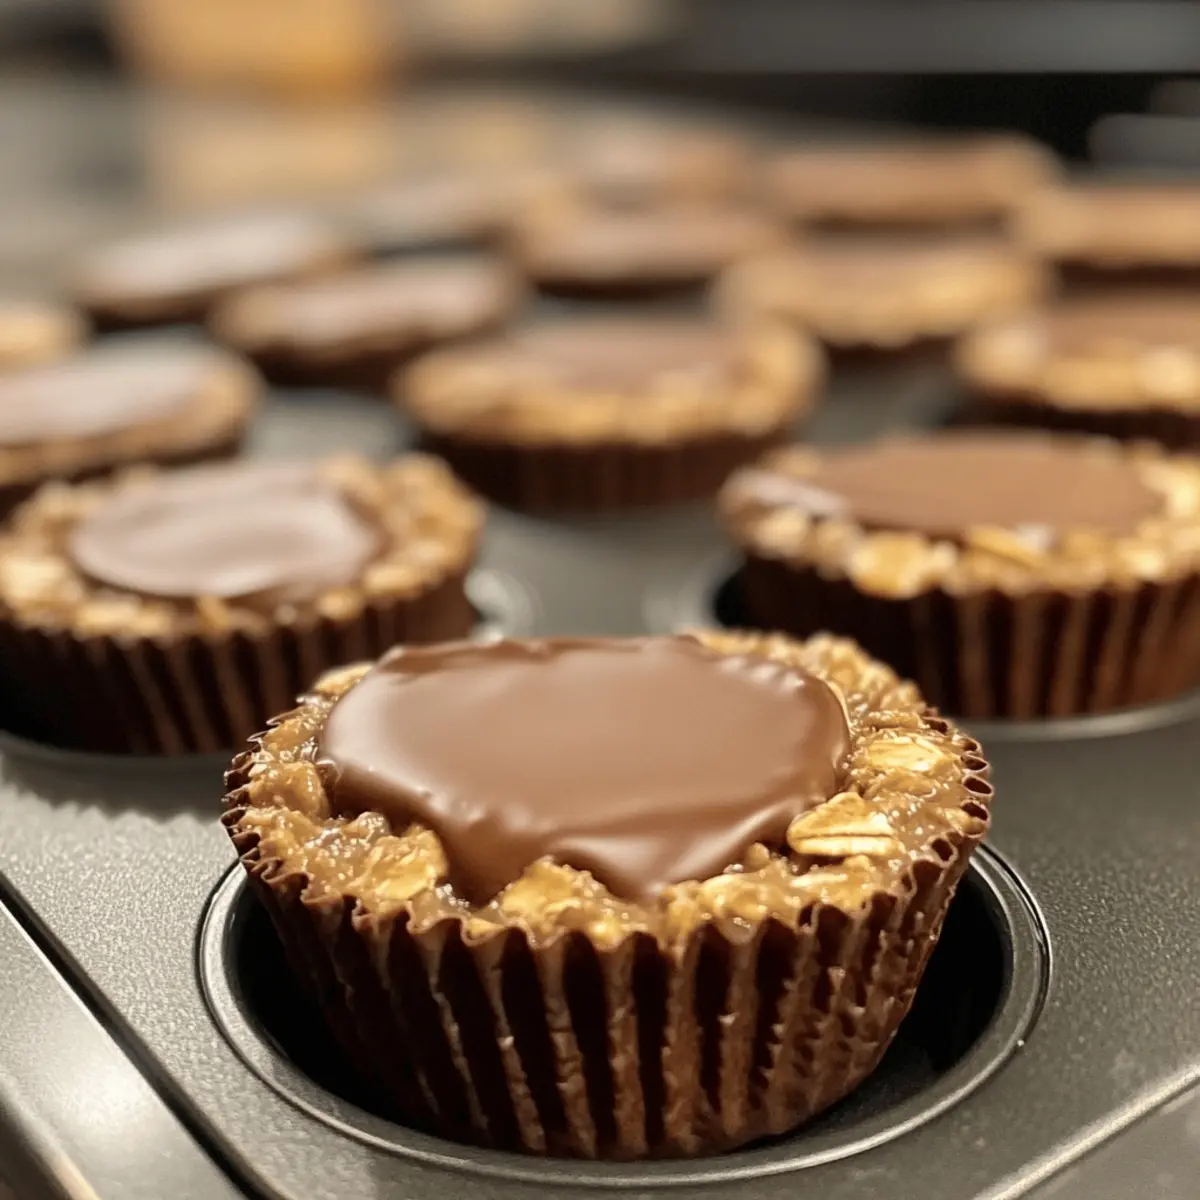
Diving headfirst into a delicious snack was never easier! These Easy No Bake Peanut Butter Oat Cups are my go-to when I need something sweet yet wholesome. They boast both rich peanut butter flavor and hearty oats, making them a perfect option for a quick dessert or an after-school treat for the kids. Unlike traditional baked goods, these cups require no oven time, allowing you to whip them up in mere minutes. You can also customize them to suit your taste, whether you want to add a sprinkle of sea salt, toss in some dried fruits, or switch the peanut butter for almond butter. With a texture that’s both chewy and satisfying, this recipe not only pleases the palate but is also a nourishing choice. Ready to make your own batch of these delightful treats? Let’s get started!
Why Are Peanut Butter Oat Cups So Loved?
Simplicity: This no-bake recipe is a breeze to whip up, requiring just a few pantry staples.
Customization: You have the freedom to substitute ingredients based on your preferences; swap peanut butter for almond butter, or add your favorite toppings like dried fruit or crushed nuts.
Quick Snack: Preparation takes only minutes, making these cups perfect for those busy days when you crave a healthy treat.
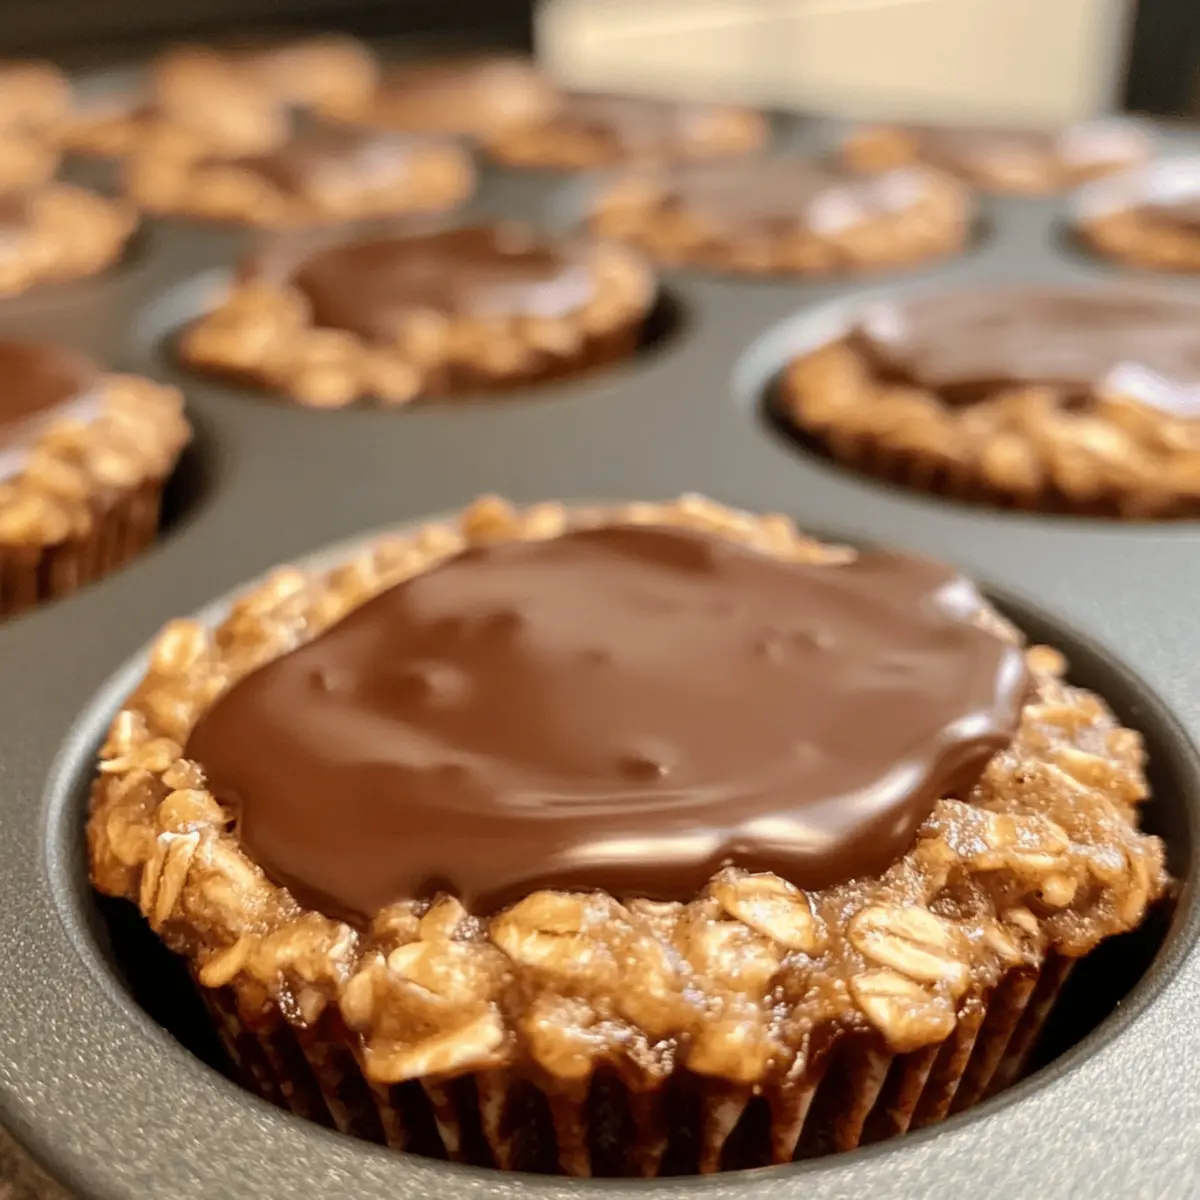
Delicious Texture: Each bite is a delightful mix of chewy oats and creamy peanut butter, topped with a smooth layer of melted chocolate.
Nutrient-Rich: Packed with wholesome ingredients, they’re an excellent source of energy for both kids and adults alike—perfect for an after-school snack!
If you enjoy this recipe, try pairing it with a glass of milk or freshly sliced fruits to elevate your snacking experience!
Peanut Butter Oat Cups Ingredients
• Simple ingredients for a satisfying treat!
For the Base
- Rolled Oats – Provides the chewy foundation of the oat cups; avoid quick oats for best texture.
- Natural Peanut Butter – Adds a creamy and rich flavor; make sure to stir well before measuring.
- Honey – Acts as a natural sweetener and binder; adjust the amount to your desired sweetness.
- Vanilla Extract – Enhances the overall flavor; it’s optional but recommended for an extra layer of taste.
For the Topping
- Chocolate Chips – Perfect for a decadent topping; use semi-sweet or dark for a delightful contrast.
- Coconut Oil – Aids in melting the chocolate smoothly; this is optional but adds a nice hint of coconut.
Feel free to experiment with these ingredients to create your perfect Peanut Butter Oat Cups!
Step‑by‑Step Instructions for Easy No Bake Peanut Butter Oat Cups
Step 1: Combine the Mixture
In a medium mixing bowl, add 2 cups of rolled oats, 1 cup of natural peanut butter, ½ cup of honey, and 1 teaspoon of vanilla extract. Stir the ingredients together using a wooden spoon or spatula until everything is well combined and sticky. This should take about 2-3 minutes. The mixture should hold together but not be overly wet.
Step 2: Prepare the Muffin Tin
Lightly spray a muffin tin with nonstick cooking spray to prevent the oat cups from sticking. Make sure to coat each cup evenly. This step is essential for easy removal later. Set the prepared muffin tin aside while you shape the mixture into cups.
Step 3: Fill the Muffin Cups
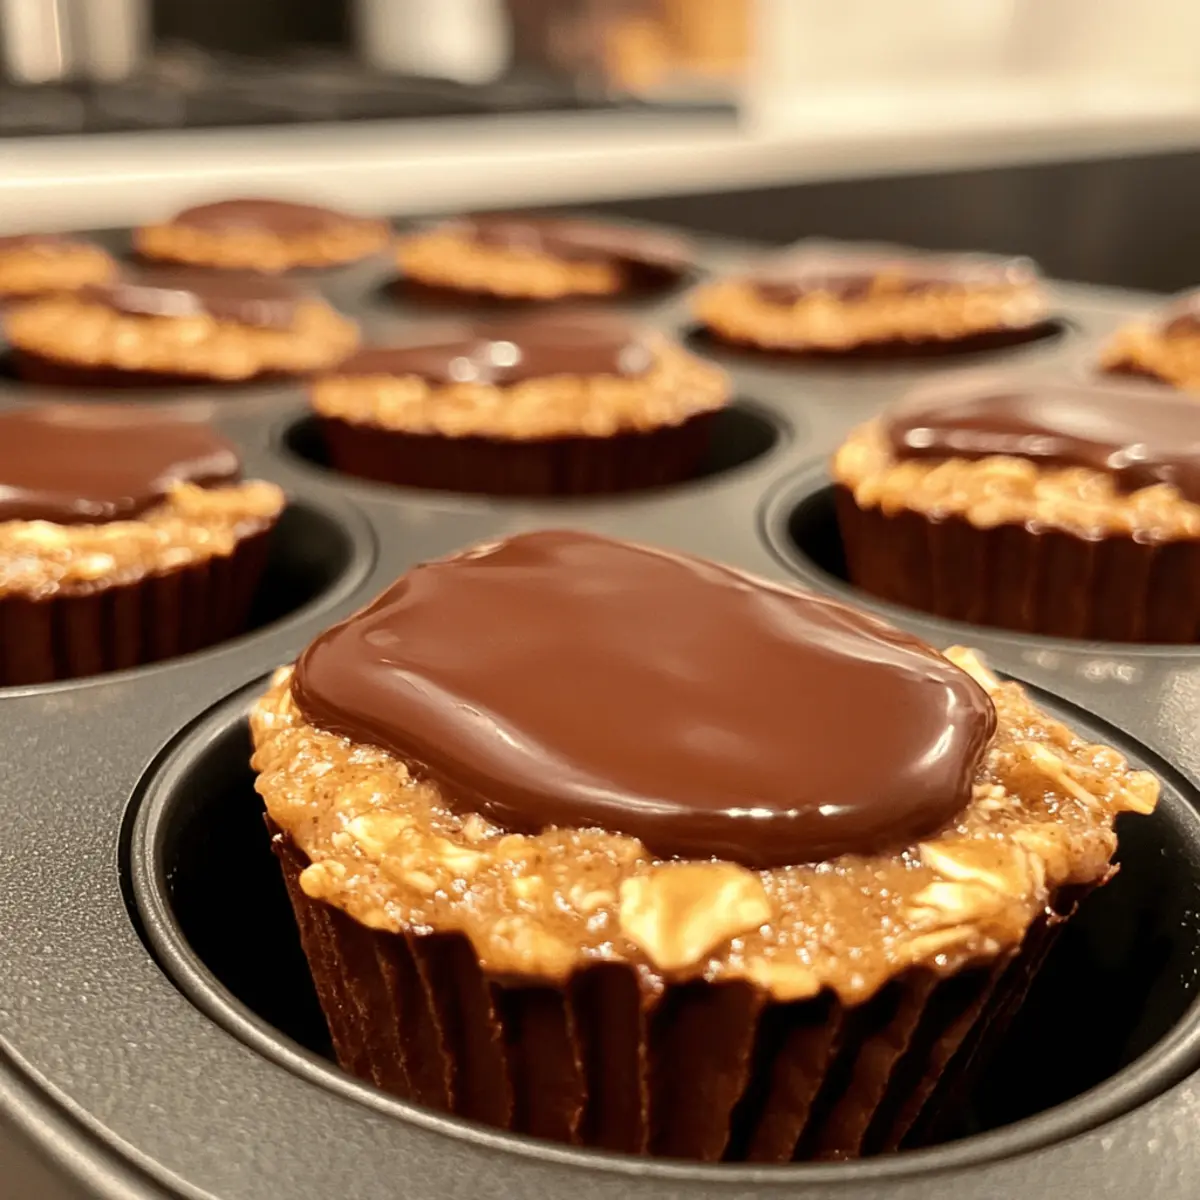
Scoop the oat mixture into each muffin cup, filling it to the top. Use the back of a spoon to firmly press the mixture down, ensuring it is compact and holds its shape. This step is crucial for the integrity of the Easy No Bake Peanut Butter Oat Cups. Aim for even distribution across all cups—there should be enough mixture to fill 12 cups neatly.
Step 4: Melt the Chocolate
In a separate microwave-safe bowl, combine 1 cup of chocolate chips and 1 tablespoon of coconut oil. Microwave the mixture in 20-second intervals, stirring in between until the chocolate is completely melted and smooth. This process will take about 1-2 minutes. Be careful not to overheat the chocolate, as it may seize.
Step 5: Add the Chocolate Topping
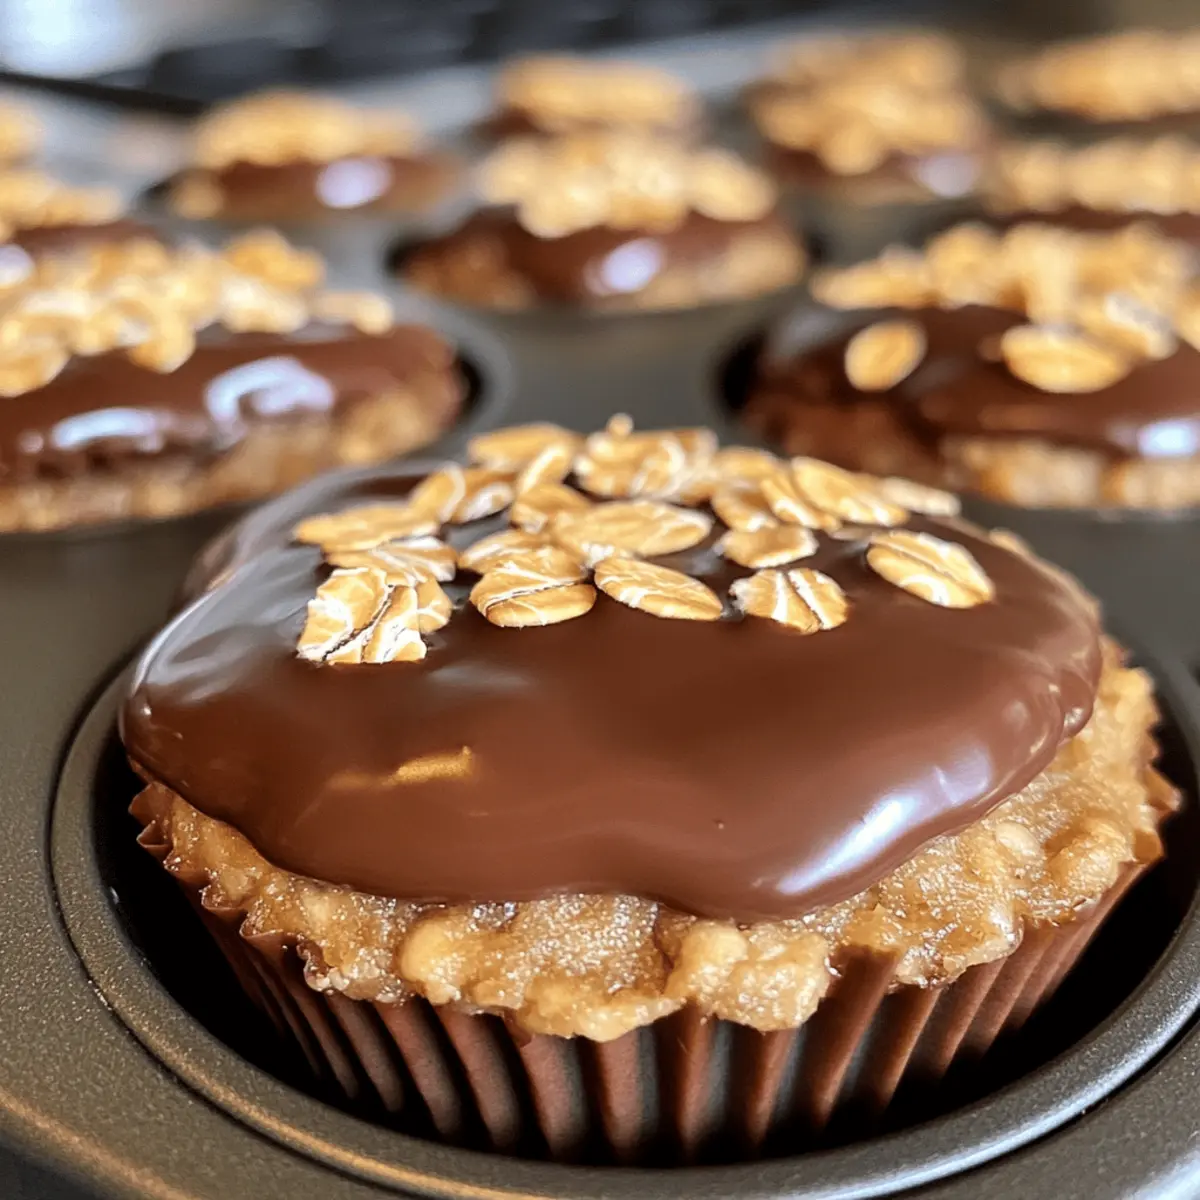
Once the chocolate is melted, spoon it generously over each oat cup. Use a small spatula or the back of a spoon to spread the melted chocolate evenly across the surface. The chocolate should flow over the edges slightly, making for a nice decorative look. If desired, sprinkle a pinch of sea salt on top for additional flavor.
Step 6: Set in the Freezer
Place the filled muffin tin in the freezer for at least 1 hour or until the oat cups are firm to the touch. This freezing time helps solidify the chocolate topping and ensures that the oat cups maintain their shape when removed. Keep an eye on them as they harden.
Step 7: Remove and Serve
Once the Easy No Bake Peanut Butter Oat Cups are set, carefully remove them from the muffin tin by gently pulling on the edges of the cups. If they resist, use a butter knife to carefully loosen them. Enjoy the delightful texture of these treats immediately or store them in an airtight container in the refrigerator for a satisfying snack later!
How to Store and Freeze Peanut Butter Oat Cups
Fridge: Keep your Peanut Butter Oat Cups in an airtight container, where they will stay fresh for up to 2 weeks.
Freezer: For longer storage, freeze the oat cups in a freezer-safe container, separating layers with parchment paper. They’ll stay good for up to 3 months!
Thawing: When ready to enjoy, simply remove the desired amount from the freezer and allow to thaw in the fridge for a few hours or overnight.
Reheating: If you prefer them a bit warm, microwave them for about 10-15 seconds before enjoying—just be careful not to overheat!
Make Ahead Options
These Easy No Bake Peanut Butter Oat Cups are perfect for meal prep, allowing you to enjoy delicious snacks without the last-minute effort! You can prepare the oat mixture and fill the muffin tin up to 24 hours in advance. Simply cover the tin with plastic wrap and refrigerate to maintain freshness. For an even easier option, you can also freeze the finished oat cups for up to 3 months. Just remember to let them set in the freezer for at least 1 hour before storing them in an airtight container. When you’re ready to enjoy, simply thaw them in the refrigerator overnight or at room temperature for about 30 minutes. With these make-ahead strategies, you’ll have tasty, wholesome snacks on hand whenever you need them!
Peanut Butter Oat Cups Variations
Feel free to get creative with these delicious cups! Your taste buds will thank you for the tasty twists.
-
Nut-Free: Substitute almond butter for peanut butter if you’re aiming for a nut-free option. Sunflower seed butter is another great choice!
-
Dried Fruits: Add a handful of dried cranberries or raisins for a sweet and chewy surprise. They pair beautifully with the peanut butter flavor.
-
Choco Delight: Swap chocolate chips for butterscotch or white chocolate chips for a different flavor explosion you’d love!
-
Crunchy Topping: Sprinkle crushed nuts or seeds like walnuts or pumpkin seeds on top for added crunch and nutrition. This added texture can really elevate your snack.
-
Loaded Bars: To create a more substantial bar, press the mixture into a lined baking dish instead of muffin cups. Cut them later for delightful servings!
-
Spice it Up: Sprinkle a dash of cinnamon or even a pinch of cayenne pepper into the base mixture before combining for a subtle heat that adds depth to the flavor.
-
Berry Boost: Incorporate fresh or frozen blueberries into the mixture for a burst of juicy flavor. They create a lovely contrast with the creamy peanut butter.
-
Decadent Swirls: Drizzle caramel or nut butter on top before freezing for an indulgent finishing touch. The mix of flavors is heavenly!
If you’re looking for more ideas, check out Brown Butter Coffee Toffee Cookies or try making a savory twist with Cowboy Butter Chicken Linguine!
Expert Tips for Peanut Butter Oat Cups
-
Use Rolled Oats: Stick to rolled oats for the best texture, as quick oats can result in a mushy consistency in your Peanut Butter Oat Cups.
-
Mix Well: Ensure all ingredients are fully combined before pressing into the muffin tin. This unity makes for a better structure once frozen.
-
Manage Melting Chocolate: Melt chocolate in short bursts to prevent overheating. Stir frequently! Overheated chocolate can seize up, ruining the topping.
-
Let Them Chill: Allow the cups to set in the freezer for at least an hour. This step is crucial for achieving the right firmness and shape.
-
Experiment Freely: Don’t hesitate to mix in dried fruits, nuts, or even a sprinkle of cinnamon to personalize your Peanut Butter Oat Cups.
What to Serve with Easy No Bake Peanut Butter Oat Cups
Indulging in these creamy, chewy treats opens the door to endless pairing possibilities that elevate your snacking experience.
-
Glass of Milk: A classic companion that balances the sweetness of the oat cups and enriches each bite with creaminess.
-
Fresh Berries: Juicy strawberries or blueberries add a refreshing contrast, enhancing the texture and flavor of your sweet treats.
-
Banana Slices: Soft, ripe bananas bring natural sweetness and a healthy brightness to your plate, making for a perfect bite alongside.
-
Yogurt: Greek or vanilla yogurt provides a tangy contrast while adding creaminess and making for a luscious snack experience.
-
Coffee: A warm cup of coffee or espresso pairs beautifully, offering a rich counterpoint to the sweetness of the oat cups.
-
Nut Butter Dip: For an extra protein punch, serve alongside a small bowl of nut butter; it complements the cups while adding depth.
-
Dark Chocolate Squares: Savoring a piece of dark chocolate alongside the cups delivers a delightful harmony of chocolaty goodness, enhancing both flavors.
These pairing ideas create a delightful balance on your plate, turning a simple treat into a nourishing, sweet adventure. Enjoy!
Easy No Bake Peanut Butter Oat Cups Recipe FAQs
What kind of oats should I use for Peanut Butter Oat Cups?
Absolutely! I recommend using rolled oats for the best texture. Quick oats tend to create a mushier consistency, which may not hold the cups together as well. Rolled oats provide a delightful chewy bite that complements the creamy peanut butter beautifully.
How should I store my Peanut Butter Oat Cups?
To keep your no-bake peanut butter oat cups fresh, store them in an airtight container in the refrigerator. They’ll nicely last for up to 2 weeks. Just make sure they’re fully cooled before storing to avoid condensation!
Can I freeze Peanut Butter Oat Cups?
Very! To freeze, place the oat cups in a freezer-safe container, ensuring you separate the layers with parchment paper to prevent sticking. They’ll stay good for up to 3 months. When you’re ready to enjoy some, simply take out the desired amount and let them thaw in the fridge for a few hours.
What should I do if my oat mixture isn’t sticking together?
If your mixture isn’t holding together well, it might be too dry. Try adding a bit more honey or peanut butter—start with a tablespoon at a time until you achieve a sticky consistency. Make sure to mix thoroughly so that all ingredients are well incorporated!
Are there any dietary considerations for these Peanut Butter Oat Cups?
Definitely! If someone has nut allergies, you can swap out the peanut butter for sunflower seed butter or tahini for a nut-free alternative. For those who might be watching their sugar intake, consider using sugar-free options or adjusting the amount of honey to your preference.
Irresistible Peanut Butter Oat Cups for Quick Snacking Joy
Ingredients
Equipment
Method
- In a medium mixing bowl, combine rolled oats, peanut butter, honey, and vanilla extract. Stir until well combined and sticky.
- Lightly spray a muffin tin with nonstick cooking spray.
- Scoop the oat mixture into each muffin cup, filling to the top and pressing down firmly.
- In a microwave-safe bowl, combine chocolate chips and coconut oil. Microwave in 20-second intervals, stirring until melted and smooth.
- Spoon the melted chocolate over each oat cup, spreading evenly.
- Place the filled muffin tin in the freezer for at least 1 hour until firm.
- Carefully remove the cups from the muffin tin, using a butter knife if needed. Enjoy or store in an airtight container.
Leave a Reply