
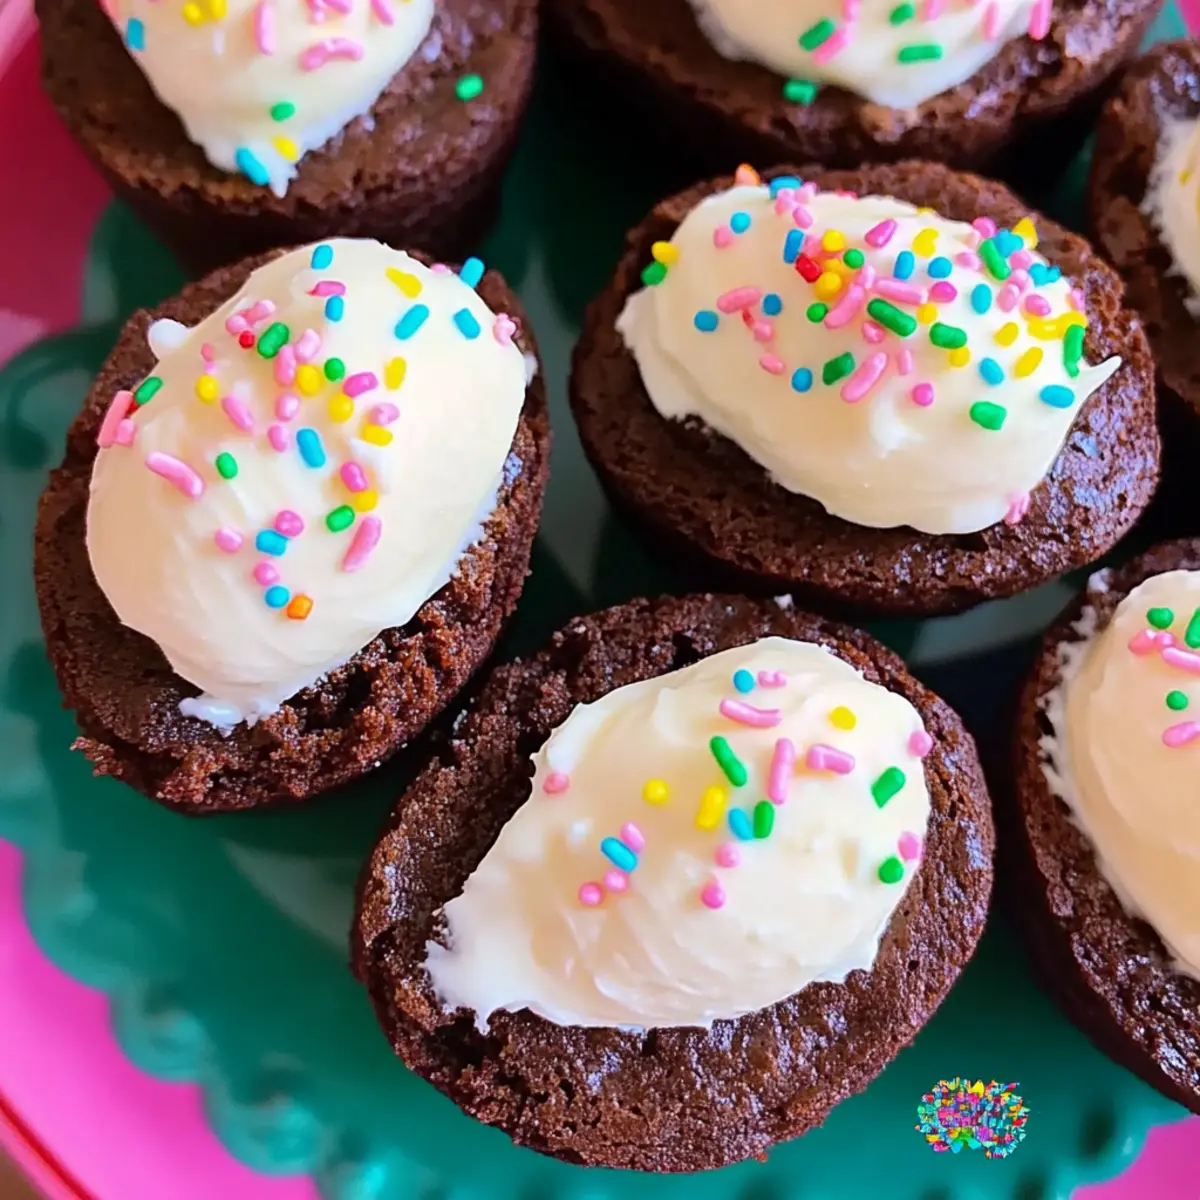
As I was mixing the batter, the aroma of rich chocolate enveloped my kitchen, instantly transporting me to the heart of Easter nostalgia. These Deviled Brownies with Cream Cheese Marshmallow Filling are not just festive delights; they are a celebration waiting to happen! This recipe brings a whimsical twist to your dessert table with egg-shaped brownies topped with a creamy, tangy filling that dances on your taste buds. The best part? They’re super easy to whip up using a box mix, making them a perfect choice for anyone who loves homemade treats but is short on time. Plus, the customizable filling means you can mix and match flavors, ensuring every bite feels special. Are you ready to impress your family and friends with these adorable delights? Let’s dive in!
Why are Deviled Brownies a Must-Try?
Irresistible Charm: These brownies are not just desserts; they’re playful creations shaped like eggs that bring a smile to everyone’s face.
Easy Preparation: With a box mix for the brownie base, even beginners can impress their guests effortlessly!
Customizable Filling: The cream cheese marshmallow filling can be tailored to your taste. Want a twist? Try replacing the marshmallow cream with cookie butter for a unique flavor!
Perfect for Celebrations: They make delightful additions to your Easter festivities, guaranteed to be a hit at parties or bake sales.
Crowd Pleaser: Rich in chocolate and creamy goodness, these treats combine flavors everyone loves, making them a surefire favorite that converts even the pickiest eaters.
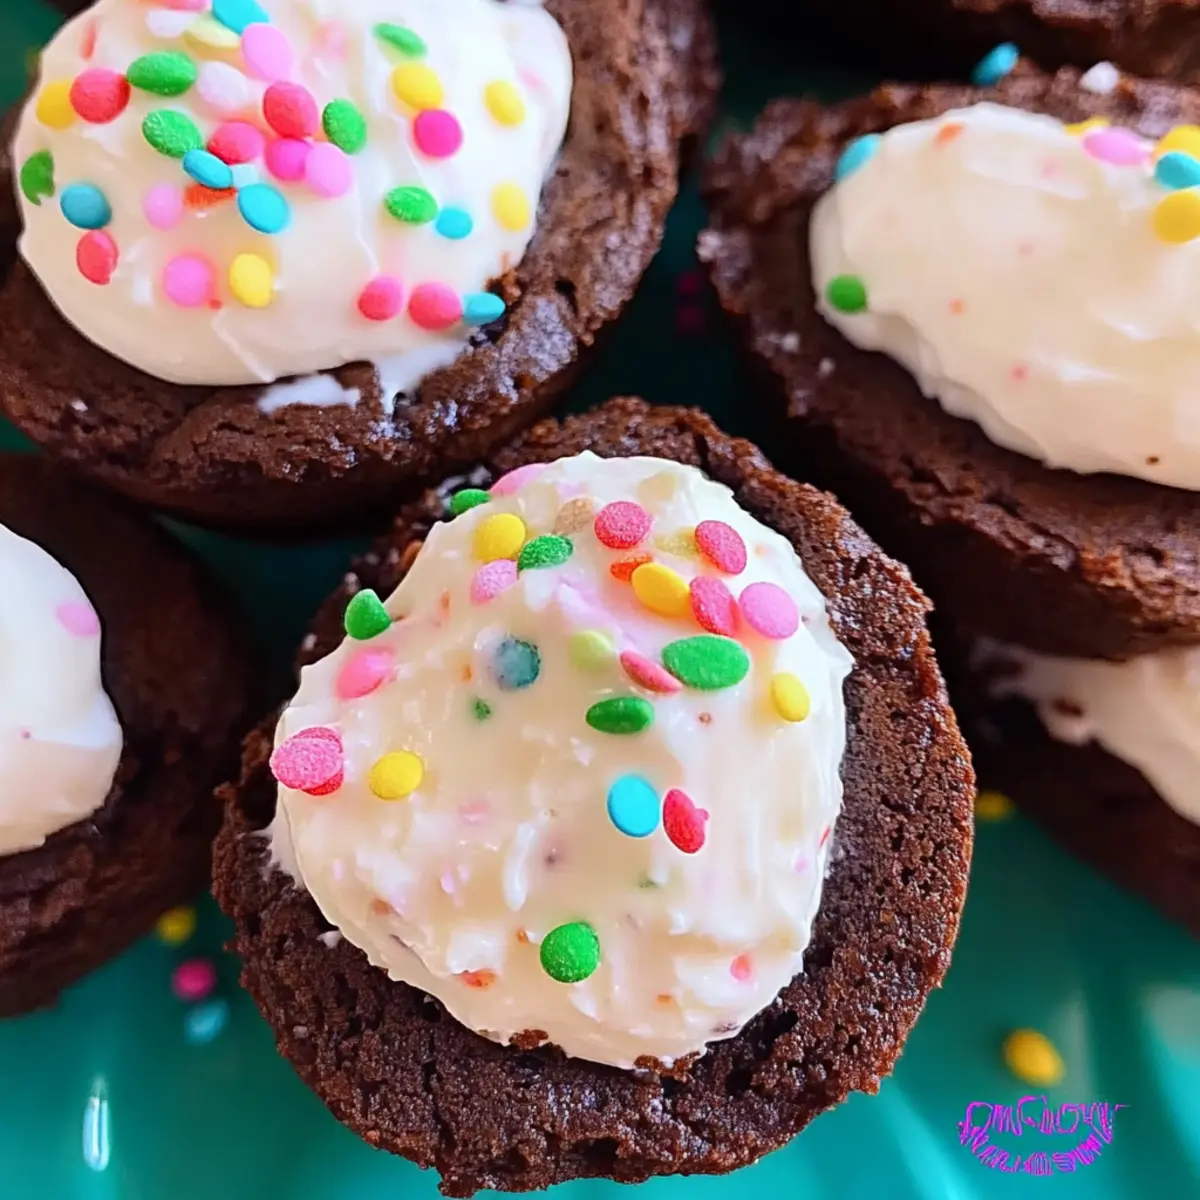
Fun Decorating Opportunities: Get creative with sprinkles or colored fillings to match your seasonal decor, adding a personal touch to each brownie!
Deviled Brownies Ingredients
Get ready to bake up some fun!
For the Brownies
• Brownie Mix (18.3 oz) – This forms the delicious base of your deviled brownies and can be swapped for homemade brownie batter if you’re feeling adventurous!
For the Cream Cheese Filling
• Cream Cheese (8 oz, softened) – It brings that rich, velvety texture to the filling; make sure it’s at room temperature for easier blending.
• Marshmallow Cream (7 oz) – Adds a delightful sweetness and lightness; for something different, sub it with cookie butter!
For Decoration
• Sprinkles (optional) – Use these to add a pop of color and enhance visual appeal, especially with pastel shades for Easter.
Step‑by‑Step Instructions for Deviled Brownies
Step 1: Preheat Your Oven
Begin by preheating your oven to 350°F (175°C). This step is essential for achieving that perfect fudgy texture in your deviled brownies. While the oven warms up, gather your equipment: a mixing bowl, a whisk, and your egg-shaped silicone molds, greasing them with nonstick spray to ensure easy brownie removal.
Step 2: Prepare the Brownie Batter
In your mixing bowl, prepare the brownie mix according to the package instructions. This usually involves blending the mix with eggs, water, and oil. Stir it until smooth, with no dry lumps remaining. The batter should be rich and glossy, hinting at the delicious deviled brownies to come.
Step 3: Fill the Molds
Using a 2-tablespoon scoop, fill each greased egg-shaped mold with the brownie batter. Be careful not to overfill, as they will rise while baking. Aim for a uniform amount in each mold to ensure even baking, then gently tap the molds on the countertop to release any air bubbles before placing them in the oven.
Step 4: Bake the Brownies
Place your filled molds in the preheated oven and bake for 24-26 minutes. Keep an eye on them, and check for doneness by inserting a toothpick into the center; it should come out clean or with just a few moist crumbs attached. Once baked, let them cool for a few minutes before removing the molds.
Step 5: Create the Brownie Divots
While the brownies are still warm, use the handle of a wooden spoon or your thumb to create a small divot in the center of each one. This will hold your luscious cream cheese marshmallow filling later. Allow the brownies to cool completely in the molds; this step ensures they will hold their shape beautifully.
Step 6: Prepare the Cream Cheese Filling
In a clean mixing bowl, beat the softened cream cheese and marshmallow cream together until smooth and fluffy. Scrape down the sides of the bowl to ensure everything is mixed thoroughly. The filling should be light and airy, perfect for filling your deviled brownies and enhancing their sweet, tangy flavor.
Step 7: Pipe the Filling
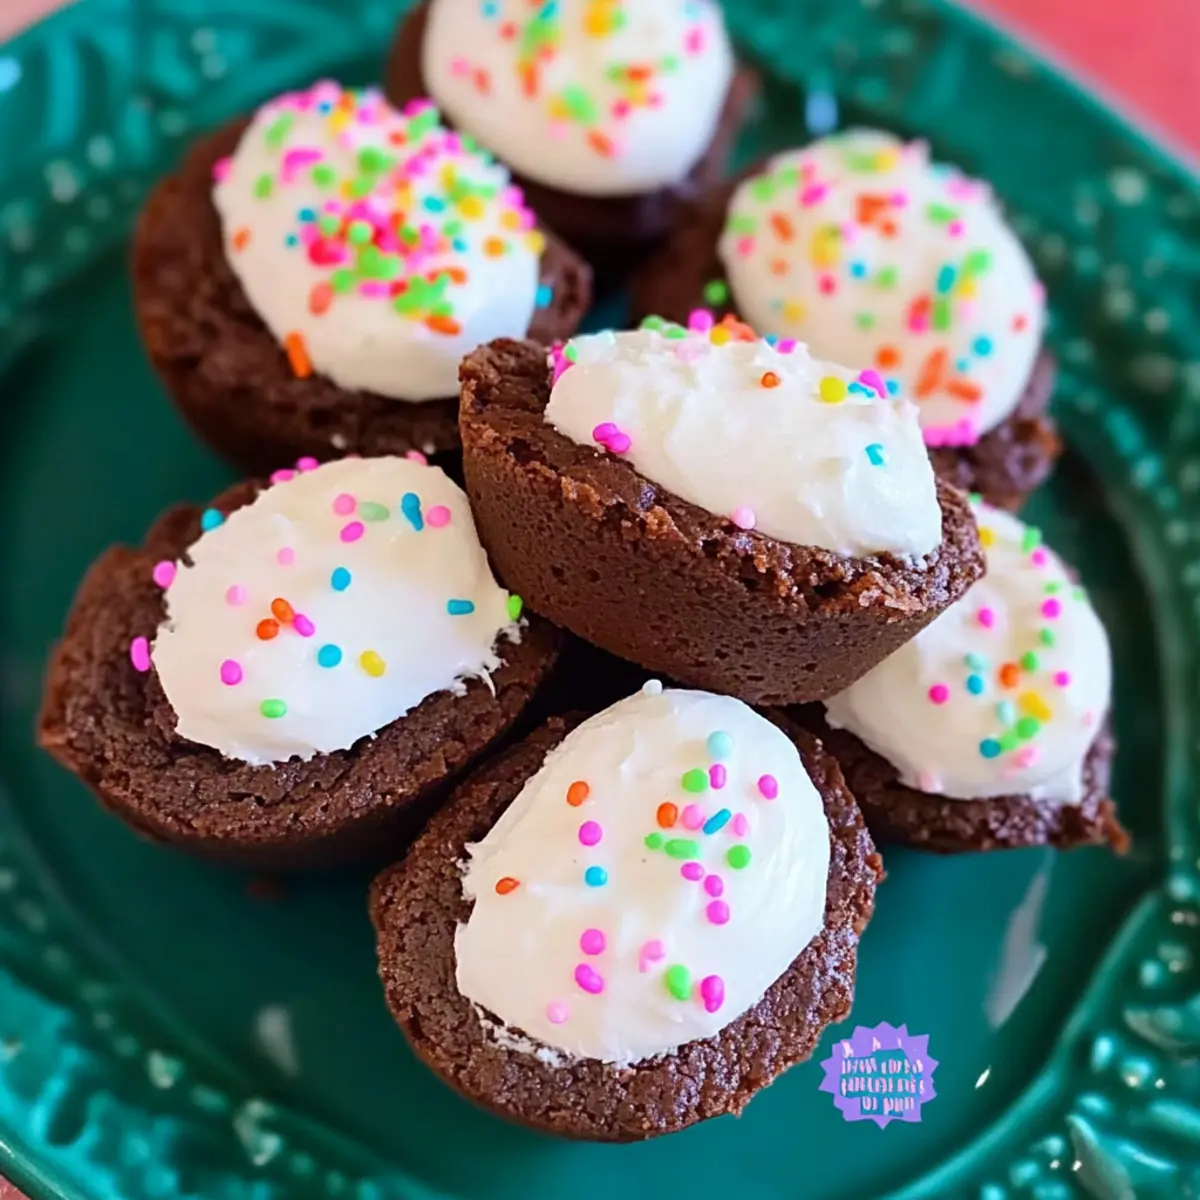
Transfer the smooth filling to a pastry bag fitted with a piping tip. Carefully pipe the cream cheese marshmallow filling into the divots of each brownie egg, letting it mound slightly above the edges for a delightful look. Take your time to make each brownie look charmingly whimsical, reminiscent of Easter festivities.
Step 8: Chill Before Serving
Once you’ve piped all the brownie eggs, place them in the refrigerator to chill for at least 30 minutes. This will help the filling firm up and create a refreshing treat. When you’re ready to serve, the flavors will meld beautifully, making these deviled brownies a delightful dessert for any occasion.
Expert Tips for Deviled Brownies
-
Soften Cream Cheese: Ensure your cream cheese is softened naturally at room temperature; microwaving may lead to a runny filling.
-
Enhance Flavor: Consider adding 2-3 tablespoons of peanut butter to the cream cheese filling for a delicious twist, creating a unique flavor in your deviled brownies.
-
Right Amount of Batter: Avoid overfilling your molds to prevent messy spills. Aim for even amounts for consistent baking and perfect brownie shapes.
-
Chill for Best Results: Allow the filled brownies to chill in the refrigerator for at least 30 minutes before serving; this helps set the filling and improves flavor harmony.
-
Festive Decorating: Only add sprinkles or decorations right before serving to maintain their color and appearance; this keeps your deviled brownies looking fresh and inviting.
What to Serve with Deviled Brownies
Looking to create a stunning spread that perfectly complements your delectable brownies?
- Fresh Berries: Juicy strawberries and raspberries add a burst of color and tartness, balancing the sweetness of the brownies. Their vibrant appearance makes for a delightful presentation.
- Vanilla Ice Cream: The creamy, cool texture of vanilla ice cream contrasts beautifully with warm brownies, creating a classic dessert experience that’s simply irresistible.
- Coffee or Espresso: A rich cup of coffee enhances the chocolatey flavors of your deviled brownies, making it a perfect pairing for an afternoon treat or evening indulgence.
- Mint Chocolate Chip Milkshake: The refreshing mint flavor juxtaposes the sweetness of the brownies, while the cool, creamy texture offers a delightful treat perfect for sharing.
- Caramel Sauce: Drizzling warm caramel over your deviled brownies elevates them to a whole new level, adding sweetness and a gooey texture that makes every bite heavenly.
- Pistachio Crème Fraîche: This tangy topping adds a delicious nutty flavor, complementing the cream cheese filling while providing a visually appealing contrast to the rich brownies.
- Lemonade: A tall glass of refreshing lemonade brings a tangy essence that cuts through the rich chocolate, making it a lovely drink choice for spring celebrations.
- Decorative Sprinkles: For additional flair, serve alongside a small bowl of colorful sprinkles, inviting guests to personalize their deviled brownies for festive flair.
How to Store and Freeze Deviled Brownies
-
Fridge: Store deviled brownies in an airtight container in the refrigerator for up to 4 days to keep the cream cheese filling fresh and creamy.
-
Freezer: Freeze deviled brownies by placing them in a single layer on a baking sheet until solid, then transfer to a freezer-safe container. They can last up to 3 months.
-
Thawing: When ready to enjoy, thaw brownies in the refrigerator overnight. For a quick treat, you can leave them at room temperature for about an hour.
-
Reheating: If desired, warm brownies slightly in the microwave for 10-15 seconds before serving to enhance their fudgy texture; however, be cautious not to overheat.
Make Ahead Options
These Deviled Brownies are perfect for busy cooks looking to save time! You can prepare the brownie base up to 3 days in advance—simply bake them, cool completely, and store them in an airtight container in the refrigerator to maintain freshness. The cream cheese marshmallow filling can also be made up to 24 hours ahead; just keep it sealed in the fridge. When you’re ready to serve, create the divots in the cooled brownies, pipe in the filling, and chill for an additional 30 minutes to allow all those lovely flavors to meld. This prep approach not only saves you time but ensures these delightful treats are just as delicious on the day of indulgence!
Deviled Brownies Variations & Substitutions
Feel free to get creative and make these brownies your own with a few fun twists!
-
Gluten-Free: Use a gluten-free brownie mix to make these treats safe for those with gluten sensitivities without sacrificing taste.
You can even pair it with our 4-Ingredient Gluten Free Chocolate Oat Cookies for a delightful dessert platter. -
Nutty Surprise: Add a sprinkle of chopped nuts such as walnuts or pecans into the brownie batter for an enticing crunch. This not only enhances texture but also adds a rich nutty flavor that balances beautifully with the filling.
-
Minty Fresh: Swap out the marshmallow cream for peppermint whipped cream to transform your brownies into a refreshing seasonal delight. This minty version is perfect for spring gatherings!
-
Cheesecake Twist: Mix a small dollop of cheesecake filling into the cream cheese layer for an indulgent surprise inside. The richness of the cheesecake complements the brownie perfectly, creating an irresistible combination.
-
Flavorful Fillings: Experiment with flavored cream cheese or yogurt, like strawberry or raspberry, for a fruity kick. This can bring a bright pop of flavor that pairs wonderfully with the chocolate base.
-
Bright Colors: Use food coloring to tint the cream cheese filling for fun occasions. Pastel colors add a festive touch, making them even more captivating for Easter celebrations.
-
Spicy Kick: For those who enjoy a little heat, add a dash of cayenne pepper to the brownie batter for a spicy kick. This unexpected twist creates an exciting contrast to the sweet filling.
-
Creamy Toppings: Drizzle chocolate ganache or caramel sauce over the brownies for an extra layer of decadence. This added richness will have everyone coming back for seconds—maybe even thirds!
Deviled Brownies Recipe FAQs
What type of brownie mix works best for deviled brownies?
Absolutely! A regular 18.3 oz box mix will work wonders as the base for your deviled brownies. I often prefer chocolate or fudge brownie mixes for that rich flavor, but any mix you love will do! Just make sure it’s suitable for baking and yields a moist brownie.
How should I store deviled brownies?
Store your deviled brownies in an airtight container in the refrigerator for up to 4 days. This keeps the cream cheese filling fresh and creamy. If they are left out at room temperature too long, the filling can lose its texture and flavor, so refrigeration is key!
Can I freeze deviled brownies?
Yes, you can freeze deviled brownies for up to 3 months! To do this, place them in a single layer on a baking sheet until they are solid. Then, transfer them to a freezer-safe container or bag, separating layers with parchment paper to prevent sticking. This way, you can enjoy them at your convenience!
What if my cream cheese filling is too runny?
If you find your cream cheese filling is getting runny, it may be because the cream cheese was not softened properly or was microwaved. I recommend letting the cream cheese sit at room temperature until softened. If it’s too late, try adding a bit more marshmallow cream or powdered sugar to thicken it back up. Mix gently until smooth!
Are deviled brownies appropriate for those with allergies?
When it comes to dietary considerations, deviled brownies do contain gluten and dairy due to the brownie mix and cream cheese. For gluten-free alternatives, use a gluten-free brownie mix. If someone has a dairy allergy, consider swapping the cream cheese with a dairy-free alternative such as cashew cream or a non-dairy cream cheese. It’s all about making these treats accessible to everyone!
Can I customize the filling for my deviled brownies?
Very! The cream cheese marshmallow filling is 100% customizable! If you want diversity, swap the marshmallow cream with cookie butter for a unique flavor or even add some crushed nuts or chocolate chips for added texture. The more the merrier when it comes to making these adorable treats unique to your taste!

Deviled Brownies: Creamy, Fudgy Easter Treats to Savor
Ingredients
Equipment
Method
- Preheat your oven to 350°F (175°C) and prepare your silicone molds.
- Prepare the brownie mix according to the package instructions.
- Fill each greased egg-shaped mold with the brownie batter, tapping to remove air bubbles.
- Bake for 24-26 minutes, checking for doneness with a toothpick.
- Create a small divot in the center of each brownie while still warm.
- In a mixing bowl, beat cream cheese and marshmallow cream until smooth.
- Pipe the cream cheese filling into the divots of each brownie egg.
- Chill the brownies in the refrigerator for at least 30 minutes before serving.
Leave a Reply