
There’s something undeniably enchanting about the aroma of garlic dancing through the air as it melds with the earthy fragrance of roasting cauliflower. This Garlic Butter Roasted Cauliflower Side takes a simple vegetable and elevates it into a golden-brown, crispy delight that’s not just flavorful but also incredibly healthy. Whether you’re looking for a low-carb option for a cozy weeknight dinner or an impressive side for a special occasion, this dish is perfect for any occasion. With minimal effort, you can create a side that transforms your meals, making it a crowd-pleaser without the fuss. Are you ready to uncover the secret to a vegetable dish that even non-vegetable lovers will devour?
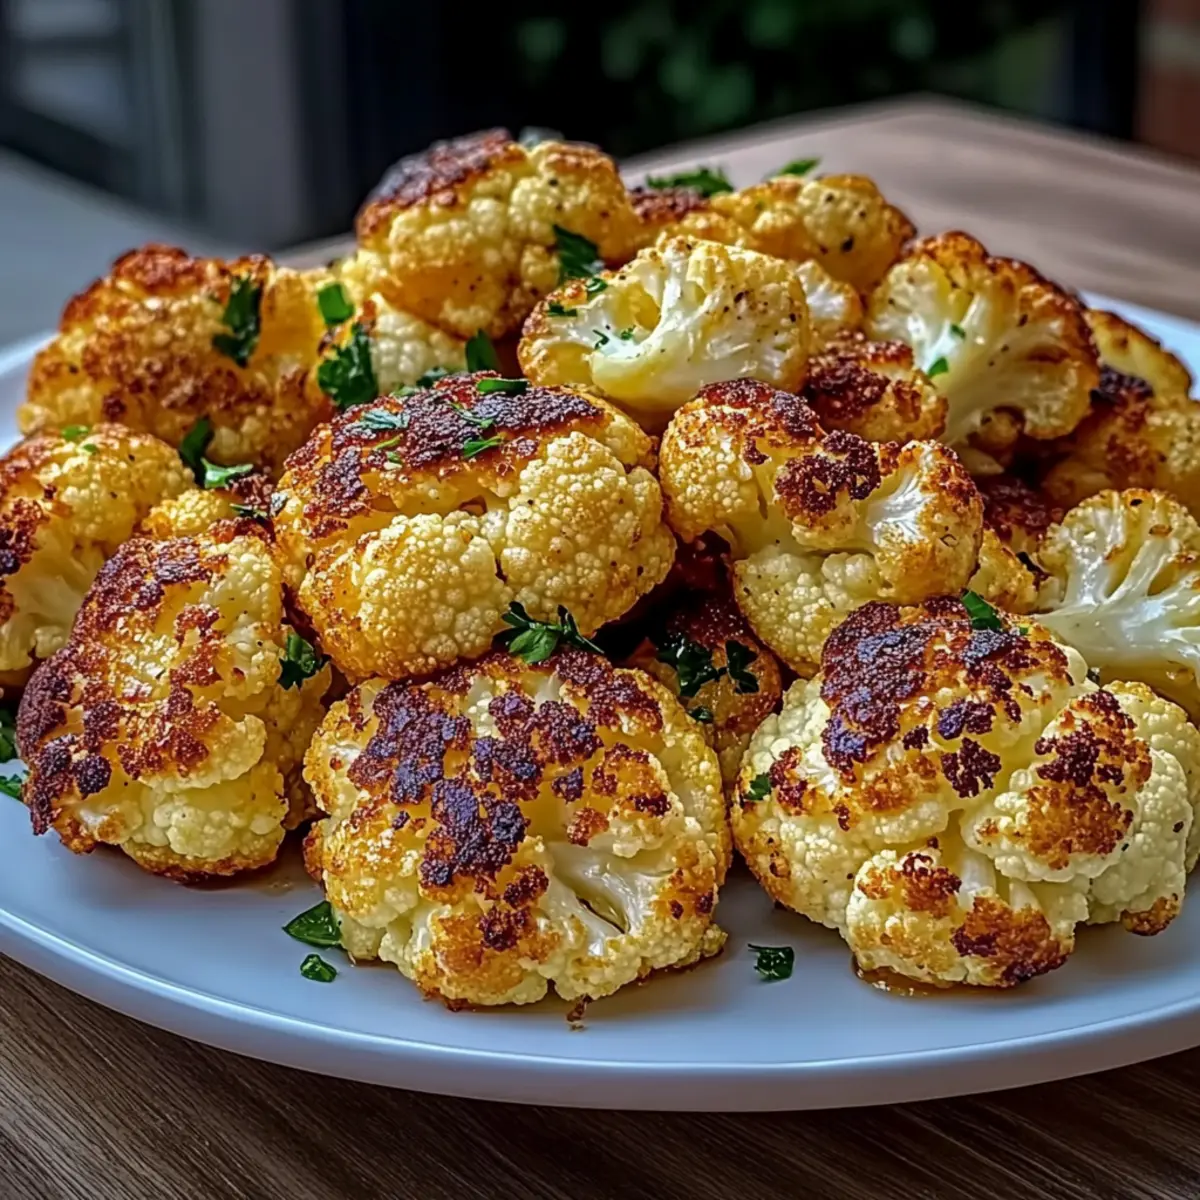
Why is Garlic Butter Roasted Cauliflower Amazing?
Simplicity at Its Best: This recipe requires minimal ingredients and simple techniques, making it ideal for both novice cooks and seasoned chefs alike.
Health Boosting Benefits: Packed with vitamins C and K, garlic butter roasted cauliflower is a low-carb, gluten-free side dish that offers nutrition without compromising on taste.
Versatile Pairing: Serve it alongside grilled chicken, fish, or even with comforting casseroles like chicken and rice for a well-rounded meal that appeals to everyone.
Flavor Explosion: The combination of rich garlic butter and the natural sweetness of roasted cauliflower creates a mouthwatering profile that’s sure to please even the pickiest eaters.
Quick & Easy: In just 30 minutes, you can transform ordinary cauliflower into a spectacular side, allowing you to spend more time enjoying your meal and less time in the kitchen.
Don’t forget to pair this dish with a delightful Garlic Butter Beef or elevate your dinner further with one-pot garlic butter shrimp pasta for a delicious combination.
Garlic Butter Roasted Cauliflower Ingredients
For the Cauliflower
• Cauliflower – Use fresh, firm heads for the best results, ensuring they are white and free from brown spots.
For the Garlic Butter
• Unsalted Butter – Adds richness and flavor; for a dairy-free option, swap it with olive oil.
• Garlic – Fresh minced garlic provides the best flavor; if you’re in a pinch, substitute with 1 teaspoon of garlic powder.
For Seasoning
• Salt – Enhances the overall flavor; feel free to adjust to your taste preferences, especially before serving.
• Olive Oil – Optional for a dairy-free variation; it can also enhance the taste when combined with a pinch of smoked paprika for added depth.
With these simple ingredients, you’ll be on your way to creating a delicious garlic butter roasted cauliflower side that will wow your guests!
Step‑by‑Step Instructions for Garlic Butter Roasted Cauliflower Side
Step 1: Preheat Oven
Begin by preheating your oven to 400°F (200°C). This temperature is ideal for creating that perfect golden-brown crust on your garlic butter roasted cauliflower. While the oven heats, gather your ingredients so you’re ready to go once it’s time to cook.
Step 2: Prepare Cauliflower
Carefully cut the fresh cauliflower into even-sized florets, ensuring they’re uniform for consistent roasting. Once done, rinse them under cold water and use a clean kitchen towel to thoroughly dry each piece. Moisture will prevent a crispy texture, so make sure they are completely dry before moving on.
Step 3: Make Garlic Butter
In a small saucepan over medium heat, melt about 4 tablespoons of unsalted butter. Add 3 cloves of minced garlic, stirring gently for about 2 minutes until fragrant. Be cautious—burnt garlic can turn bitter! Once the garlic is aromatic, remove it from the heat, allowing the flavors to meld.
Step 4: Toss Cauliflower
Transfer the dried cauliflower florets to a large mixing bowl. Pour the fragrant garlic butter over the florets, making sure to drizzle it evenly. Toss well with a spatula or your hands until each piece is sufficiently coated in the glorious garlic butter. This step ensures every bite of your roasted cauliflower is packed with flavor.
Step 5: Roast
Spread the garlic butter-coated cauliflower florets onto a rimmed baking sheet in a single layer. Place it in the preheated oven and roast for 25-30 minutes. Halfway through, give them a good flip to ensure even roasting. Look for that beautiful golden color and crispy edges to signal they’re perfectly done.
Step 6: Serve
Once your garlic butter roasted cauliflower is out of the oven, it’s time to enjoy! Serve it hot, optionally drizzling with fresh lemon juice or a hint of balsamic glaze for an extra flavor twist. This delicious side dish pairs wonderfully with proteins or can be enjoyed on its own as a flavorful snack.
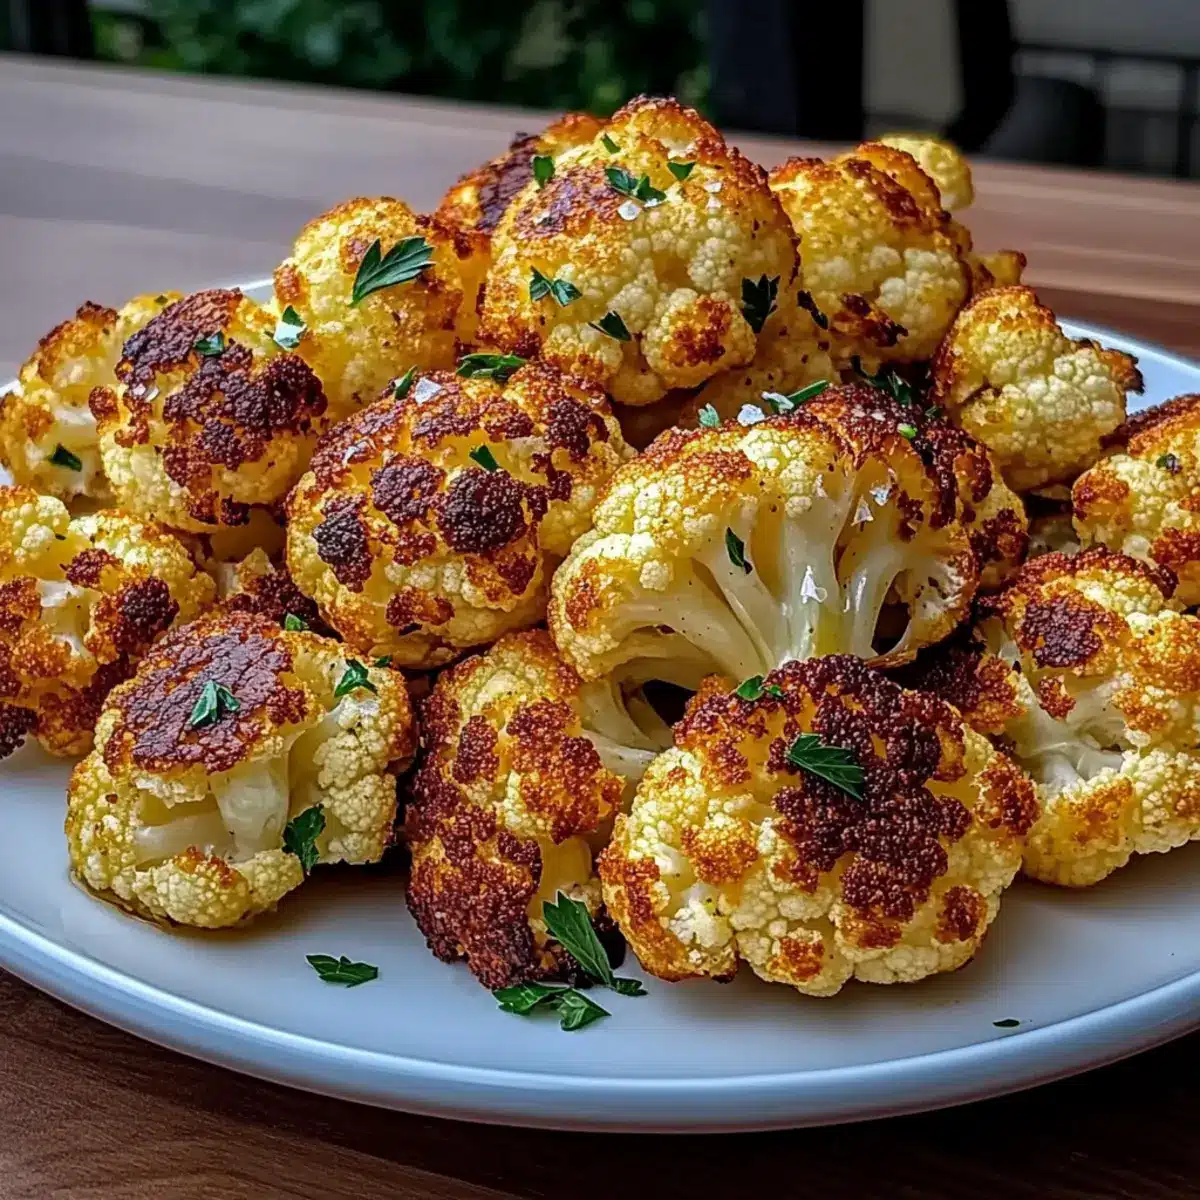
What to Serve with Garlic Butter Roasted Cauliflower
Liven up your mealtime with enticing pairings that enhance the warm, buttery charm of this roasted delight.
- Grilled Chicken: Juicy, charred chicken complements the roasted flavors, making a satisfying and balanced main dish.
- Seared Salmon: The rich, flaky texture of salmon is a perfect foil to the garlic butter’s warmth, creating an elegant plate.
- Quinoa Salad: A light and fluffy quinoa salad adds a delightful freshness, boosting the overall nutrition and creating a colorful meal.
- Creamy Polenta: Silky polenta brings a delightful mouthfeel, contrasting the crispy cauliflower while adding a comforting touch.
- Roasted Brussels Sprouts: Earthy and slightly nutty, crispy Brussels sprouts bring extra veggie goodness and flavor harmony to your table.
- Garlic Bread: Crispy bread slices slathered in garlic butter enhance the kitchen’s aroma while being ideal for mopping up flavors.
- Sparkling Water: The effervescence of sparkling water with a twist of lemon beautifully refreshes your palate amid all that buttery richness.
- Dark Chocolate Mousse: Finish your meal on a decadent note with a rich, velvety mousse that rounds out the flavors of garlic and butter perfectly.
Make Ahead Options
These Garlic Butter Roasted Cauliflower bites are perfect for busy weeknights, making meal prep a breeze! You can wash and cut the cauliflower into florets up to 24 hours in advance; simply store them in an airtight container in the fridge to keep them fresh. Additionally, you can prepare the garlic butter mixture and refrigerate it for up to 3 days. When you’re ready to cook, just combine the two, toss the florets with the garlic butter, and roast them in a preheated oven. This way, you’ll have delicious, golden-brown roasted cauliflower served with minimal effort—ideal for any occasion!
Storage Tips for Garlic Butter Roasted Cauliflower Side
Fridge: Store your garlic butter roasted cauliflower side in an airtight container for up to 3 days. Ensure it’s completely cooled before sealing to prevent moisture buildup.
Freezer: For longer storage, freeze the cauliflower in a single layer on a baking sheet before transferring to a freezer-safe container. It can be frozen for up to 3 months.
Reheating: To reheat, preheat your oven to 400°F (200°C) and spread the cauliflower on a baking sheet. Roast for about 8-10 minutes to regain that delightful crispiness.
Avoid Sogginess: To maintain texture, avoid microwaving as it can lead to sogginess. Instead, stick to the oven for reheating your garlic butter roasted cauliflower side for best results.
Garlic Butter Roasted Cauliflower Variations
Embrace the freedom to personalize this flavorful dish with exciting twists that will tempt your taste buds.
-
Dairy-Free: Substitute unsalted butter with extra virgin olive oil for a creamy, rich flavor without the dairy. The oil’s fruity notes will enhance the dish beautifully.
-
Herb Infused: Add fresh herbs like thyme or rosemary to the roasting cauliflower for delightful aromatic layers. The fragrant herbs will elevate your dining experience to new heights.
-
Spice It Up: Incorporate a sprinkle of red pepper flakes for a delightful heat kick. This adds a surprising zing that’s perfect for those who enjoy a bit of spice in their meals.
-
Cheesy Variation: Toss roasted cauliflower with a sprinkle of parmesan or nutritional yeast before serving for a savory, cheesy flavor that is truly irresistible. It’s a delicious option for those who love that umami hit.
-
Balsamic Glaze Finish: Drizzle balsamic glaze over the cauliflower post-roasting for an added tangy charm. The sweet and acidic contrast is fantastic and brings a restaurant-quality touch.
-
Garlic Lovers’ Dream: To amp up the garlic flavor, toss in roasted garlic before serving. This mellows the garlic’s sharpness while adding an incredible depth to the dish.
-
Mixed Veggies: Combine cauliflower with other roasted vegetables, like carrots or Brussels sprouts, for extra color and texture. This delightful mix creates a vibrant and inviting presentation.
-
Smoky Flavor Boost: Add a pinch of smoked paprika when coating the cauliflower to give it a lovely smoky kick. This brings a new dimension to the dish and awakens your palate.
If you’re enjoying a garlicky feast, don’t forget to check out Aromatic Garlic Chilli Noodles as a delightful pairing to complement these flavors!
Expert Tips for Garlic Butter Roasted Cauliflower
• Fresh Ingredients: Always opt for fresh cauliflower and garlic. Stale vegetables can dull the flavors of your garlic butter roasted cauliflower.
• Avoid Sogginess: Make sure to dry the cauliflower thoroughly after washing. Excess moisture can lead to steaming instead of crisping.
• Mind the Garlic: Cook garlic on medium heat and watch it closely. Burnt garlic can ruin your dish with a bitter taste.
• Flip Florets: Toss the cauliflower halfway through roasting for even browning and to prevent any pieces from steaming in their own moisture.
• Crispy Edges: For an extra crispy finish, consider roasting florets in a single layer without overcrowding the baking sheet.
• Flavor Variations: Experiment by adding spices like smoked paprika or fresh herbs for an aromatic twist to your garlic butter roasted cauliflower.
Garlic Butter Roasted Cauliflower Recipe FAQs
How do I choose the best cauliflower for roasting?
Absolutely! When selecting cauliflower, look for heads that are firm and white, free from any brown spots or dark patches. The fresher it is, the better the flavor and texture will be when roasted.
What is the best way to store leftover garlic butter roasted cauliflower?
You can store your delicious garlic butter roasted cauliflower in an airtight container in the fridge for up to 3 days. Just ensure it has fully cooled down before sealing it to prevent moisture from making it soggy.
Can I freeze garlic butter roasted cauliflower?
Very! To freeze, spread the cooled roasted cauliflower in a single layer on a baking sheet and freeze until solid. Then transfer it to a freezer-safe container or freezer bag. It can be frozen for up to 3 months. When ready to enjoy, simply reheat it in the oven for a deliciously crispy outcome.
What should I do if my garlic butter is burning while cooking?
If you notice your garlic butter is burning, immediately reduce the heat and remove it from the pan. Alternatively, consider sautéing the garlic for a shorter time or adding it to the butter after it has melted and cooled slightly, stirring until just fragrant.
Is there a way to make this garlic butter roasted cauliflower dish vegan?
Yes, you can easily make a dairy-free version by substituting unsalted butter with olive oil. For added depth of flavor, consider mixing in a pinch of smoked paprika. This keeps the dish flavorful while accommodating vegan diets.
How do I reheat garlic butter roasted cauliflower to keep it crispy?
To reheat and keep it crispy, preheat your oven to 400°F (200°C). Spread the cauliflower on a baking sheet, then roast for about 8-10 minutes. This will help revive that golden, crispy texture that makes this garlic butter roasted cauliflower side so delightful!
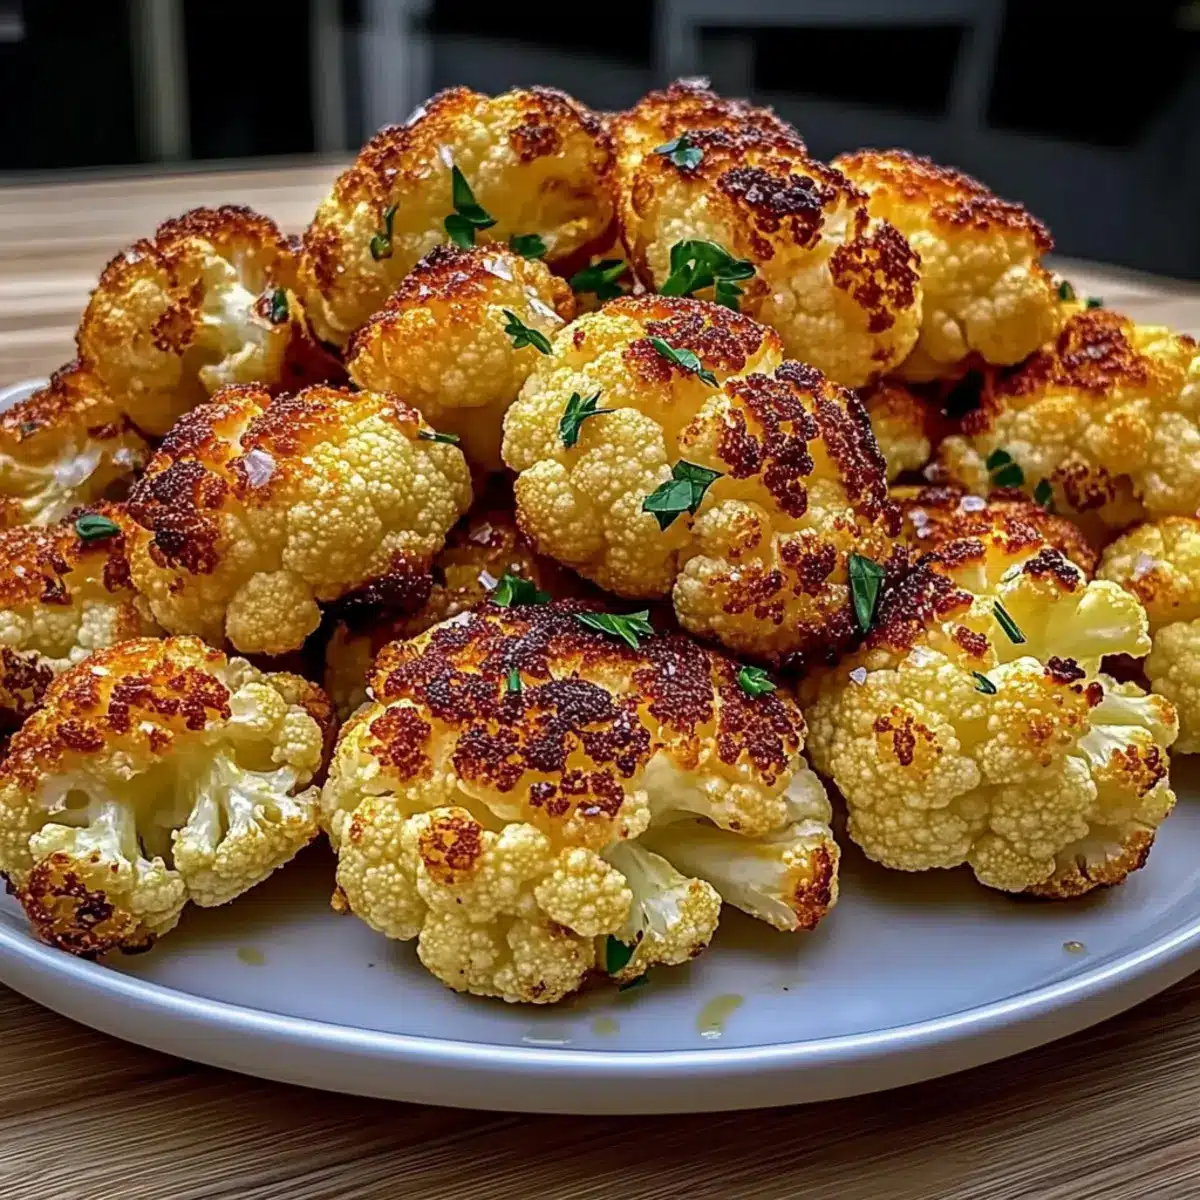
Garlic Butter Roasted Cauliflower Side That Will Wow You
Ingredients
Equipment
Method
- Preheat your oven to 400°F (200°C).
- Cut the cauliflower into even-sized florets, rinse, and dry thoroughly.
- Melt the unsalted butter in a saucepan over medium heat. Add minced garlic and stir for 2 minutes until fragrant.
- In a large mixing bowl, toss the cauliflower florets with the garlic butter until well coated.
- Spread the cauliflower on a rimmed baking sheet in a single layer and roast for 25-30 minutes, flipping halfway through.
- Serve hot, optionally drizzled with fresh lemon juice or balsamic glaze.
Leave a Reply