
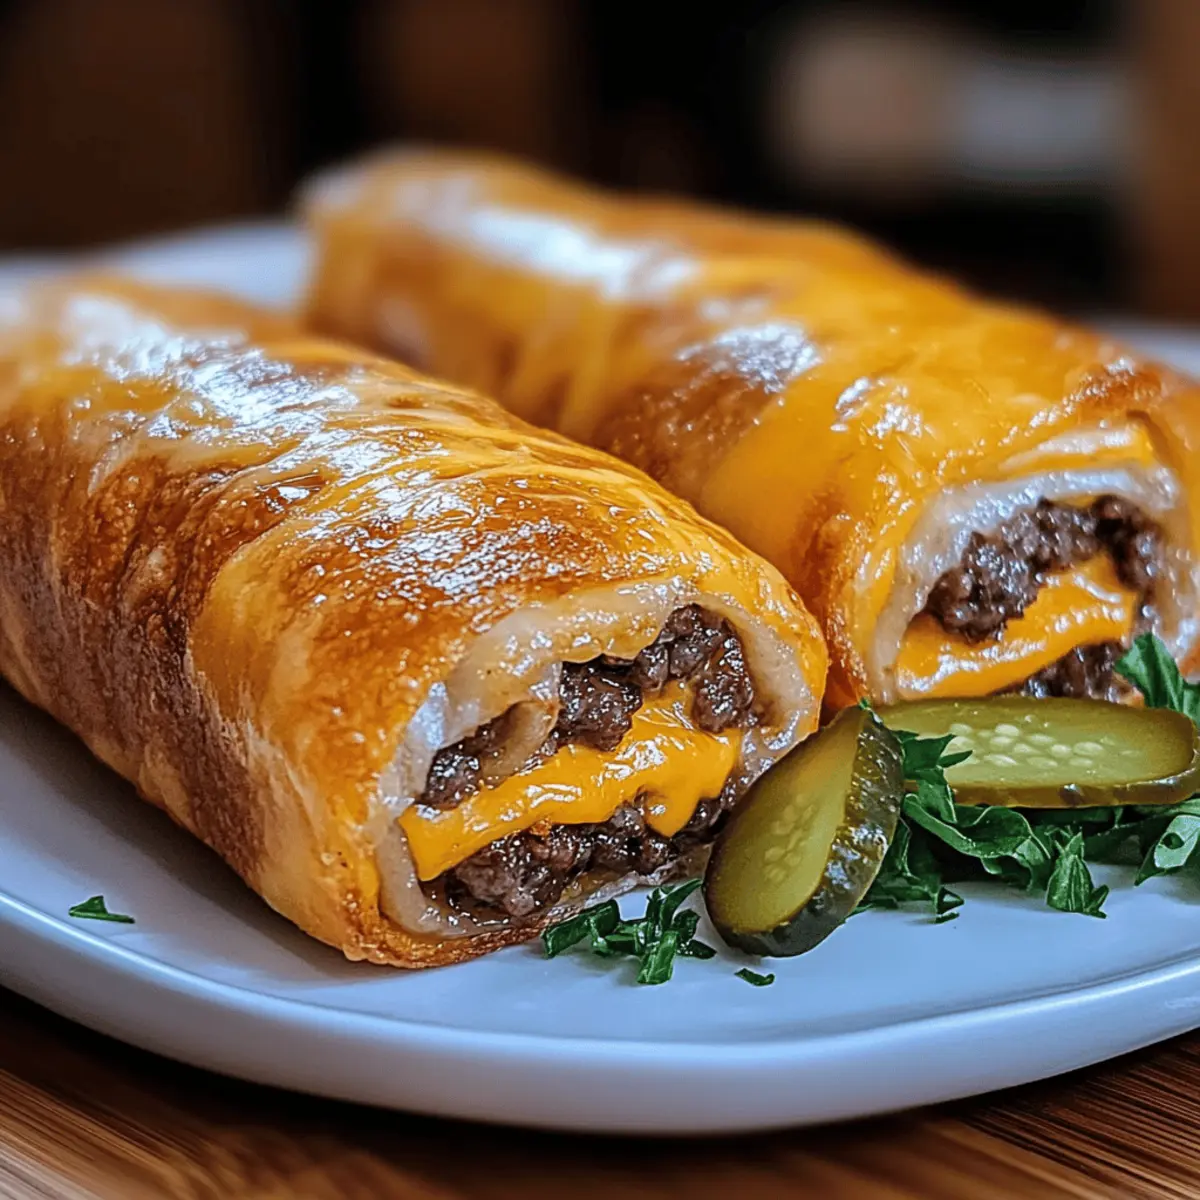
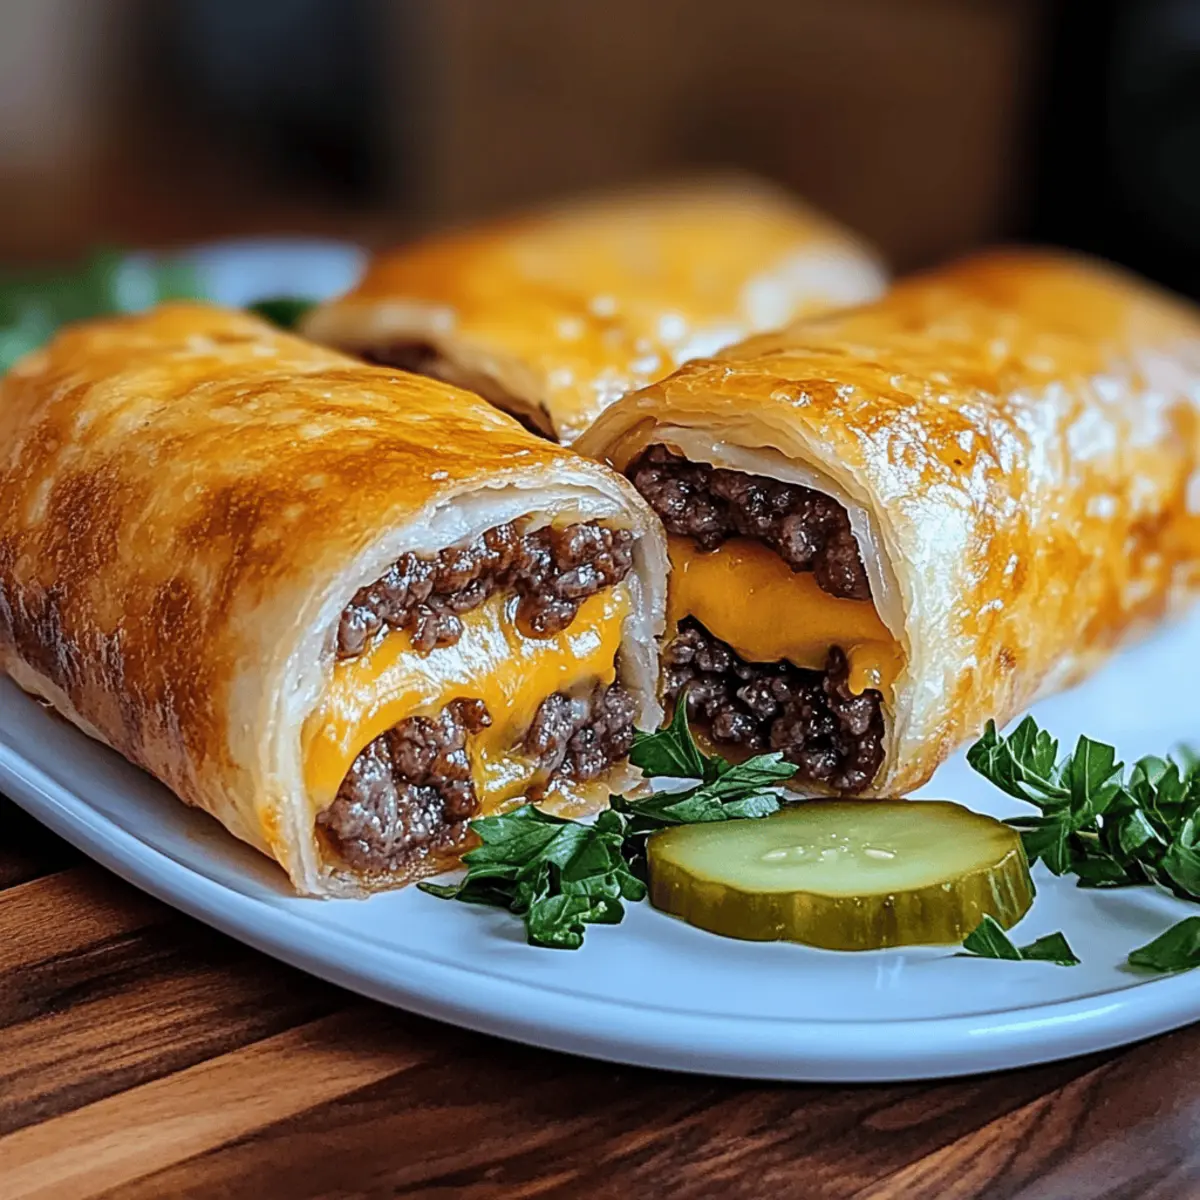
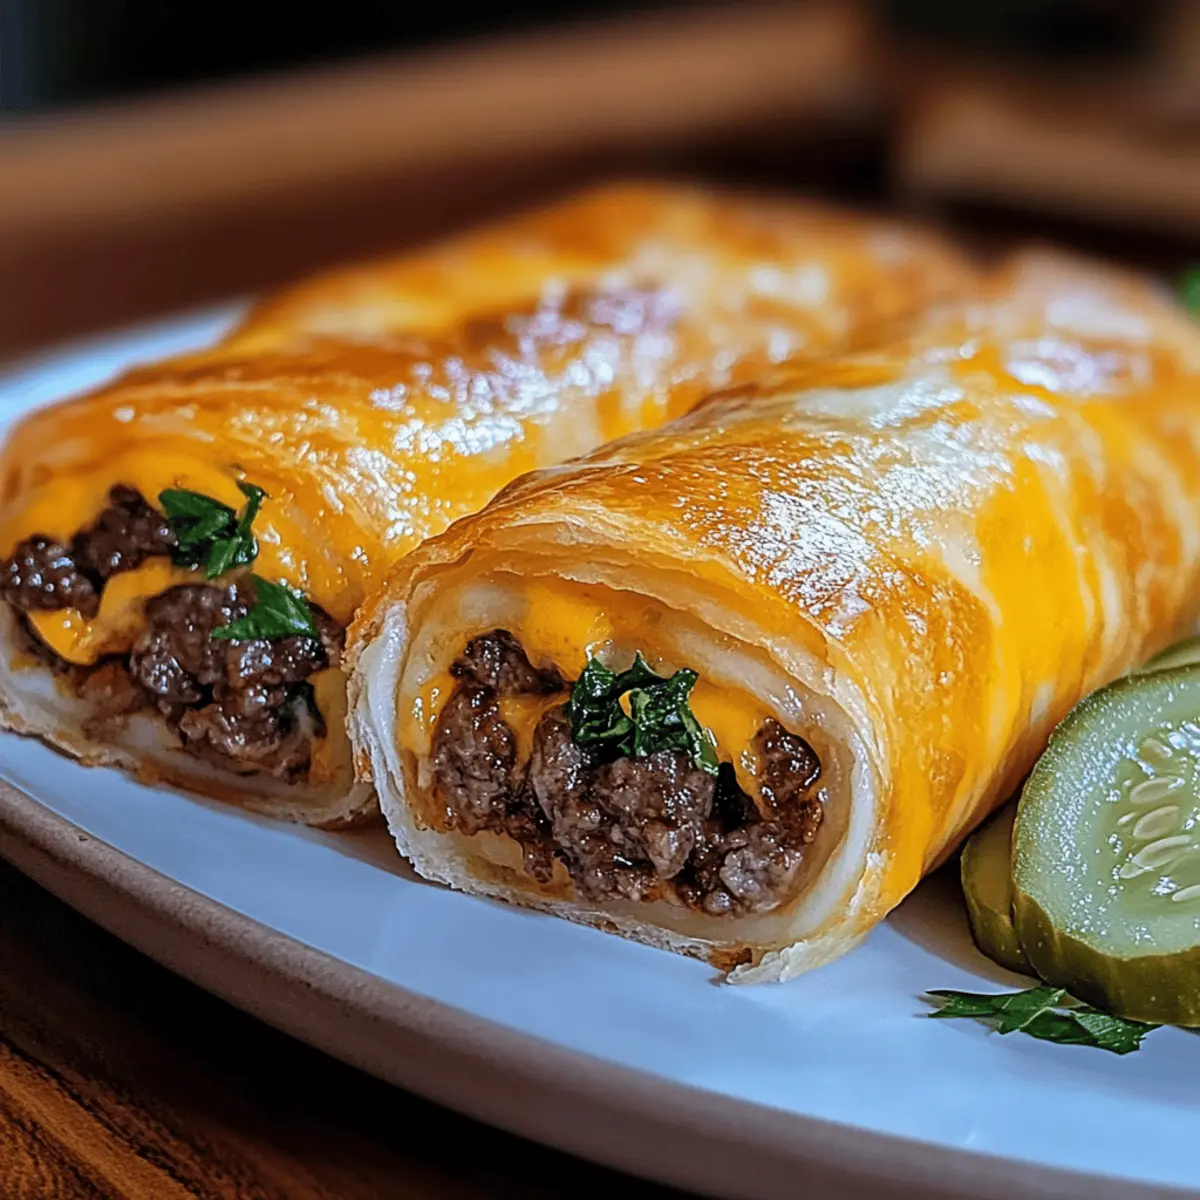
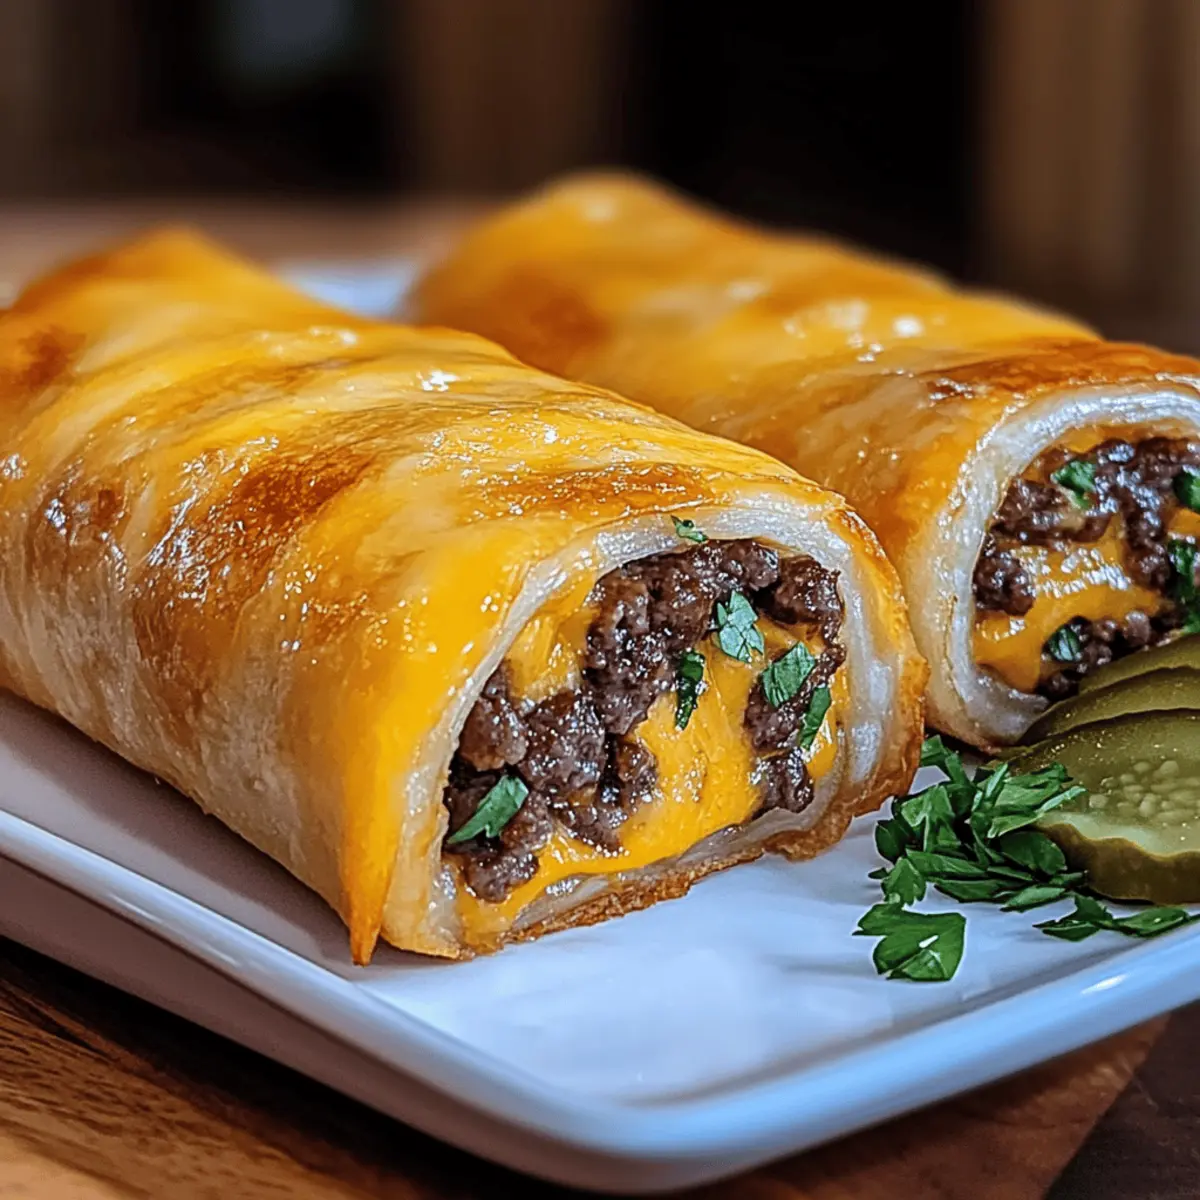
As I tossed my leftover dinner plans aside, I couldn’t help but imagine the warm, inviting aroma of garlic sizzling in butter, mingling with savory beef. Enter: Easy Garlic Butter Beef Cheeseburger Rollups—my newest obsession that combines comfort food with effortless preparation. These bite-sized rolls not only make for a satisfying dinner but also shine as a crowd-pleasing appetizer at gatherings. With melted cheese encasing tender beef and a hint of aromatic garlic, they encapsulate all the classic cheeseburger elements in a fun, portable shape. Trust me, there’s nothing better than watching friends and family devour these golden delights. What dipping sauce will you pair with your rollups?
Why You’ll Crave These Rollups?
Comforting flavors come together in these rollups, offering an indulgent taste of classic cheeseburgers that everyone loves. Quick and easy to prepare, you’ll have a delicious meal on the table in no time—perfect for busy weeknights. Versatile in nature, feel free to customize with your favorite toppings or dipping sauces like ranch or mustard. Crowd-pleasing appetizers for game night or gatherings, these rollups are always a hit! Once you’ve tried these, consider making Apple Pie Bars for dessert to complete your menu!
Garlic Butter Beef Cheeseburger Rollups Ingredients
For the Beef Filling
• Ground Beef – Provides savory flavor and protein; choose ground chuck (15%-25% fat) for optimal juiciness.
• Onion Powder – Adds depth to the beef mixture, enhancing the overall flavor.
• Garlic Powder – Boosts the garlic flavor without adding moisture to the filling.
• Worcestershire Sauce – Enhances the umami flavor of the beef, giving it that classic savory taste.
• Smoked Paprika – Contributes a subtle smokiness; can substitute with regular paprika if preferred.
• Salt and Black Pepper – Essential for seasoning to taste, adding the final touch to your flavorful filling.
For the Cheese
• Shredded Cheddar Cheese – Adds a sharp, creamy element that balances the savory beef; Monterey Jack works well as a milder substitute.
• Shredded Mozzarella Cheese – Offers gooeyness and stretchiness for that delightful cheeseburger texture.
For Rolling
• Large Flour Tortillas – These serve as the wrap, providing portability for your rollups; feel free to use whole wheat for a healthier twist.
• Butter (melted) – Adds richness and buttery flavor; unsalted butter is preferable for better control over seasoning.
• Garlic (minced) – Imparts a robust, aromatic flavor that elevates the rollups; always opt for fresh garlic for the best results.
Optional Garnishes
• Sliced Pickles – For garnish and an extra crunch that mimics classic cheeseburger toppings; great for an added zing!
Step‑by‑Step Instructions for Garlic Butter Beef Cheeseburger Rollups
Step 1: Preheat the Oven
Begin by preheating your oven to 375°F (190°C). While it warms up, prepare a baking sheet by lining it with parchment paper or lightly greasing it. This ensures that your Garlic Butter Beef Cheeseburger Rollups won’t stick, allowing for easier cleanup and a perfectly baked exterior.
Step 2: Cook the Beef
In a skillet, pour in a splash of olive oil and heat it over medium-high heat. Add the ground beef and cook for about 7-8 minutes, breaking it apart with a spatula until it’s nicely browned and no longer pink. Once cooked, remove the skillet from the heat and let the beef mixture cool slightly, while keeping an eye on its savory aroma.
Step 3: Season the Beef
With the beef still warm, stir in Worcestershire sauce, onion powder, garlic powder, smoked paprika, salt, and black pepper. Mix thoroughly to ensure the spices blend well with the beef. Once seasoned, let the mixture cool a bit as you prepare the garlic butter, which will enhance the flavors of your rollups.
Step 4: Prepare the Garlic Butter
In a small bowl, combine the melted butter with minced garlic. Stir well until the garlic is evenly distributed throughout the butter. This garlic-infused mixture will not only enrich the flavors of your Garlic Butter Beef Cheeseburger Rollups but also create a delicious golden finish when baked.
Step 5: Assemble the Rollups
Lay the large flour tortillas flat on a clean surface. Evenly distribute the beef mixture across the tortillas, leaving a small border around the edges. Top each tortilla with shredded cheddar and mozzarella cheese for that gooey, cheesy delight that complements the beef perfectly.
Step 6: Roll the Tortillas
Starting at one end, tightly roll each tortilla, tucking in the sides to enclose the filling completely. Place the rolled tortillas seam-side down on the prepared baking sheet. Generously brush the tops with the garlic butter to add extra flavor and ensure a crispy, golden exterior during baking.
Step 7: Bake the Rollups
Pop your baking sheet into the preheated oven and bake the Garlic Butter Beef Cheeseburger Rollups for about 12-15 minutes. Keep an eye on them; they should turn golden brown and the cheese should be bubbling and melted, creating that irresistible cheeseburger experience.
Step 8: Slice and Serve
After baking, allow the rollups to cool for a couple of minutes before slicing them into pinwheels. If desired, garnish with sliced pickles to add a crunchy and zesty touch that perfectly complements your rollups. Serve warm and enjoy these delightful bites with your favorite dipping sauce!
What to Serve with Easy Garlic Butter Beef Cheeseburger Rollups
Imagine the flavor journey of your rollups harmoniously complemented by sides that enhance every delicious bite.
- Crispy French Fries: Their crispy exterior and soft inside make a classic pairing that echoes cheeseburger vibes, ensuring a fulfilling meal. Dip them in ketchup for that nostalgic fast-food experience.
- Classic Coleslaw: This refreshing, crunchy salad adds a bright contrast and creamy texture, balancing the savory richness of the rollups.
- Zesty Pickle Spear: A simple, tangy garnish that cuts through the richness while paying homage to traditional cheeseburger toppings. The crunch adds delightful texture to your experience.
- Loaded Nachos: Topped with cheese, jalapeños, and salsa, these nachos add fun and shareable vibes to your meal, perfect for game night!
- Sweet Potato Wedges: Their natural sweetness enhances the savory rollups, while the crispy texture adds a satisfying crunch. A sprinkle of cinnamon elevates their flavor.
- Creamy Garlic Dip: Perfect for dipping, this creamy sauce echoes the garlic butter in your rollups, bringing a cohesive taste profile to your meal.
- Ice-Cold Lemonade: This refreshing drink cuts through the rich flavors and keeps things light, making it the perfect companion for your hearty rollups.
- Dessert Option: End on a sweet note with a slice of Chocolate Lava Cake. The warm, gooey center pairs well with the savory bite of the rollups for an indulgent meal conclusion.
Expert Tips for Garlic Butter Beef Cheeseburger Rollups
- Beef Cooking Tip: Ensure the beef is cooked until just browned to maintain moisture; overcooking can result in dry filling.
- Tortilla Overload Warning: Don’t overload the tortillas with filling to prevent bursting during baking; keep portions moderate for best results.
- Secure Your Rolls: If the rolls don’t stay closed, use toothpicks to secure them before baking; this keeps everything intact while cooking.
- Fresh Garlic Delight: Using fresh garlic instead of pre-peeled garlic enhances the flavor significantly; it’s worth the extra effort for a richer taste.
- Baking Sheet Prep: Lightly grease or line your baking sheet with parchment paper to avoid sticking; this makes cleanup a breeze post-baking.
Make Ahead Options
These Easy Garlic Butter Beef Cheeseburger Rollups are a fantastic choice for meal prep! You can prepare the beef mixture and assemble the rollups up to 24 hours in advance; simply cover them tightly with plastic wrap or store them in an airtight container in the refrigerator to maintain freshness. If you’d like, you can also cook the beef filling and refrigerate it for up to 3 days before rolling it up. To finish, just preheat your oven and bake the rollups directly from the fridge, brushing with garlic butter before popping them in the oven for 12-15 minutes. This way, you’ll have a wonderfully quick and delicious meal ready to savor, making your busy weeknights a little brighter!
Garlic Butter Beef Cheeseburger Rollups Variations
Customize your Garlic Butter Beef Cheeseburger Rollups to suit your taste and dietary needs, inviting a world of delicious possibilities.
-
Dairy-Free: Use dairy-free cheese alternatives, and swap butter for coconut oil to make these rollups suitable for a dairy-free diet.
Feel free to explore a range of dairy-free cheeses to find your favorite that melts beautifully! -
Spicy Kick: Add diced jalapeños or a splash of hot sauce to the beef mixture for an exciting heat level.
Your friends and family will enjoy the intensified flavors, making these rollups unforgettable! -
Veggie-Packed: Mix in finely chopped bell peppers or mushrooms with the beef for added nutrition and flavor.
These veggies not only boost the health quotient but also provide a delightful texture in every bite! -
Whole Wheat Tortillas: Opt for whole wheat tortillas for a healthier twist without compromising on taste.
This small change adds fiber and heartiness, giving you a satisfying meal that’s a bit guilt-free! -
Cheese Lover’s Delight: Mix different cheeses like Pepper Jack or Gouda for an extra cheesy experience.
The melty goodness will envelop the savory beef, making every bite comfortingly indulgent. -
Herb Boosted: Incorporate fresh herbs like chopped parsley or cilantro for a burst of freshness and color.
Herbs can elevate the flavor profile, adding a vibrant touch that complements the richness of the rollups. -
Sweet & Savory: Add caramelized onions or a touch of BBQ sauce to the beef mixture for a sweet-salty balance.
This variation adds a complexity that marries beautifully with the savory aspects of the dish. -
Garnish Upgrade: Instead of sliced pickles, try using jalapeño slices or Sriracha for a zesty finish.
Switching up your garnishes can create a whole new level of flavor synergy with your rollups.
Don’t forget to pair these rollups with delicious dips, and if you’re looking to finish on a sweet note, consider serving them alongside Apple Pie Bars for the perfect comfort food experience!
How to Store and Freeze Garlic Butter Beef Cheeseburger Rollups
Fridge: Store leftover rollups in an airtight container for up to 3 days. This keeps them fresh while preserving their delightful flavor and texture.
Freezer: For longer storage, freeze rollups individually wrapped in plastic wrap and then placed in a freezer-safe bag for up to 2 months. Thaw in the fridge before reheating.
Reheating: To enjoy leftovers, reheat in the oven at 350°F (175°C) for 10-15 minutes until heated through and crispy, preserving that delicious garlic butter taste.
Serving Tip: Garnish with sliced pickles before serving to enhance flavor and add a crunchy texture that complements the Garlic Butter Beef Cheeseburger Rollups perfectly.
Garlic Butter Beef Cheeseburger Rollups Recipe FAQs
What type of ground beef should I use for optimal flavor?
Absolutely! I recommend using ground chuck with 15%-25% fat for the best juiciness and flavor in your Garlic Butter Beef Cheeseburger Rollups. Avoid leaner options like ground sirloin, as they can result in drier filling.
How do I store leftover rollups?
Very! Store any leftover rollups in an airtight container in the refrigerator for up to 3 days. Make sure they cool completely before sealing to retain their texture.
Can I freeze Garlic Butter Beef Cheeseburger Rollups?
Definitely! To freeze, first wrap each rollup individually in plastic wrap, then place them in a freezer-safe bag. These will stay fresh for up to 2 months. When you’re ready to enjoy, thaw them in the fridge overnight before reheating.
How do I reheat frozen rollups to maintain crispiness?
For sure! Preheat your oven to 350°F (175°C). Remove the rollups from any wrapping and place them on a baking sheet. Bake for about 10-15 minutes until they are heated through and the exterior is crispy again, just like when they were freshly made.
What if my tortillas tear while rolling?
No worries! If your tortillas do tear, simply patch them up with a little more filling and roll them carefully. Additionally, you can slightly warm the tortillas in the microwave (about 10-15 seconds) before filling to make them more pliable and reduce the chance of tearing.
Are these rollups suitable for kids or those with allergies?
Absolutely! While the rollups are generally kid-friendly and a hit with the family, double-check for any allergies related to the ingredients like cheese or Worcestershire sauce. For dairy-free options, you can substitute with plant-based cheese and omit Worcestershire sauce or use a vegan alternative.
Garlic Butter Beef Cheeseburger Rollups for Ultimate Comfort
Ingredients
Equipment
Method
- Preheat your oven to 375°F (190°C) and prepare a baking sheet by lining it with parchment paper or greasing it.

- In a skillet, heat olive oil over medium-high heat, add ground beef and cook for about 7-8 minutes until browned.
- Stir in Worcestershire sauce, onion powder, garlic powder, smoked paprika, salt, and black pepper while the beef is warm.
- In a small bowl, combine melted butter with minced garlic until evenly distributed.
- Lay tortillas flat, distribute the beef mixture, and top with cheddar and mozzarella cheese.
- Roll each tortilla tightly and brush the tops with garlic butter.
- Bake for about 12-15 minutes until golden brown and cheese is bubbling.
- Allow to cool, slice into pinwheels, and garnish with sliced pickles.
Leave a Reply