
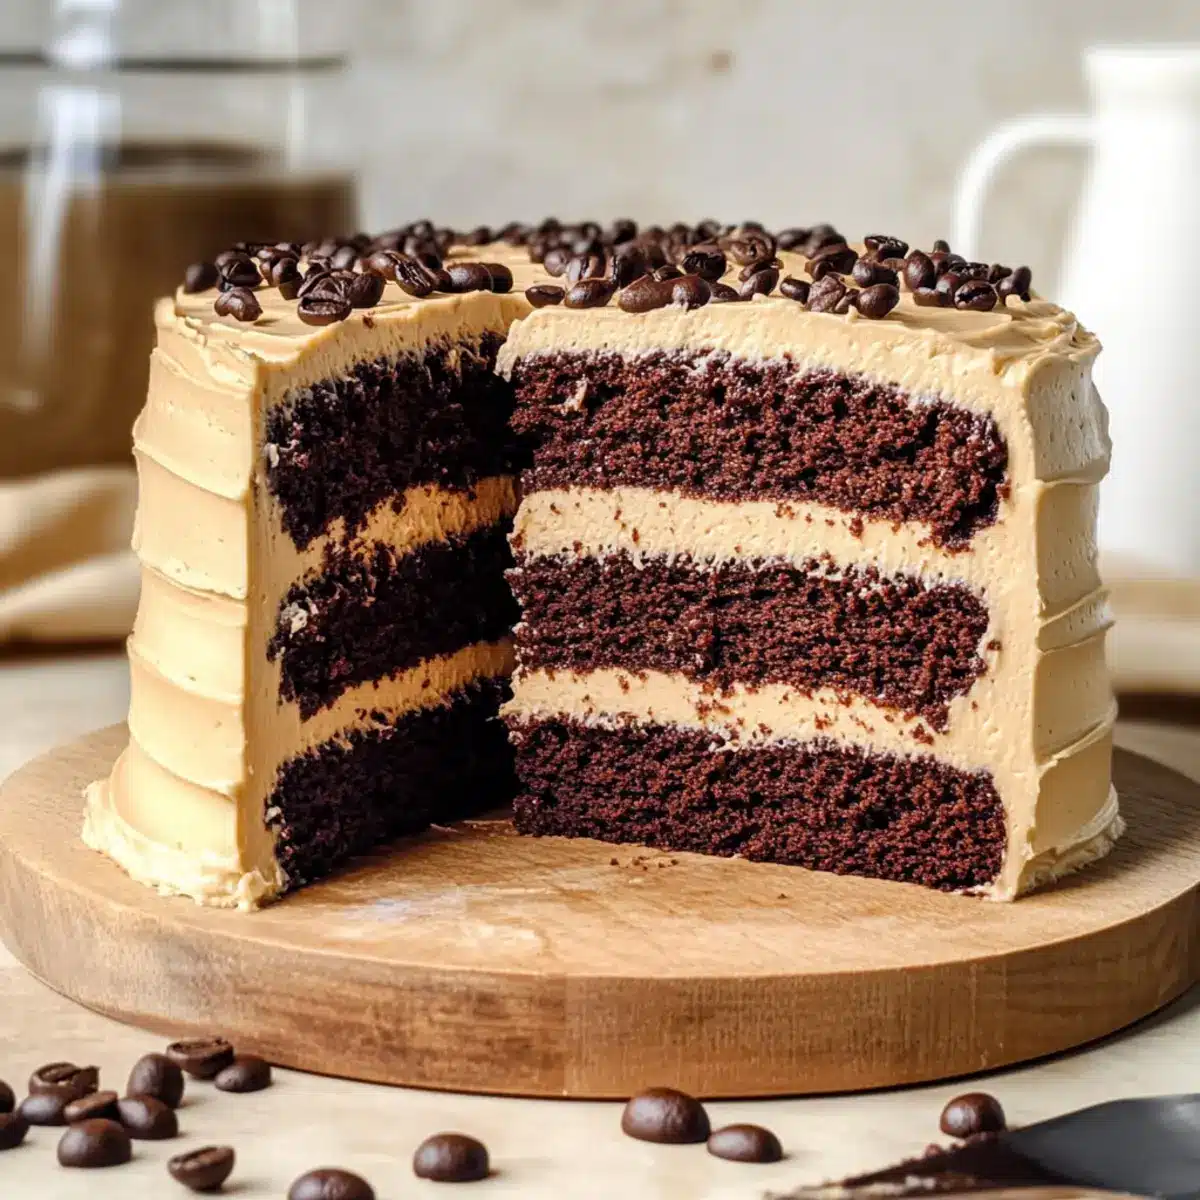
The aroma of freshly brewed coffee mingling with rich chocolate captivates the senses like a warm hug from a dear friend. As I set out to create this Coffee Chocolate Cake, I couldn’t help but reminisce about cozy afternoons spent in charming cafes, savoring decadent slices that felt like little pieces of heaven. With three layers of irresistibly moist cake enveloped in velvety coffee buttercream, this recipe is a true celebration for coffee and chocolate lovers alike. Not only is it a crowd-pleaser perfect for gatherings, but it also offers a delightful homemade charm that fast food can’t compete with. Ready to take your dessert game to new heights? Let’s dive into this tempting journey of flavors together!
Why is This Cake So Irresistible?
Moist Layers: Each bite of this Coffee Chocolate Cake melts in your mouth, thanks to its three layers of exquisitely moist chocolate cake.
Rich Buttercream: The creamy coffee buttercream adds a luxurious touch, making this dessert a true indulgence that coffee lovers can’t resist.
Perfect for Any Occasion: Whether it’s a birthday celebration or a cozy gathering with friends, this cake’s stunning presentation and flavor will impress everyone.
Homemade Delight: Unlike fast food desserts, this homemade cake shines with love and care, offering a comforting experience straight from your kitchen.
Endless Versatility: Feel free to elevate the experience by adding chocolate chips or nuts between layers, creating a custom twist that suits your taste.
Easy to Make Ahead: Bake the layers in advance, freeze them, and assemble on the day of your event for hassle-free entertaining! If you love coffee-infused desserts, don’t miss out on these Halloween Chocolate Chip and Brown Butter Coffee treats.
Coffee Chocolate Cake Ingredients
• Experience bliss with these delectable ingredients!
For the Cake Layers
- Black Coffee – Provides essential moisture and enhances the chocolate flavor; using brewed espresso will intensify the taste.
- All-Purpose Flour – Forms the cake’s structure; gluten-free flour is a great alternative if needed.
- Cornstarch – Lightens the texture for a fluffier cake; if you don’t have it, use additional flour instead.
- Granulated Sugar – Adds sweetness and moisture; consider partially swapping for brown sugar to deepen the flavor.
- Dark Brown Sugar – Boosts flavor and moisture; can be replaced with light brown sugar if necessary.
- Unsweetened Dutch Cocoa Powder – Gives that rich chocolate taste; no substitutes, but other cocoa powders may work.
- Baking Powder & Baking Soda – Essential for leavening; make sure they are fresh for best results.
- Salt – Enhances overall flavors throughout the cake.
- Vegetable Oil – Keeps the cake moist and tender; melted butter is a tasty alternative.
- Sour Cream – Contributes to richness; full-fat Greek yogurt can be used as a substitute.
- Eggs – Bind ingredients and provide moisture; flax eggs are an option for a vegan version.
- Vanilla Extract – Adds depth to flavor; always choose pure vanilla for the best outcome.
For the Coffee Buttercream
- Butter – Crucial for a smooth, rich buttercream; ensure it’s at room temperature for easy mixing.
- Powdered Sugar – Sweetens and thickens the buttercream; feel free to adjust for your sweetness preference.
- Instant Espresso Powder (optional) – Intensifies the coffee flavor; you can omit it if you don’t have any.
Step‑by‑Step Instructions for Coffee Chocolate Cake
Step 1: Preheat and Prepare Pans
Begin by preheating your oven to 170°C (340°F). While the oven warms up, prepare three 20 cm (8-inch) round cake pans by lining the bottoms with parchment paper and greasing the sides to ensure easy removal after baking. This meticulous preparation will help your Coffee Chocolate Cake layers come out flawlessly.
Step 2: Brew Coffee
Next, brew a strong cup of black coffee and set it aside to cool. This cooled coffee not only adds moisture to the cake but also enhances the rich chocolate flavor. Allow it to sit for about 10–15 minutes while you gather and measure the remaining ingredients, ensuring everything is at room temperature for optimal mixing later.
Step 3: Combine Dry Ingredients
In a large mixing bowl, sift together all the dry ingredients: all-purpose flour, cornstarch, granulated sugar, dark brown sugar, cocoa powder, baking powder, baking soda, and salt. Whisk the ingredients together until they are well combined and free of lumps. This step is essential for achieving the light and fluffy texture of your Coffee Chocolate Cake.
Step 4: Mix Wet Ingredients
In another mixing bowl, whisk together the wet ingredients: vegetable oil, sour cream, eggs, vanilla extract, and the cooled black coffee. Mix until smooth and creamy, taking about 2 minutes to ensure everything is well incorporated. This mixture contributes to the moistness and flavor profile of your cake layers.
Step 5: Combine Mixtures
Gradually pour the wet ingredients into the bowl containing the dry mixture. Stir gently with a spatula or wooden spoon until just combined, making sure to avoid overmixing. The batter should be smooth and slightly thick; a few lumps are okay. This careful blending ensures the perfect texture for your Coffee Chocolate Cake layers.
Step 6: Portion and Bake
Divide the batter evenly among the three prepared cake pans. Spread the batter to ensure an even layer in each pan, then place them in the preheated oven. Bake for 28-30 minutes, or until a toothpick inserted into the center comes out clean. The cakes should spring back when lightly pressed, indicating they are ready to cool.
Step 7: Cool the Layers
Once baked, remove the cake pans from the oven and let them cool for about 10 minutes on a wire rack. Afterward, gently run a knife along the edges to release the cakes from the pans, then turn them out onto the rack to cool completely. This cooling process is crucial for easy frosting and layering of your Coffee Chocolate Cake.
Step 8: Prepare the Buttercream
While the cake layers cool, prepare the coffee buttercream. In a mixing bowl, beat the room-temperature butter until fluffy and pale, about 3-5 minutes. Gradually add the powdered sugar and coffee, mixing until fully incorporated and smooth. This luscious buttercream will provide the perfect finish to your Coffee Chocolate Cake.
Step 9: Assemble and Frost
Level the cooled cake layers with a serrated knife if needed. Place one cake layer on a serving plate and spread a generous layer of buttercream on top. Repeat with the second layer, then place the final layer on top. Apply a thin crumb coat of buttercream around the sides and top of the cake to seal in any crumbs, then chill briefly to set.
Step 10: Final Frosting
Once the crumb coat is set, apply a thick layer of buttercream over the entire cake, smoothing it with a spatula for a beautiful finish. Feel free to decorate the top with additional buttercream swirls or sprinkles for a personalized touch. Your Coffee Chocolate Cake is now beautifully assembled and ready to serve!
Make Ahead Options
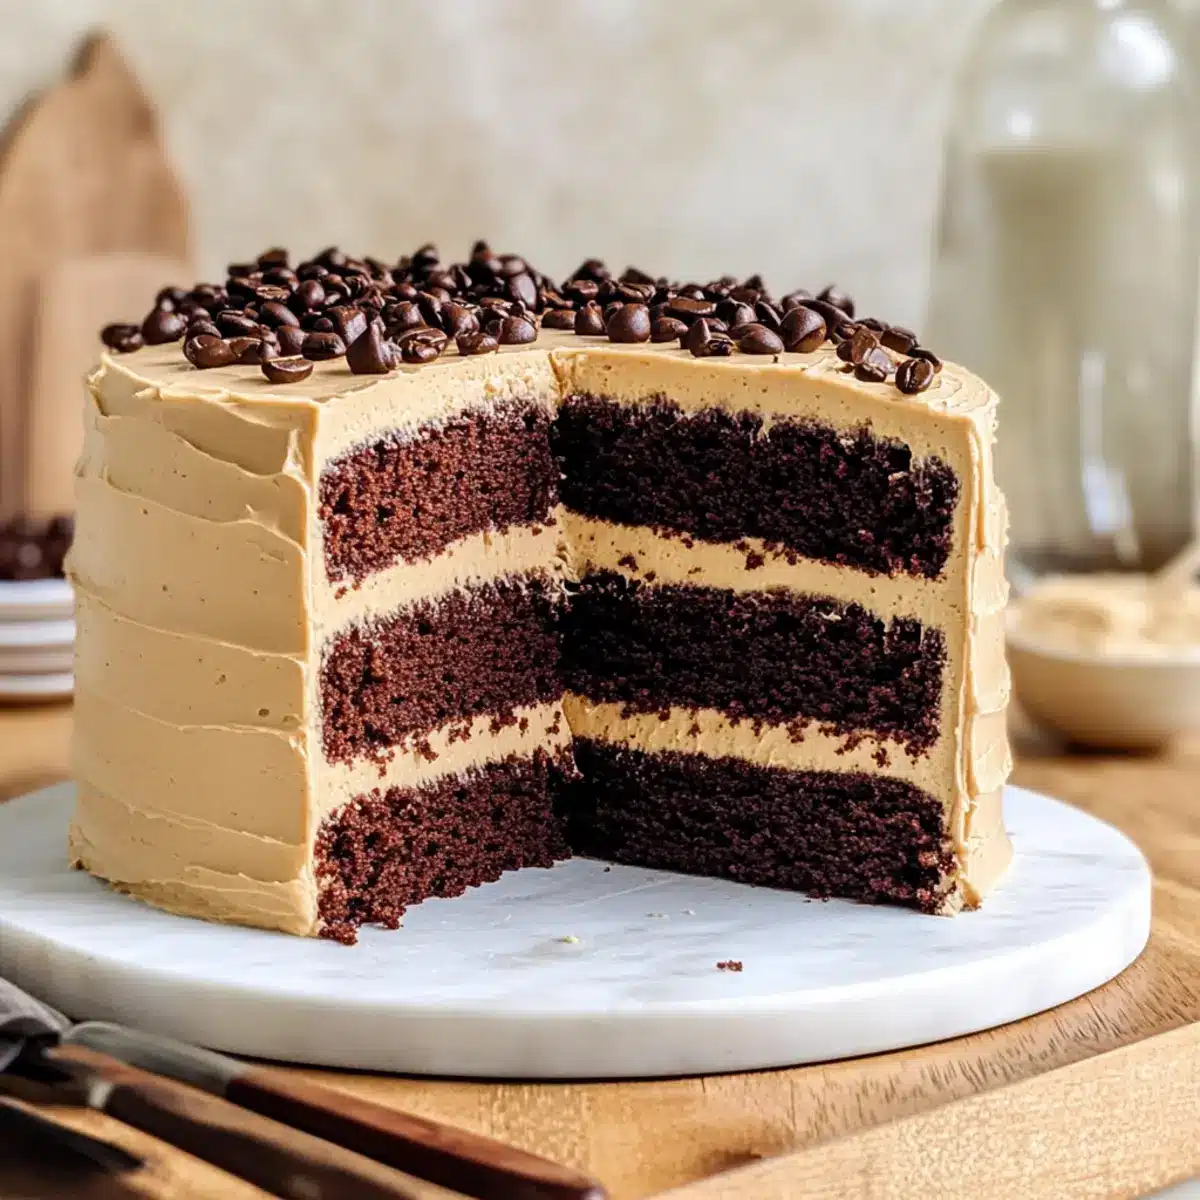
These Coffee Chocolate Cake layers are perfect for busy home cooks looking to save time! You can bake the cake layers up to 3 days in advance. Allow the layers to cool completely, then wrap each one in plastic wrap and refrigerate to maintain moisture and flavor. For an even longer option, you can freeze the layers for up to 1 month; just make sure they are well-wrapped and airtight. When you’re ready to serve, simply thaw them overnight in the refrigerator and frost with the coffee buttercream as outlined in the recipe. This way, you’ll enjoy a delicious homemade dessert with minimal effort on the day of your gathering!
What to Serve with Coffee Chocolate Cake?
Indulge in a sweet experience that pairs wonderfully with this rich dessert and enhances your gathering.
- Fresh Berries: The burst of tartness from strawberries or raspberries complements the rich chocolate and coffee flavors beautifully.
- Whipped Cream: A dollop of lightly sweetened whipped cream adds a light, airy contrast that balances the cake’s density.
- Vanilla Ice Cream: Creamy vanilla ice cream introduces a classic touch that softens the cake’s richness while providing a refreshing chill.
- Espresso or Coffee: Elevate the coffee experience with a cup of bold espresso or your favorite brewed coffee, pairing perfectly with each bite!
- Chocolate Ganache: Drizzling warm chocolate ganache over a slice adds a decadent layer of richness that coffee lovers will adore.
- Chocolate Shavings: Garnish with dark chocolate shavings for an elegant touch while echoing the cake’s intense chocolate flavor.
A wonderfully curated spread elevates your coffee chocolate cake experience, making each moment even sweeter.
Coffee Chocolate Cake Variations
Get creative with your Coffee Chocolate Cake by exploring these delightful twists!
-
Vegan Option: Substitute the eggs with flax eggs and use coconut oil in place of butter for a delicious vegan version.
-
Gluten-Free Cake: Swap all-purpose flour with a gluten-free blend to enjoy this delight without the gluten.
-
Mocha Delight: Add 2 tablespoons of espresso powder to the cake batter for an even richer coffee flavor. It elevates the coffee essence and pairs beautifully with chocolate.
-
Nutty Crunch: Incorporate chopped walnuts or hazelnuts into the batter for a lovely crunchy texture that compliments the moist layers.
-
Spice it Up: Add a dash of cinnamon or nutmeg to the batter for a warm, spicy twist that contrasts beautifully with the coffee and chocolate flavors.
-
Chocolate Chip Surge: Fold in chocolate chips into the batter before baking for bursts of melted chocolate in every bite.
-
Flavorful Extracts: Use almond or hazelnut extract in the buttercream for a unique flavor twist, creating a delightful fusion of tastes.
-
Rich Cocoa Variation: Experiment with white or milk chocolate instead of dark cocoa powder in the buttercream for a sweeter finish that appeals to different palates.
For more delightful treats that incorporate coffee, be sure to check out these Brown Butter Coffee cookies or indulge in some White Chocolate Pumpkin goodies. Enjoy your baking adventures!
How to Store and Freeze Coffee Chocolate Cake
Room Temperature: Store leftover cake layers in an airtight container at room temperature for up to 3 days to maintain moisture and flavor.
Fridge: If you want to extend freshness, keep the cake in the fridge for up to 5 days. Make sure it’s well-wrapped to prevent it from drying out.
Freezer: Freeze individual slices wrapped tightly in plastic wrap and aluminum foil for up to 3 months. Thaw in the fridge overnight before serving to enjoy the cake at its best.
Reheating: To revive the cake, microwave a slice for 10-15 seconds or let it sit at room temperature for a bit. This Coffee Chocolate Cake is sure to delight even after freezing!
Expert Tips for Coffee Chocolate Cake
-
Room Temperature Ingredients: Ensure all ingredients are at room temperature for optimal mixing and a consistent batter texture in your Coffee Chocolate Cake.
-
Avoid Overmixing: Mix the wet and dry ingredients until just combined; overmixing can lead to a dense cake instead of a moist, airy texture.
-
Test for Doneness: Use a toothpick to check the cakes; it should come out clean. Be careful not to overbake, as this can dry out your cake layers.
-
Crumb Coat First: Apply a thin layer of buttercream to seal in crumbs before the final frosting. This technique gives your cake a smooth and professional finish.
-
Chill the Frosting: If your buttercream feels too soft, refrigerate it for a few minutes before frosting. This ensures a firmer texture that spreads beautifully on your Coffee Chocolate Cake.
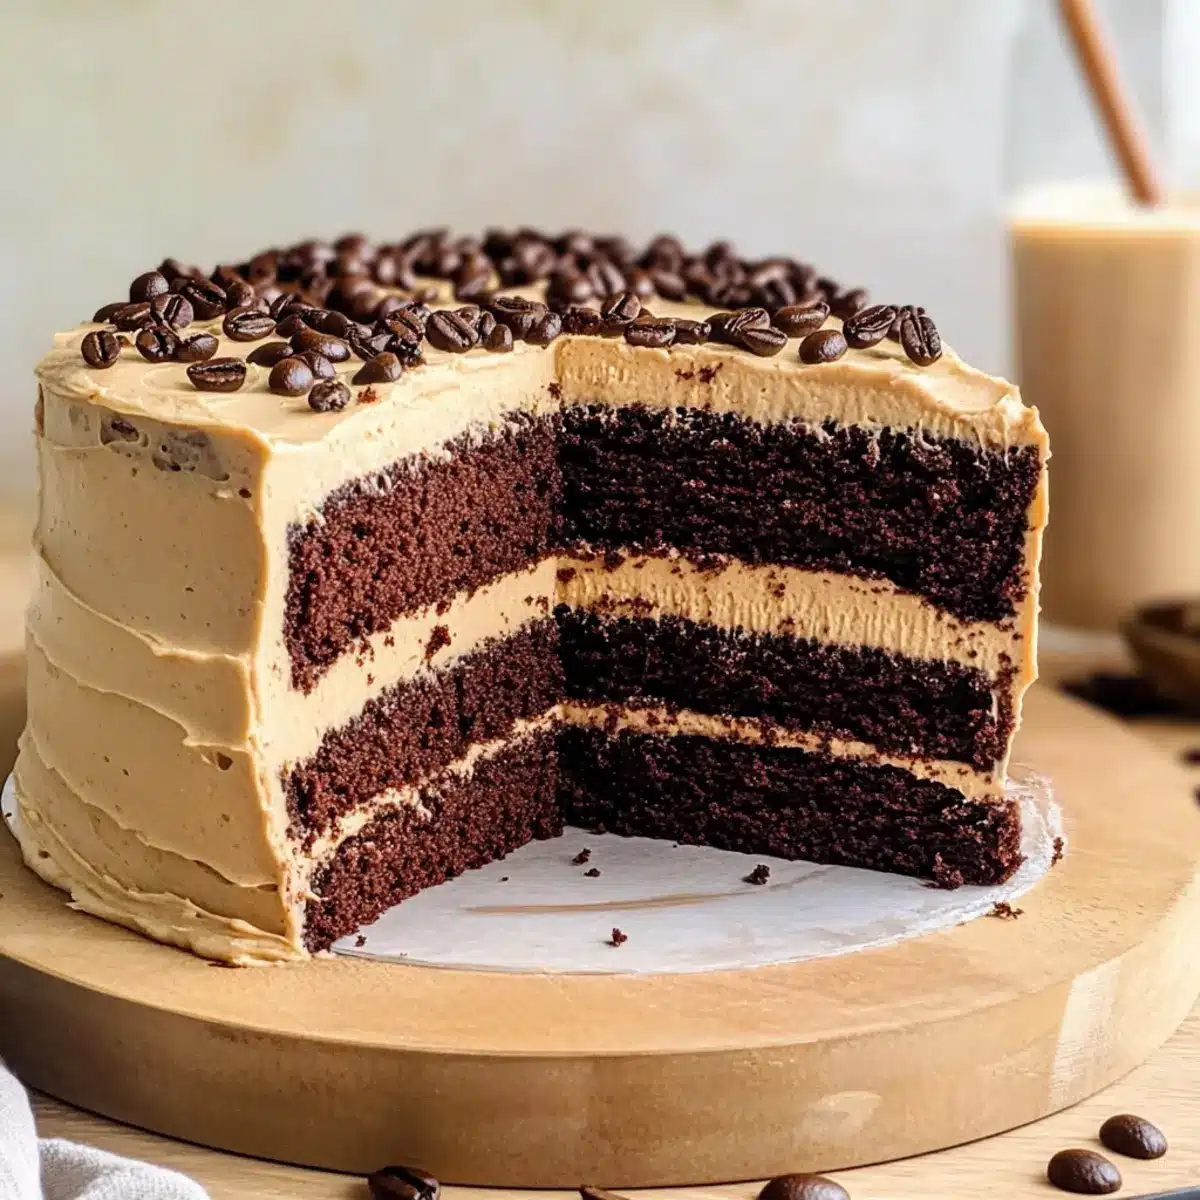
Coffee Chocolate Cake Recipe FAQs
What type of black coffee should I use for the cake?
Absolutely! I recommend using brewed coffee that you enjoy drinking, as it enhances the overall chocolate flavor. If you’re looking for a more intense coffee note, brewed espresso works wonderfully too. Make sure it’s cooled before mixing it into the batter to avoid cooking the eggs.
How should I store my Coffee Chocolate Cake?
To keep this moist and delicious cake at its best, store it in an airtight container at room temperature for up to 3 days. If you’re not going to eat it within that timeframe, you can refrigerate it for about 5 days—just make sure it’s well-wrapped to prevent drying out!
Can I freeze the Coffee Chocolate Cake?
Very much! You can freeze individual slices wrapped tightly in plastic wrap followed by aluminum foil for up to 3 months. When you’re ready to enjoy, simply thaw the cake in the fridge overnight. For a quick fix, you can microwave a slice for 10-15 seconds to revive its softness.
What should I do if my cake layers domed while baking?
No worries! If your cake layers have domed, simply level them with a serrated knife once they are completely cooled. This ensures even stacking when you’re assembling your Coffee Chocolate Cake. Just remember to be gentle to avoid crumbling!
Are there any allergies I should be aware of with this recipe?
It’s always wise to consider dietary restrictions. This Coffee Chocolate Cake contains eggs and dairy, making it unsuitable for vegans or those with egg or milk allergies. If you’re looking for alternatives, consider using flax eggs in place of traditional eggs and substituting with plant-based butter or vegan yogurt.
How long can I keep the buttercream frosting?
The buttercream can be stored in an airtight container in the fridge for up to a week. If you’ve made it ahead of time, just give it a good stir or beat before using, as it may firm up in the refrigerator. Enjoy creating delicious layers with this rich frosting!
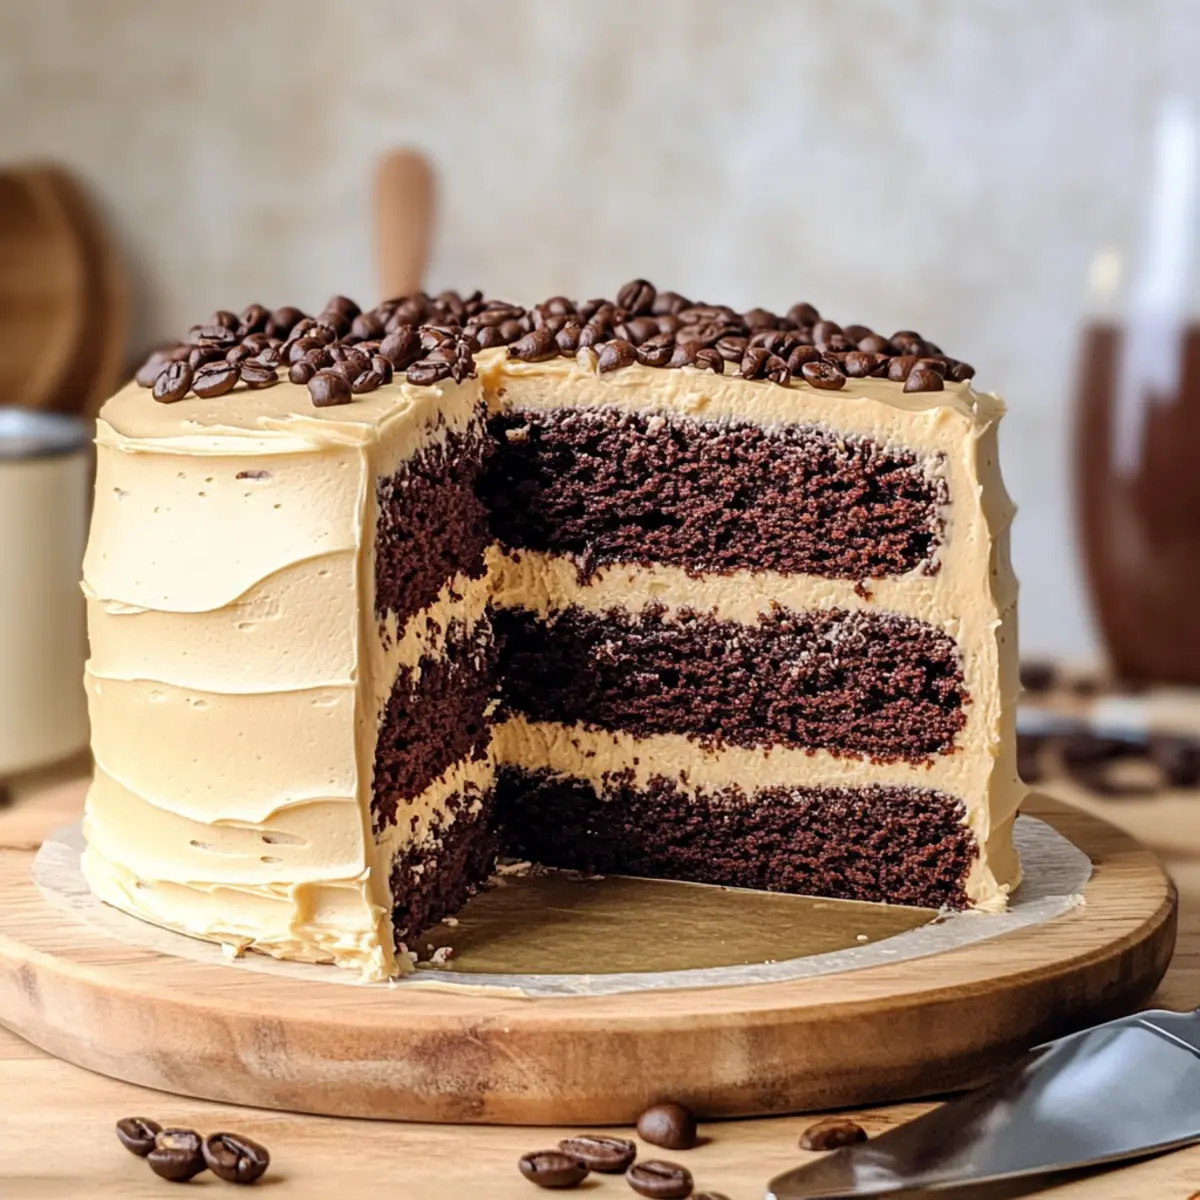
Decadent Coffee Chocolate Cake for the Ultimate Dessert Bliss
Ingredients
Equipment
Method
- Preheat the oven to 170°C (340°F) and prepare three 20 cm (8-inch) round cake pans.
- Brew a strong cup of black coffee and let it cool.
- Sift together all the dry ingredients in a large mixing bowl.
- In another bowl, whisk the wet ingredients until smooth.
- Combine the wet and dry mixtures, stirring gently until just combined.
- Divide the batter evenly among the cake pans.
- Bake for 28-30 minutes, then cool the cakes on a wire rack.
- Beat butter until fluffy, then add powdered sugar and coffee until smooth.
- Level the cake layers and spread buttercream between layers.
- Use a thin crumb coat before applying a thick layer of buttercream over the cake.
- Decorate as desired and serve.
Leave a Reply