
The crunch of fresh veggies diving into a tangy brine is like a cheerful symphony in your kitchen. I can’t resist a good jar of pickled vegetables, especially when it comes to this Italian Giardiniera. This quick pickled vegetables recipe turns ordinary ingredients into something extraordinary—perfect for jazzing up sandwiches, adding flair to charcuterie boards, or just snacking straight from the jar! With minimal prep time and the added benefit of being gluten-free and vegetarian, you get an incredibly healthy condiment that stays fresh for up to four months. Plus, it’s a delightful way to preserve the season’s best produce. Curious how to whip up this colorful delight in your own kitchen? Let’s dive in!
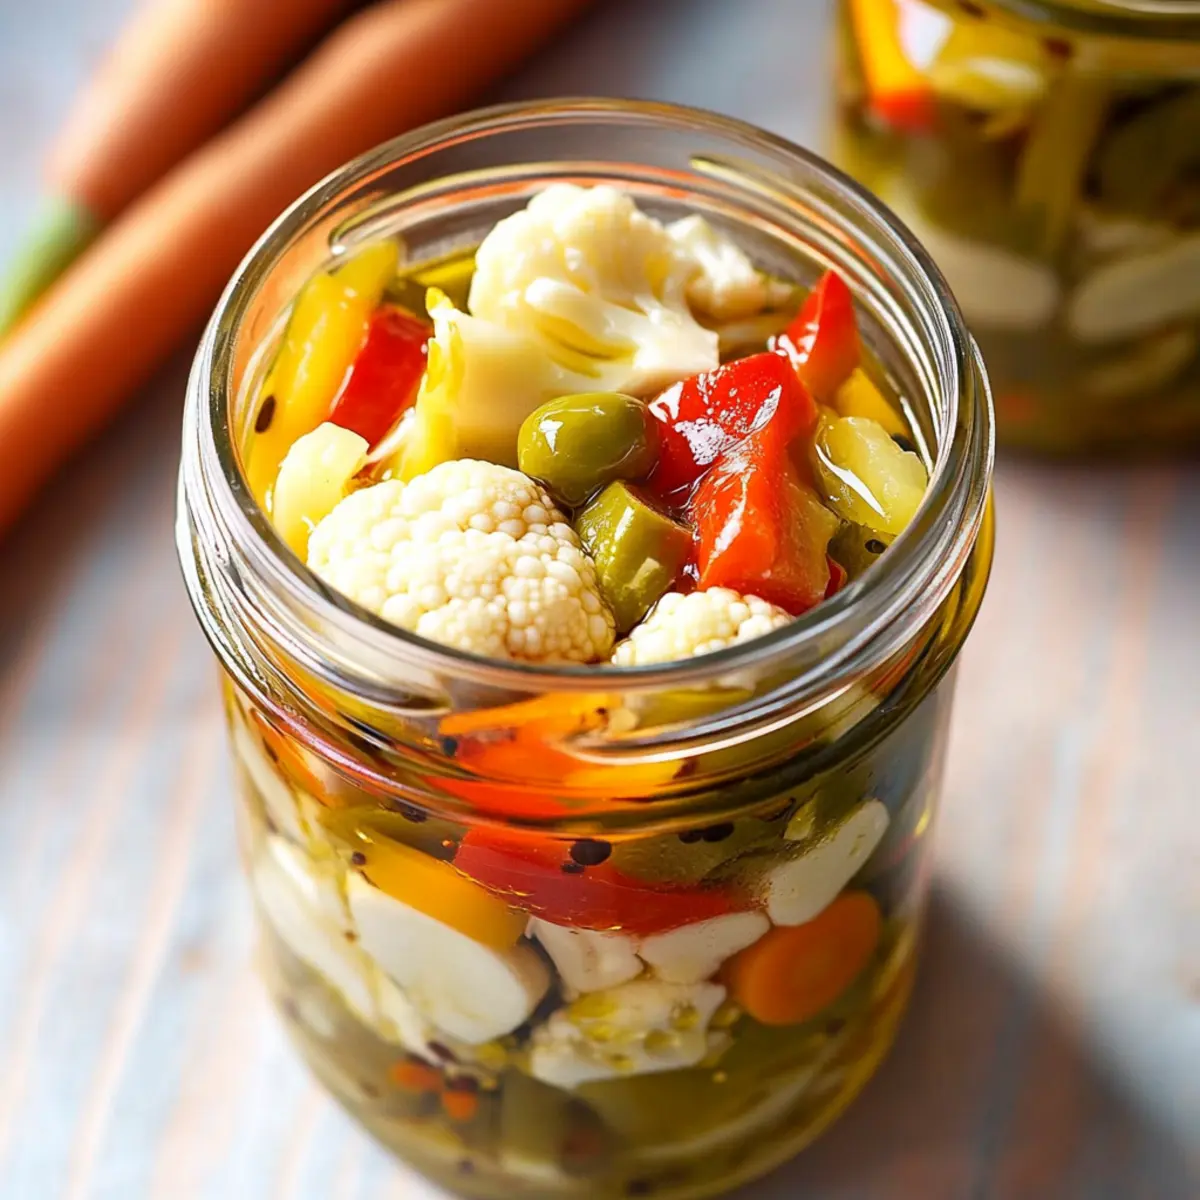
Why Use a Pickled Vegetables Recipe?
Flavor Explosion: Each bite of this giardiniera offers a vibrant medley of tangy, savory flavors that truly elevates any dish.
Quick & Easy: With just a few steps and minimal ingredients, you can whip up this zesty delight in no time.
Healthy Addition: Packed with nutrients, this recipe provides a low-calorie way to add crunch to your meals.
Versatile Uses: Perfect on sandwiches or as a side for grilled dishes, the possibilities are endless! Whether you pair it with a hearty piece of fish or sprinkle it on your favorite veggie bowl, you’ll find its refreshing taste irresistible.
Make-Ahead Magic: Prepare a batch today and enjoy its bold flavors for up to four months. Try it alongside dishes like Baked Crunchy Hot chicken or topped on a fresh Lime Chicken Avocado for added zest!
Pickled Vegetables Recipe Ingredients
For the Veggies
- Small Cauliflower Florets – Adds a crunchy texture; substitute with broccoli florets if needed.
- Sliced Carrots – Provides sweetness and vibrant color; parsnips can be a fun swap.
- Sliced Celery – Offers a refreshing crunch; if not a fan, use cucumber instead.
- Sliced Red Bell Pepper – Contributes both sweetness and a pop of color; yellow bell pepper works well as a substitute or omit for fewer peppers.
- Pitted Green Olives – Adds a salty, briny punch; black olives create a milder flavor.
- Smashed Garlic Cloves – Infuses depth into the brine; use garlic powder in a pinch.
For the Brine
- Water – Essential for creating the brine base for our pickled vegetables recipe.
- White Vinegar – Offers a tangy kick; apple cider vinegar can be a delightful substitute.
- Salt – Crucial for seasoning and preservation; don’t skip this!
- Sugar – Balances the acidity; adjust according to your taste preference.
Spices & Extras
- Bay Leaves – Imparts herbal notes; thyme can work well if you don’t have bay leaves.
- Serrano Chiles – Adds heat; adjust quantity based on your spice tolerance or swap for jalapeños.
- Dried Oregano, Celery Seeds, Fennel Seeds, Yellow Mustard Seeds – Wonderful for flavor enhancement; feel free to customize based on personal preference.
This zesty pickled vegetables recipe is bound to bring a burst of flavor and color to your meals, creating something memorable from simple ingredients!
Step‑by‑Step Instructions for Pickled Vegetables Recipe
Step 1: Prep the Vegetables
Begin by washing and chopping the small cauliflower florets, sliced carrots, sliced celery, and sliced red bell pepper into bite-sized pieces. Slice the serrano chiles in half and drain the pitted green olives. Arrange all your chopped veggies in a large mixing bowl, creating a colorful medley that will shine in your Italian giardiniera.
Step 2: Prepare the Jars
Take four pint-sized jars and layer them with 1 tablespoon of olive oil at the bottom of each. Then, add 1 smashed garlic clove, 1 bay leaf, and half to one serrano pepper as per your spice preference. Sprinkle in your chosen spices such as dried oregano, celery seeds, fennel seeds, and yellow mustard seeds to enhance the flavor of your pickled vegetables.
Step 3: Fill the Jars with Veggies
Carefully fill each jar with equal portions of your prepared chopped vegetables and drained olives, packing them in tightly but not overly compressed. Leave about half an inch of space at the top of each jar to accommodate the brine and ensure that all the veggies are submerged when you pour in the liquid.
Step 4: Make the Brine
In a medium saucepan over medium heat, combine the water, white vinegar, salt, and sugar for the brine. Bring the mixture to a gentle boil while stirring continuously until the salt and sugar are completely dissolved. This savory-sour brine is essential for achieving that delightful tang in your pickled vegetables.
Step 5: Pour the Brine
Once the brine is boiling and aromatic, carefully pour it into each jar, ensuring to cover all the vegetables completely. Use a funnel if necessary to avoid spills. It’s important that the brine reaches the neck of the jar for flavor absorption and preservation of your Italian giardiniera.
Step 6: Cool and Refrigerate
Allow the filled jars to cool to room temperature before sealing them with their lids. Gently shake each jar to help distribute the spices and flavors. Place the sealed jars in the refrigerator and let them sit for 36 to 48 hours to fully develop the vibrant flavors of your pickled vegetables recipe before enjoying.
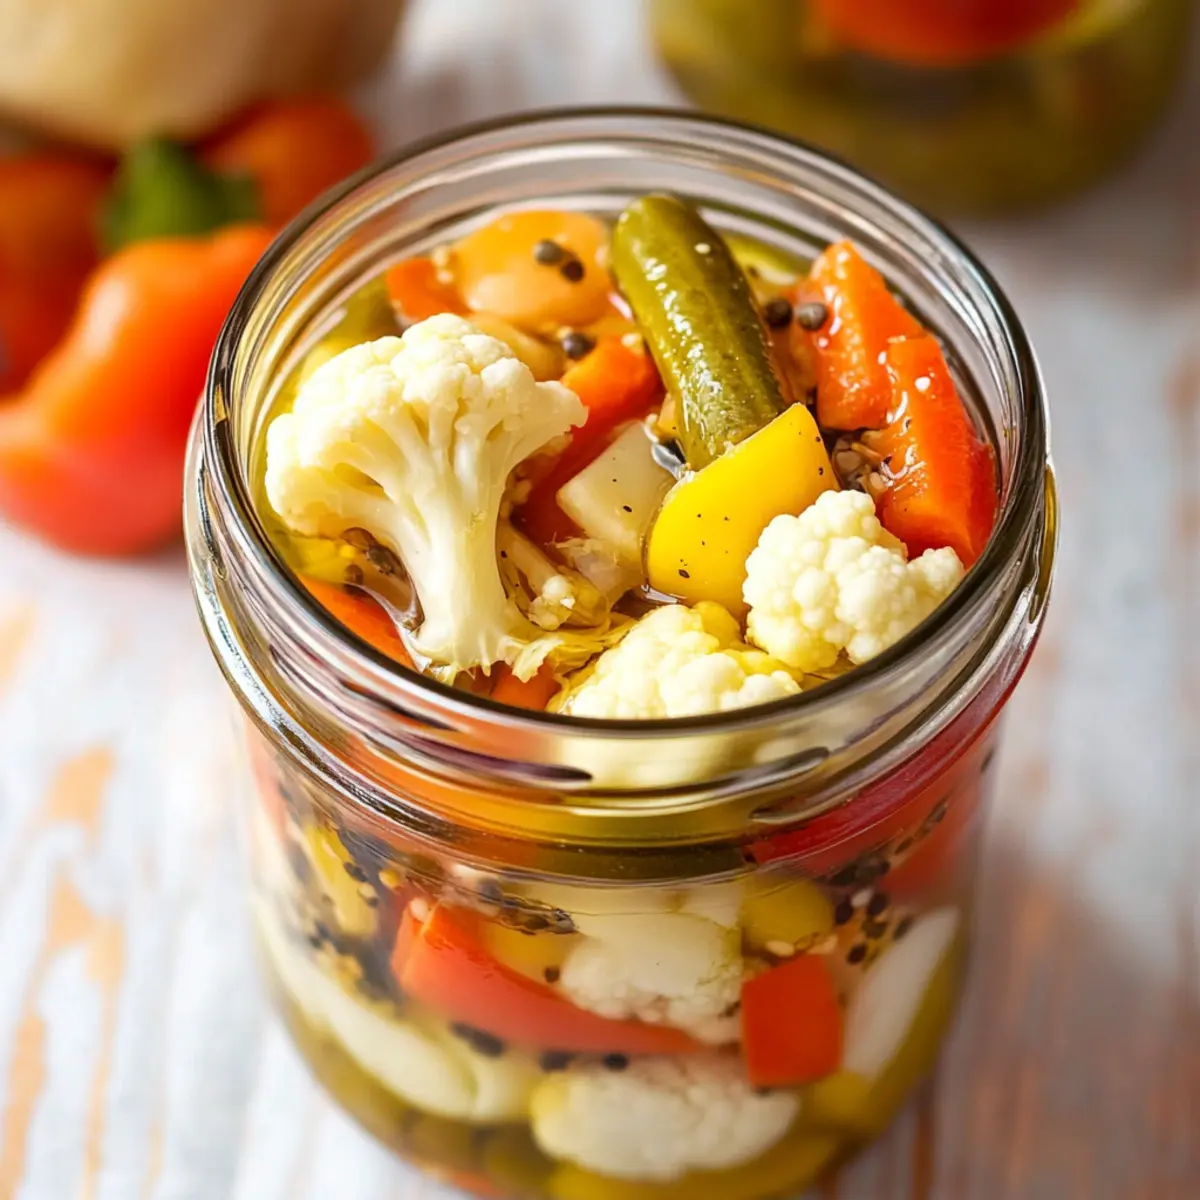
Make Ahead Options
These Pickled Vegetables are perfect for meal prep, saving you precious time during busy weeks! You can chop all the vegetables and prep the brine up to 24 hours in advance. Simply store the chopped veggies in airtight containers in the refrigerator to keep them fresh and prevent browning. When you’re ready to make your giardiniera, layer the prepped ingredients in jars, pour the brine over them, and seal. Allow them to marinate in the fridge for 36 to 48 hours for optimal flavor. With these make-ahead tips, you’ll have zesty, flavorful pickles ready to complement your meals without the last-minute rush!
What to Serve with Italian Giardiniera
Elevate your mealtime experience by pairing this zesty quick-pickled vegetable medley with simple yet delightful accompaniments.
- Creamy Hummus: The smooth and rich texture of hummus perfectly balances the crunchiness of giardiniera, making for a delightful dip when served together.
- Grilled Chicken Breast: Simple yet flavorful, grilled chicken gets a spirited touch with the addition of these tangy pickled veggies, enhancing every bite.
- Rustic Bread: A crusty slice of artisan bread holds up well against the crunch, inviting all the delicious flavors of the giardiniera onto your plate.
- Charcuterie Board: Pair giardiniera with assorted meats, cheeses, and fruits on a charcuterie board for a beautiful and inviting spread everyone will love.
- Fresh Salad: Toss some giardiniera into a green salad for an added kick of flavor; the crunch will make your salad irresistible.
- Tacos or Burritos: Layer pickled vegetables in your tacos or burritos for a punch of acidity that cuts through rich fillings, refreshing each mouthful.
- Savory Frittata: Adding giardiniera to a frittata introduces an exciting layer of taste and texture, turning a standard brunch dish into a family favorite.
- Zesty Potato Salad: Incorporating giardiniera into potato salad provides an unexpected, zesty twist, making each bite exciting and delicious.
- Sparkling Water or Wine: Complement the bright flavors with a refreshing sparkling water or a light white wine, enhancing the gentle spice of the dish.
Pickled Vegetables Recipe Variations
Feel free to get creative with your pickled vegetables! Each twist brings its own charm to this already delightful dish.
-
Experiment with Veggies: Swap in seasonal favorites like zucchini or green beans for a fresh twist. Each bite can unveil a new flavor profile, making the experience exciting.
-
Heat Level Adjustments: Switch out serrano chiles for jalapeños if you prefer milder heat. Alternatively, try adding a pinch of crushed red pepper for a fiery kick!
-
Vinegar Variations: Use red wine vinegar instead of white for a subtle richness. You can discover how different vinegars change the flavor dynamics entirely!
-
Herb Infusions: Try replacing bay leaves with fresh dill for a bright, herby note. This addition can offer a refreshing surprise in every bite.
-
Fruit Twists: For a sweet surprise, add slices of peaches or apples to the mix. They create a lovely contrast with savory flavors—a delightful taste adventure!
-
Spice Customization: If you adore a particular spice, feel free to increase the amount of dried oregano or add in fresh herbs like basil. Every touch adds a personal flavor signature.
-
Crunchy Alternatives: For a unique texture, add in thinly sliced radishes or jicama. Their crispness can elevate your pickling game to new levels!
-
Quick Pickle Method: If you’re short on time, try a rapid pickling technique with warm brine and let them sit at room temperature for a few hours, perfect for last-minute entertaining.
Pair these variations with delicious dishes like Baked Crunchy Hot chicken or a refreshing Lime Chicken Avocado for a brilliant burst of flavors!
Expert Tips for Pickled Vegetables Recipe
Flavor Peak: Allow the pickles to marinate for at least 48 hours; this enhances the flavor and lets the spices mingle beautifully.
Salt Sensitivity: If your pickles are too salty, simply pour off some brine and replace it with fresh water before sealing the jars.
Storage Savvy: These pickled vegetables can be stored in the fridge for up to four months, making them a convenient and healthy option for quick meals.
Creative Swaps: Don’t be afraid to experiment with seasonal veggies or switch up spices in your pickled vegetables recipe for fresh flavor twists.
Avoid Overpacking: When filling the jars, do not overcrowd the vegetables; leave some space to allow the brine to circulate and flavor all the goodies!
How to Store and Freeze Pickled Vegetables
Room Temperature: Keep your pickled vegetables at room temperature only during the cooling process; otherwise, always refrigerate them to maintain freshness.
Fridge: Store your pickled vegetables in the fridge for up to four months. Ensure the jars are sealed tightly to prevent air exposure and spoilage.
Freezer: Freezing is not recommended for pickled vegetables, as the texture may become mushy upon thawing, affecting the crispness that makes them delightful.
Reheating: These quick pickled vegetables are served cold, straight from the jar, so no reheating is needed! Enjoy them as a vibrant addition to your meals.
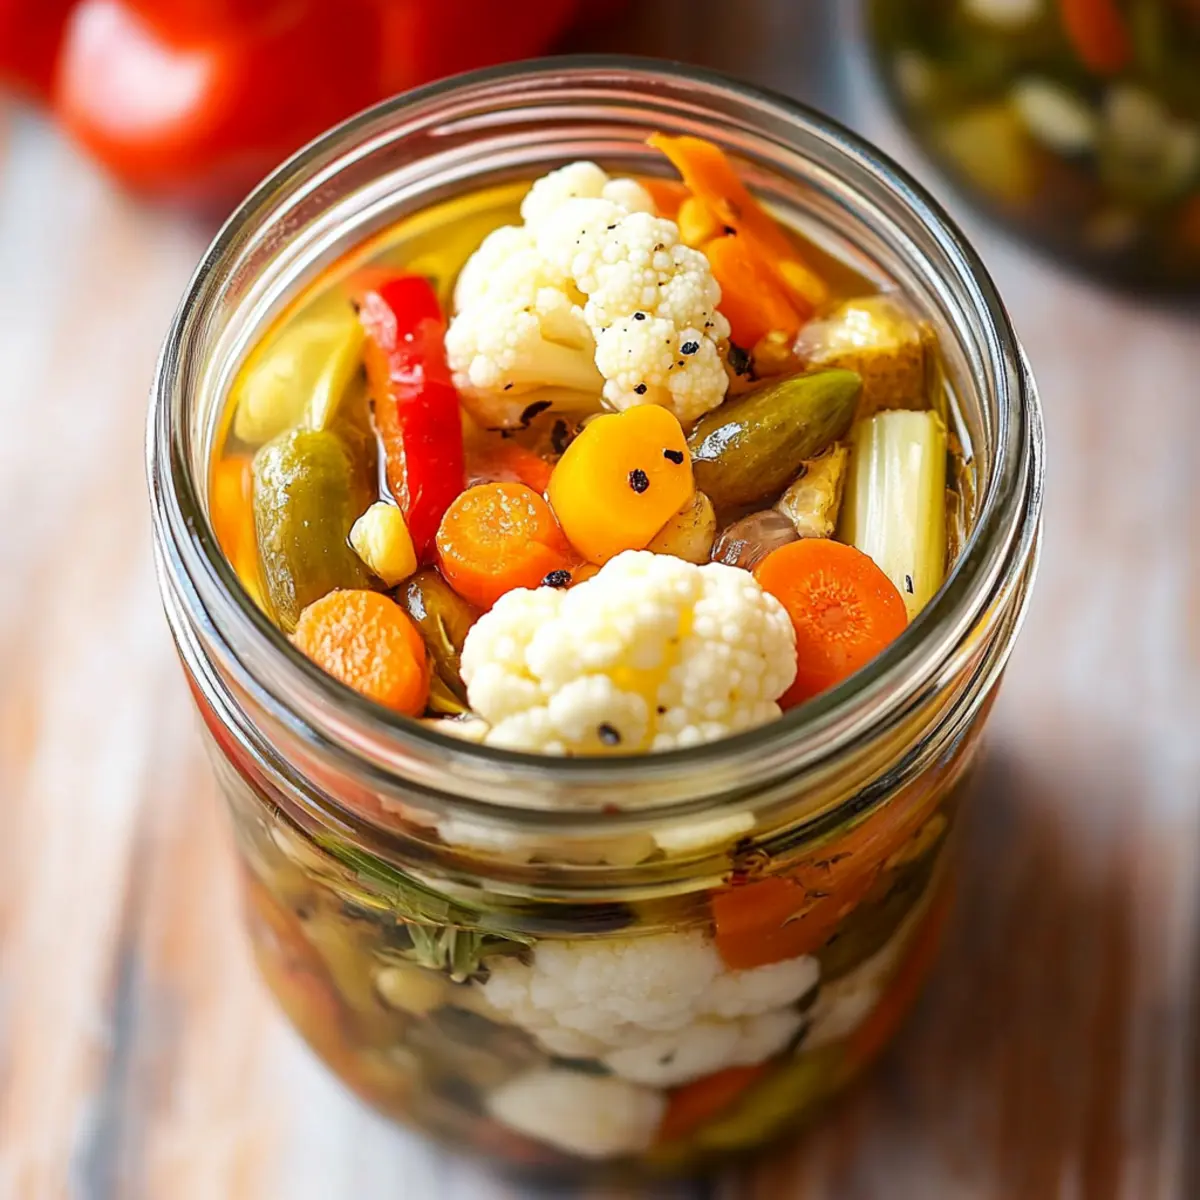
Pickled Vegetables Recipe FAQs
How do I choose the best vegetables for pickling?
Absolutely! When selecting vegetables for your pickled vegetables recipe, aim for fresh, firm produce. Look for bright colors and avoid any with dark spots or softness. For this giardiniera, small cauliflower florets, crisp carrots, and vibrant bell peppers work best—choose whatever is in season or looks appealing at the market!
How should I store my pickled vegetables, and for how long?
These zesty pickled vegetables should be stored in the refrigerator for optimal freshness. When properly sealed in clean jars, they can last up to four months. Make sure to keep them in a cool part of the fridge, away from excessive heat or light to maintain their crunch and flavor!
Can I freeze pickled vegetables?
Freezing is not recommended for pickled vegetables, as it compromises their texture. If you freeze them, you might end up with mushy veggies. Instead, enjoy your freshly made giardiniera straight from the fridge as a crunchy condiment!
What if my pickled vegetables taste too salty?
If you find that your pickled vegetables are too salty after marinating, don’t worry! You can easily adjust the brine by pouring off some of the salty liquid and replacing it with fresh water, shaking gently to mix before sealing. This will help mellow the flavor while keeping all the deliciousness!
Are these pickled vegetables safe for my pet or those with allergies?
Great question! This pickled vegetables recipe is mainly composed of vegetables and is vegetarian-friendly; however, some ingredients might not be suitable for all pets. Consult your veterinarian before offering pickled foods to pets. For allergies, be mindful of the garlic and olives you choose, as they can cause reactions in some individuals. Always check ingredient labels when purchasing.
How can I tweak this recipe if I want to reduce the heat level?
Very easily! If you’re looking to tone down the spice in your pickled vegetables, simply reduce the number of serrano chiles or substitute with milder jalapeños. Another option is to slice the peppers and remove the seeds, as that’s where much of the heat resides. Enjoy tailoring this tasty recipe to suit your palate!
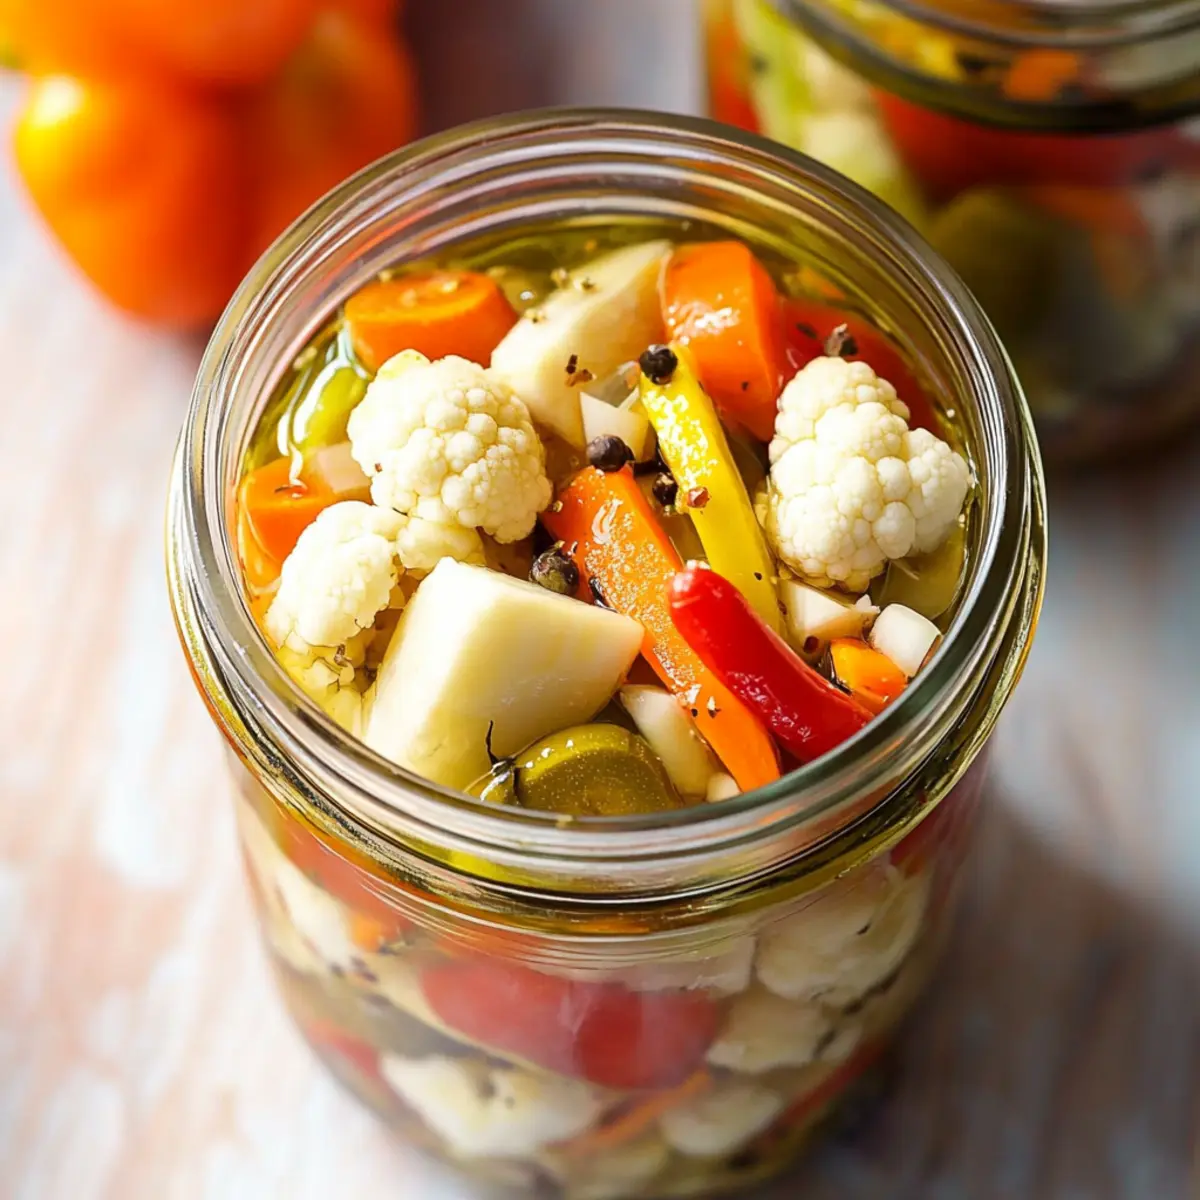
Zesty Pickled Vegetables Recipe for Vibrant Flavor Boost
Ingredients
Equipment
Method
- Prep the Vegetables: Wash and chop the cauliflower, carrots, celery, and bell pepper into bite-sized pieces. Slice the serrano chiles in half and drain the olives.
- Prepare the Jars: Layer each jar with 1 tablespoon of olive oil, then add smashed garlic, bay leaf, and serrano pepper. Add chosen spices.
- Fill the Jars with Veggies: Pack vegetables and olives into the jars, leaving half an inch of space at the top.
- Make the Brine: In a saucepan, combine water, vinegar, salt, and sugar. Boil until dissolved.
- Pour the Brine: Carefully pour the brine into each jar, covering all vegetables completely.
- Cool and Refrigerate: Allow jars to cool, shake gently, then refrigerate for 36 to 48 hours before enjoying.
Leave a Reply