
Tucked away in the heart of my kitchen, a wave of mouthwatering aroma sends my taste buds into a frenzy. Today, I’m excited to share my Easy Cheesy Chicken Garlic Wraps, a recipe that brings the perfect fusion of juicy chicken, gooey cheese, and warm tortillas to the family table in just 25 minutes. This dish hits all the marks for anyone craving a quick and easy solution to weeknight dinners. Not only are these wraps a delight to prepare, but they also double as a crowd-pleaser, making them ideal for both cozy family meals and gatherings with friends. Plus, they’re incredibly versatile—you can customize them to fit any palate! Ready to explore the magic of cheesy chicken wraps? Let’s dive in and whip up something delicious together!
Why are Cheesy Chicken Wraps a Must-Try?
Simple Preparation: The beauty of these wraps lies in their quick prep time—ready in just 25 minutes.
Flavor Explosion: Juicy chicken, melted cheese, and garlic sauce blend for an irresistible taste that delights every bite.
Versatile Options: Customize your wraps with veggies or different cheeses, ensuring everyone finds their perfect combination.
Family-Friendly: Kids and adults alike will love this comforting, satisfying dish that’s perfect for weeknight dinners.
Crowd-Pleasing: Great for casual gatherings, these wraps are a hit at parties, making them the ultimate crowd-pleaser.
Check out some variations in my post on Crockpot Chicken Tortellini for more meal ideas!
Cheesy Chicken Wrap Ingredients
• Get ready to whip up these delightful Cheesy Chicken Wraps!
For the Chicken Filling
- Diced Chicken Breast – Use cooked, seasoned chicken for added flavor.
- Olive Oil – Adds moisture and flavor when cooking; light olive oil can be substituted.
- Garlic Powder – Provides a savory depth; fresh minced garlic is a great alternative.
- Onion Powder – Complements the garlic; sautéed fresh onions can be used too.
- Paprika – Adds a mild smokiness; swap with cayenne for extra heat.
- Salt and Pepper – Enhances overall flavor; season to your taste.
For the Wraps
- Flour Tortillas – The base for your wraps; try whole wheat or gluten-free as substitutes.
- Shredded Cheddar Cheese – Adds a creamy texture; think about using Monterey Jack for a twist.
- Shredded Mozzarella Cheese – Offers that stretchy goodness; mix it up with a cheese blend if you like.
For the Sauce
- Creamy Garlic Sauce – Brings richness and flavor; ranch dressing or a yogurt-based dip can be swapped in.
For Garnish
- Fresh Parsley – A lovely touch for color; optional, but it brightens your dish beautifully.
Step‑by‑Step Instructions for Cheesy Chicken Wrap
Step 1: Prepare Chicken
In a bowl, toss your diced chicken breast with olive oil, garlic powder, onion powder, paprika, salt, and pepper. Ensure each piece is coated evenly for maximum flavor. Let it sit for about 5 minutes to absorb the spices while you heat your pan.
Step 2: Cook Chicken
Heat a non-stick skillet over medium heat for about 2 minutes. Once hot, add the seasoned chicken and cook for 6-8 minutes, stirring occasionally, until the chicken is golden brown and fully cooked through, reaching an internal temperature of 165°F. Let the tender chicken rest briefly off the heat.
Step 3: Prepare Tortillas
Lay out your flour tortillas on a clean, flat surface. Spread a generous layer of creamy garlic sauce evenly on each tortilla, ensuring a delightful kick in every bite. This rich sauce will complement the cheesy chicken wrap and provide added moisture.
Step 4: Assemble Wraps
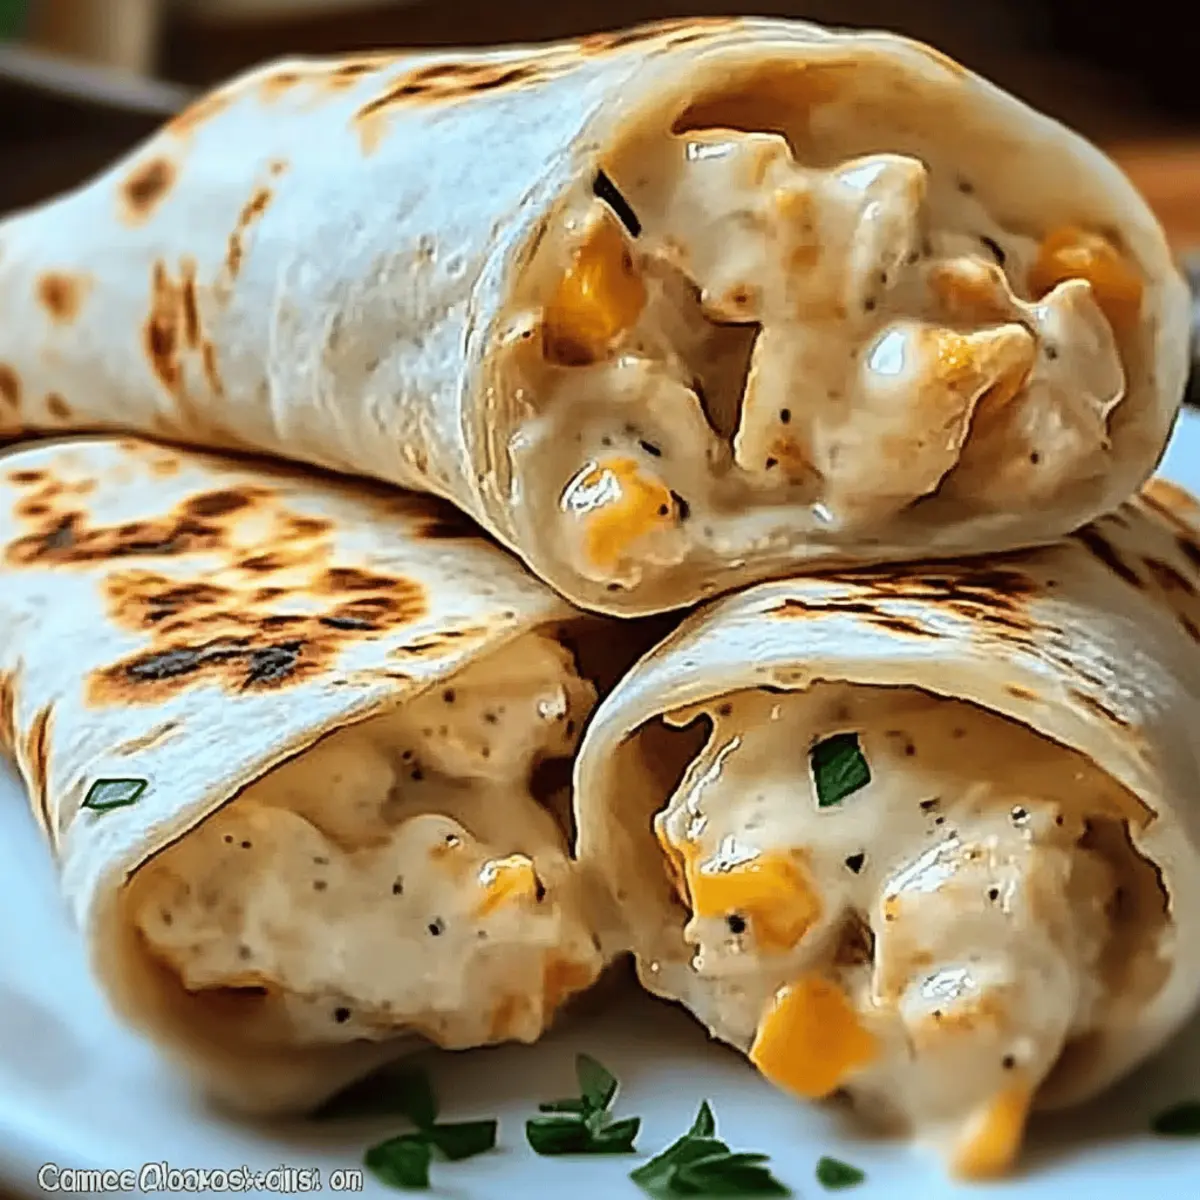
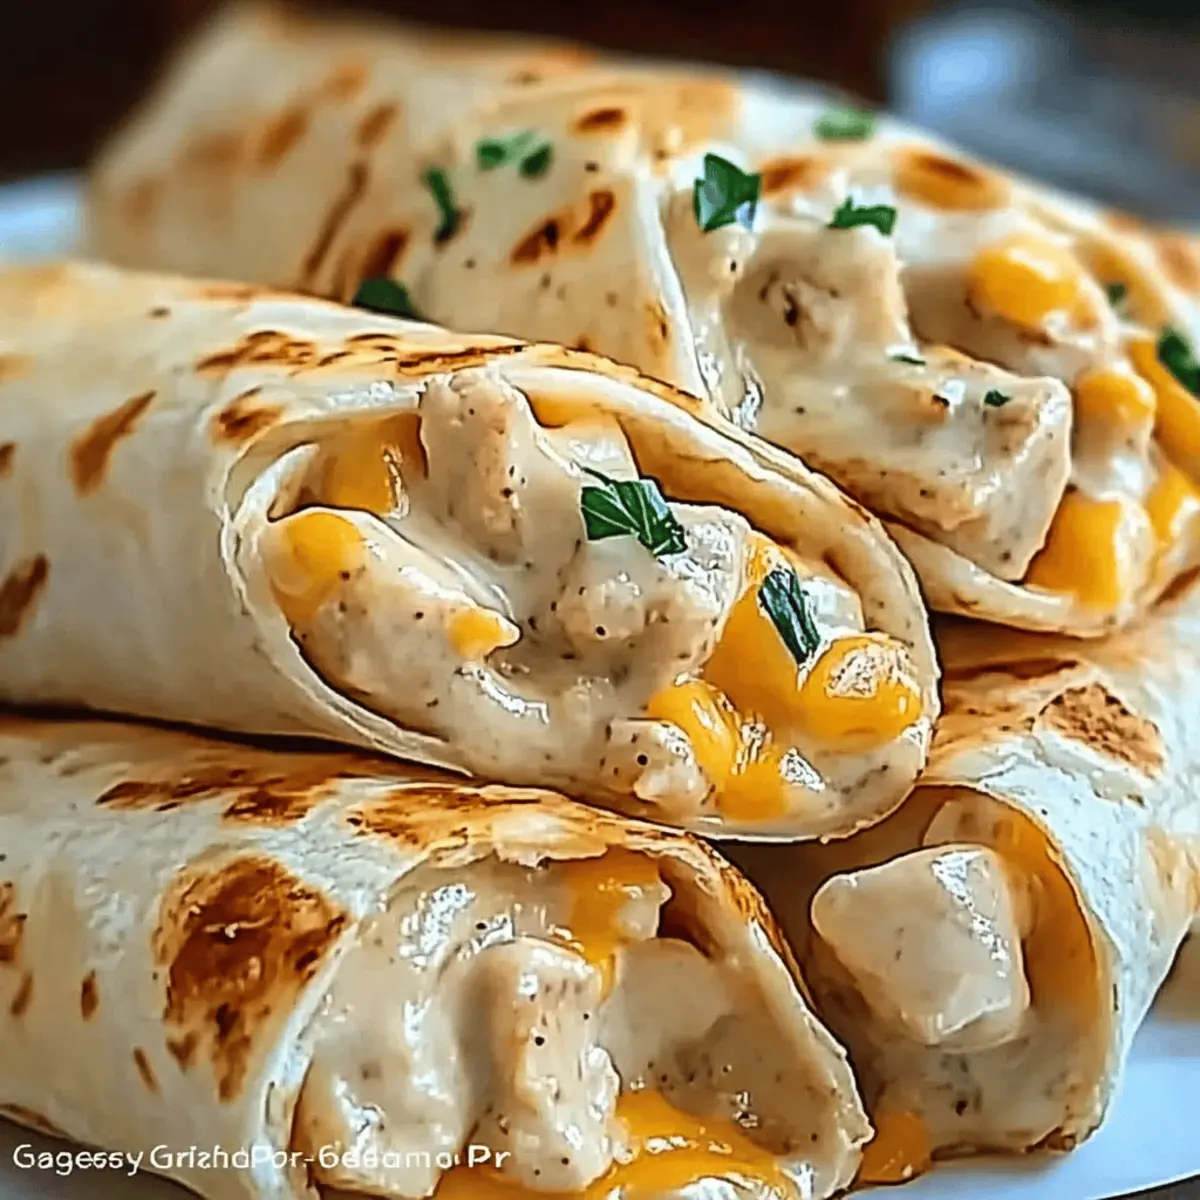
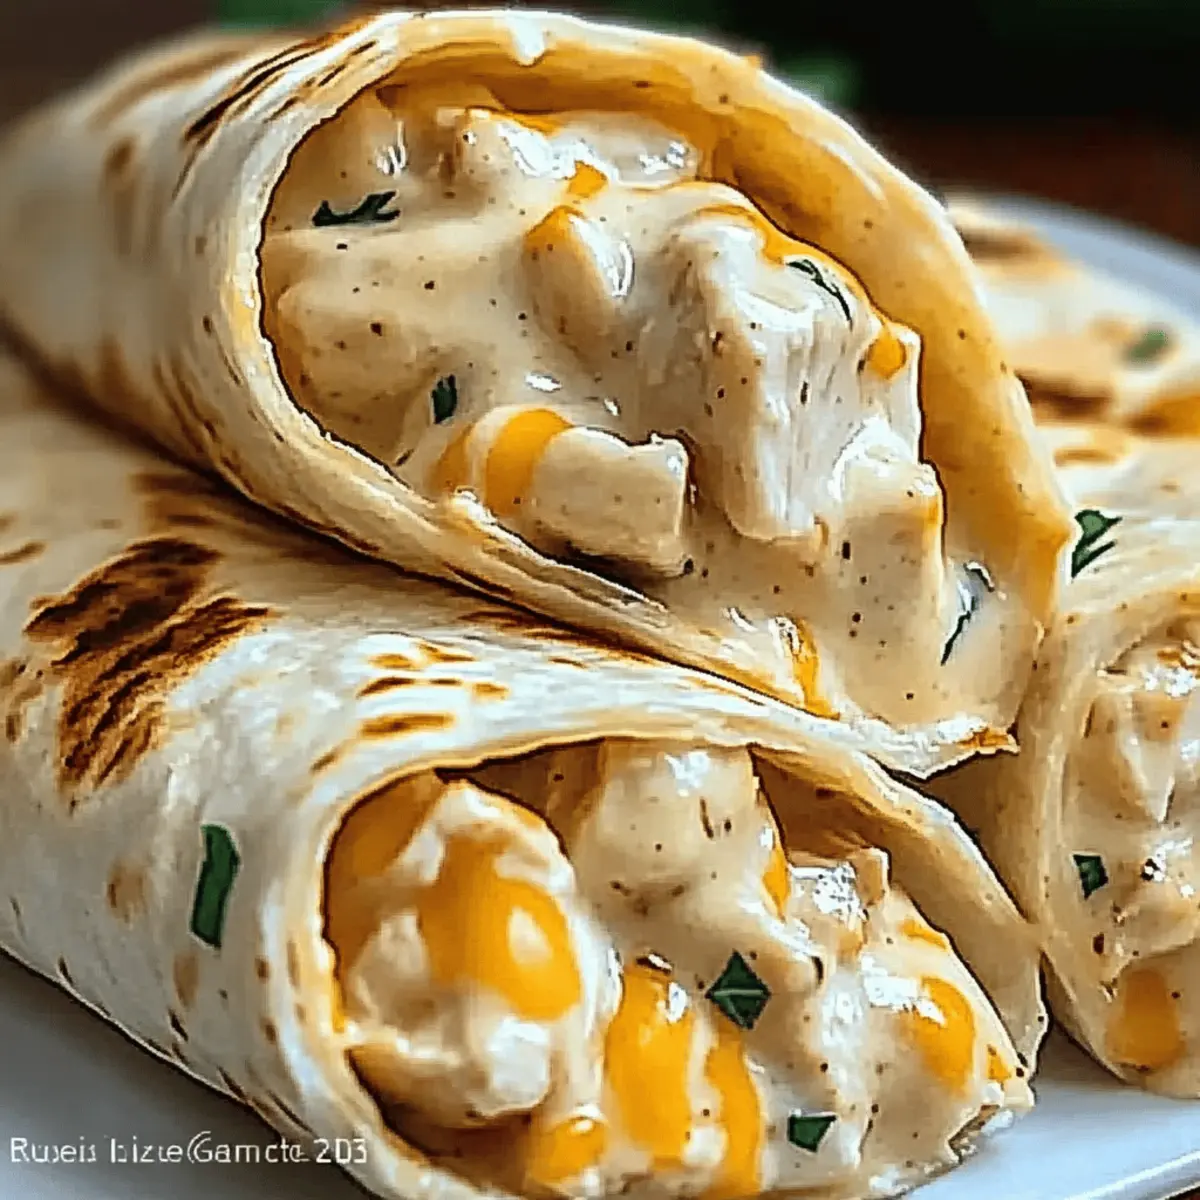
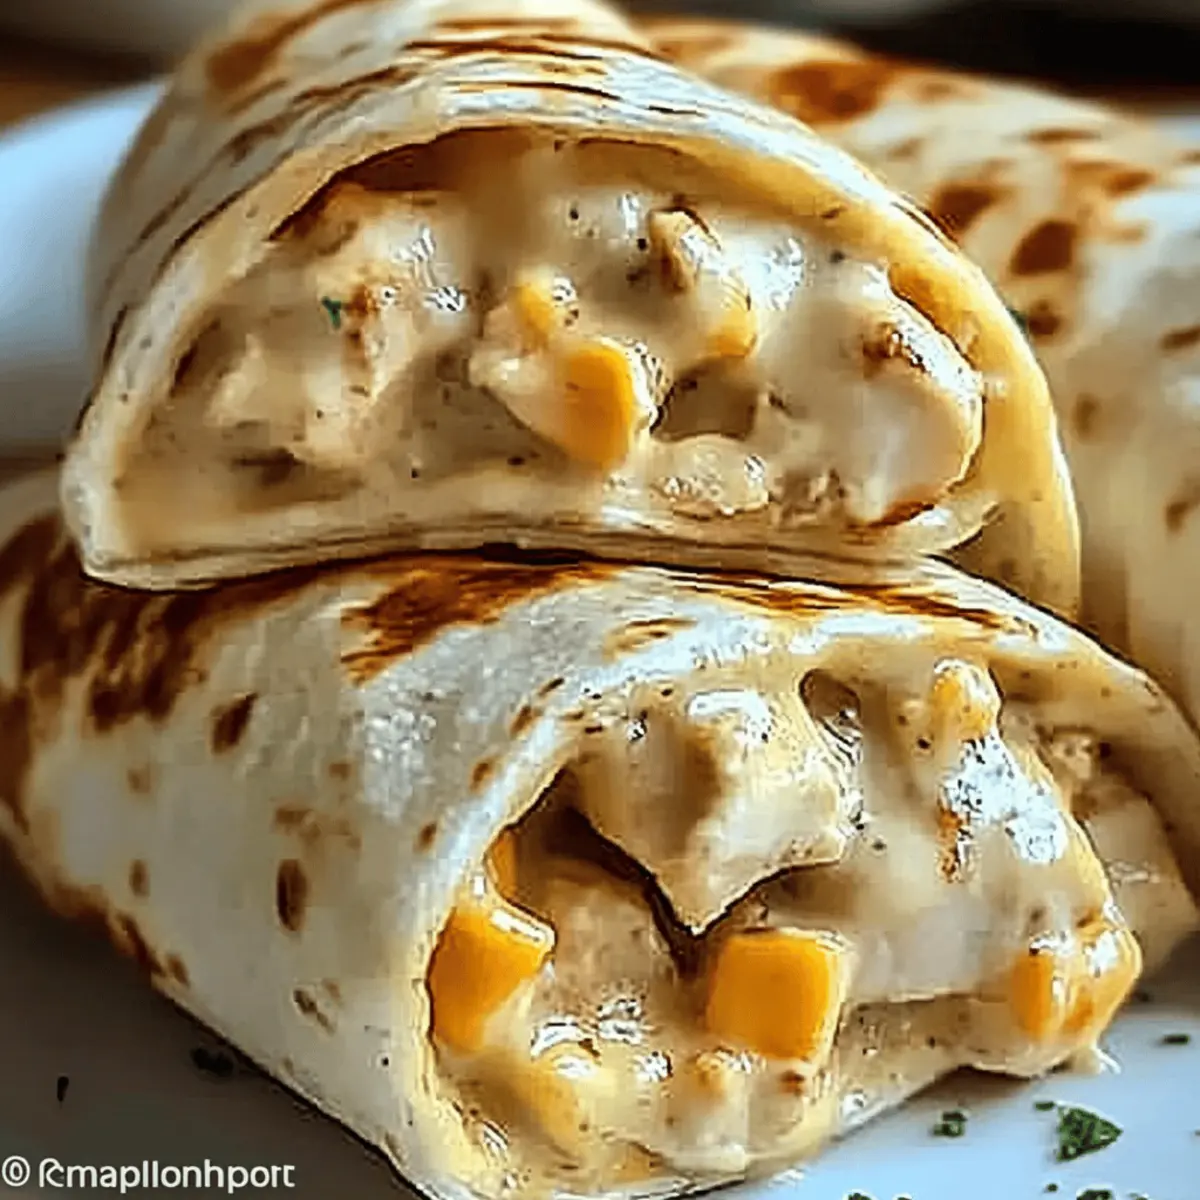
Distribute the cooked chicken evenly over the sauced tortillas, making sure to cover as much surface area as possible. Sprinkle shredded cheddar and mozzarella cheese on top for that gooey, melty goodness. Fold the tortillas tightly around the filling to create secure wraps, tucking in the ends to prevent any spillage.
Step 5: Grill Wraps
In the same skillet, increase the heat slightly to medium-high. Grill each folded wrap for 2-3 minutes on each side until the tortillas are golden and crispy. Keep an eye out for the cheese to melt and ooze deliciously out of the sides, indicating they are ready to serve.
Step 6: Serve
Carefully remove the wraps from the skillet and place them on a cutting board. Use a sharp knife to cut them in half, revealing the delectable cheesy filling. If desired, garnish with freshly chopped parsley for a pop of color and flavor, then serve immediately to enjoy the warmth and deliciousness of your Cheesy Chicken Wraps!
Cheesy Chicken Wrap Variations
Customize your wraps with delightful twists that will satisfy all taste buds!
-
Vegetarian Delight: Replace chicken with grilled veggies or black beans for a hearty meatless option. Add roasted bell peppers, zucchini, or mushrooms for vibrant flavors!
-
Spicy Kick: Swap shredded cheese for pepper jack and add jalapeños to the chicken mixture, giving your wraps a fiery boost. The heat levels can be adjusted based on preference—go bold or keep it mild!
-
Herbed Bliss: Incorporate fresh herbs like cilantro or basil for an aromatic twist. Simply fold chopped herbs into your filling for an exciting flavor lift in each bite.
-
Creamy Twist: Use a different sauce, like ranch or barbecue, instead of creamy garlic. This alters the entire flavor profile, making it refreshing or smoky as per your choice.
-
Crunchy Texture: Add fresh spinach, kale, or shredded cabbage inside your wraps for a crunchy bite. The mix of textures elevates the overall enjoyment, keeping the wraps interesting.
-
Cheesy Blend: Mix different cheeses for a rich, oozy experience. Combining cheddar, mozzarella, and gouda can create a delightful cheese pull that anyone will love!
-
Sautéed Goodness: Toss in sautéed onions and peppers for a colorful, flavor-enhancing addition. This vegetarian-friendly mix enhances the taste and adds some nutritional value.
-
Cinco de Mayo Twist: Add a little taco seasoning to your chicken and serve with guacamole and salsa as a dip. It’s a fun way to celebrate flavors and elevate your wrap experience!
For more creative twists, be sure to check out my post on Crockpot Chicken Tortellini for some exciting variations on classic meals!
Make Ahead Options
These Cheesy Chicken Wraps are perfect for meal prep enthusiasts looking to save time during busy weeknights! You can prepare the chicken filling up to 3 days in advance; simply season and cook the diced chicken as directed, then allow it to cool before refrigerating in an airtight container. Additionally, you can pre-spread the creamy garlic sauce on your tortillas and store them in the refrigerator for up to 24 hours to prevent sogginess. When you’re ready to enjoy your wraps, just assemble the prepped ingredients, grill them for 2-3 minutes on each side, and savor a delicious meal that feels just as fresh and satisfying as when you made it from scratch!
Expert Tips for Cheesy Chicken Wraps
-
Evenly Seasoned Chicken: Make sure you toss the diced chicken thoroughly in the olive oil and spices. This ensures every bite is flavorful and prevents bland spots in your wraps.
-
Watch Grilling Time: Keep an eye on your wraps while grilling to prevent burning. Aim for that crispy golden exterior without sacrificing the melty cheese inside.
-
Prep Ahead: Consider cooking extra seasoned chicken to store separately. This allows for speedy wrap assembly later in the week, making dinners effortless.
-
Customizable Ingredients: Don’t hesitate to swap in your favorite cheeses or add vegetables like sautéed bell peppers. This adds variety to your cheesy chicken wraps while catering to everyone’s tastes.
-
Tortilla Alternatives: If you’re looking for a healthier option, swap out flour tortillas for whole wheat or gluten-free versions to make these wraps suitable for various diets.
How to Store and Freeze Cheesy Chicken Wraps
Fridge: Store leftover cheesy chicken wraps in an airtight container for up to 3 days. Reheat in a skillet to maintain the crispy texture.
Freezer: If you want to prepare these wraps in advance, freeze them individually wrapped in plastic wrap and then in a freezer bag. They can last up to 3 months.
Reheating: To reheat, thaw in the fridge overnight, then warm in the oven at 350°F for about 15-20 minutes until heated through. Enjoy a delicious cheesy chicken wrap once again!
Prepping Ahead: For best results, assemble and store the filling separately. Keep the tortillas and sauce apart for maximum freshness. This way, you can quickly whip them up for busy weeknights!
What to Serve with Cheesy Chicken Garlic Wraps
Elevate your Cheesy Chicken Garlic Wraps with these delightful side dishes and beverages that complement every mouthwatering bite.
-
Crispy Sweet Potato Fries: These soft and sweet fries provide a delicious contrast to the savory wraps, making your meal feel indulgent and complete.
-
Light Cucumber Salad: Refreshing and crunchy, this salad’s coolness balances the warm, cheesy wraps while adding a bright pop of color to your plate.
-
Garlic Bread Sticks: The buttery garlicky flavor of breadsticks pairs beautifully with the wraps, giving you that extra comfort-food satisfaction.
-
Spicy Roasted Vegetables: Roasting veggies like bell peppers and zucchini brings out their natural sweetness, providing a perfect contrast to the savory chicken.
-
Classic Coleslaw: Creamy and tangy coleslaw complements the wrap’s warmth, adding an enjoyable crunch and freshness that brightens the entire meal.
-
Soda or Iced Tea: A fizzy soda or refreshing iced tea quenches thirst beautifully, adding an extra layer of enjoyment to your dinner experience.
For dessert, consider serving Chocolate Chip Cookies to end your meal on a sweet note—because who can resist that warm, gooey goodness?
Cheesy Chicken Wrap Recipe FAQs
What kind of chicken should I use for these wraps?
Absolutely! For the best flavor, I recommend using cooked, seasoned chicken breast, like rotisserie chicken or leftover grilled chicken. You can also sauté fresh chicken, diced into bite-sized pieces, for a warm filling.
How long can I store leftovers?
Leftover cheesy chicken wraps can be stored in an airtight container in the refrigerator for up to 3 days. To keep them crispy, reheat in a skillet over medium heat, flipping them frequently until hot.
Can I freeze cheesy chicken wraps?
Very! To freeze cheesy chicken wraps, wrap each one tightly in plastic wrap and place them in a freezer-safe bag. They can be stored for up to 3 months. Just be sure to thaw them in the refrigerator overnight before reheating.
What should I do if my wraps are soggy?
If you find your wraps are soggy, it may be due to too much sauce or moisture in the filling. I recommend spreading the sauce sparingly and ensuring your chicken is well-drained. When reheating, a skillet can help crisp the tortillas back up!
Are there any dietary considerations I should keep in mind?
Yes! If you or someone you’re serving has dietary restrictions, use gluten-free tortillas to accommodate gluten allergies. For dairy-free options, swap out regular cheese for dairy-free alternatives like vegan cheese or nutritional yeast for flavor.
Cheesy Chicken Wraps That Make Dinner a Breeze!
Ingredients
Equipment
Method
- In a bowl, toss your diced chicken breast with olive oil, garlic powder, onion powder, paprika, salt, and pepper. Ensure each piece is coated evenly for maximum flavor. Let it sit for about 5 minutes to absorb the spices while you heat your pan.
- Heat a non-stick skillet over medium heat for about 2 minutes. Once hot, add the seasoned chicken and cook for 6-8 minutes, stirring occasionally, until the chicken is golden brown and fully cooked through, reaching an internal temperature of 165°F. Let the tender chicken rest briefly off the heat.
- Lay out your flour tortillas on a clean, flat surface. Spread a generous layer of creamy garlic sauce evenly on each tortilla.
- Distribute the cooked chicken evenly over the sauced tortillas. Sprinkle shredded cheddar and mozzarella cheese on top for that gooey, melty goodness. Fold the tortillas tightly around the filling.
- In the same skillet, increase the heat slightly to medium-high. Grill each folded wrap for 2-3 minutes on each side until the tortillas are golden and crispy.
- Carefully remove the wraps from the skillet and place them on a cutting board. Use a sharp knife to cut them in half, revealing the delectable cheesy filling. Garnish with freshly chopped parsley if desired, then serve immediately.
Leave a Reply