
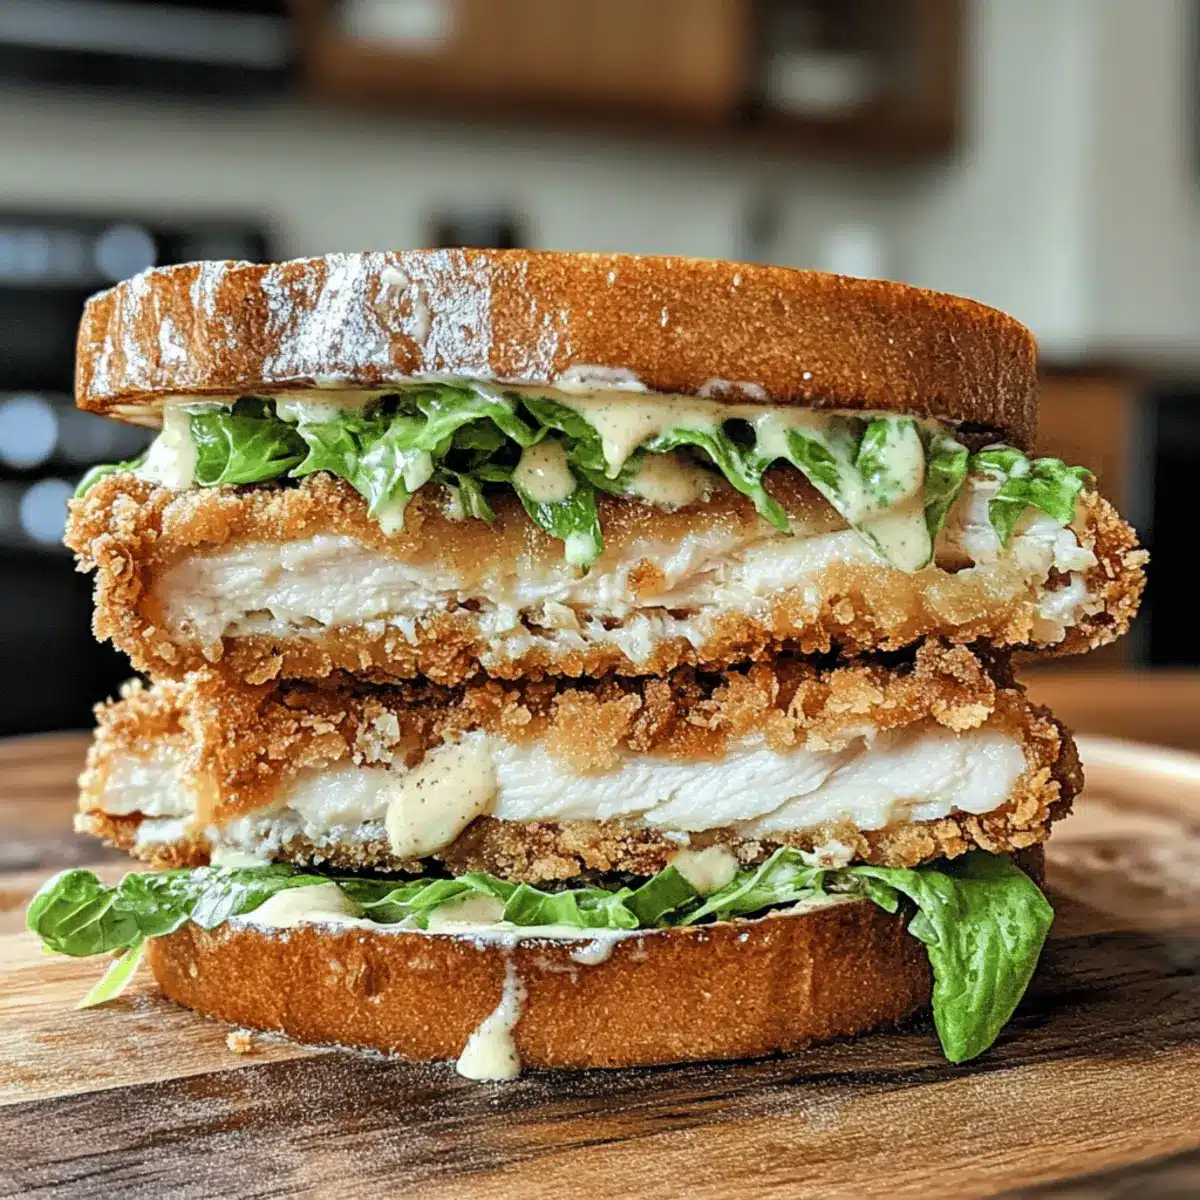
“Can you believe how easy it is to elevate a classic like the Caesar salad into a sandwich?” That thought crossed my mind as I whipped up this Crispy Chicken Caesar Sandwich, and let me tell you, it’s a game-changer! With a juicy, crispy chicken fillet nestled between slices of your chosen bread, complemented by fresh romaine and a creamy Caesar dressing, this sandwich is the comfort food you didn’t know you needed. The best part? It’s deceptively quick to make and fully customizable—swap out chicken breasts for thighs, or pick a gluten-free bread to suit your needs. Whether it’s a laid-back dinner at home or a gathering with friends, this sandwich is bound to impress. What toppings will you choose to make it your own?
Why is this Crispy Chicken Caesar Sandwich special?
Simplicity: This recipe is delightfully straightforward, requiring minimal culinary skills, perfect for home cooks of all levels.
Flavor Explosion: The combination of crunchy fried chicken, creamy Caesar dressing, and fresh romaine makes every bite a delightful treat. It’s comfort food with a gourmet twist!
Versatile: Customize your sandwich with options like chicken thighs for juiciness, or try different types of bread, such as whole wheat or gluten-free.
Crowd-Pleaser: Ideal for casual dinners or picnics, it’s bound to impress both family and friends. Pair it with sweet potato fries for a complete meal or enjoy it on its own!
Quick Prep: With an easy marination and frying process, you can whip this up faster than a trip to your favorite fast-food joint, making it a guilty-free indulgence!
Why not check out some of my other favorites too, like Cheesy Chicken Spaghetti or Cowboy Butter Chicken?
Crispy Chicken Caesar Sandwich Ingredients
For the Chicken
- Chicken Breasts – Use boneless, skinless for a tender, convenient option.
- Buttermilk – Adds moisture and tangy flavor; plain yogurt mixed with a splash of milk works as a substitute.
- All-Purpose Flour – Creates a crisp coating; for a gluten-free Crispy Chicken Caesar Sandwich, use gluten-free flour.
- Panko Breadcrumbs – Delivers exceptional crunch; substitute with regular breadcrumbs if needed, but toasting them can enhance texture.
- Garlic Powder – Elevates flavor; feel free to use fresh garlic for a more potent aroma.
- Paprika – Adds mild flavor and vibrant color; replace with cayenne for a spicy kick.
For the Sandwich
- Bread – Provides structure; ciabatta or brioche are excellent choices, but feel free to explore other varieties.
- Romaine Lettuce – Offers a fresh, crunchy contrast; you can switch it with other greens based on your preference.
- Grated Parmesan Cheese – Enhances overall flavor; using freshly grated cheese makes a noticeable difference in taste.
- Caesar Dressing – Brings richness and tang; you can use store-bought or make your own for that personalized touch.
- Olive Oil – Essential for frying the chicken; neutral oils can also be used if preferred.
Embrace the comfort and satisfaction of indulging in a homemade Crispy Chicken Caesar Sandwich—it’s a delightful treat ready to be customized to your liking!
Step‑by‑Step Instructions for Crispy Chicken Caesar Sandwich
Step 1: Marinate the Chicken
Begin by marinating the boneless, skinless chicken breasts in buttermilk for at least 30 minutes. This will infuse the chicken with moisture and flavor, ensuring it remains juicy after cooking. While the chicken marinates, get your bread, romaine, and other ingredients ready to streamline your cooking process.
Step 2: Prepare the Dredging Mixture
In a medium mixing bowl, combine all-purpose flour, garlic powder, paprika, salt, and pepper. This flavorful coating will give your chicken that irresistible crunch. Mix well until the spices are evenly distributed. Set this bowl aside alongside a separate plate for panko breadcrumbs, ready for the next step in creating your Crispy Chicken Caesar Sandwich.
Step 3: Dredge the Chicken
After marinating, take each chicken breast and coat it in the flour mixture, ensuring it’s entirely covered. Shake off any excess, then dip it into the panko breadcrumbs for that extra crunch. The double coating will add a satisfying texture when fried, elevating your sandwich to the next level of deliciousness!
Step 4: Fry the Chicken
Heat a generous amount of olive oil in a large skillet over medium heat—aim for around 350°F (175°C). Once the oil is hot, carefully place the breaded chicken into the skillet. Fry each piece for about 5 to 7 minutes per side, or until the chicken is golden brown and reaches an internal temperature of 165°F (75°C). The aroma will be irresistible!
Step 5: Toast the Bread
While the chicken is frying, lightly toast your choice of bread—ciabatta or brioche are ideal for this Crispy Chicken Caesar Sandwich. Toasting not only adds flavor but also ensures the structure can hold the weight of the ingredients. Aim for a golden-brown finish to provide the perfect backdrop to your hearty sandwich.
Step 6: Assemble the Sandwich
Once the chicken is cooked and the bread is toasted, it’s time to assemble your sandwich. Start with a slice of bread, layer on the crispy chicken, and add a generous handful of chopped romaine lettuce. Sprinkle freshly grated Parmesan cheese and drizzle with creamy Caesar dressing to elevate the flavors.
Step 7: Serve and Enjoy
Finally, place the top slice of bread over the filling and press down gently. Cut the Crispy Chicken Caesar Sandwich in half diagonally for easy eating. Serve immediately to savor the crunch and freshness of all the ingredients. Enjoy your comforting creation with an accompanying side, like sweet potato fries or a light salad!

How to Store and Freeze Crispy Chicken Caesar Sandwich
Fridge: Store any leftovers in an airtight container in the refrigerator for up to 3 days. This way, the crispy chicken stays relatively fresh.
Freezer: For longer storage, freeze the cooked chicken separately in a freezer-safe bag for up to 3 months. This will help maintain its texture when reheated.
Reheating: For best results, reheat the chicken in the oven at 350°F (175°C) until heated through, about 10-15 minutes. Assemble your Crispy Chicken Caesar Sandwich fresh to maintain its crunch!
Make-Ahead: You can prepare the components in advance—fry the chicken and refrigerate. Assemble just before serving for a quick, delicious meal!
Expert Tips for the Crispy Chicken Caesar Sandwich
- Perfectly Cooked Chicken: Always check that your chicken reaches an internal temperature of 165°F (75°C) to ensure it’s safe to eat while remaining juicy.
- Use Panko: Opt for panko breadcrumbs for the best texture; they create a longer-lasting crunch compared to regular breadcrumbs.
- Marination Time: Don’t rush the buttermilk marination; let the chicken soak for at least 30 minutes for maximum flavor and moisture.
- Bread Choice: Choose sturdy bread like ciabatta or brioche; this ensures your Crispy Chicken Caesar Sandwich holds up against all the delicious fillings.
- Customize: Don’t hesitate to experiment! Swap chicken breasts for thighs or mix up your greens for a personalized crispy chicken experience.
Crispy Chicken Caesar Sandwich Variations
Feel free to let your creativity flow by customizing this delightful sandwich to suit your tastes!
- Chicken Thighs: Swap chicken breasts for juicier thighs; they add moisture and flavor which every bite will celebrate.
- Whole Wheat Bread: Use whole wheat bread for a heartier option that still holds all the tasty goodness of this sandwich.
- Gluten-Free Flour: Switch to gluten-free flour to keep the crunch while making this dish accessible for those with gluten sensitivities.
- Avocado Slices: Add creamy avocado for a rich flavor and extra healthy fats; it pairs beautifully with the Caesar dressing!
- Spicy Kick: Incorporate jalapeños or spicy aioli for those who enjoy their food with a punch; the heat will balance wonderfully with the creamy dressing.
- Grilled Chicken: For a lighter version, grill the chicken instead of frying; it provides a different flavor profile while keeping the dish healthy.
- Tomato Slices: Fresh slices of tomato add a juicy burst; they complement the crunchiness of the fried chicken beautifully.
- Coleslaw Substitute: Use coleslaw in place of romaine for a colorful crunch and added texture; the tanginess can elevate the whole experience!
If you’re interested in more delicious chicken recipes, try making a Cheesy Chicken Wrap or explore the comforting flavors of Crockpot Chicken Tortellini. Enjoy your culinary adventure!
Make Ahead Options
These Crispy Chicken Caesar Sandwiches are perfect for meal prep lovers! You can marinate the chicken in buttermilk up to 24 hours in advance, allowing the flavors to deepen. Additionally, you can bread the chicken and refrigerate it for up to 3 days; just make sure to keep the panko coating crisp by storing it in an airtight container. When you’re ready to treat yourself, simply fry the prepped chicken until golden brown, toast the bread, and assemble your sandwich with fresh romaine and Caesar dressing. This method not only saves you time but ensures that each bite remains just as delicious and satisfying as if you made it fresh!
What to Serve with Crispy Chicken Caesar Sandwich
Elevate your dining experience with delightful side dishes and drinks that pair perfectly with this mouthwatering creation.
- Sweet Potato Fries: These crispy, naturally sweet fries balance the savory flavors of the sandwich, making for a delicious pairing everyone loves.
- Light Salad: A refreshing green salad with a citrus vinaigrette adds a bright, crunchy element that enhances the richness of the sandwich.
- Creamy Coleslaw: The creamy, crunchy coleslaw complements the crispy chicken, creating a satisfying contrast in textures with every bite.
- Garlic Bread: Indulge in warm garlic bread that nicely complements the flavors of the sandwich while providing a wonderful crunch and aroma.
- Pickles: Add a tangy crunch to your meal with pickles, which can cut through the richness of the chicken and Caesar dressing.
- Crisp White Wine: A chilled Sauvignon Blanc pairs well, as its bright acidity refreshes your palate between bites of this rich sandwich.
- Homemade Lemonade: Refreshing and slightly sweet, this beverage provides a zesty contrast that enhances the overall flavor experience.
- Chocolate Chip Cookies: For dessert, enjoy classic chocolate chip cookies, their sweetness contrasting beautifully with the savory elements of the sandwich.
With these delightful pairings, you’re set for a scrumptious meal that friends and family will rave about!

Crispy Chicken Caesar Sandwich Recipe FAQs
How do I choose the right chicken for my Crispy Chicken Caesar Sandwich?
Absolutely! Opt for boneless, skinless chicken breasts as they are tender and easy to work with. If you prefer juiciness, chicken thighs can be a great alternative, although they may require slightly longer cooking time to reach that perfect golden brown.
What’s the best way to store leftover Crispy Chicken Caesar Sandwich?
To keep it fresh, place any leftovers in an airtight container in the refrigerator for up to 3 days. This helps maintain the chicken’s crispness. If you have extra components, it’s best to store the chicken and other fillings separately to assemble a tasty sandwich as needed.
Can I freeze the chicken for my Crispy Chicken Caesar Sandwich?
Yes, you can! To freeze the cooked chicken, let it cool completely before placing it in a freezer-safe bag. It can be stored for up to 3 months. When you’re ready to enjoy, simply reheat it in the oven at 350°F (175°C) until heated through, about 10-15 minutes.
What’s the best method to keep the chicken crispy after cooking?
Very! For the crispiest experience, avoid assembling the sandwich until just before serving. This prevents the bread from becoming soggy. You can also reheat the fried chicken in the oven to restore its crunch, ensuring your Crisp Chicken Caesar Sandwich maintains that delightful texture.
Is there a gluten-free option for the Crispy Chicken Caesar Sandwich?
Absolutely! To make a gluten-free version, simply substitute the all-purpose flour and breadcrumbs with gluten-free alternatives. Additionally, choose gluten-free bread as your base for an enjoyable experience that doesn’t compromise on taste.
Can pets eat any of the ingredients used in the Crispy Chicken Caesar Sandwich?
While some components, like plain cooked chicken, are safe for pets, it’s best to avoid giving them Caesar dressing, as it can contain ingredients like garlic and onion, which are harmful to dogs. When sharing this delicious sandwich, stick to safe bites tailored for your furry friends!

Crispy Chicken Caesar Sandwich: Your New Favorite Comfort Bite
Ingredients
Equipment
Method
- Marinate the chicken in buttermilk for at least 30 minutes.
- Combine flour, garlic powder, paprika, salt, and pepper in a bowl for the dredging mixture.
- Dredge the marinated chicken in the flour mixture and then coat it with panko breadcrumbs.
- Fry the chicken in heated olive oil for 5 to 7 minutes per side until golden brown.
- Toast the bread lightly while the chicken fries.
- Assemble the sandwich with chicken, lettuce, Parmesan, and Caesar dressing between the toasted bread.
- Cut the sandwich in half and serve immediately.
Leave a Reply