
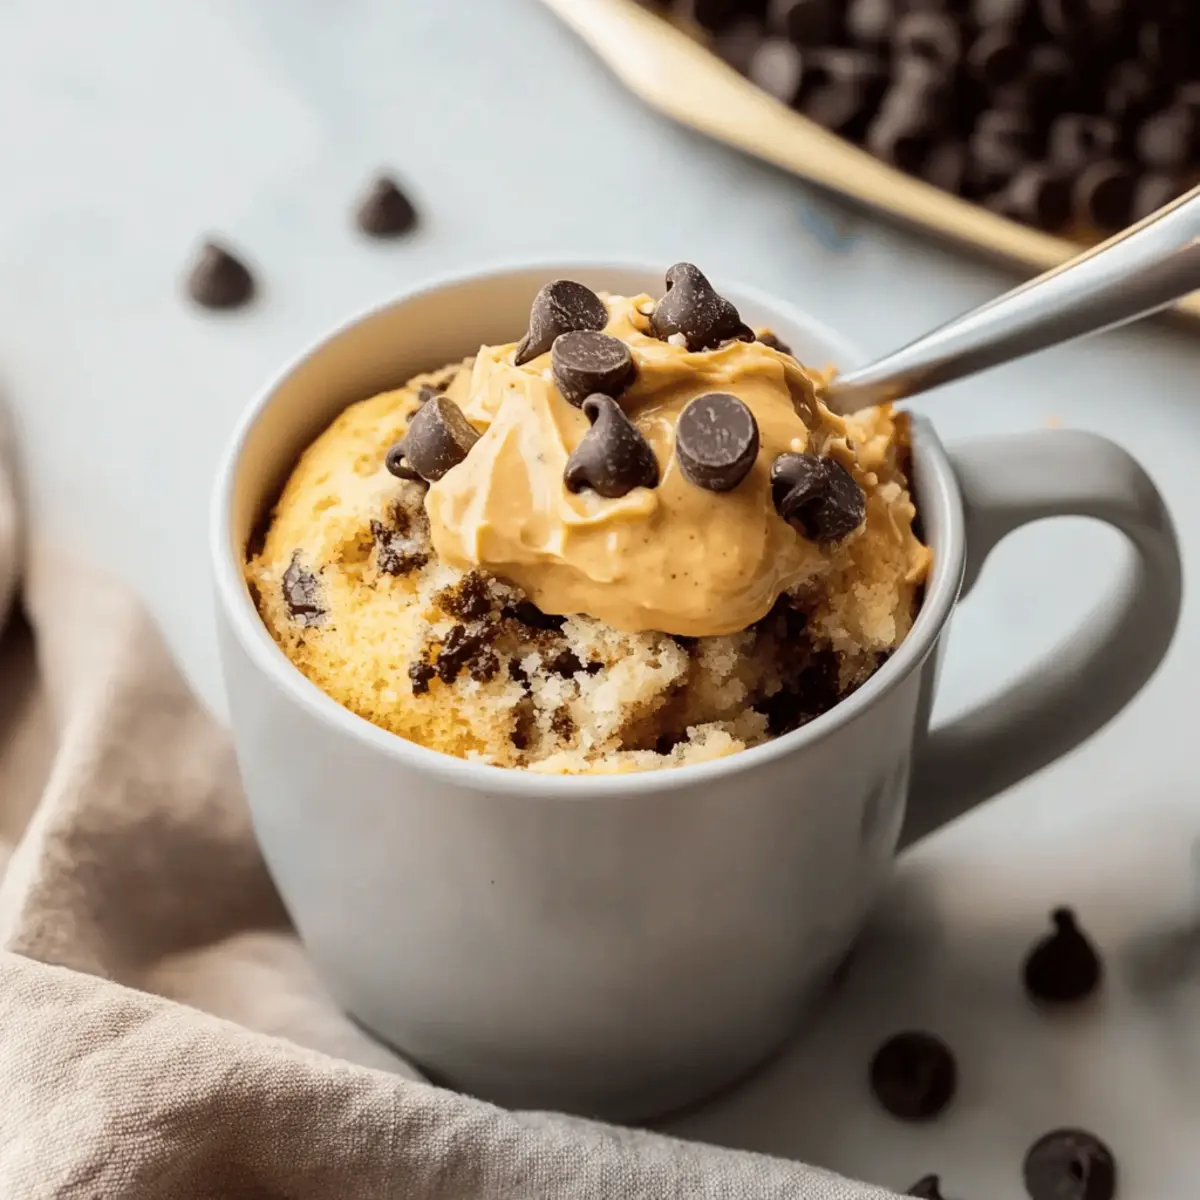
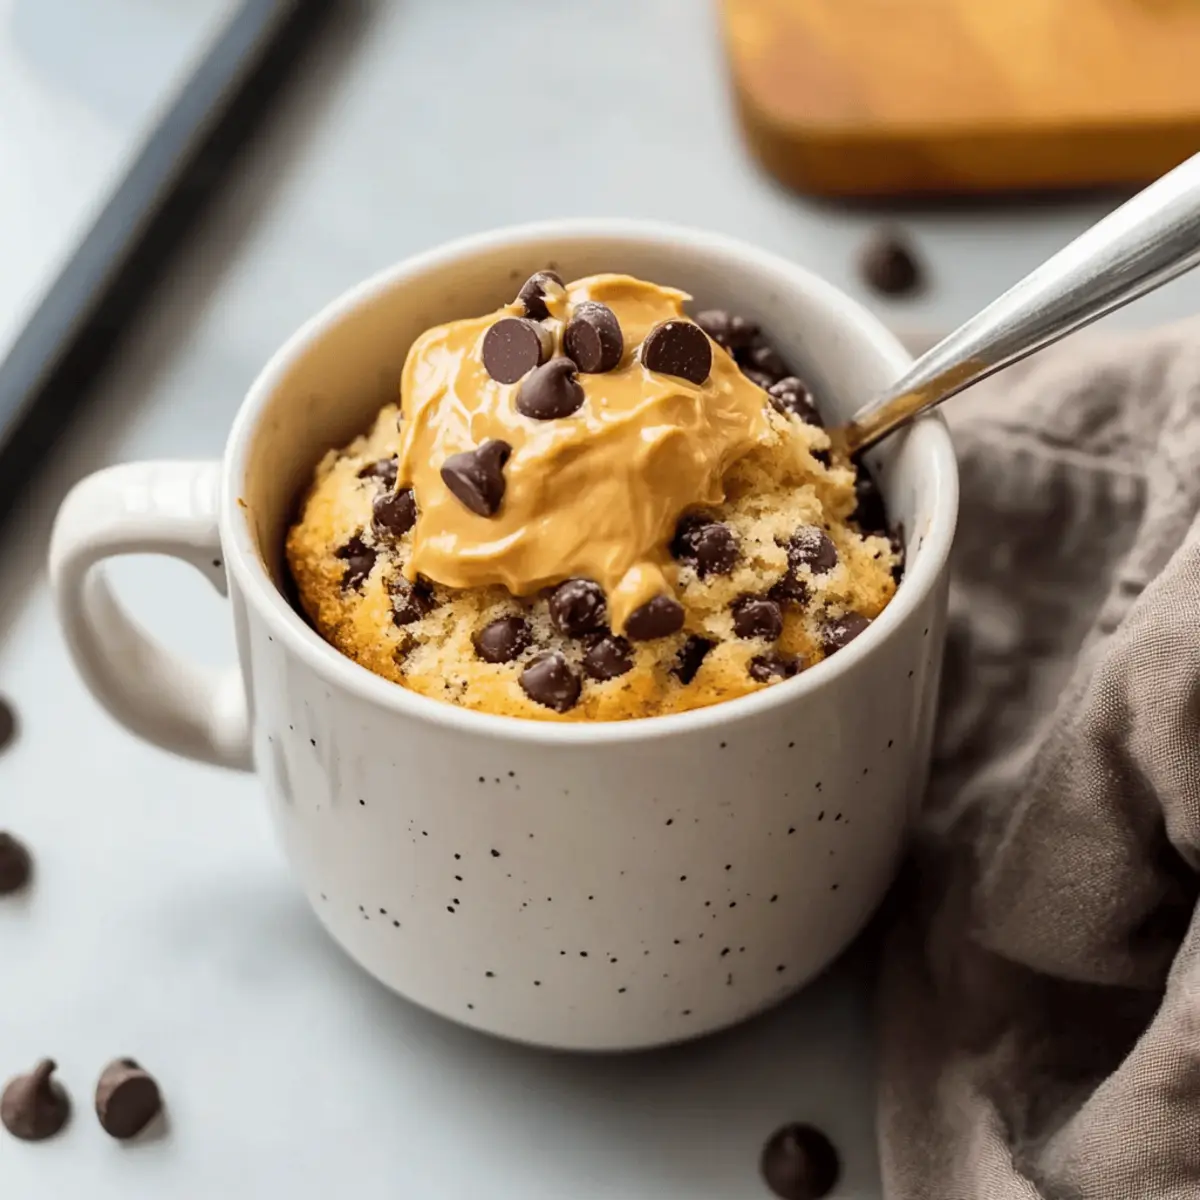
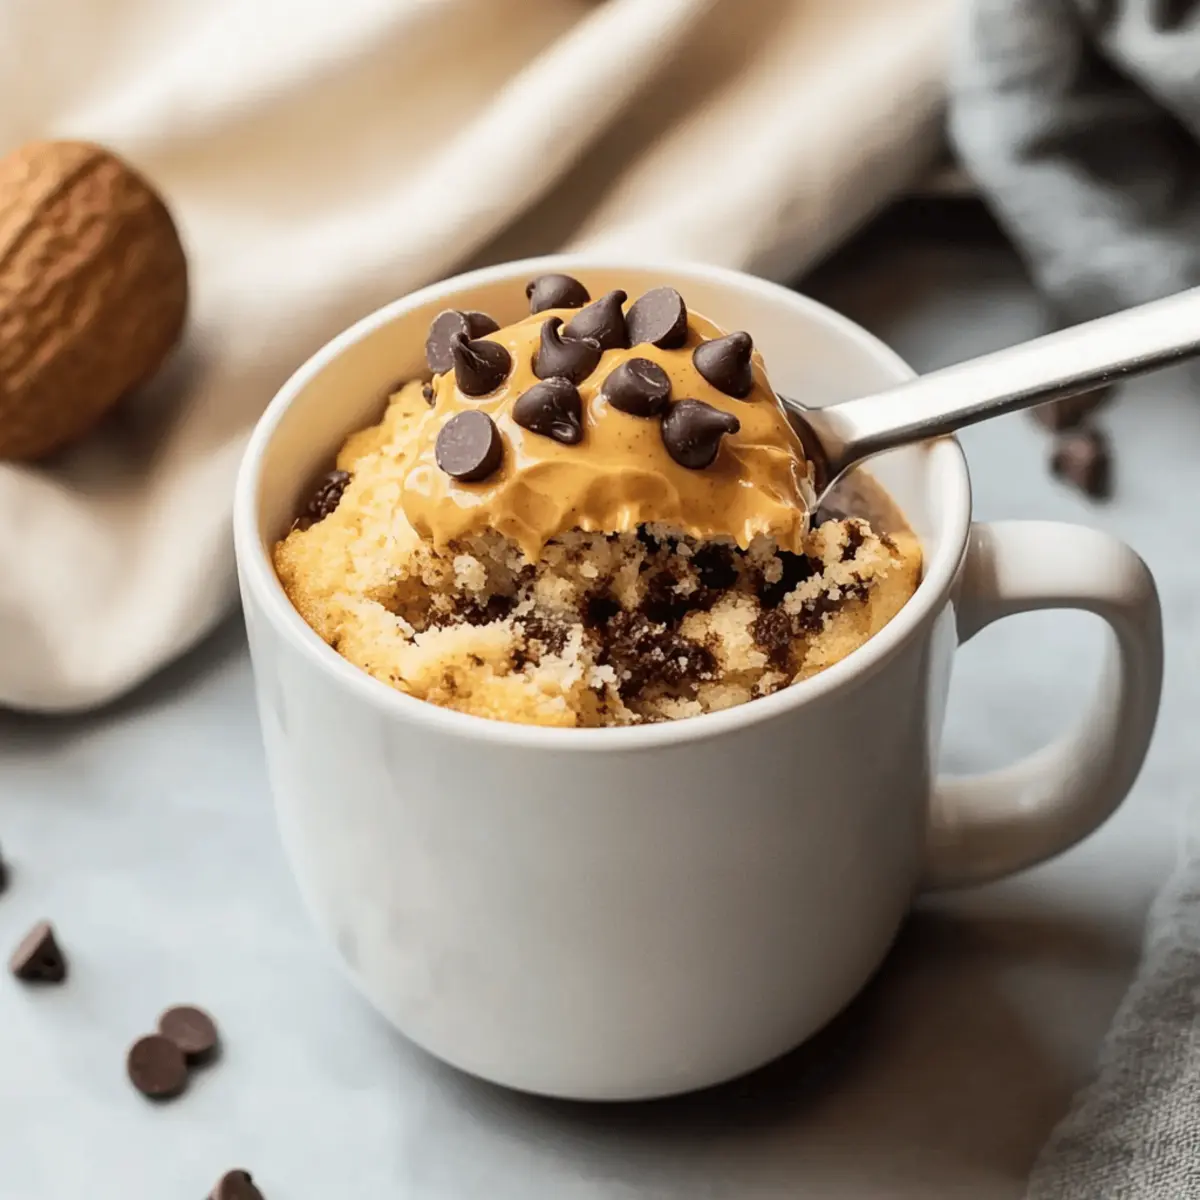
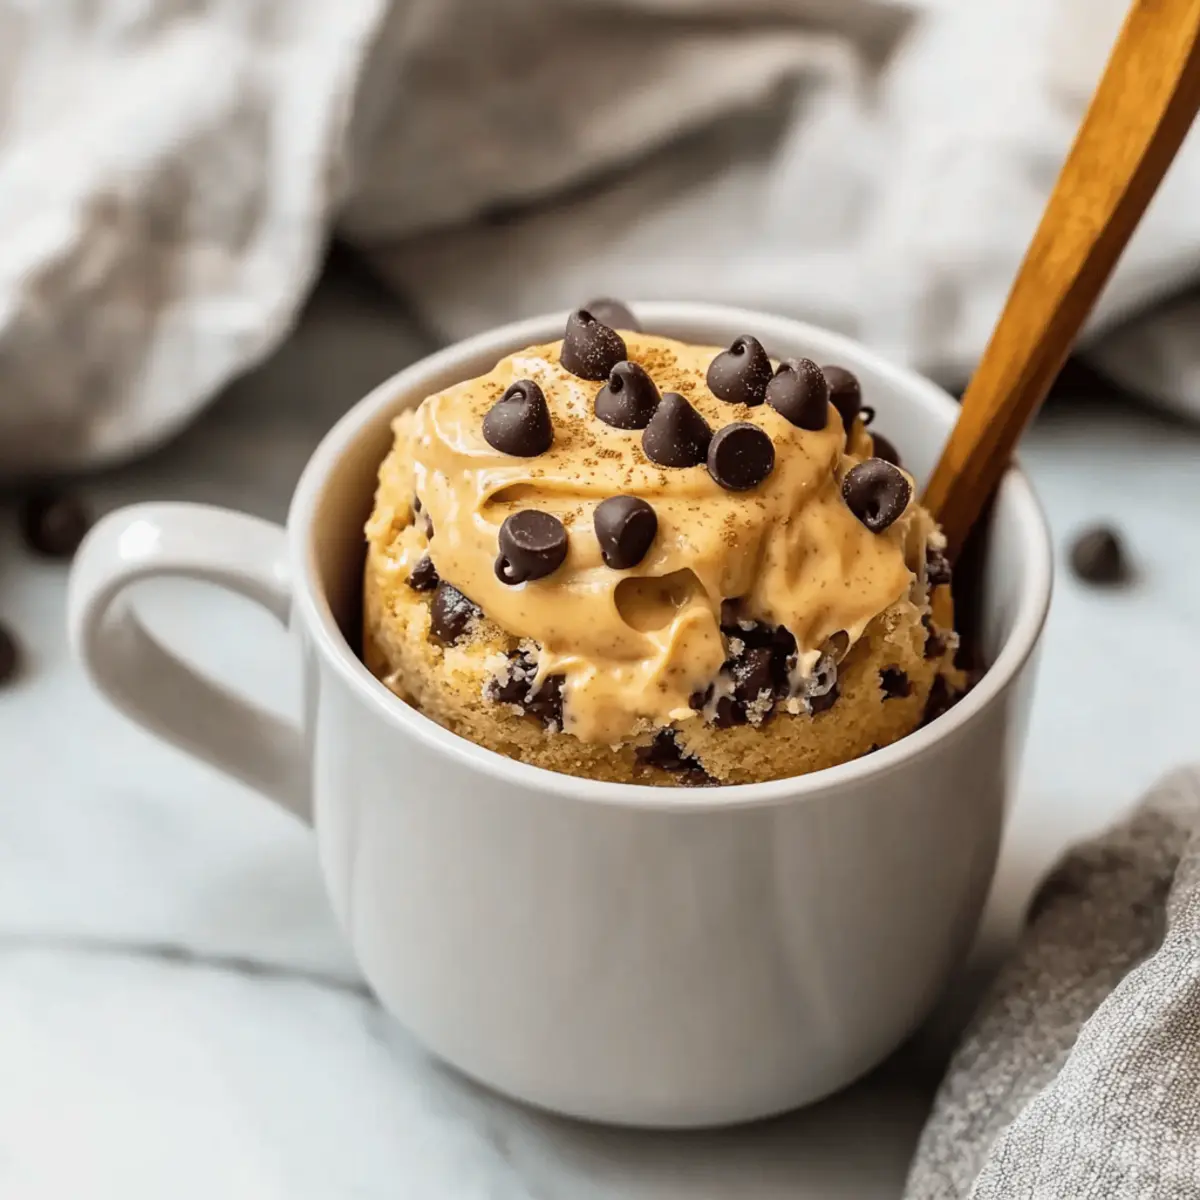
As I stood in my kitchen, craving something sweet yet wholesome, a lightbulb moment struck: why not whip up a Protein Mug Cake? This easy high-protein mug cake is my go-to solution for those moments when I want to indulge without the guilt. With its cake-like texture and delightful flavors of peanut butter and a touch of dark chocolate, it feels like a treat but fuels my body with the nutrition it craves. Perfect for a post-workout snack or a quick breakfast, this recipe requires just six simple ingredients and can be ready in under a minute! Plus, it’s gluten-free and easily customizable, so you can mix and match flavors to your heart’s content. Curious to learn how to make this delicious dessert? Let’s dive in!
Why is Protein Mug Cake a Game Changer?
Quick and Easy: This Protein Mug Cake comes together in just one minute, making it your new go-to for last-minute cravings or post-workout refuels.
Customizable Delight: With the freedom to choose your protein powder and toppings, every mug cake can be a unique flavor adventure, just like my delicious Coconut Cream Pancakes.
Healthy Indulgence: Packed with approximately 15 grams of protein and loaded with nutritional goodness from simple ingredients, this cake feels indulgent without the guilt—ideal for a quick breakfast or dessert!
Crowd-Pleaser: With its decedent texture and rich peanut butter flavor, you’ll want to share this treat with family and friends. They won’t believe how healthy it truly is!
Filling and Satisfying: This mug cake is not only light but will keep you full longer, thanks to its wholesome ingredients. Perfect to help you power through the day!
Protein Mug Cake Ingredients
• Ready to create your own delicious Protein Mug Cake? Here are the simple ingredients you’ll need!
For the Cake
- Cooking Spray – Prevents sticking to the mug; you can also use a silicone mug for easy removal.
- 1/2 small ripe banana, mashed – Adds natural sweetness and moisture; swap with unsweetened applesauce if preferred.
- 2 tablespoons protein powder of your choice – Provides a protein boost; select between dairy (whey) or plant-based (pea, hemp) according to dietary preferences.
- 1 tablespoon peanut butter – Infuses healthy fats and flavor; can be replaced with almond or sunflower butter for allergies.
- 1 tablespoon mini dark chocolate chips – Enhances sweetness and offers a delightful texture; optional but recommended for richness.
- 1/8 teaspoon baking powder – Essential for helping the cake rise to perfection.
- 1 tablespoon milk of choice – Thins the batter if needed; feel free to skip if the consistency looks right.
Step-by-Step Instructions for Protein Mug Cake
Step 1: Prepare Your Mug
Start by spraying a large (16-ounce) mug with cooking spray to ensure your delicious Protein Mug Cake won’t stick. If you prefer, you can use a silicone mug for easy removal. Make sure you choose a mug that has enough room, as the cake will rise during cooking.
Step 2: Mash the Banana
Next, add the mashed banana to your prepared mug. Using a fork, mix until the banana is mostly smooth, with a few small lumps remaining for texture. This sweet base is what gives your Protein Mug Cake its moistness, so ensure it’s well mixed but not overworked.
Step 3: Combine Dry Ingredients
Now, it’s time to enhance your cake mix! Add the two tablespoons of protein powder, one tablespoon of peanut butter, the mini dark chocolate chips, and the baking powder directly into the mug. Stir everything together until fully combined, creating a thick batter that promises a protein-packed treat.
Step 4: Adjust Consistency
If your mixture appears too thick, pour in one tablespoon of your choice of milk to achieve a batter consistency similar to pancake mix. Stir well until smooth, but be cautious not to over-mix as this can affect the fluffiness of your Protein Mug Cake.
Step 5: Microwave Your Cake
Place the mug in the microwave and cook on high for 60 to 90 seconds. Watch closely as it rises; the top should appear set and slightly springy to the touch when done. If the texture isn’t quite there, extend cooking time in 15-second intervals until fully cooked.
Step 6: Cool and Serve
After microwaving, let your Protein Mug Cake cool for about 30 seconds. This brief wait helps ensure perfect serving temperatures. You can enjoy it directly from the mug, or feel free to top it with a bit more peanut butter and additional chocolate chips for that extra indulgent touch!
Protein Mug Cake Variations & Substitutions
Get creative and make this delightful treat your own!
- Flavor Twist: Add a splash of vanilla extract or a teaspoon of cocoa powder for a chocolatey version. Don’t hesitate to explore different flavors!
- Nut-Free Option: Substitute peanut butter with sunflower butter for a nut-free option that still packs a flavorful punch. Enjoy the buttery richness without the allergens!
- Dairy-Free Delight: Swap regular milk with almond or coconut milk to cater to dairy sensitivities. You still get that creamy texture without the lactose.
- Fruity Upgrade: Mix in crushed berries or diced apples to make it fruity and fresh. The fruit adds a lovely burst of sweetness and texture!
- Protein Boost: For an extra protein punch, mix in a tablespoon of hemp seeds or chia seeds; it’s a great way to enhance nutritional value!
- Textural Contrast: Top with crunchy granola or nuts after cooking for an exciting textural twist. The contrast between creamy and crunchy is so satisfying!
- Sugar-Free Alternative: Use a sugar substitute like stevia or erythritol to keep it sweet while cutting out calories. It’s a delightful way to enjoy sweetness without the guilt.
- Sweet-Indulgent Finish: Top with Greek yogurt or a drizzle of maple syrup for a decadent touch that complements the cake’s rich flavor. It elevates the experience to a whole new level!
Don’t forget, if you’re in the mood for more sweet treats, try making delicious Coconut Cream Pancakes or dive into the innovative Strawberry Shortcake Sushi for a fun culinary adventure!
Expert Tips for Protein Mug Cake
-
Optimal Mug Choice: Use a large (16-ounce) mug to prevent overflow during microwaving, ensuring a clean and worry-free cooking experience.
-
Perfect Banana Consistency: If using frozen banana, be sure to thaw first. This avoids any texture issues and helps your Protein Mug Cake rise beautifully.
-
Vegan Adjustments: For a vegan option, simply swap in plant-based protein powder and substitute peanut butter with almond or sunflower butter, ensuring everyone can enjoy this treat.
-
Mixing Caution: Avoid over-mixing the batter; stirring just until combined will result in a lighter, fluffier cake rather than a dense one.
-
Flavor Exploration: Don’t hesitate to experiment! Try adding a splash of vanilla extract or cocoa powder for new dimensions in flavor with this Protein Mug Cake.
-
Serving Suggestions: Enhance your indulgence by topping with Greek yogurt, toasted coconut flakes, or a drizzle of maple syrup for an extra delightful experience.
Make Ahead Options
These Protein Mug Cakes are perfect for busy home cooks who want to save time without sacrificing flavor! You can combine the dry ingredients—protein powder, baking powder, and chocolate chips—in advance and store them in an airtight container for up to 3 days. When you’re ready to enjoy your cake, simply mash the banana and mix in the prepped dry ingredients along with the peanut butter and milk. This method not only saves you time but ensures that your mug cake remains just as delicious. Remember, microwave it fresh for 60–90 seconds, and you’ll have a warm, satisfying treat ready in no time!
What to Serve with Easy High-Protein Mug Cake?
Transform your indulgent treat into a complete meal with these delightful pairings that heighten the experience of your Protein Mug Cake.
-
Creamy Greek Yogurt: Topped with a dollop of Greek yogurt, this adds tanginess and a protein boost, perfectly complementing the sweetness of your cake.
-
Fresh Berries: Raspberries or strawberries offer a burst of freshness, balancing the rich flavors of your mug cake while adding vibrant color.
-
Almond Butter Drizzle: A drizzle of almond butter on top enhances the nutty flavor, creating a luxurious twist that feels indulgent yet nutritious.
-
Coconut Flakes: Toasted coconut flakes introduce a chewy texture and tropical flair, adding a layer of complexity that makes every bite more enjoyable.
-
Flavored Coffee or Tea: Pair your cake with a warm cup of your favorite coffee or herbal tea for a cozy treat, enhancing both taste and comfort.
-
Banana Slices: Slices of fresh banana on top not only make it more visually appealing but also harmonize with the cake’s flavors, maintaining the dessert vibe.
With these delightful choices, you’ll ensure each mug cake moment feels like a special occasion, perfect for any time of day!
Storage Tips for Protein Mug Cake
-
Room Temperature: Enjoy the Protein Mug Cake immediately after preparation for the best flavor and texture; it’s best served warm!
-
Fridge: If you have leftovers, store the cake in an airtight container in the refrigerator for up to 2 days. When ready to enjoy, simply microwave for about 15-30 seconds to warm it up.
-
Freezer: For longer storage, you can freeze the mug cake for up to 1 month. Wrap it tightly in plastic wrap and then place it in a freezer-safe container. Thaw in the fridge overnight before reheating.
-
Reheating: To restore the cake’s moisture, add a splash of milk while reheating in the microwave; this helps counteract any dryness from storage.
Protein Mug Cake Recipe FAQs
What type of banana is best for the mug cake?
Using a ripe banana is key as it provides natural sweetness and moisture. Look for bananas that are mostly yellow with a few brown spots, indicating ripeness. If you’re out of bananas, unsweetened applesauce can be used as a suitable substitute for the same moisture and sweetness.
How should I store leftover Protein Mug Cake?
Enjoy your Protein Mug Cake immediately for the best flavor and texture. If you have any leftovers, store them in an airtight container in the refrigerator for up to 2 days. When you’re ready to eat, pop it in the microwave for about 15-30 seconds to warm it up and restore its moistness.
Can I freeze the Protein Mug Cake?
Absolutely! To freeze, wrap the cooled mug cake tightly in plastic wrap and place it in a freezer-safe container. It can be stored for up to 1 month. When you’re ready to indulge, simply thaw it in the fridge overnight and reheat it in the microwave, adding a splash of milk to retain its moisture.
What if my mug cake comes out dense?
If you find your mug cake turns out denser than expected, it could be due to over-mixing or not using enough liquid. To avoid this, mix just until the ingredients are combined. If it’s already dense, try adding a little milk while reheating. Gradually add it, stirring gently until the desired consistency is reached. With practice, you’ll find the sweet spot for the perfect fluffy cake!
Can I make this mug cake gluten-free?
Yes! The Protein Mug Cake is naturally gluten-free, especially when you choose gluten-free protein powder. For extra assurance, if swapping protein powder, check the labels of your ingredients. Using certified gluten-free options will ensure that everyone with gluten sensitivities can enjoy this delicious treat!
Decadent Protein Mug Cake Ready in Just 1 Minute!
Ingredients
Equipment
Method
- Begin by spraying a large (16-ounce) mug with cooking spray to ensure easy removal of your cake.
- Add 1/2 of a small ripe banana to the prepared mug, mashing until mostly smooth.
- Combine 2 tablespoons of protein powder, 1 tablespoon of peanut butter, 1 tablespoon of mini dark chocolate chips, and 1/8 teaspoon of baking powder into the mug.
- If the batter is too thick, add 1 tablespoon of milk of your choice to thin it out.
- Pop the mug in the microwave and heat on high for 60–90 seconds.
- Let the Protein Mug Cake cool for about 30 seconds before enjoying it directly from the mug.
Leave a Reply