
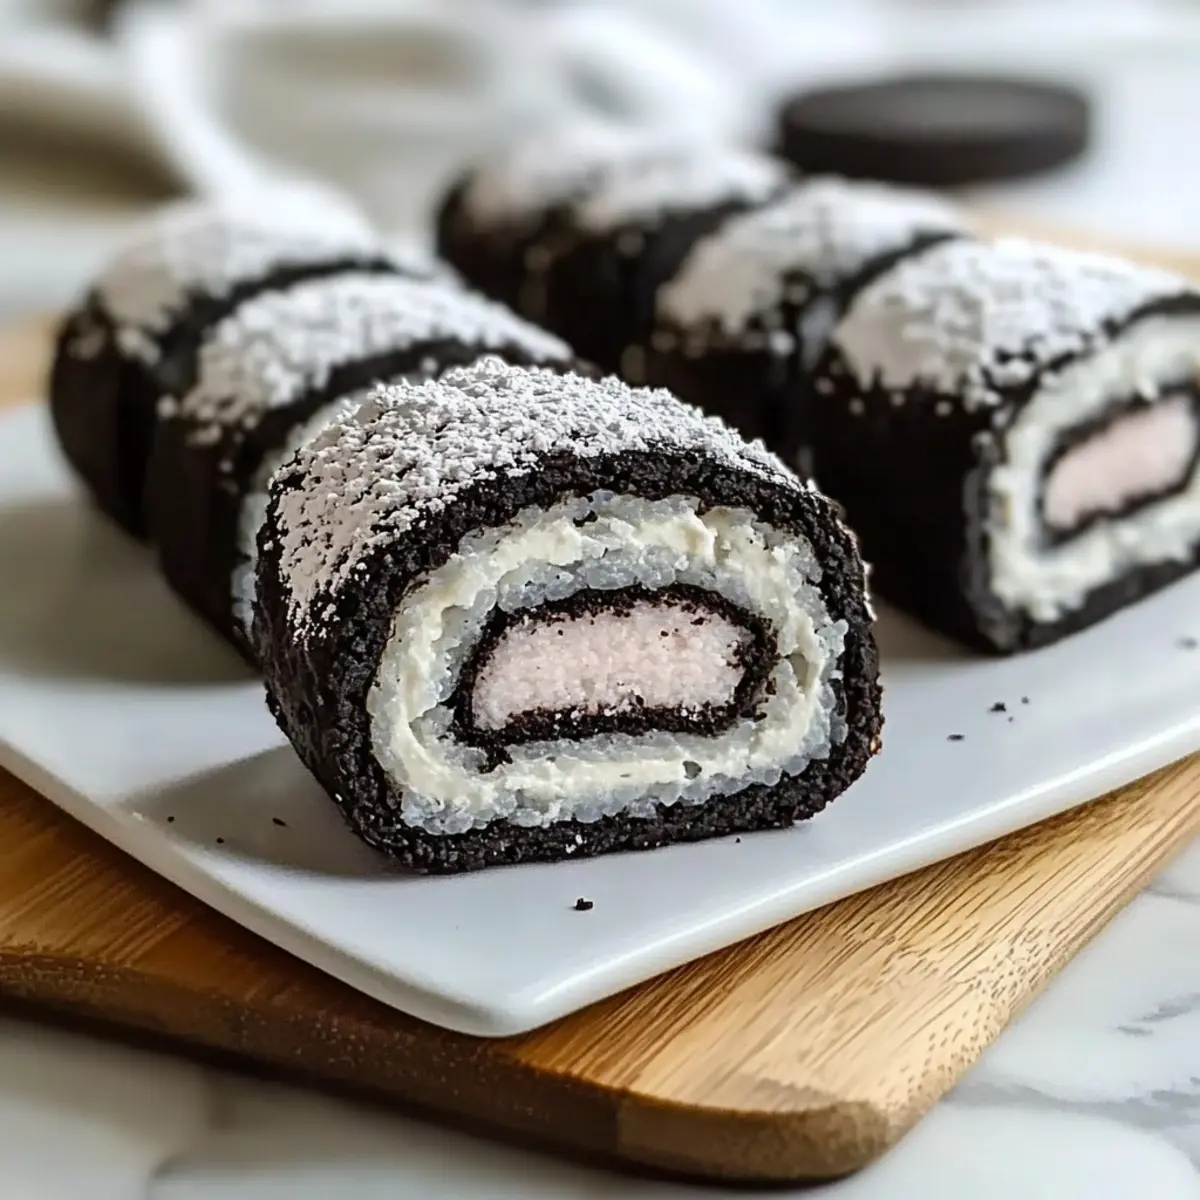
While scrolling through my feed one afternoon, I stumbled upon a colorful, eye-catching treat that instantly made my mouth water: Oreo Sushi. This playful and innovative dessert transforms beloved Oreo cookies into delightful sushi-like rolls, all with just two ingredients—Oreos and milk. Perfect for both kids and the young at heart, this no-bake recipe is not only super simple but incredibly versatile, allowing you to customize it with your favorite fruits or Oreo flavors. Imagine everyone gathering around the kitchen, rolling their sushi, and creating sweet memories together. Are you ready to dive into the fun and make your own Oreo Sushi masterpiece?
Why is Oreo Sushi a must-try?
Delightfully Simple: With just two ingredients, this no-bake dessert is incredibly easy to whip up.
Kid-Friendly Fun: Kids will love getting involved, making it a perfect family activity.
Customizable Magic: Experiment with various Oreo flavors or add fresh fruit for a unique twist, much like our Strawberry Shortcake Sushi.
Crowd-Pleasing Treat: Perfect for parties, gatherings, or a fun dessert experience, Oreo Sushi is sure to impress guests of all ages.
Texture Wonder: Enjoy the scrumptious crunch of Oreos combined with creamy filling, reminiscent of other delightful desserts.
Bring joy to your kitchen with this playful treat and make sweet memories, just like the ones created while preparing our Chocolate Halloween Oreo delight!
Oreo Sushi Ingredients
• Dive into the world of Oreo Sushi with these simple essentials!
For the Cookie Base
- Oreo Cookies – Use any Oreo variety for a base that’s bursting with flavor, whether it’s classic, golden, or a fun seasonal edition!
- Milk – This binds the cookie crumbs into a smooth, rollable dough; feel free to use whole, skim, or even almond milk!
For Optional Add-ins
- Sliced Fruit – Fresh additions like strawberries or bananas can elevate the flavor and freshness of your Oreo Sushi.
- Crushed Nuts – Sprinkling some on top gives a delightful crunch and additional texture to the rolls.
- Chocolate Sauce – Enhance the indulgence by drizzling melted chocolate over your sushi for a luxurious touch.
- Colorful Sprinkles – Add some whimsy and fun by finishing your rolls with a sprinkle of vibrant colors!
This Oreo Sushi recipe is a fantastic way to be creative while enjoying a classic treat!
Step‑by‑Step Instructions for Oreo Sushi
Step 1: Separate the Oreos
Begin by twisting each Oreo cookie apart to separate the creamy filling from the chocolate cookies. Place the cream filling in a medium bowl and the cookies in a zip-top bag. Seal the bag and use a rolling pin to crush the cookies into fine crumbs, ensuring a smooth texture for your Oreo Sushi base.
Step 2: Prepare the Cookie Base
Once your cookies are finely crushed, transfer the crumbs to a mixing bowl. Gradually pour in milk, about one tablespoon at a time, mixing until the mixture resembles a thick dough. Aim for a consistency that holds together without being runny. Set this bowl aside to allow the flavors to meld while you prepare for the next step.
Step 3: Assemble the Roll
Lay a piece of plastic wrap on a clean, flat surface such as a countertop or cutting board. Spoon the Oreo cookie mixture onto the plastic wrap, spreading it evenly into a rectangular shape roughly 1/2 inch thick. Gently layer the reserved cream filling over the cookie base, spreading it evenly to create a delicious layer of sweetness.
Step 4: Roll and Slice
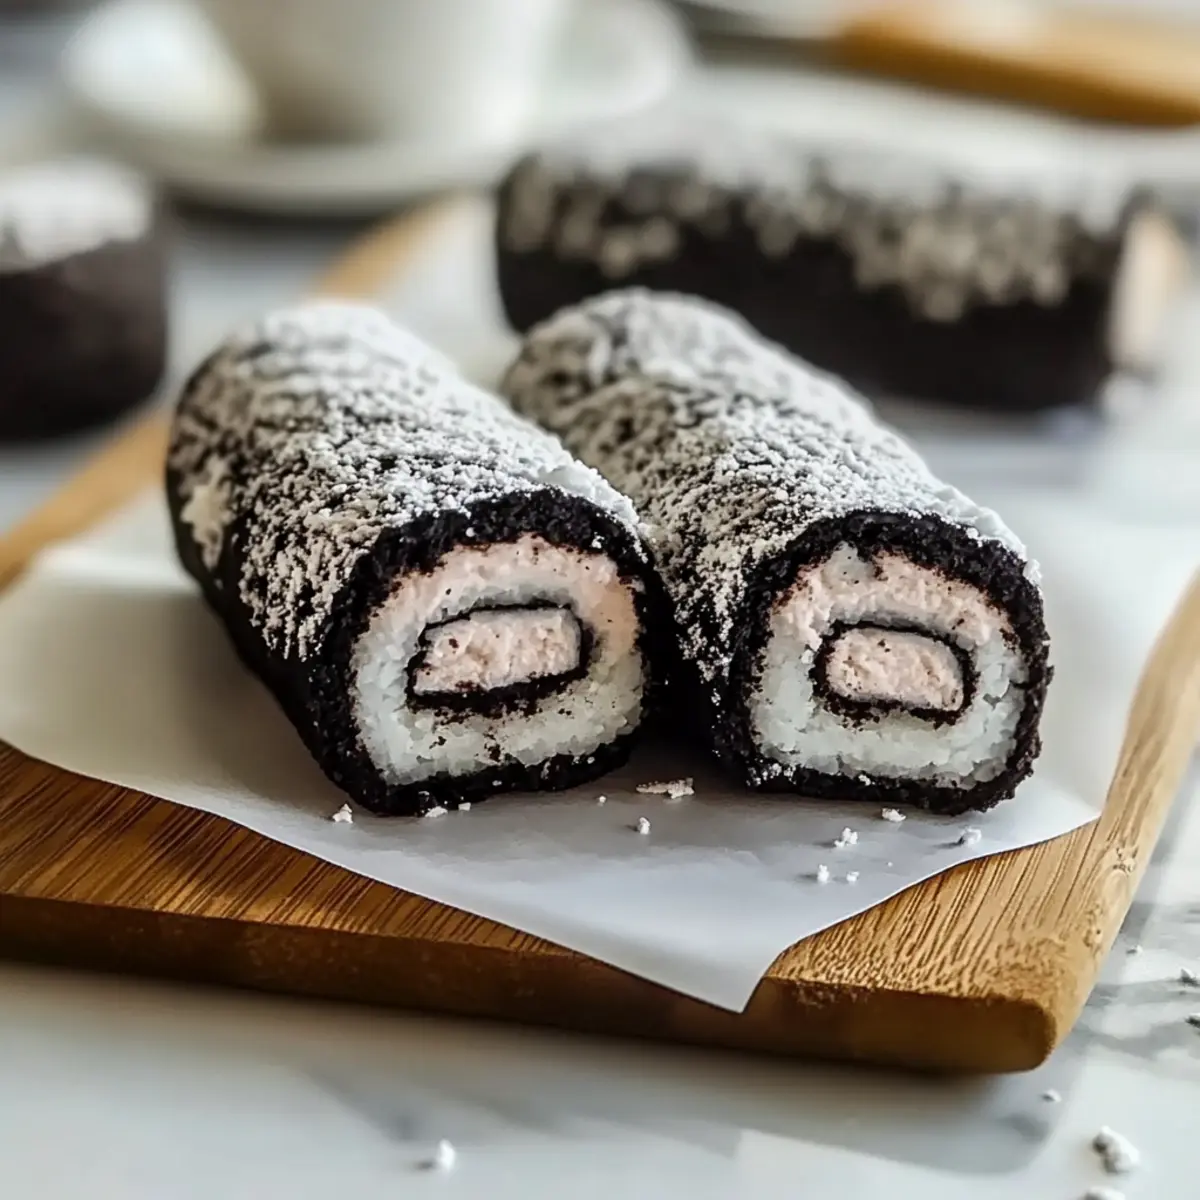
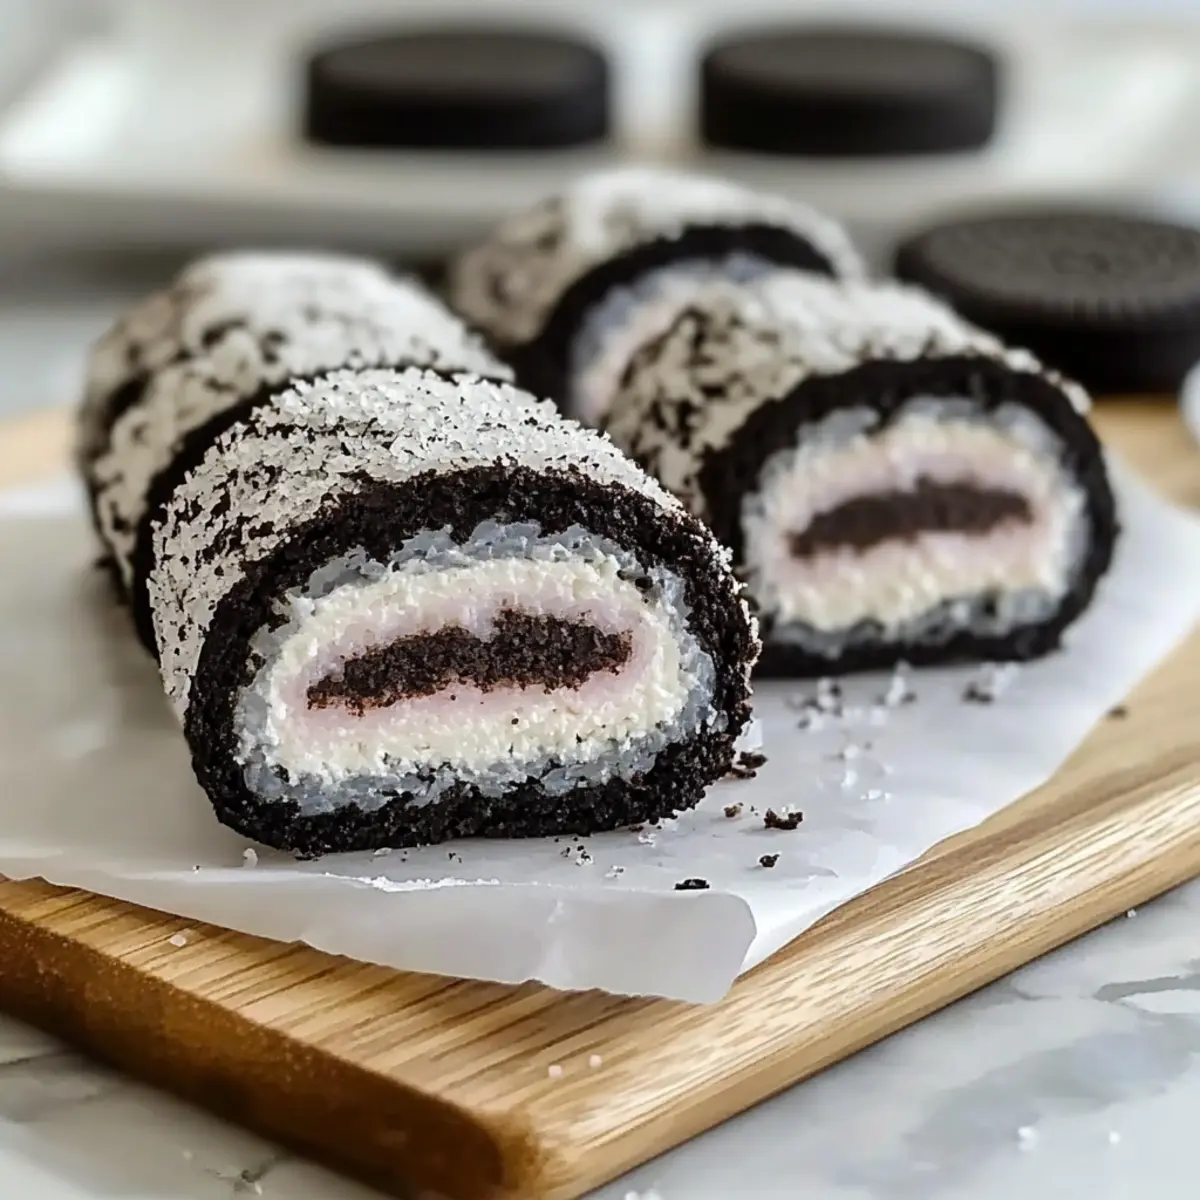
Using the edges of the plastic wrap, carefully lift one side of the mixture and begin rolling it tightly into a log shape. Ensure that the roll is even and compact to maintain the structure of your Oreo Sushi. Once rolled, use a sharp knife to slice the log into bite-sized pieces, making sure each cut is clean to avoid crushing the rolls.
Step 5: Serve
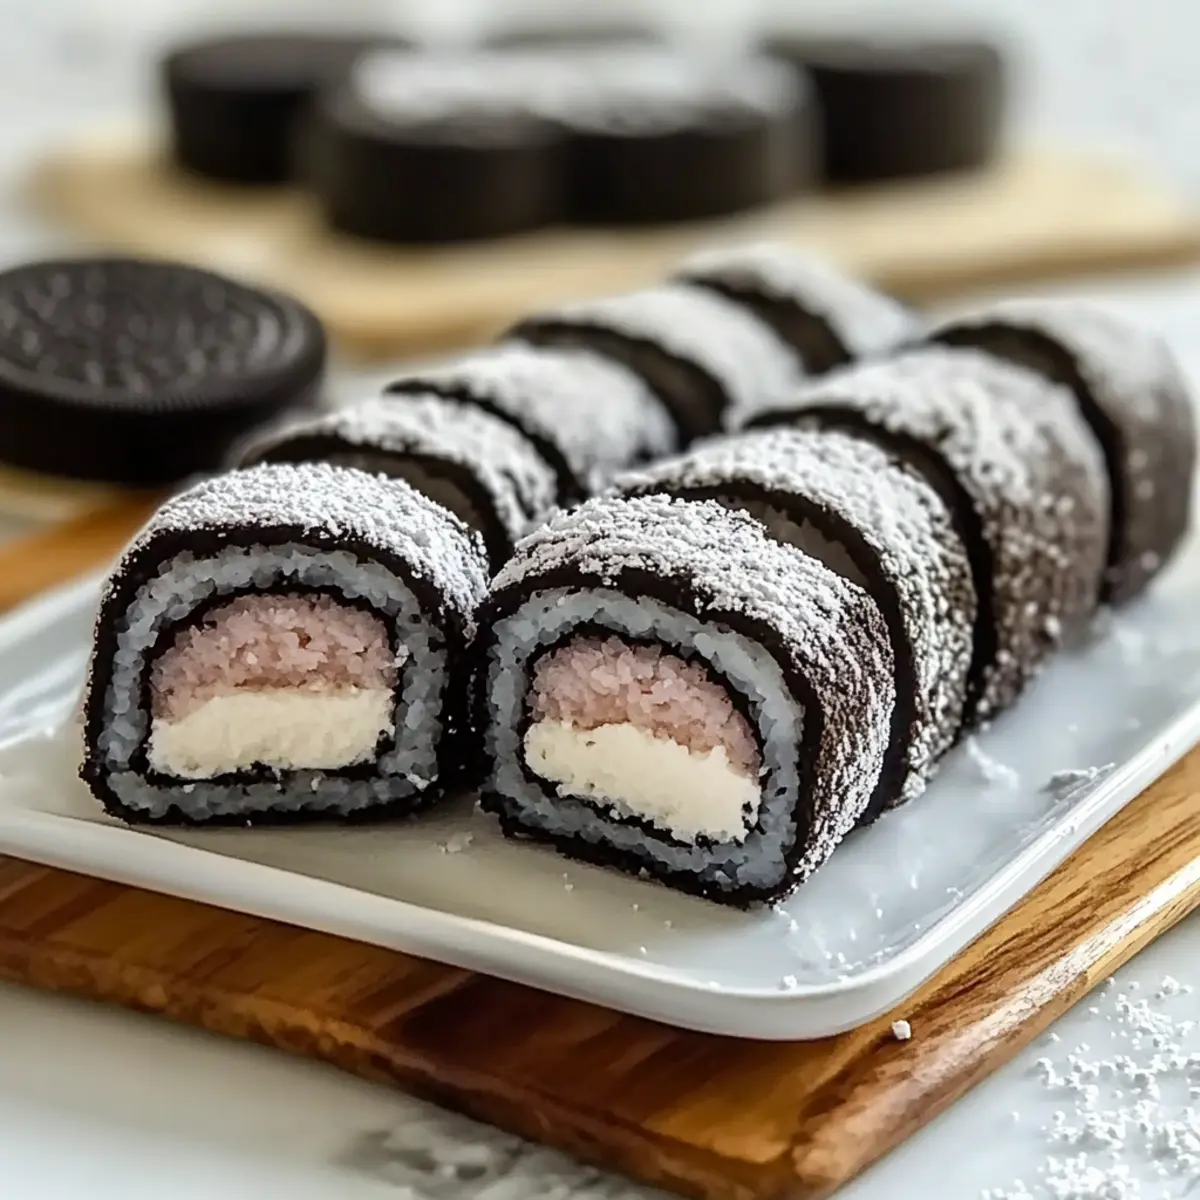
Arrange the sliced pieces of Oreo Sushi on a vibrant plate for an attractive presentation. Consider garnishing with optional toppings such as crushed nuts, colorful sprinkles, or a drizzle of chocolate sauce for added flair. This fun and playful dessert is ready to be enjoyed, perfect for sharing with family and friends!
Storage Tips for Oreo Sushi
-
Room Temperature: Best enjoyed fresh, but Oreo Sushi can sit at room temperature for up to 1 hour before serving.
-
Fridge: Store any leftovers in an airtight container in the fridge for up to 2 days. This keeps the sushi moist and preserves the crunchy texture.
-
Freezer: For longer storage, you can freeze Oreo Sushi pieces for up to 1 month. Wrap each piece tightly in plastic wrap and place them in a freezer-safe container to avoid freezer burn.
-
Reheating: If enjoying frozen, let the Oreo Sushi thaw in the refrigerator for a few hours before serving. This helps retain its delightful texture and flavor, ensuring your sweet treat remains a hit!
Make Ahead Options
Oreo Sushi is a fantastic treat for busy weeknights and meal prep! You can prepare the Oreo cookie base up to 24 hours in advance by mixing the crushed cookies with milk to form a dough. Simply cover the bowl tightly and refrigerate it overnight. Additionally, you can also separate the Oreo cream filling in advance and store it in a separate airtight container for freshness. When you’re ready to serve, spread the prepared cookie mixture onto plastic wrap, layer the cream filling, and roll it into a log. Slice and serve immediately for a sweet, delightful dessert, just as delicious as if made fresh!
Oreo Sushi Variations & Substitutions
Feel free to get creative with your Oreo Sushi by trying out these delightful twists!
-
Add Fruit: Layer in fresh fruit like strawberries or bananas for a refreshing burst of flavor that brightens each bite. The sweetness of the fruit pairs magnificently with the rich creaminess of the Oreo filling.
-
Different Oreos: Switch things up by using various Oreo flavors like mint or peanut butter, creating unique taste experiences in every roll. Each variety brings its own charm and surprise!
-
Incorporate Toppings: Elevate your rolls with a sprinkle of crushed nuts or a drizzle of chocolate sauce for added flair and texture. Colorful sprinkles can also add a playful twist, making them perfect for festive occasions.
-
Frozen Variation: For a cool summer treat, freeze the rolls for a refreshing frozen dessert. They become a delightful, icy snack – a sweet escape from the heat!
-
Nutritional Swap: For a healthier version, consider using reduced-fat Oreos or Greek yogurt in place of the cream filling. Your Oreo Sushi can still be delicious while catering to healthier choices.
-
Dairy-Free Option: Substitute regular milk with almond or coconut milk to make this treat dairy-free. This swap not only aligns with dietary restrictions but also adds a unique flavor twist!
-
Mini Sushi Bites: For a bite-sized treat, roll the mixture into smaller, bite-sized balls instead of logs. These mini sushi bites make great finger foods for parties and gatherings.
Let your imagination soar as you enjoy this fun recipe that’s as versatile as it is delicious – it’s the perfect opportunity to try variations just like our playful Strawberry Shortcake Sushi or the festive Chocolate Halloween Oreo creations. Happy rolling!
Expert Tips for Oreo Sushi
-
Crush Carefully: Use a rolling pin to crush the Oreos thoroughly; this ensures a smooth, cohesive cookie base for your sushi.
-
Milk Matters: Add milk slowly to avoid a runny mixture—aim for a thick, moldable paste that holds its shape well.
-
Sharp Knife Use: When slicing the roll, use a very sharp knife to achieve clean cuts and maintain the sushi’s structure without crushing it.
-
Experiment Freely: Don’t hesitate to mix different Oreo flavors or add fruit layers; this versatility makes Oreo Sushi customization truly delicious!
-
Chill Before Slicing: For a firmer texture, refrigerate the rolled sushi for about 30 minutes before slicing—this will help maintain the shape and enhance flavors.
What to Serve with Oreo Sushi
Treat your taste buds to an adventure by pairing your delightful dessert with complementary flavors and textures!
-
Creamy Whipped Cream: A dollop of whipped cream adds a light, airy element that beautifully balances the sweetness of the sushi.
-
Fresh Berries: Juicy strawberries or blueberries provide a refreshing contrast, enhancing the overall dessert experience with fruity goodness.
Indulging in a delightful Oreo Sushi roll followed by the zing of fresh berries creates a harmonious medley of flavors that everyone’s sure to adore.
-
Chocolate Sauce: A rich drizzle of chocolate sauce elevates indulgence, making your Oreo Sushi even more irresistible and decadent.
-
Crunchy Granola: A sprinkle of granola adds a satisfying crunch that complements the soft texture, bringing an extra layer of enjoyment with each bite.
-
Coconut Flakes: Sweetened coconut flakes provide a tropical twist, giving your dessert a fresh and fun flair that invites joyous memories.
-
Vanilla Ice Cream: Serve alongside a scoop of creamy vanilla ice cream to create a delightful contrast in temperatures and textures, making your dessert unforgettable.
-
Milkshake: Pairing with a chocolate or vanilla milkshake creates an exciting drink option that echoes the flavors of your Oreo Sushi, resulting in a sweet ending to your meal.
-
Mint Tea: A soothing cup of mint tea rounds off the experience, refreshing your palate after the sweet delight and offering a delightful aromatic finish.
Oreo Sushi Recipe FAQs
What type of Oreos should I use for Oreo Sushi?
You can use any variety of Oreos for this fun recipe! Classic Oreos work great, but feel free to experiment with other flavors like golden, mint, or even seasonal editions. Choosing your favorite flavor can add your personal twist to the dessert!
How should I store leftover Oreo Sushi?
Oreo Sushi is best enjoyed fresh, but if you have leftovers, store them in an airtight container in the refrigerator for up to 2 days. This helps maintain the moisture and keeps the texture crunchy. Just take care not to let it sit at room temperature for too long so that it doesn’t lose its delightful consistency!
Can I freeze Oreo Sushi?
Absolutely! To freeze your Oreo Sushi, wrap each slice tightly in plastic wrap and place them in a freezer-safe container. They can be kept for up to 1 month. When you’re ready to enjoy them, simply let them thaw in the refrigerator for a few hours. This retains their heavenly flavor and ensures you have a cool treat ready for a warm day!
What to do if my Oreo mixture is too dry?
If you find your Oreo mixture is too dry and crumbly, it may need a bit more milk. Add milk one teaspoon at a time, mixing thoroughly until it reaches a thick, moldable paste consistency. Ensuring proper moisture levels will make your sushi easier to roll and more enjoyable to eat!
Are there any dietary concerns with Oreo Sushi?
Yes, if you’re serving Oreo Sushi to guests with dietary restrictions, keep in mind that Oreos contain wheat and may not be suitable for those with gluten intolerance. Additionally, always check for any nut allergies if you’re using toppings like crushed nuts. This versatile dessert can often accommodate various dietary needs if you choose the right alternatives!
How can I customize my Oreo Sushi?
The sky’s the limit when it comes to customizing your Oreo Sushi! You might consider adding fresh fruit between the layers, using different Oreo flavors, or incorporating toppings like chocolate sauce or colorful sprinkles. Feel free to mix and match until you find your ultimate combination!
Oreo Sushi: A Scrumptious No-Bake Dessert Adventure
Ingredients
Equipment
Method
- Begin by twisting each Oreo cookie apart to separate the creamy filling from the chocolate cookies.
- Place the cream filling in a medium bowl and the cookies in a zip-top bag.
- Seal the bag and use a rolling pin to crush the cookies into fine crumbs.
- Transfer the crumbs to a mixing bowl and gradually pour in milk, mixing until it resembles thick dough.
- Lay a piece of plastic wrap on a clean surface and spoon the Oreo mixture onto it, spreading it evenly.
- Layer the reserved cream filling over the cookie base, then roll it tightly into a log shape using the wrap.
- Slice the log into bite-sized pieces using a sharp knife.
- Arrange the sliced Oreo Sushi on a plate and garnish with optional toppings.
Leave a Reply