
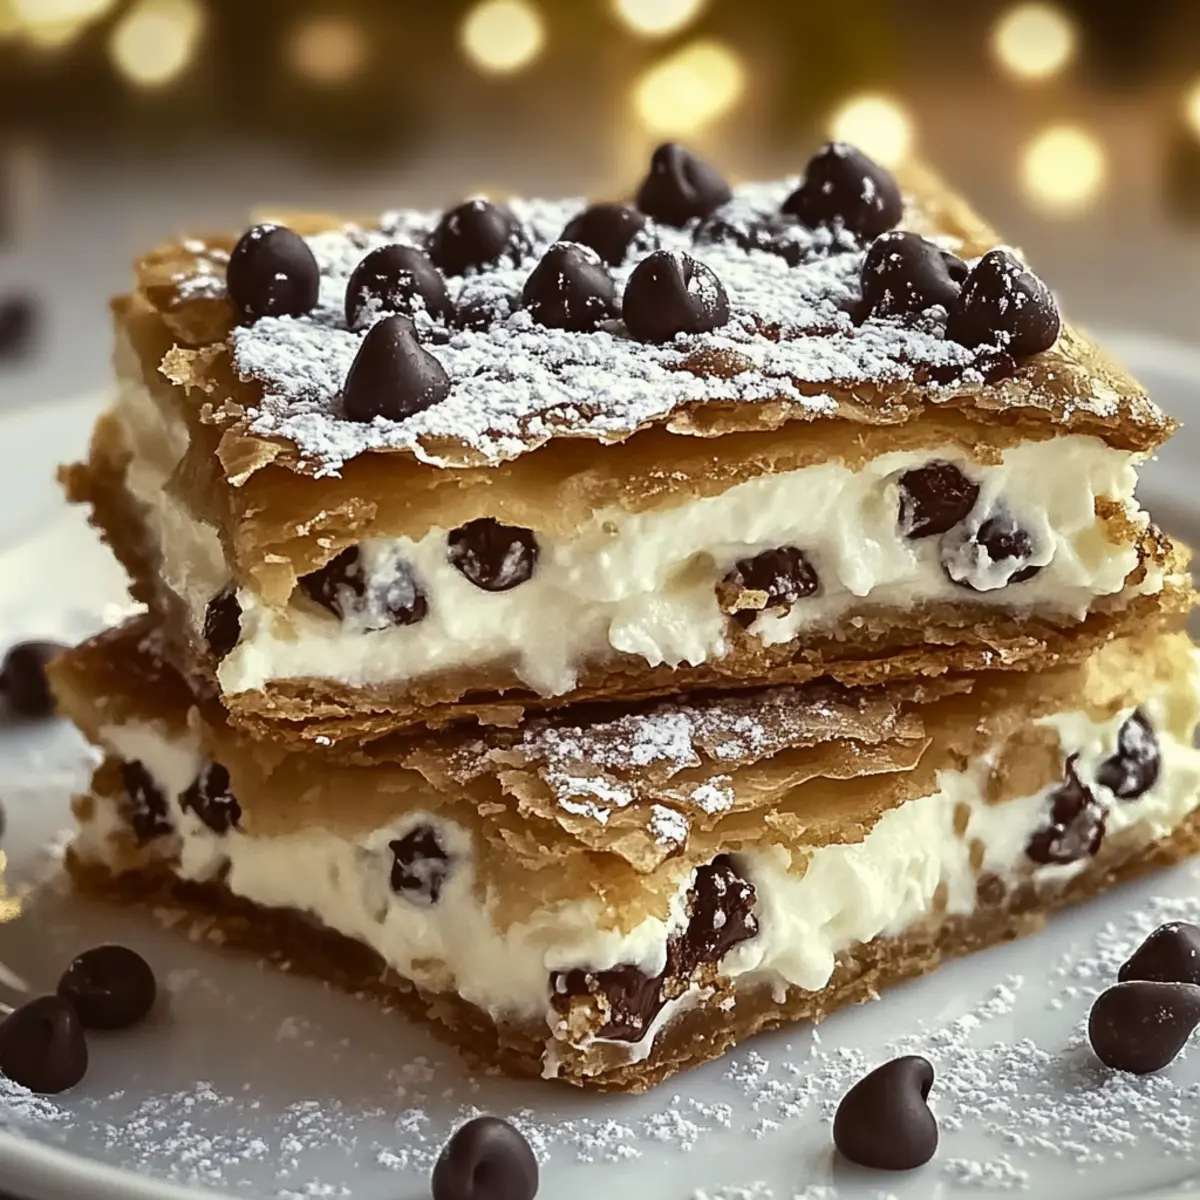
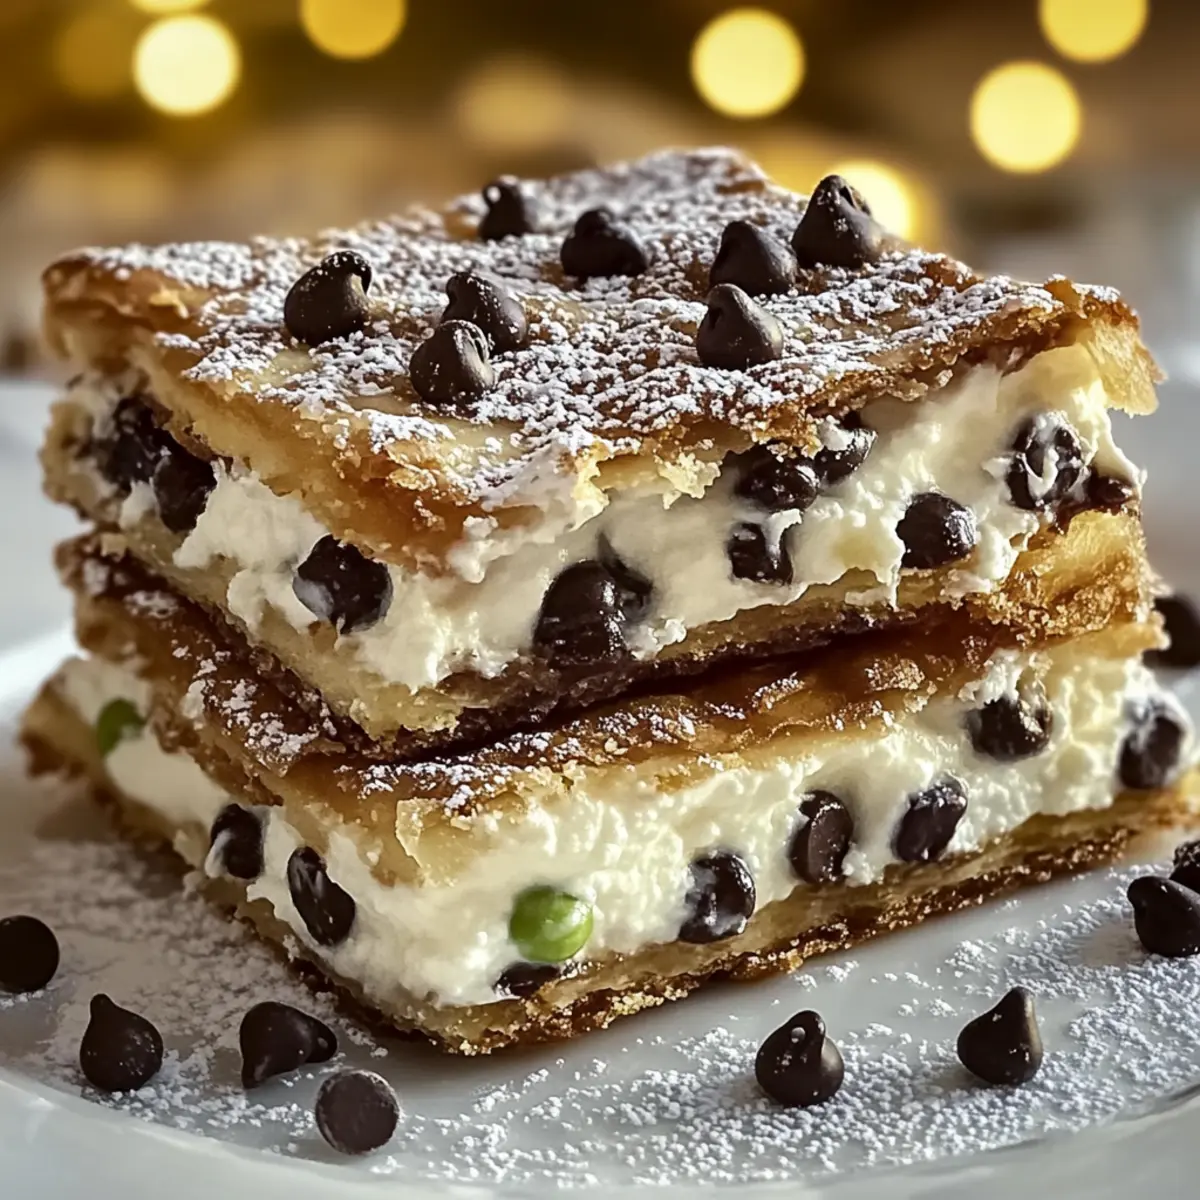
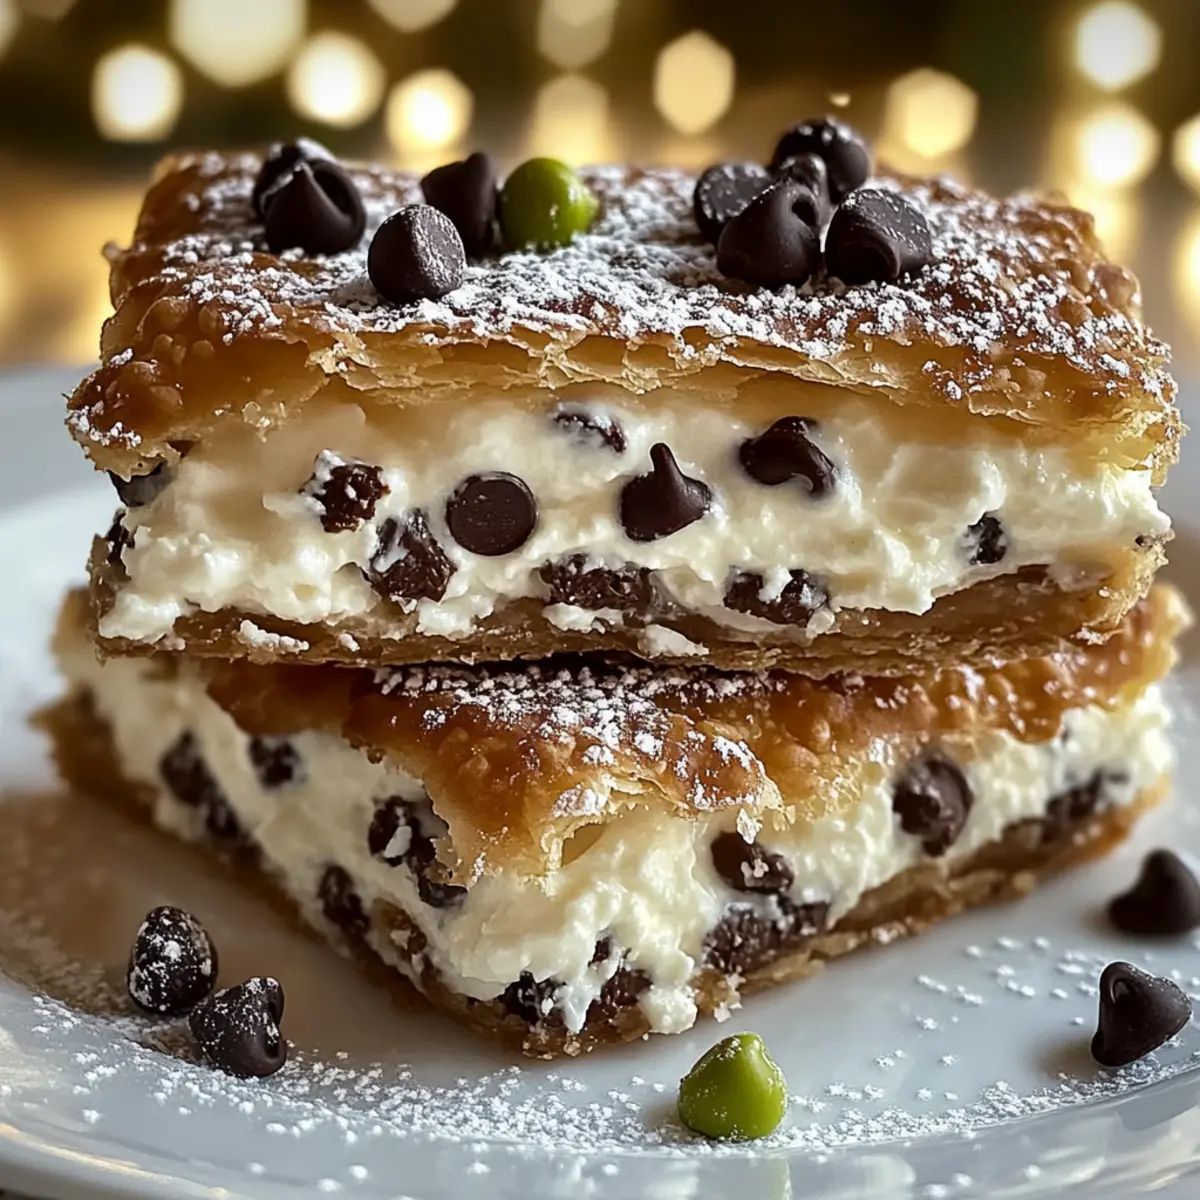
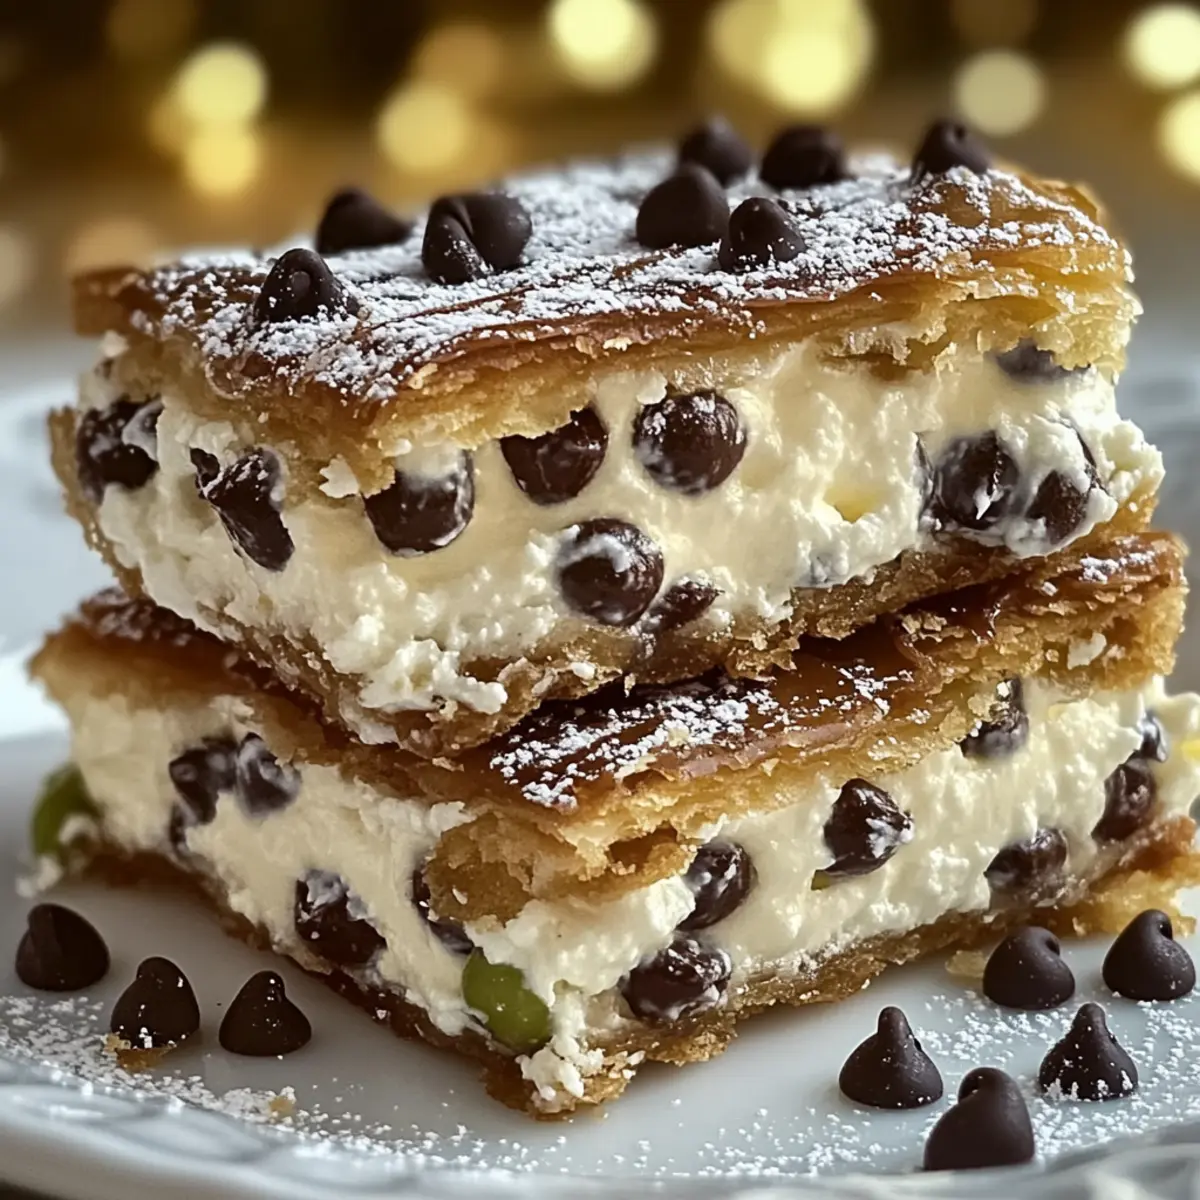
One bite of these Classic Cannoli Squares and you’ll be transported straight to an Italian café, where the air is filled with the tantalizing aroma of freshly baked goods. When I’m craving a sweet pick-me-up that’s both easy to prepare and a hit at gatherings, these squares are my go-to. With a creamy ricotta filling nestled in a flaky crust, they are the perfect make-ahead dessert for busy weeks or last-minute get-togethers. Plus, you can easily make them gluten-free or dairy-free, opening up delightful variations to fit everyone’s tastebuds. Ready to indulge in a rich, comforting dessert that brings people together? Let’s dive into the recipe!
Why are Classic Cannoli Squares irresistible?
Decadent, Creamy Filling: The combination of rich ricotta and sweet chocolate chips creates an indulgent filling that melts in your mouth.
Easy to Make: This recipe is straightforward, making it perfect for both novice cooks and seasoned chefs who want to impress with minimal effort.
Customizable for Everyone: With options for gluten-free and dairy-free variations, these squares can be tailored to meet various dietary preferences.
Make-Ahead Convenience: Prepare them in advance, allowing for stress-free serving that’s ideal for gatherings or family dinners.
A Showstopper Dessert: These Cannoli Squares are sure to wow your guests, making every occasion feel special. Pair with your favorite gelato for a truly Italian experience!
Classic Cannoli Squares Ingredients
For the Filling
- Ricotta Cheese – Provides a creamy filling; for richness, use whole milk ricotta.
- Powdered Sugar – Adds sweetness; you can substitute with coconut sugar for a healthier option.
- Vanilla Extract – Enhances flavor; opt for pure vanilla for the best results.
- Cinnamon – Adds warm spice notes; feel free to omit if you prefer a traditional taste.
- Mini Chocolate Chips – Contributes texture and sweetness; dark chocolate chips will enhance the flavor.
For the Crust
- Pre-made Pie Crusts – Forms the base and top crust; homemade options are also delightful.
- Egg – Used for an egg wash to create a glossy finish on top.
- Sugar – Sprinkled on top for added sweetness and a crunchy texture.
Optional Toppings
- Chopped Pistachios – Provides delightful crunch and color to your squares.
- Maraschino Cherries – Adds a pop of sweetness for decoration.
- Extra Chocolate Chips – Perfect for chocolate lovers looking for an indulgent twist.
These Classic Cannoli Squares are adaptable to various preferences while remaining easy to whip up!
Step‑by‑Step Instructions for Classic Cannoli Squares
Step 1: Prepare the Filling
In a large mixing bowl, combine 2 cups of ricotta cheese, 1 cup of powdered sugar, 1 teaspoon of vanilla extract, and ½ teaspoon of ground cinnamon. Blend these ingredients together using a hand mixer on medium speed for about 2-3 minutes until the mixture is smooth and creamy. Gently fold in ½ cup of mini chocolate chips, ensuring they are evenly distributed, then set the filling aside.
Step 2: Preheat Oven
Preheat your oven to 375°F (190°C). This temperature will ensure a perfectly baked crust for your Classic Cannoli Squares, giving it the golden-brown finish that is both inviting and delicious. While the oven heats up, gather your 9×9-inch baking dish and pre-made pie crusts, ensuring they are at room temperature for easier handling.
Step 3: Roll Out Pie Crust
Place one pie crust in your prepared baking dish, carefully pressing it into the bottom and along the sides. Use your fingers to smooth out any air bubbles, ensuring it fits snugly. The crust should cover the entire bottom of the dish, giving you a solid base for your rich filling. This step sets the stage for the delightful flavors that will follow.
Step 4: Add Filling
Spoon the ricotta mixture evenly over the crust, spreading it out gently with a spatula while leaving a small border around the edges. This will prevent any filling from overflowing during baking, resulting in neat, appetizing squares once cooled. The creamy filling should sit proudly atop the crust as it further bakes into a delectable dessert.
Step 5: Prepare Top Crust
Carefully place the second pie crust over the ricotta filling, aligning it with the edges of the baking dish. Seal the edges by crimping them with a fork or your fingers to create a beautiful pattern, then use a sharp knife to cut a few slits in the top crust for steam to escape. Brush the surface with a beaten egg and sprinkle sugar generously to create a golden, crunchy top.
Step 6: Bake
Transfer your Cannoli Squares to the preheated oven and bake for 30-35 minutes, or until the top is golden brown and the filling is bubbling slightly around the edges. Keep an eye on it during the last few minutes to prevent over-browning. The irresistible aroma filling your kitchen will let you know it’s nearly ready.
Step 7: Cool and Serve
Once baked, remove the dish from the oven and allow the Classic Cannoli Squares to cool for at least 30 minutes. This cooling period helps firm up the filling, making it easier to cut into neat squares. Serve them warm or chilled, garnished with chopped pistachios or maraschino cherries for an extra touch of flair.
How to Store and Freeze Classic Cannoli Squares
- Room Temperature: Keep Classic Cannoli Squares at room temperature for up to 2 hours before serving, as this enhances their flavor and texture.
- Fridge: Store leftovers in an airtight container in the refrigerator for up to 3 days, ensuring they stay fresh and creamy.
- Freezer: Wrap individual squares tightly in plastic wrap, then foil, to freeze for up to 2 months. Thaw in the fridge overnight before enjoying.
- Reheating: If desired, warm in the microwave for 15-20 seconds or enjoy them chilled.
Expert Tips for Classic Cannoli Squares
- Quality Ingredients Matter: Use high-quality ricotta and pure vanilla extract to enhance the creamy filling’s flavor. It truly makes a difference!
- Drain Ricotta: If your ricotta is too wet, drain it in a sieve for 30 minutes to achieve a thicker filling that holds better.
- Watch the Browning: Keep a close eye on your Cannoli Squares while baking, especially in the final 5 minutes, to prevent over-browning.
- Cool Before Cutting: Allow the squares to cool completely before slicing; this will help the shapes hold together beautifully for serving.
- Experiment with Variations: Don’t hesitate to try gluten-free or dairy-free options; the core of the Classic Cannoli Squares remains delicious regardless!
Classic Cannoli Squares Variations & Substitutions
Feel free to make these Classic Cannoli Squares your own with these engaging twists and substitutions that awaken the senses!
- Dairy-Free: Use silken tofu blended until smooth as a ricotta alternative for a vegan-friendly version.
- Gluten-Free: Substitute traditional pie crusts with gluten-free options to accommodate dietary needs without sacrificing flavor.
- Extra Zesty: Add lemon zest or even a splash of lemon juice for a delightful citrusy brightness that pairs beautifully with the creamy filling.
- Nutty Crunch: Stir in chopped nuts such as walnuts, pecans, or pistachios for added texture and a comforting crunch; it enhances the overall experience.
- Spicy Sweet: Sprinkle in a hint of cayenne pepper or chili powder for an unexpected kick! This subtle heat contrasts wonderfully with the sweetness.
- Layered Delight: Incorporate fresh berries between the filling and top crust for a refreshing burst of flavor; strawberries or raspberries shine beautifully here.
- Chocolate Lovers: Amp up the decadence by using chocolate graham cracker crusts instead of regular pie crusts or by adding extra chocolate chips inside the filling.
- Caramel Drizzle: Finish your squares with a drizzle of salted caramel for an indulgent touch that takes the dessert to a whole new level of deliciousness.
These variations invite you to explore endless flavor possibilities, ensuring each baking experience is uniquely yours. For an extra delightful journey, consider pairing them with a side of fresh berries or a scoop of gelato; they complement this decadent treat so beautifully!
What to Serve with Classic Cannoli Squares
Indulging in the creamy richness of these delightful squares opens a world of pairing possibilities that elevate your dessert experience.
-
Rich Gelato: The smooth, creamy texture of gelato enhances the luscious filling, creating a delightful contrast that is simply irresistible.
-
Fresh Berries: Adding tartness, berries like strawberries or raspberries brighten the dish and offer a refreshing balance to the sweet squares. A sprinkle of powdered sugar can bring sparkle and sweetness.
-
Espresso or Coffee: A robust cup of espresso perfectly complements the creamy filling while enhancing the Italian café vibe that these squares inspire.
-
Whipped Cream: A dollop of lightly sweetened whipped cream adds a cloud-like creaminess that melts in your mouth and balances the dense filling.
-
Chocolate Sauce Drizzle: Pouring a warm chocolate sauce over the squares adds an extra layer of indulgence while making them a decadent treat.
-
Chopped Nuts: Sprinkled nuts, such as pistachios or walnuts, give a delightful crunch and enhance the overall texture, adding a gourmet touch to each bite.
-
Cocoa Powder Dusting: A light dusting of cocoa powder provides a sophisticated finish that complements the flavors within while offering an elegant presentation.
-
Mint Leaves: A sprig of fresh mint on top not only adds a pop of color but also provides a refreshing note that cuts through the richness of the dessert.
Make Ahead Options
These Classic Cannoli Squares are a fantastic option for meal prep, making your dessert planning a breeze! You can prepare the ricotta filling up to 24 hours in advance; simply mix the ingredients and store them in an airtight container in the refrigerator to maintain freshness. Additionally, you can assemble the complete dish (including the top crust) and refrigerate it for up to 3 days before baking. To prevent the crust from getting soggy, ensure the filling is properly drained and refrigerated tightly. When you’re ready to serve, just pop it in the preheated oven and bake as directed, enjoying the same deliciousness without the last-minute rush!
Classic Cannoli Squares Recipe FAQs
What type of ricotta cheese should I use for Classic Cannoli Squares?
For the best flavor and texture in your Classic Cannoli Squares, opt for whole milk ricotta cheese. It offers a creamier filling that really enhances the dessert. If you encounter ricotta that seems overly watery, draining it in a sieve for about 30 minutes will help achieve a thicker consistency, allowing your squares to hold their shape better when sliced.
How should I store leftover Classic Cannoli Squares?
You can keep leftover Classic Cannoli Squares in an airtight container in the refrigerator for up to 3 days. This storage method retains their creamy filling and flaky crust. If you plan to keep them longer, I recommend wrapping individual squares tightly in plastic wrap, then aluminum foil, to freeze for up to 2 months. Thaw them in the fridge overnight before devouring!
Can Classic Cannoli Squares be made gluten-free?
Absolutely! To enjoy gluten-free Classic Cannoli Squares, substitute the pre-made pie crusts with gluten-free alternatives. You can find many gluten-free pie crusts at your local grocery store, or if you’re feeling adventurous, make your own from gluten-free flour. Just ensure that your crust is well-prepared so it holds up nicely under the rich filling.
What’s the best way to prevent my Classic Cannoli Squares from over-browning?
To avoid over-browning, keep a close watch on your Cannoli Squares during the last few minutes of baking. If you notice the top is getting too dark, you can cover it loosely with a piece of aluminum foil. This allows the filling to cook through without burning the crust, ensuring that the final dessert is beautifully golden brown and perfect.
Are there any dietary considerations for Classic Cannoli Squares?
Yes! This recipe can easily adapt to various dietary needs. For a dairy-free option, replace the ricotta with silken tofu blended until smooth. You can also use coconut sugar instead of powdered sugar for a healthier alternative that still provides sweetness. Just remember to communicate with your guests about any potential allergens if you’re serving them at a gathering.
How can I enhance the flavor of my Classic Cannoli Squares?
For an extra touch, consider adding lemon zest to the ricotta filling for a refreshing kick or mixing in chopped nuts like walnuts or pistachios for added texture. A pinch of cayenne or chili powder will introduce a surprising and delightful heat! The more, the merrier, so don’t hesitate to experiment and find your favorite combination!
Delicious Classic Cannoli Squares for Sweet Indulgence
Ingredients
Equipment
Method
- In a large mixing bowl, combine the ricotta cheese, powdered sugar, vanilla extract, and ground cinnamon. Blend with a hand mixer on medium speed for 2-3 minutes until smooth.
- Preheat your oven to 375°F (190°C). Gather your baking dish and pre-made pie crusts.
- Place one pie crust in the baking dish, pressing it into the bottom and sides without air bubbles.
- Spoon the ricotta mixture evenly over the crust, leaving a small border around the edges.
- Carefully place the second pie crust over the ricotta filling, sealing the edges and cutting slits for steam to escape. Brush with beaten egg and sprinkle sugar on top.
- Transfer to the oven and bake for 30-35 minutes until golden brown and filling is bubbling.
- Allow the Cannoli Squares to cool for at least 30 minutes before serving, garnished with optional toppings.
Leave a Reply