
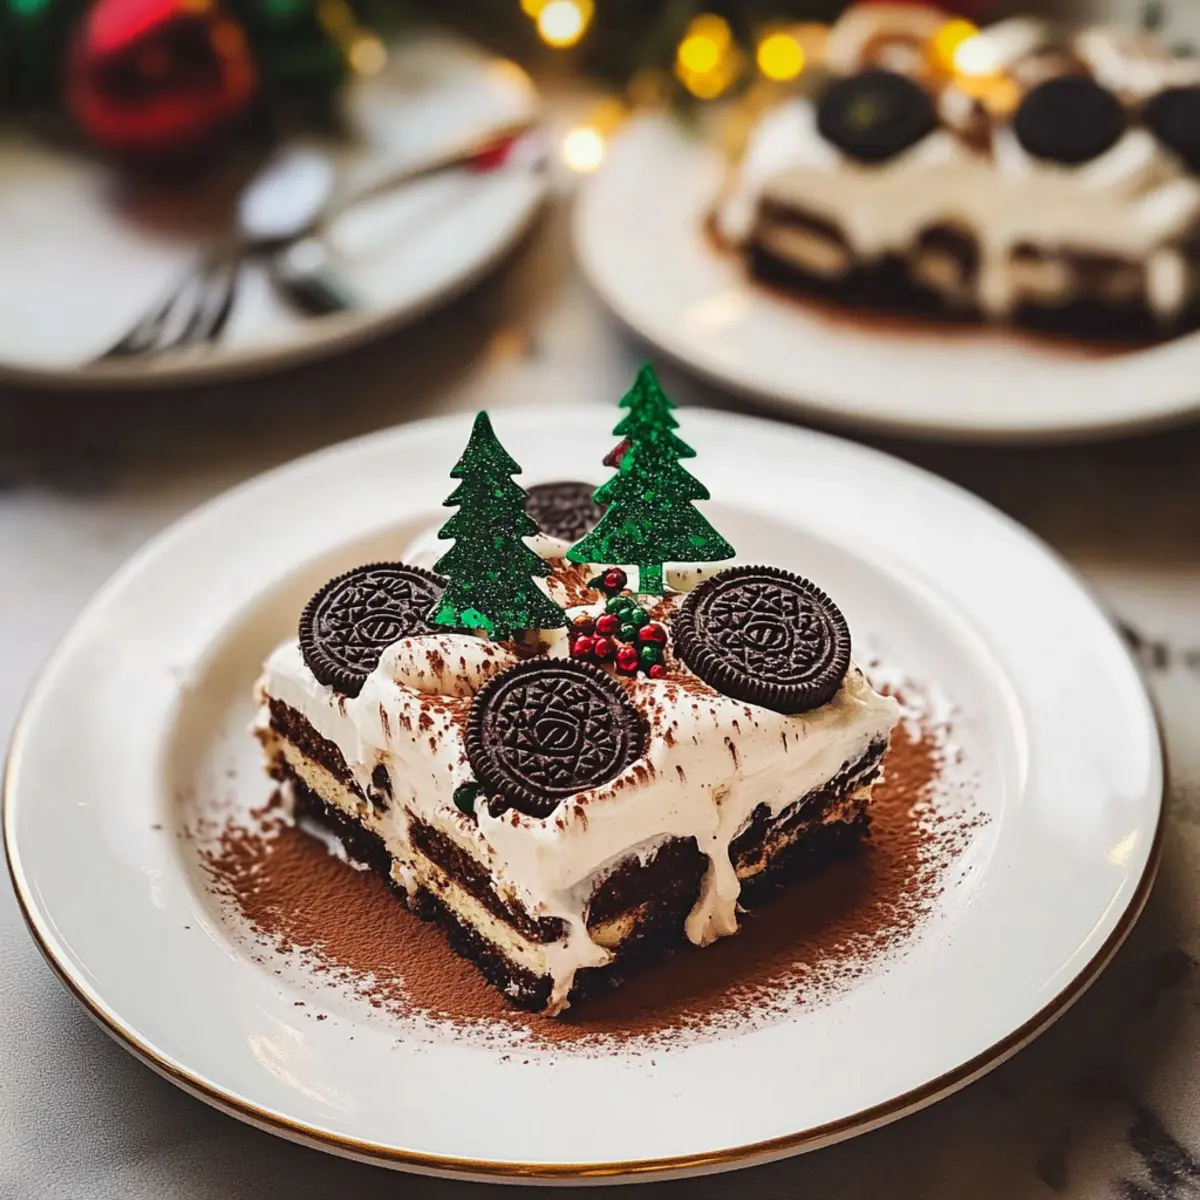
As I prepared for the festive season, a delightful idea danced through my mind: a No-Bake Oreo Tiramisu with Christmas Tree Decor. This twist on the classic dessert takes layers of espresso-soaked Oreo cookies and luscious brandied mascarpone cream, transforming them into a holiday favorite that’s sure to impress. Not only is this dessert a creamy indulgence that marries rich coffee and chocolate flavors, but it also offers the convenience of no baking and the ability to make it ahead of time. With its beautiful presentation and delicious taste, it’s the perfect centerpiece for your holiday gatherings. Who’s ready to indulge without the fuss of your typical oven-baked treats?
Why Choose No Bake Oreo Tiramisu?
Indulgent Flavor Explosion: This dessert offers a rich marriage of coffee and chocolate, elevating traditional tiramisu to new heights with Oreo cookies.
No Baking Required: Enjoy the convenience of a no-bake recipe, making it perfect for busy holiday schedules or last-minute gatherings.
Make-Ahead Bliss: Easily prepare this delightful treat in advance, allowing the flavors to meld beautifully while you focus on other holiday tasks.
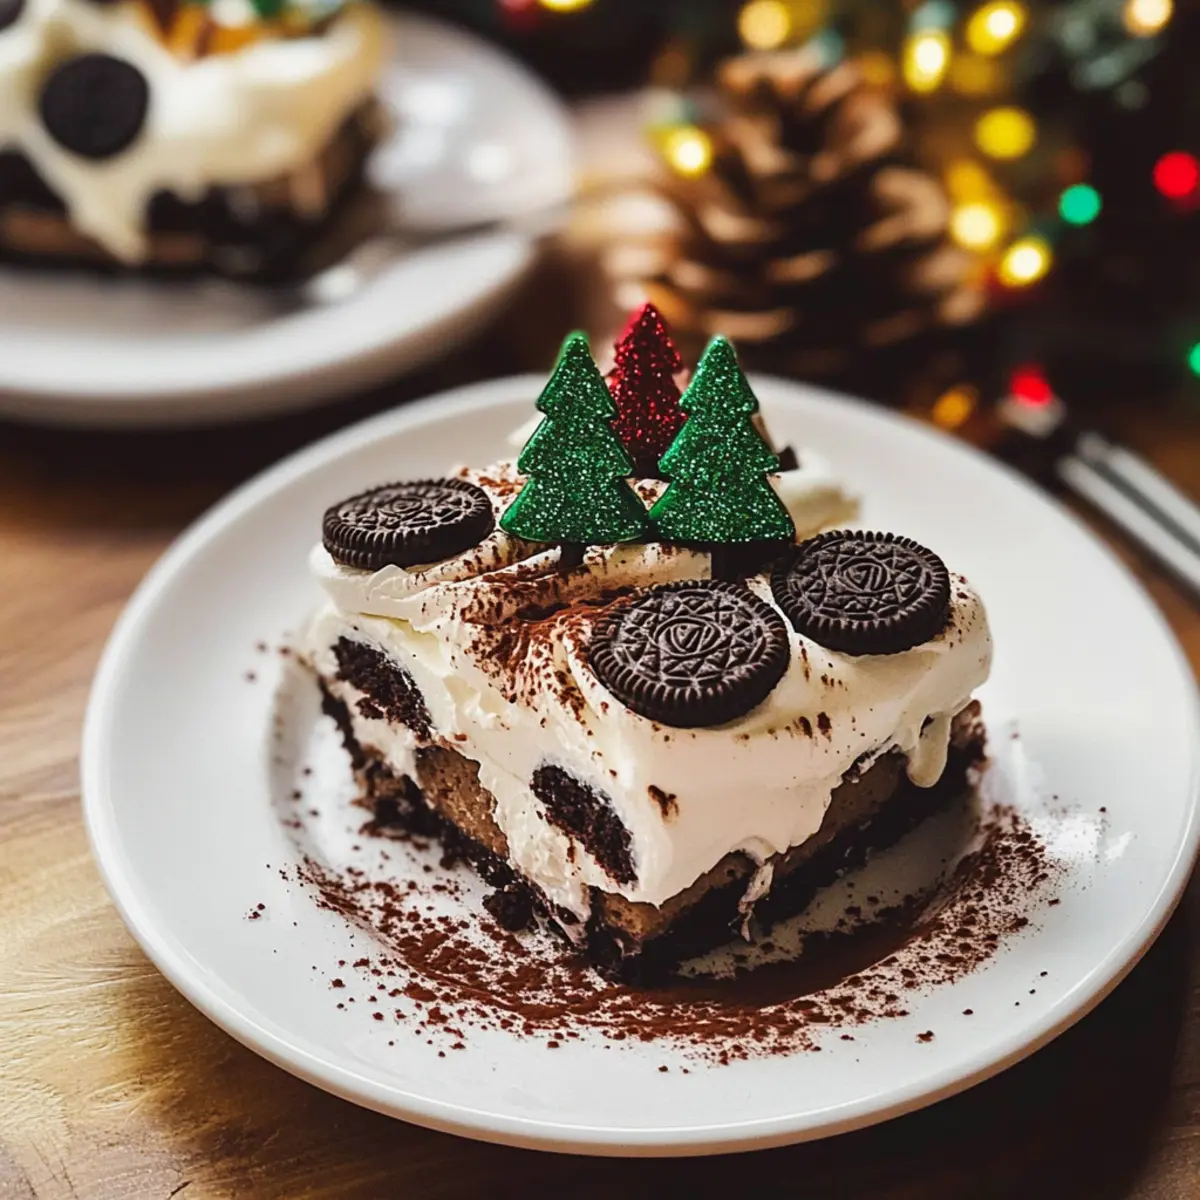
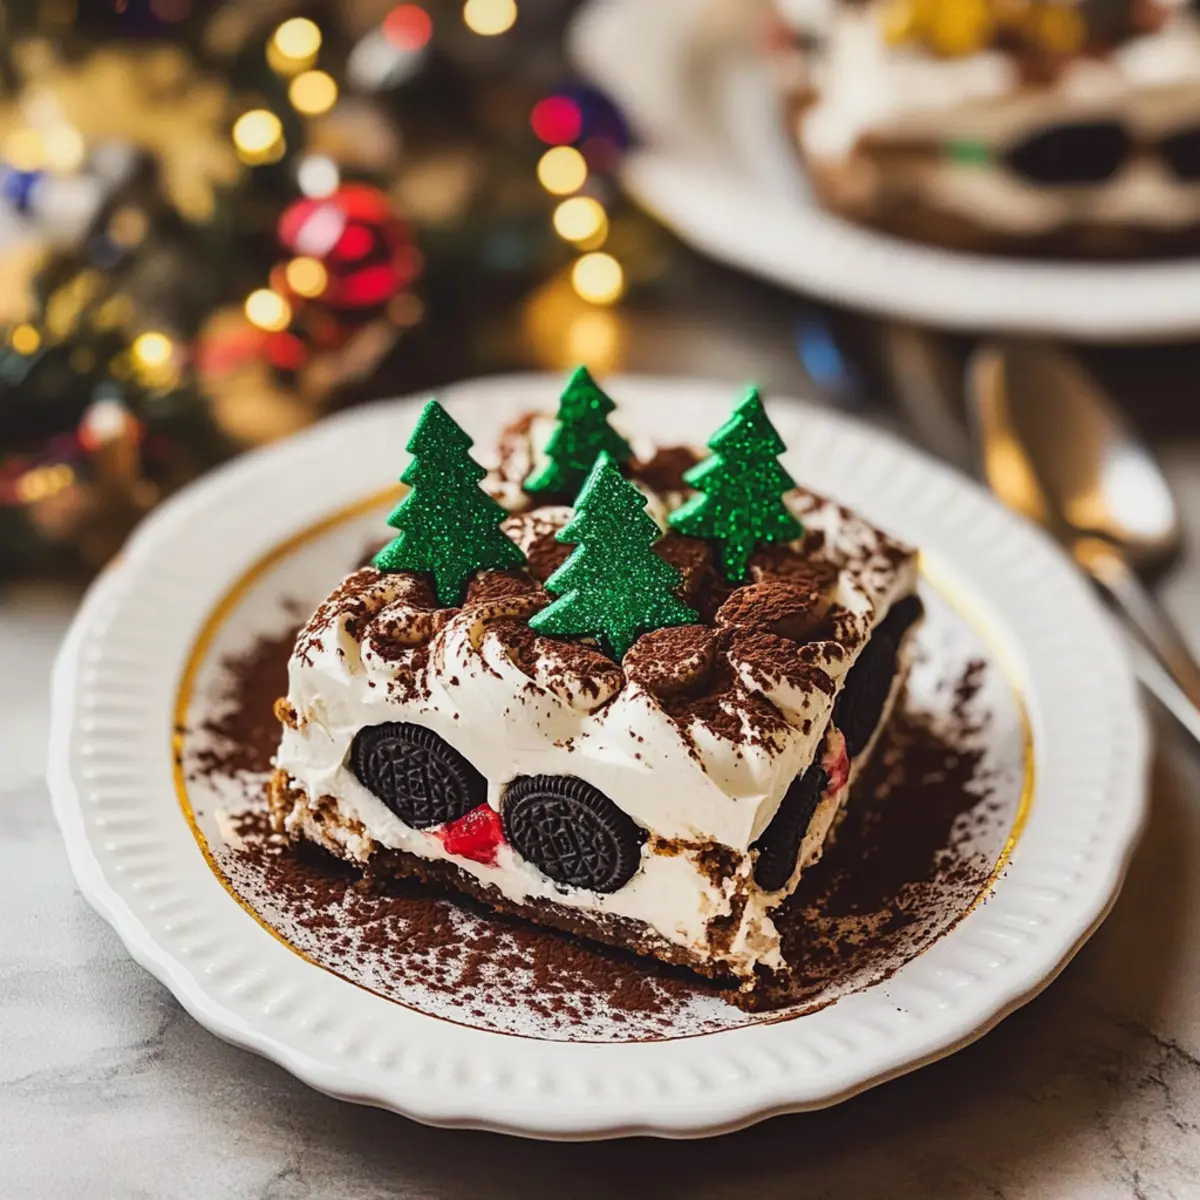
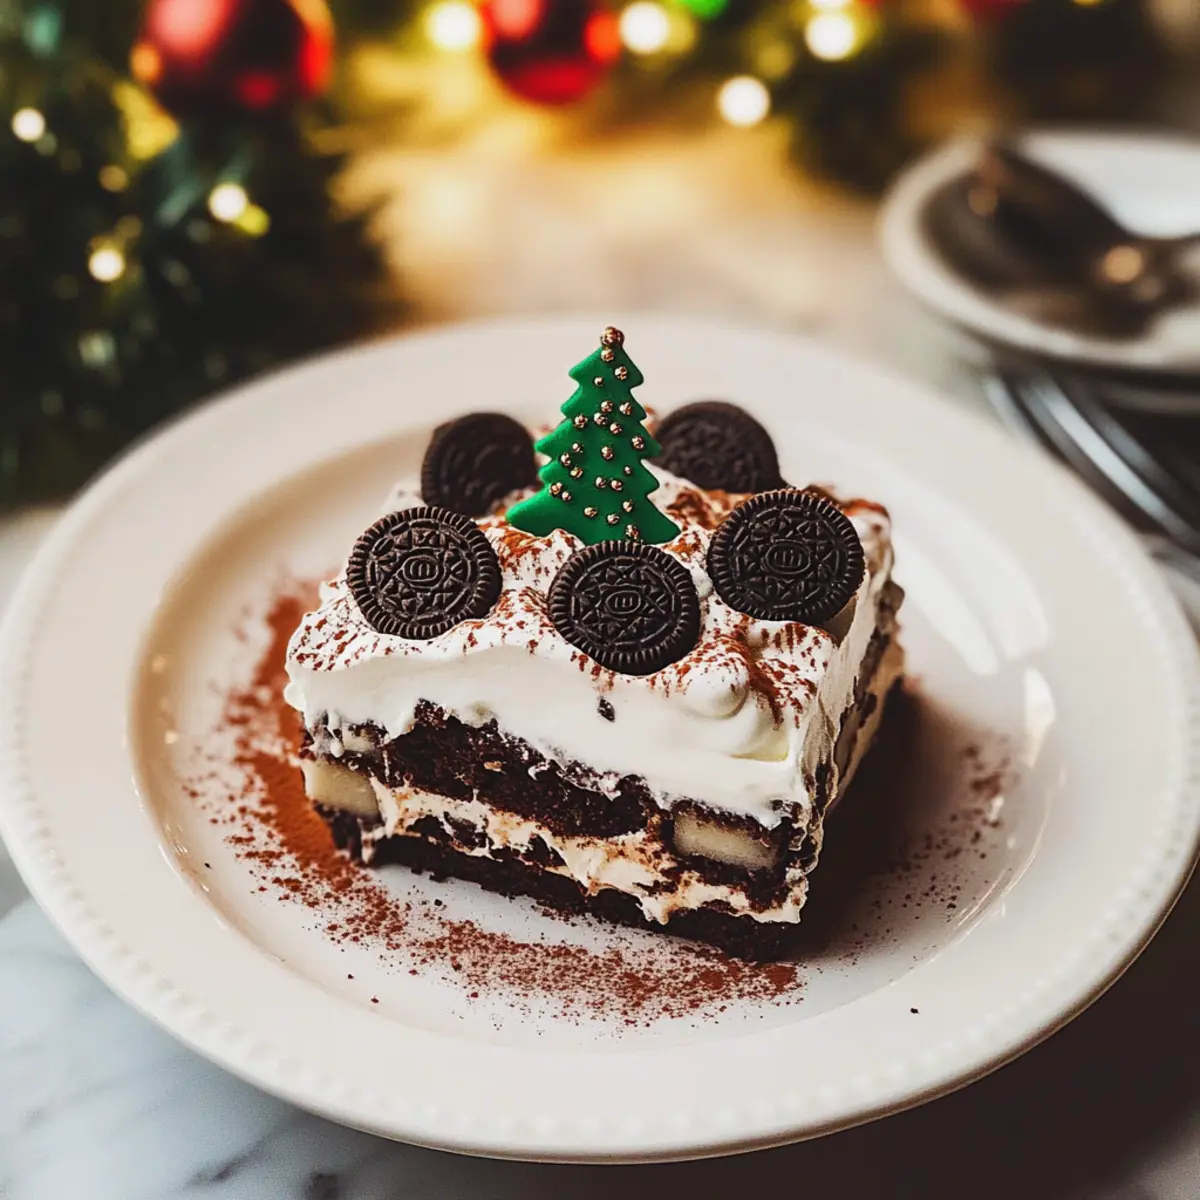
Festive Presentation: The charming Christmas tree decorations will impress your guests and add a festive touch to your dessert table.
Crowd-Pleaser: With its luscious layers and familiar ingredients, this No-Bake Oreo Tiramisu is sure to become a favorite among friends and family, just like our popular Bolognese Gnocchi Bake or Chocolate Halloween Oreo recipes!
No Bake Oreo Tiramisu Ingredients
For the Custard
• Egg Yolks – Essential for custard-making, providing richness and flavor. Use pasteurized eggs for safety if concerned about raw eggs.
• White Granulated Sugar – Sweetens the mascarpone filling and balances the bitterness from the coffee. Consider using coconut sugar for a less refined option.
• Gelatin – Provides structure to the cream layer, helping it set. For a vegetarian option, substitute with agar-agar.
• Brandy – Enhances flavor depth. Can be replaced with a coffee liqueur or left out for a non-alcoholic version.
For the Cream
• Mascarpone Cheese – Forms the creamy filling; essential for characteristic tiramisu richness. Cream cheese can be used as a substitute but will alter flavor slightly.
• Heavy Whipping Cream – Adds lightness and volume to the mascarpone mixture. For a lighter option, use half-and-half, though it will reduce creaminess.
For the Layers
• Espresso – Imparts the classic coffee flavor; can substitute with decaf or strong brewed coffee.
• Oreo Cookies – Make up the base layers; iconic for their chocolatey flavor. Can swap for ladyfingers for a classic tiramisu feel.
For Dusting and Decoration
• Dutch-process Cocoa Powder – Used for dusting on top, providing a bitter contrast to the sweetness. Unsweetened cocoa powder can serve as a substitute.
• Christmas Tree Decorations – Comprised of Oreo cookies, white chocolate or candy melts, green candy melts, rainbow nonpareils, and gold sprinkles for festive flair.
Step‑by‑Step Instructions for No Bake Oreo Tiramisu
Step 1: Make the Custard
Start by mixing gelatin with brandy in a small bowl and set it aside to bloom. In a heatproof bowl, whisk together egg yolks and sugar until combined. Place this bowl over simmering water and cook for 10-12 minutes, stirring constantly until the mixture thickens and reaches a temperature of 160°F, offering a creamy custard consistency.
Step 2: Prepare the Mascarpone Mixture
In a separate large mixing bowl, blend mascarpone cheese with cream cheese until smooth and creamy. Gradually add the warm egg mixture to this bowl while continuously whisking to create a cohesive filling. The mascarpone mixture should have a silky texture, perfect for layering in the No Bake Oreo Tiramisu.
Step 3: Whip the Heavy Cream
In a chilled bowl, pour heavy whipping cream and whisk it until it forms medium peaks, which should take about 3-4 minutes. Be cautious not to over-whip as it can become grainy. Gently fold the whipped cream into the mascarpone mixture, ensuring a light and airy texture that will enhance the cream’s richness in your dessert.
Step 4: Assemble the Layers
Dip each Oreo cookie into the cooled espresso briefly so they soak up the coffee flavor without becoming too soggy. In a 9×13 inch dish, layer the dipped cookies evenly across the bottom, followed by a generous layer of the mascarpone filling. Repeat this process to create a second layer, ensuring the No Bake Oreo Tiramisu has a delightful structure.
Step 5: Chill the Tiramisu
Once assembled, cover the dish tightly with plastic wrap and refrigerate the No Bake Oreo Tiramisu for at least 6 hours, or ideally overnight. This cooling period allows the flavors to meld beautifully and the cookies to soften, resulting in a delectable dessert that sets beautifully.
Step 6: Decorate and Serve
Just before serving, dust the top of the tiramisu with Dutch-process cocoa powder for a touch of elegance. Create festive Oreo Christmas tree decorations on top to add a whimsical touch that will impress your guests. Slice and serve chilled portions of your No Bake Oreo Tiramisu, perfect for holiday gatherings.
Make Ahead Options
These No-Bake Oreo Tiramisu are a fantastic choice for busy home cooks looking to save time during the hectic holiday season! You can prepare the mascarpone cream and even dip the Oreo cookies in espresso up to 24 hours in advance. Simply assemble the layers as described, cover tightly with plastic wrap, and refrigerate. This chilling process not only saves you time but also allows the flavors to meld beautifully, ensuring each bite is just as indulgent the next day. When ready to serve, dust with cocoa powder and decorate your festive Oreo Christmas trees just before presenting, keeping things fresh and delightful!
Storage Tips for No Bake Oreo Tiramisu
Fridge: Store leftovers in an airtight container for up to 4 days to maintain freshness and flavor.
Freezer: If you’d like to enjoy your No Bake Oreo Tiramisu later, freeze it for up to a month. Make sure it’s wrapped tightly to prevent freezer burn.
Thawing: When ready to serve, thaw the tiramisu overnight in the refrigerator for the best texture and taste before indulging.
Reheating: There’s no need to reheat; this dessert is best served chilled, ensuring the layers remain light and creamy.
No Bake Oreo Tiramisu Variations
Feel free to get creative with your No Bake Oreo Tiramisu by trying out these delightful twists!
- Gluten-Free: Substitute Oreo cookies with gluten-free chocolate wafers for a tasty treat everyone can enjoy.
- Vegan Delight: Use plant-based mascarpone and cream cheese alternatives, and replace gelatin with agar-agar for a vegan version.
- Mocha Madness: Add a scoop of cocoa powder to the espresso for an extra chocolate kick that enhances the mocha flavor.
- Nutty Flavor: Fold in some toasted hazelnuts or walnuts into the mascarpone layer for a delightful crunch and added texture.
- Minty Fresh: Mix in peppermint extract instead of vanilla for a refreshing mint-flavored tiramisu that’s perfect for the holidays.
- Fruity Twist: Layer in chopped strawberries or raspberries between the cookies for a fresh fruit contrast to the rich cream.
- Caramel Drizzle: Drizzle some caramel sauce between the layers for a sweet, gooey addition that will elevate the dessert further.
- Chocolate Hazelnut Spread: Swap some of the mascarpone for chocolate hazelnut spread for a luxurious, nutty twist that chocolate lovers will adore.
Whether you stick with the classic or try one of these exciting variations, your No Bake Oreo Tiramisu will surely shine at your next gathering, much like our popular Apple Cinnamon Bake or the delightful Sweet Spicy Baked Cauliflower. Happy baking!
What to Serve with No Bake Oreo Tiramisu
Elevate your dessert experience by pairing this delightful treat with complementary flavors and textures that enhance its indulgent nature.
-
Fresh Berries: Juicy strawberries or raspberries add a tart contrast, cutting through the richness of the tiramisu for a refreshing balance.
-
Whipped Cream: A dollop of fluffy whipped cream not only looks divine but also provides a light, airy contrast to the creamy layers of the dessert.
Even a sprinkle of chocolate shavings or a drizzle of caramel can turn this simple accompaniment into a show-stopping addition to your plate. -
Espresso Martini: The robust flavors of this cocktail echo the coffee notes in the tiramisu, creating a delightful harmony that coffee lovers will adore.
Serve it chilled for a sophisticated touch, making dessert feel like an experience. -
Chocolate Biscotti: Crunchy and slightly sweet, these Italian cookies make a perfect dippable treat alongside the tiramisu, enhancing the coffee elements of the dessert.
-
Orange Zest: A sprinkle of fresh orange zest on top or on the side brightens the flavors beautifully, adding a citrus zing that livens up every bite.
-
Vanilla Ice Cream: Creamy, cool, and classic—served on the side, it provides a delightful balance of temperatures and flavors that complements the tiramisu’s richness perfectly.
-
Hazelnut Praline: The nutty crunch of hazelnut praline adds texture and a lovely sweet note, contrasting with the creaminess of your no bake Oreo tiramisu for an elegant touch.
Expert Tips for No Bake Oreo Tiramisu
Safety First: Ensure the egg mixture reaches 160°F to eliminate any risk of salmonella, making your No Bake Oreo Tiramisu safe and delicious.
Perfectly Whipped: Avoid over-whipping the heavy cream to prevent a grainy texture; stop when medium peaks form for a light, airy filling.
Layering Wisdom: Take care not to soak the Oreo cookies too long in the espresso; a quick dip will suffice for flavor without sogginess.
Chill Time: For best results, let your tiramisu chill overnight. This allows the flavors to meld beautifully, enhancing the overall taste.
All About Presentation: Consider individual servings in small cups for a charming touch. They create an elegant presentation that’s perfect for holiday festivities.
No Bake Oreo Tiramisu Recipe FAQs
What kind of Oreos should I use for this recipe?
I recommend using traditional Oreo cookies for their perfect balance of chocolate and creaminess. They provide that iconic flavor that complements the coffee in the tiramisu. If you’re looking for a twist, you could try the Halloween or birthday cake-flavored Oreos for a fun variation!
How should I store leftover No Bake Oreo Tiramisu?
Absolutely! Store any leftovers in an airtight container in the refrigerator for up to 4 days. Make sure it’s sealed tightly to maintain freshness and prevent it from absorbing other fridge odors. If you’re planning to keep it longer, you can freeze it for up to a month; just wrap it well to avoid freezer burn!
Can I make No Bake Oreo Tiramisu ahead of time?
Yes, indeed! This dessert is perfect for preparing ahead. I often make it a day or two before a gathering. Just ensure it chills in the fridge for at least 6 hours, preferably overnight, to allow the flavors to meld and the cookies to soften into that delightful cake-like texture.
What can I substitute for brandy in this recipe?
If you prefer not to use alcohol, you can easily replace brandy with coffee liqueur for an extra coffee kick or simply omit it altogether for a non-alcoholic version. For those looking for a nutty flavor, almond extract works as a lovely alternative too!
Can I freeze No Bake Oreo Tiramisu?
Absolutely! To freeze, follow these steps: After assembling the tiramisu, cover it tightly with plastic wrap and aluminum foil to prevent freezer burn. It can be frozen for up to a month. When you’re ready to enjoy it, just transfer it to the fridge to thaw overnight. This will keep the texture nice and creamy!
No Bake Oreo Tiramisu: Festive Layers of Chocolate Bliss
Ingredients
Equipment
Method
- Mix gelatin with brandy and set aside to bloom. Whisk egg yolks and sugar, then cook over simmering water for 10-12 minutes until thickened and 160°F.
- Blend mascarpone cheese with cream cheese until smooth. Gradually add warm egg mixture and whisk until cohesive.
- Whisk heavy cream in a chilled bowl until medium peaks form. Gently fold whipped cream into the mascarpone mixture.
- Dip Oreo cookies into cooled espresso briefly, then layer in a 9x13 inch dish with mascarpone filling.
- Cover tightly with plastic wrap and refrigerate for at least 6 hours or overnight.
- Dust with cocoa powder and decorate with Christmas tree toppings before serving.
Leave a Reply