
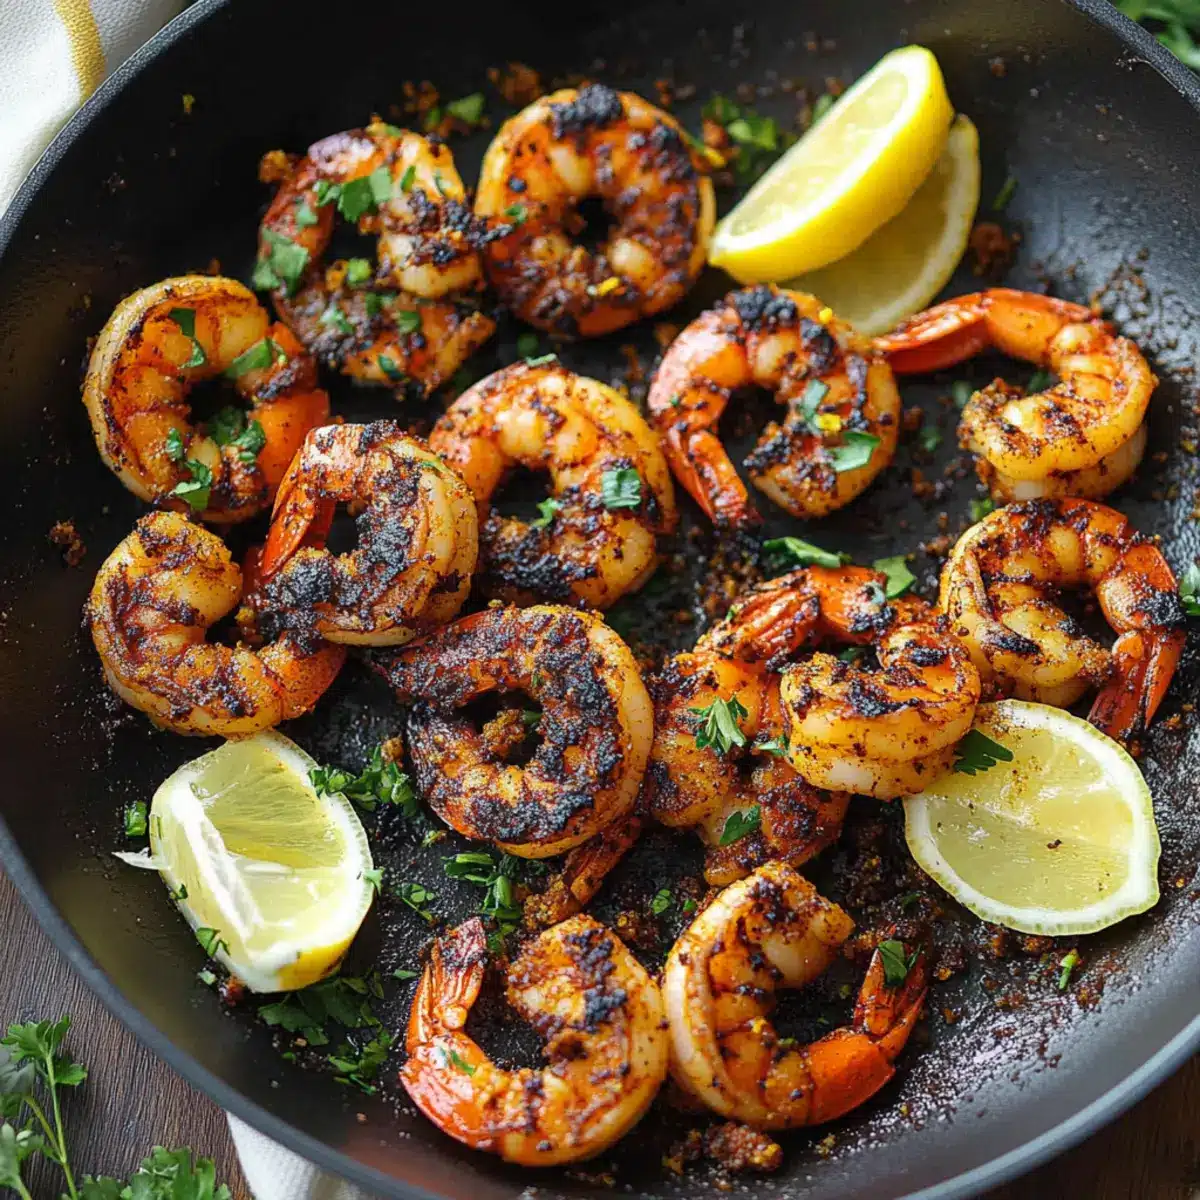
As the sizzling sound fills the air, the aroma of Blackened Shrimp wafts through my kitchen like an enticing invitation. In just 20 minutes, you can transform a simple dinner into a vibrant, flavor-packed experience that’s perfect for busy weeknights. This quick and keto-friendly recipe features shrimp coated in a homemade blackening seasoning, resulting in a spicy crust that sears beautifully in a cast iron skillet. Not only is it a crowd-pleaser, but it’s also effortlessly adaptable—pair it with a fresh salad or your favorite low-carb side for a wholesome meal. Whether you’re a seasoned chef or just venturing into the culinary world, this dish promises satisfaction. Are you ready to spice things up and make your kitchen come alive?
Why Is Blackened Shrimp a Must-Try?
Flavor Explosion: The homemade blackening seasoning imparts a bold, spicy kick that elevates ordinary shrimp into a taste sensation.
Quick and Easy: Ready in just 20 minutes, this recipe is perfect for busy weeknights when you crave something satisfying without the fuss.
Health-Conscious Delight: With its low-carb and keto-friendly profile, it’s an excellent choice for those watching their diet but still wanting rich flavors.
Versatile Pairing: Enjoy it alongside a fresh garden salad or serve over shrimp dirty rice for a complete meal that’ll impress any guest.
Crowd-Pleasing: Whether cooking for family or friends, the vibrant appearance and tantalizing aroma of blackened shrimp will have everyone coming back for more!
Blackened Shrimp Ingredients
For the Blackening Seasoning
• Smoked Paprika – Adds warmth and depth to the seasoning; regular paprika can be used for a milder flavor.
• Chili Powder – Provides heat; substitute with cayenne pepper if you prefer an extra kick.
• Italian Seasoning – Blends various herbs for an aromatic touch; individual dried herbs like oregano and basil can work too.
• Garlic Powder – Enhances flavor; fresh minced garlic can be used for a stronger taste.
• Red Pepper Flakes – Adds a spicy kick; simply leave out for a milder dish.
• Salt – Enhances overall flavor; sea salt or kosher salt are great substitutions.
For the Shrimp
• Raw Shrimp (1.5 lb, large) – The star of the dish; deveined and peeled shrimp delivers the best flavor when fresh, but frozen shrimp works if properly thawed.
• Olive Oil (2 tbsp, divided) – Provides flavor and helps create that lovely blackened crust; avocado oil is an excellent alternative for higher smoke points.
For Garnishing
• Lemon Slices – Adds a fresh zing to your dish; optional but highly recommended.
• Chopped Fresh Basil or Parsley – Elevates presentation and freshness; feel free to use any fresh herb you love.
This Blackened Shrimp recipe promises a delightful experience—you won’t be able to resist that spicy, aromatic crust!
Step‑by‑Step Instructions for Blackened Shrimp
Step 1: Prepare the Blackening Seasoning
In a large bowl, combine 2 tablespoons of smoked paprika, 1 tablespoon of chili powder, 1 tablespoon of Italian seasoning, 1 teaspoon of garlic powder, 1 teaspoon of red pepper flakes, and 1 teaspoon of salt. Whisk these spices together until evenly mixed. Next, add the raw shrimp (1.5 lb, deveined and peeled) to the bowl along with 1 tablespoon of olive oil. Toss the shrimp until they are well-coated with the seasoning mixture.
Step 2: Heat the Skillet
Preheat a 12-inch cast-iron skillet over medium heat for about 3-4 minutes. Once the skillet is heated, increase the temperature to medium-high and add the remaining tablespoon of olive oil, swirling it to cover the pan’s surface. Look for the oil to shimmer, which indicates it’s ready for cooking. This ensures that the shrimp gets a beautifully charred crust when cooked.
Step 3: Cook the Shrimp
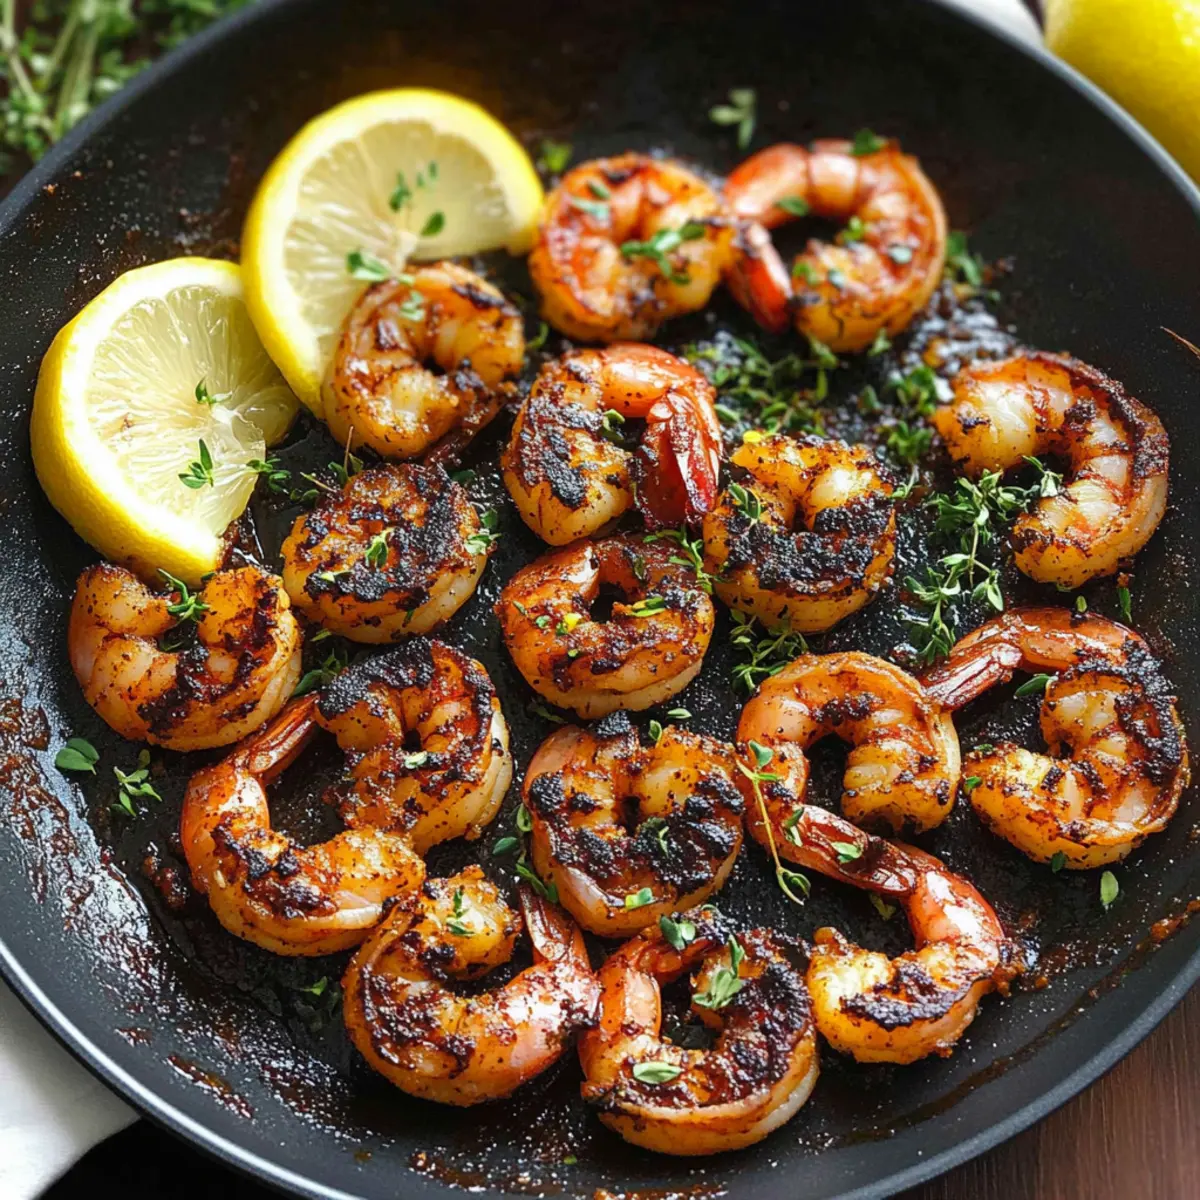
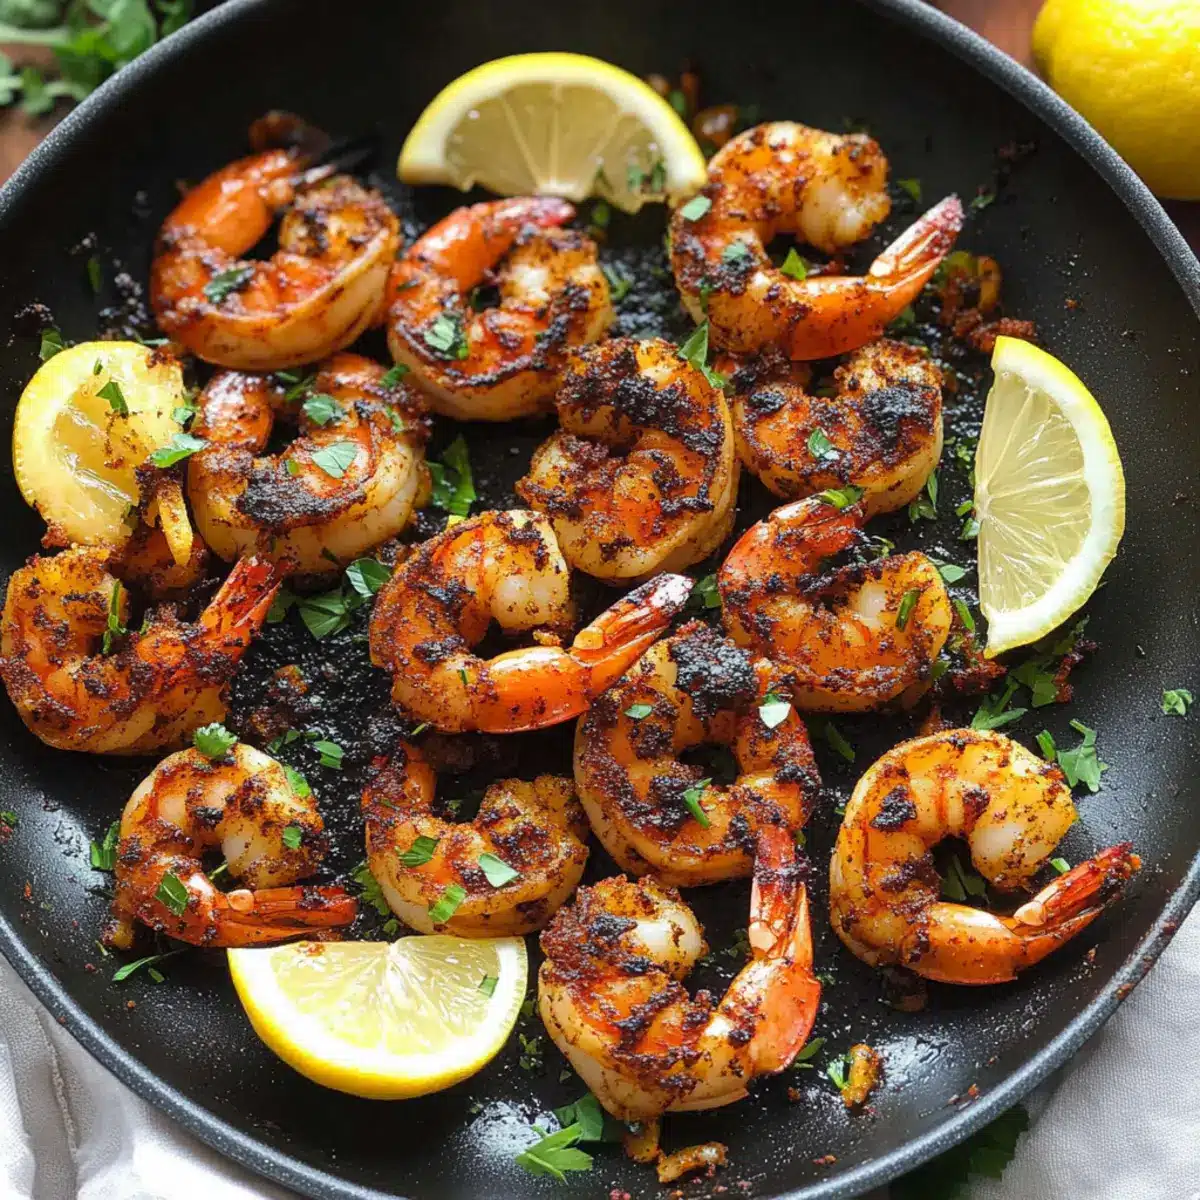
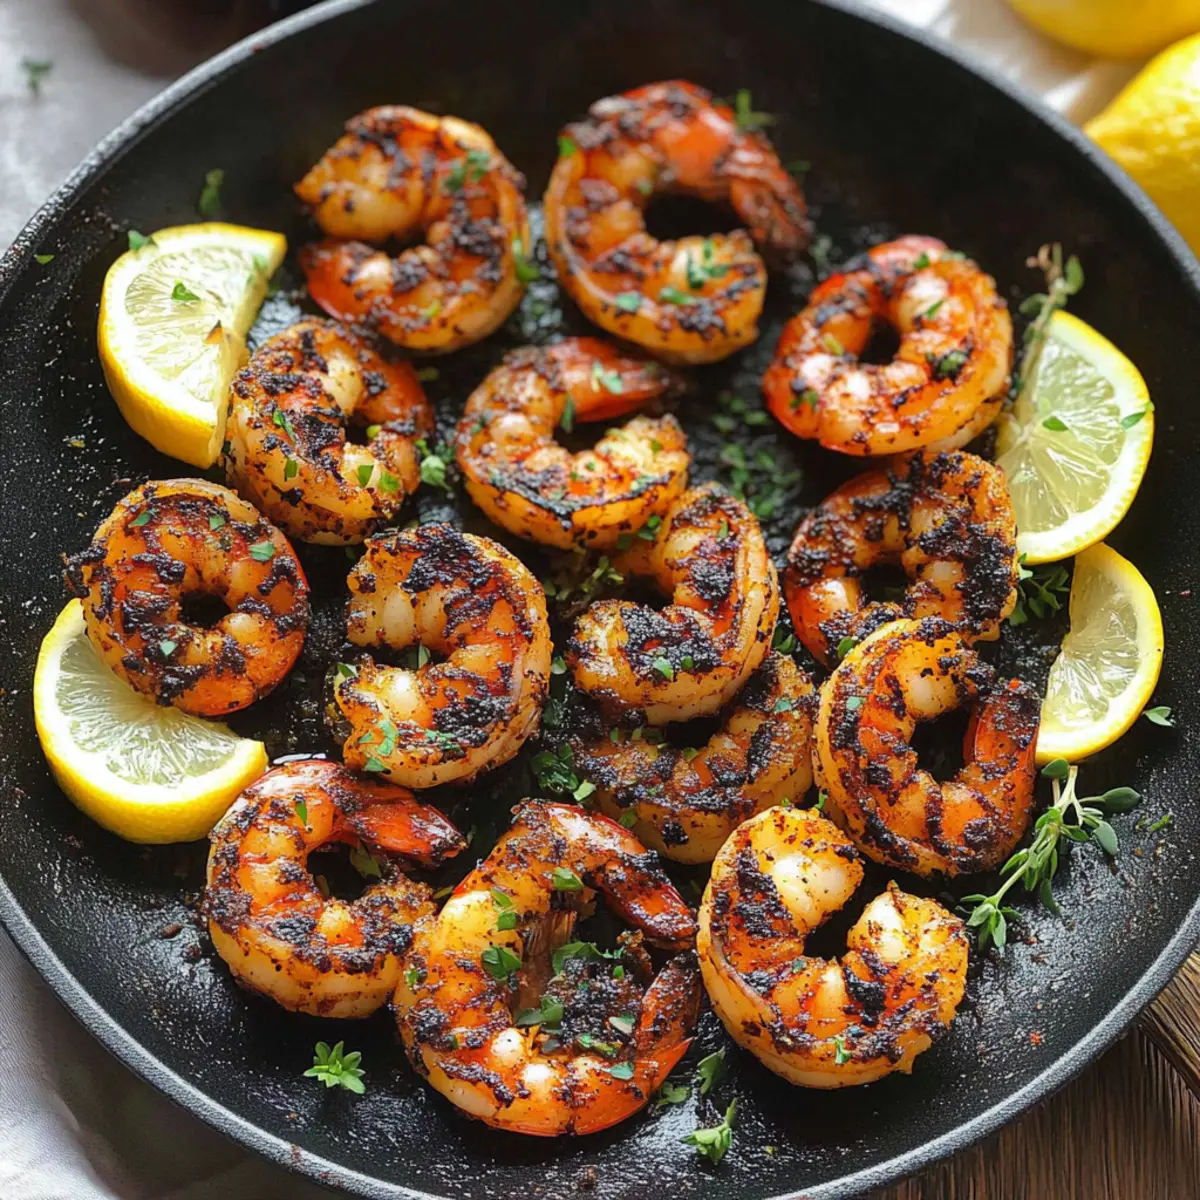
Add the seasoned shrimp to the hot skillet in a single layer, being careful not to overcrowd the pan. Cook the shrimp for approximately 2 minutes on one side, until they develop a deep blackened crust. Then, gently flip each shrimp and cook for another 1-2 minutes. The shrimp should turn pink and opaque, indicating they are perfectly cooked and full of flavor.
Step 4: Garnish and Serve
Once the shrimp are cooked through, immediately remove them from the heat to prevent overcooking. Transfer the blackened shrimp to a serving platter and garnish with fresh lemon slices and chopped basil or parsley for added brightness. Serve immediately alongside your favorite low-carb sides, and enjoy this delicious Blackened Shrimp dish!
Make Ahead Options
These Blackened Shrimp are perfect for busy home cooks looking to save time during hectic weeknights! You can prepare the blackening seasoning and coat the shrimp up to 24 hours in advance. Simply combine the spices in a bowl, toss the shrimp with 1 tablespoon of olive oil, and store them in an airtight container in the refrigerator. This allows the flavors to meld beautifully while ensuring the shrimp remain fresh. When you’re ready to serve, simply heat a cast-iron skillet and follow the cooking instructions as normal. This way, you can enjoy that delicious, spicy crust with minimal effort, making dinner a delightful experience!
How to Store and Freeze Blackened Shrimp
Fridge: Store leftover blackened shrimp in an airtight container for up to 3 days. This will help maintain their flavor and texture.
Freezer: For longer storage, freeze blackened shrimp in a single layer on a baking sheet before transferring to an airtight container. They can last up to 3 months in the freezer.
Reheating: Reheat gently on the stovetop over low heat to avoid overcooking. A splash of olive oil can help bring back their moisture and flavor.
Airtight Guidance: Always ensure shrimp are cooled completely before storing, as moisture can lead to spoilage.
Blackened Shrimp Variations & Substitutions
Feel free to get creative with this Blackened Shrimp recipe! Each idea offers a delicious twist that will make your dish even more wonderful.
-
Add Veggies: Incorporate bell peppers or zucchini to the skillet for added color and nutrition. A colorful mix enhances the dish visually and provides a nice crunch.
-
Quick-Cook Option: Use pre-cooked shrimp to reduce cooking time; just warm them gently. This is a perfect option for those nights when time is tight.
-
Creamy Sauce: Serve your shrimp with a drizzle of creamy sauce for that southern flair. A zesty remoulade will elevate the flavors, making every bite delightful.
-
Cajun Twist: For a true Cajun experience, add a splash of hot sauce to the shrimp before cooking. It’s a simple step that packs a flavor punch!
-
Grain-Free Option: Serve over cauliflower rice instead of traditional rice for a low-carb side that pairs beautifully with the shrimp’s spiciness.
-
Mediterranean Flavor: Swap in Mediterranean herbs like dill and oregano to the blackening mix for a fresh, vibrant taste. It’s a refreshing change that brightens the dish.
-
Spicy Kick: Increase the red pepper flakes or add a pinch of cayenne for an extra kick if you crave more heat. Adjust according to your taste preferences.
-
Serve with Grains: Pair these shrimp with quinoa or a light pasta such as in a one pot garlic butter shrimp pasta for a complete meal that feels hearty yet healthy.
No matter how you choose to embellish this recipe, each variation ensures your Blackened Shrimp experience is filled with joy and deliciousness.
Expert Tips for Blackened Shrimp
-
Preheat Skillet: Ensure your cast-iron skillet is preheated properly to achieve that signature blackened crust without burning the spices.
-
Don’t Overcrowd: Cook shrimp in batches if necessary; overcrowding leads to steaming instead of searing, compromising the texture.
-
Watch Cooking Time: Keep a close eye on the shrimp; they cook quickly and should be removed from the heat just as they turn opaque for optimal tenderness.
-
Adjust Spice Levels: Feel free to modify the amount of red pepper flakes based on your heat preference; this allows you to personalize your blackened shrimp experience.
-
Use Fresh Ingredients: Although frozen shrimp is fine, fresh shrimp yields the best flavor and texture, making your dish even more delightful.
What to Serve with Blackened Shrimp?
Elevate your Blackened Shrimp experience with these delightful side dishes that complement its bold flavors perfectly.
- Creamy Avocado Salad: A refreshing mix of ripe avocados and cherry tomatoes balances the spiciness with creamy goodness.
- Garlic Cauliflower Rice: This low-carb alternative to traditional rice adds a savory depth, absorbing the shrimp’s rich seasoning beautifully.
- Zucchini Noodles: Light and fresh, these noodles make for a delightful pairing that won’t overshadow the shrimp’s bold flavors.
- Crispy Roasted Brussels Sprouts: Their nutty taste and crunchy texture create a pleasing contrast to the tender, smoky shrimp.
- Spicy Cilantro Lime Quinoa: The citrus notes and slight spiciness enhance every bite, harmonizing with the shrimp’s blackened crust.
- Mango Salsa: Bright, sweet, and spicy, this salsa adds a tropical twist that enhances the dish’s overall appeal.
- Chilled White Wine: A crisp Sauvignon Blanc or a refreshing chilled rosé cuts through the richness and refreshes the palate.
- Lemon Sorbet: For dessert, this light option cleanses the palate, offering a sweet and tangy finish to your meal.
Blackened Shrimp Recipe FAQs
How do I choose the right shrimp for this dish?
For the best results, always opt for large, fresh shrimp that are deveined and peeled. Look for shrimp that have a firm texture and a sweet, briny scent. If purchasing frozen shrimp, ensure they’re properly thawed in advance. A sure sign they’re good to go is if they have a consistent, light pink color without any dark spots or an off-putting smell.
What is the best way to store leftover blackened shrimp?
Leftover blackened shrimp can be stored in an airtight container in the refrigerator for up to 3 days. If you need to save them for longer, consider freezing them. Just ensure they are completely cooled down to avoid moisture buildup, which can lead to spoilage.
Can I freeze blackened shrimp? If so, how?
Absolutely! To freeze blackened shrimp, first spread them in a single layer on a baking sheet and place them in the freezer for about 1-2 hours until they are firm. Once they are frozen, transfer them into an airtight container or plastic freezer bag. They can be frozen for up to 3 months. When you’re ready to use them, thaw in the refrigerator overnight or in cold water.
What should I do if my shrimp turn out overcooked?
If your blackened shrimp end up overcooked, it’s a sign that they were left on heat too long! Unfortunately, there’s no way to reverse the process, but for next time, keep in mind that shrimp only need 2-3 minutes per side. Look for that perfect opaque pink color as an indicator that they are perfectly cooked and tender.
Are there any dietary considerations I should keep in mind with blackened shrimp?
This recipe is great for a variety of dietary needs—it’s low-carb, keto-friendly, dairy-free, gluten-free, and suitable for pescatarians. However, if you or someone in your household has seafood allergies, it’s best to avoid this dish altogether. For those who would like to limit spice, adapt the seasoning by reducing the chili powder and red pepper flakes.
How do I serve blackened shrimp for the best experience?
For a stunning presentation, serve your blackened shrimp over a bed of fresh, zesty greens or alongside a vibrant garden salad. You can also pair them with your favorite low-carb side, such as cauliflower rice or sautéed vegetables. Add a wedge of lemon for squeezing on top to enhance the flavors. The more the merrier!
Blackened Shrimp: Spicy, Flavor-Packed 20-Minute Delight
Ingredients
Equipment
Method
- In a large bowl, combine 2 tablespoons of smoked paprika, 1 tablespoon of chili powder, 1 tablespoon of Italian seasoning, 1 teaspoon of garlic powder, 1 teaspoon of red pepper flakes, and 1 teaspoon of salt. Whisk these spices together until evenly mixed. Next, add the raw shrimp (1.5 lb, deveined and peeled) to the bowl along with 1 tablespoon of olive oil. Toss the shrimp until they are well-coated with the seasoning mixture.
- Preheat a 12-inch cast-iron skillet over medium heat for about 3-4 minutes. Once heated, increase the temperature to medium-high and add the remaining tablespoon of olive oil, swirling it to cover the pan’s surface.
- Add the seasoned shrimp to the hot skillet in a single layer, cooking for approximately 2 minutes on one side. Flip each shrimp and cook for another 1-2 minutes until they turn pink and opaque.
- Remove the shrimp from the heat once cooked through. Transfer to a serving platter and garnish with fresh lemon slices and chopped basil or parsley. Serve immediately.
Leave a Reply