
The aroma of summer is in the air, and it beckons us to embrace the season’s sweet treasures. My Chocolate Chip Cherry Bars bring that to life with just a single bowl and a handful of ingredients. This quick and easy dessert transforms juicy cherries and rich chocolate into a chewy, moist treat, perfect for any occasion. Not only do they celebrate seasonal cherries, but they also save you from the hassle of complicated baking. Whether you’re planning a cozy family gathering or seeking a special surprise for friends, these bars are sure to shine. Curious about how to whip up this delightful creation and brighten your dessert table? Keep reading!
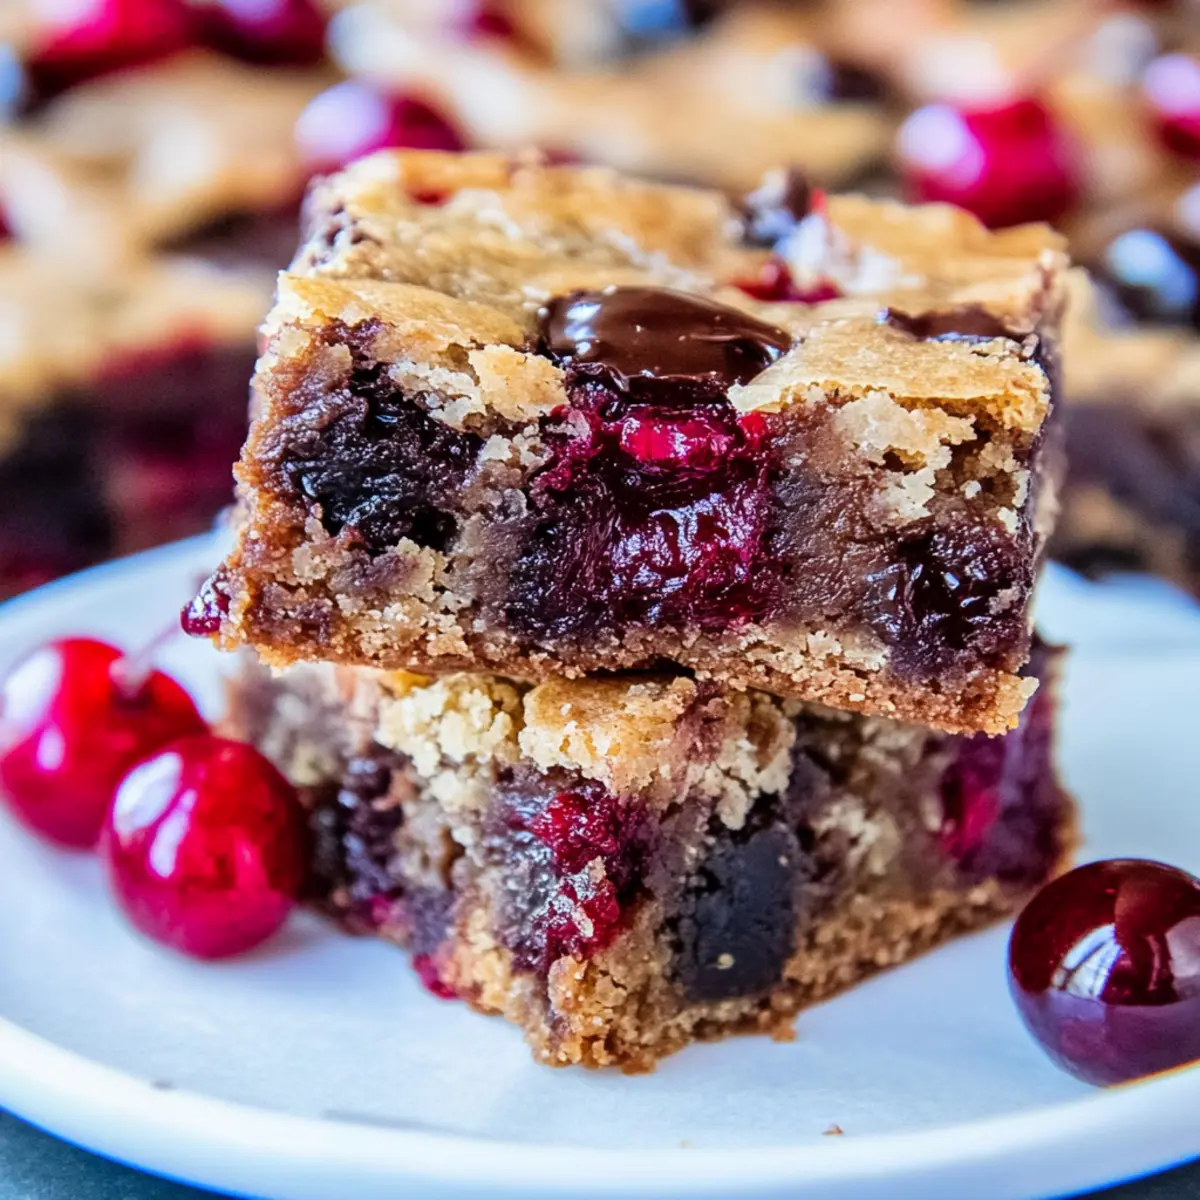
Why are Chocolate Chip Cherry Bars a Must-Try?
Irresistible flavor: The sweet cherries paired with rich chocolate create an unforgettable taste that bursts with summer joy.
One-Bowl Wonder: Say goodbye to messy kitchens! This recipe simplifies baking, making it perfect for both seasoned chefs and novices.
Versatility: Customize your bars by swapping cherries for other fruits like blueberries or diced peaches to suit your taste.
Crowd-Pleasing: Ideal for gatherings, these bars are not only delicious but also visually appealing, making them a hit at any event.
Quick Prep: In just under 35 minutes, you can have these delightful bars fresh from the oven, ready to be enjoyed!
Chocolate Chip Cherry Bars Ingredients
• Ready to create your delicious Chocolate Chip Cherry Bars? Here’s everything you need!
For the Batter
- Unsalted Butter (½ cup) – Adds richness and moisture; substitute with margarine for a dairy-free option.
- Light Brown Sugar (1 cup) – Provides sweetness and depth of flavor; the molasses keeps the bars moist.
- Large Egg (1) – Acts as a binder for chewy texture; for vegan, use a flax egg or applesauce.
- Vanilla Extract (2 teaspoons) – Enhances richness; optional to substitute with almond extract for a different flavor.
- All-Purpose Flour (1 cup) – Forms the structure of the bars; a gluten-free blend can be used instead.
- Salt (¼ teaspoon, optional) – Enhances sweetness and flavor; omit if using salted butter.
For the Mix-Ins
- Semi-Sweet Chocolate Chips (¾ to 1 cup) – Provides luscious chocolate pockets; can be swapped with dark or white chocolate chips.
- Cherries (1 cup, fresh or frozen) – Offers a juicy burst of flavor; fresh is ideal, but if using frozen, reduce moisture in the batter.
With these simple ingredients, you’ll be well on your way to baking a perfect batch of Chocolate Chip Cherry Bars that will bring joy to your taste buds and those you share them with!
Step‑by‑Step Instructions for Chocolate Chip Cherry Bars
Step 1: Preheat the Oven
Begin by preheating your oven to 350°F (175°C) to ensure it’s hot and ready for your delicious Chocolate Chip Cherry Bars. Line an 8×8-inch baking pan with foil, making sure to leave some overhanging for easy removal later. Lightly grease the foil with cooking spray or butter to prevent sticking.
Step 2: Melt the Butter
In a microwave-safe bowl, add the ½ cup of unsalted butter and microwave it for about 60 seconds until fully melted. Keep an eye on it as you want it just melted, not bubbling. Once melted, let it cool slightly before moving on to mixing it with the sugars so it doesn’t cook the egg.
Step 3: Combine with Sugar
Stir in 1 cup of light brown sugar into the melted butter and mix well until the mixture is smooth and shiny. This should take about 1 – 2 minutes of vigorous stirring. The sugar will dissolve partially, creating a wonderful caramel-like base. Don’t skip this step; it adds flavor depth you’ll love!
Step 4: Incorporate Egg and Vanilla
Add 1 large egg and 2 teaspoons of vanilla extract to the buttery sugar mixture. Use a spatula to mix until fully combined, which should take about 30 seconds. The batter should start to appear glossy and cohesive, setting up a rich base for your Chocolate Chip Cherry Bars.
Step 5: Add Dry Ingredients
Gently fold in 1 cup of all-purpose flour and ¼ teaspoon of salt (if using) until just combined, being careful not to overmix. This should only take about 30 seconds. The dough will be thick but should still be slightly sticky. Overmixing can result in tough bars, so stop as soon as no streaks of flour remain.
Step 6: Mix in Chocolate Chips
Now, fold in ¾ to 1 cup of semi-sweet chocolate chips gently into your dough. The chocolate should distribute evenly without breaking apart. Take a moment to admire how the chocolate chunks look nestled into the rich batter, promising melty goodness in every bite of your bars.
Step 7: Fold in the Cherries
Gently fold in 1 cup of fresh or frozen cherries into the mixture, keeping them as intact as possible for a beautiful texture. This step allows the cherries to maintain their shape, providing delightful bursts of flavor in your finished Chocolate Chip Cherry Bars.
Step 8: Transfer to the Baking Pan
Pour the batter into your prepared baking pan, smoothing the top with an offset spatula for an even layer. It’s important to spread it evenly so that your bars bake uniformly. You want them to be aesthetically pleasing when they come out of the oven, showcasing those juicy cherry and chocolate chips.
Step 9: Bake to Perfection
Bake the bars in your preheated oven for 27 to 32 minutes or until the edges begin to pull away from the pan, and the center looks slightly set but still gooey. A toothpick inserted should come out with chocolate smudges, not completely clean. This means they will stay deliciously chewy inside.
Step 10: Cool and Slice
Once baked, allow the bars to cool in the pan for at least 1 hour. This cooling time helps set the bars and makes slicing easier. After cooling, grasp the foil overhang and lift them out of the pan before cutting into squares. Enjoy the delicious chocolate chip cherry bars at room temperature or warm!
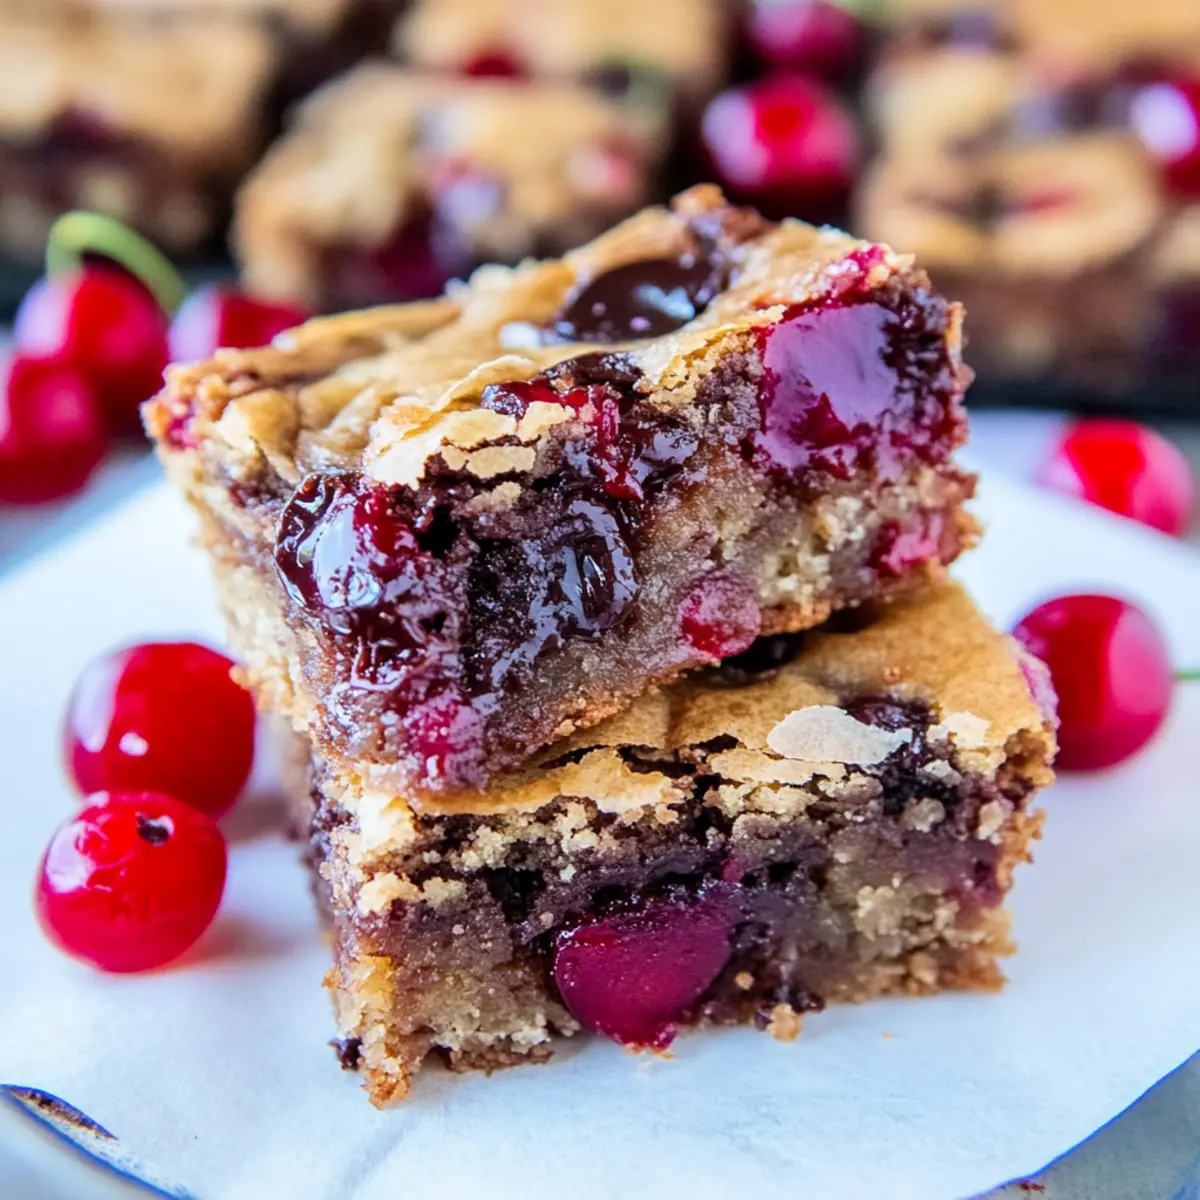
Expert Tips for Chocolate Chip Cherry Bars
- Use Room Temperature Ingredients: Ensure your ingredients, especially the egg and butter, are at room temperature for a smoother batter that mixes easily.
- Avoid Overmixing: Gently combine your flour; overmixing can lead to tough bars. The goal is a perfectly chewy texture!
- Check for Doneness: Remember, the toothpick test may yield chocolate bits instead of a clean stick; aim for gooeyness in the center to retain that iconic Chocolate Chip Cherry Bars charm.
- Cool Before Slicing: Allow the bars to cool fully in the pan for at least 1 hour for cleaner cuts and better flavor as they set.
- Experiment with Fruits: Feel free to swap cherries for berries or other seasonal fruits to create your unique twist on these delicious bars!
What to Serve with Chocolate Chip Cherry Bars
These delightful bars are not just a treat on their own; they pair beautifully with a variety of accompaniments that will elevate your dessert experience.
- Vanilla Ice Cream: A scoop of creamy vanilla ice cream adds a delightful contrast to the chewy bars, creating a classic dessert experience.
- Fresh Whipped Cream: Light and airy whipped cream complements the rich chocolate and cherries, offering a luxurious touch to each bite.
- Chilled Milk: A glass of cold milk enhances the flavors and provides a refreshing balance to the sweetness of the bars.
- Coffee or Espresso: The boldness of coffee brings out the chocolate notes, creating a perfect pairing for a delightful afternoon treat.
- Mixed Berry Salad: A light and tangy berry salad adds freshness and bright flavors, creating a harmonious balance with the dessert.
- Chocolate Sauce Drizzle: Drizzling warm chocolate sauce takes the indulgence to the next level, making each bite even more decadent.
Enjoy experimenting with these pairings, and let your Chocolate Chip Cherry Bars shine in delightful company!
How to Store and Freeze Chocolate Chip Cherry Bars
Room Temperature: Store the bars in an airtight container at room temperature for up to 1 week to maintain their chewy texture and flavor.
Fridge: For extended freshness, refrigerate the bars in an airtight container for up to 2 weeks. Just allow them to come to room temperature before serving.
Freezer: To freeze, wrap individual bars tightly in plastic wrap and place them in a freezer-safe bag. They can be frozen for up to 3 months; simply thaw them at room temperature before indulging.
Reheating: If you prefer your bars warm, gently reheat them in the microwave for about 10-15 seconds. Enjoy the melty chocolate goodness all over again!
Make Ahead Options
These Chocolate Chip Cherry Bars are perfect for busy schedules and meal prep! You can prepare the batter up to 24 hours in advance by mixing all the ingredients together and storing it in the refrigerator. To maintain the bars’ delightful texture, it’s important to cover the bowl tightly with plastic wrap to prevent drying out. When you’re ready to bake, simply pour the chilled batter into your prepared pan and bake as directed, adding an extra minute or two to the baking time if needed. This way, you’ll have fresh, gooey Chocolate Chip Cherry Bars ready in a snap, just as delicious as if you made them from scratch that day!
Chocolate Chip Cherry Bars Variations
Feel free to play around with these delightful twists to create your perfect bar!
- Berry Bliss: Substitute cherries with fresh blueberries or raspberries for a vibrant, fruity change. The tartness balances the sweetness beautifully!
- Nuts Galore: Add a handful of chopped walnuts or pecans to the batter for a delightful crunch. The mixture of flavors creates a heartier treat with a lovely texture.
- Double Chocolate: Incorporate white chocolate chips alongside semi-sweet for a rich flavor explosion. This adds depth and a creamy sweetness that pairs perfectly with the cherries.
- Coconut Delight: Fold in shredded coconut to bring a tropical flair to your bars. It adds chewiness and an unexpected layer of flavor that transports you straight to the beach.
- Spiced Up: Add a teaspoon of cinnamon or nutmeg to the batter for a warm, cozy flavor profile. This twist is perfect for chilly evenings spent indoors!
- Sweetener Swap: Try using coconut sugar or honey instead of brown sugar for a different flavor experience. The subtle caramel notes will surprise your taste buds in the best way.
- Zesty Addition: A tablespoon of fresh orange or lemon zest will brighten up your bars. It adds a refreshing citrus note that perfectly complements the sweet cherries.
- Sugar-Free Version: Substitute the sugar with a sugar alternative, like Stevia or a blend designed for baking, for a guilt-free treat. Enjoy a deliciously sweet bar without the extra calories!
If you’re looking for more creative desserts, check out these Halloween Chocolate Chip or the Apple Pie Bars. There’s a whole world of flavors waiting for you!
Chocolate Chip Cherry Bars Recipe FAQs
What type of cherries should I use?
Absolutely! Fresh cherries offer the best flavor, but if they’re out of season, frozen cherries are a fine alternative. Just remember to reduce the moisture in your batter slightly if using frozen to maintain the right consistency.
How should I store Chocolate Chip Cherry Bars?
You can store the bars in an airtight container at room temperature for up to 1 week. If you’d like to prolong their freshness, refrigerate them for up to 2 weeks. Just allow them to come to room temperature before serving, and they’ll be as delicious as day one!
Can I freeze Chocolate Chip Cherry Bars?
Yes, you can freeze these delightful bars! Wrap each bar tightly in plastic wrap and place them in a freezer-safe bag. They can be frozen for up to 3 months. When you’re ready to enjoy them, simply thaw at room temperature, or give them a quick reheat in the microwave for that perfect melty texture.
What if my bars come out too dry?
If your Chocolate Chip Cherry Bars turn out dry, it could be due to overbaking or using too much flour. I recommend using a kitchen scale for precision, and keep an eye on them in the oven! Check for doneness a few minutes before the recommended baking time by gently pressing the center; it should still feel softly set.
Can I make these bars gluten-free?
Very! Simply substitute the all-purpose flour with a gluten-free blend, and make sure that any additional mix-ins (like chocolate chips) are certified gluten-free. This way, everyone can enjoy these delicious Chocolate Chip Cherry Bars!
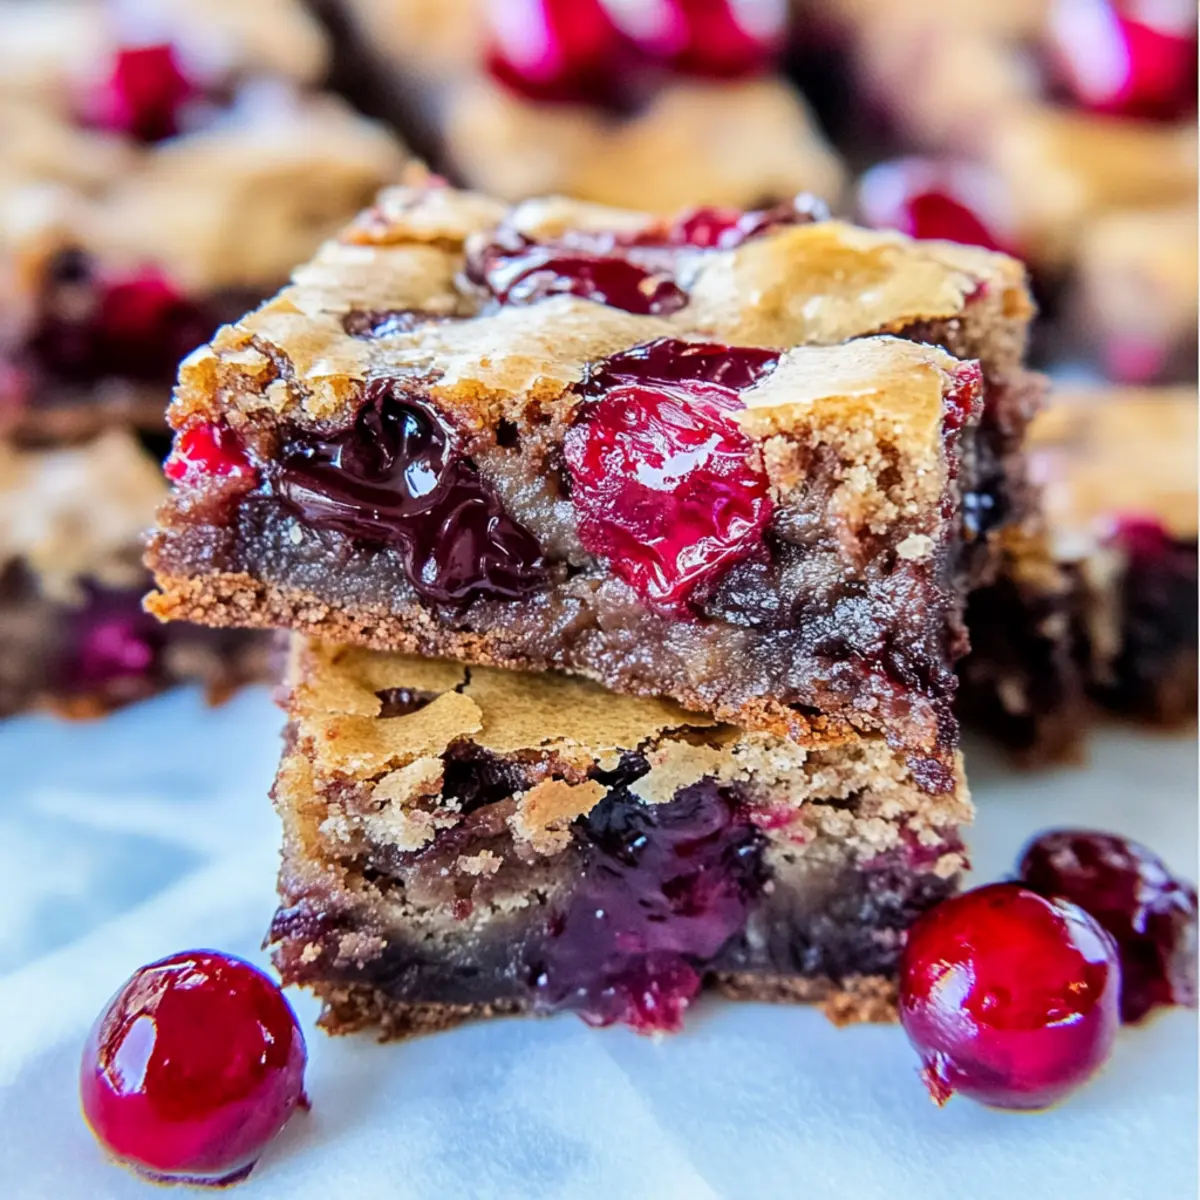
Irresistible Chocolate Chip Cherry Bars for Sweet Moments
Ingredients
Equipment
Method
- Preheat your oven to 350°F (175°C) and line an 8x8-inch baking pan with foil, greasing it lightly.
- Melt ½ cup of unsalted butter in a microwave-safe bowl for about 60 seconds until just melted. Let it cool slightly.
- Stir in 1 cup of light brown sugar into the melted butter and mix well until smooth and shiny, about 1 – 2 minutes.
- Add 1 large egg and 2 teaspoons of vanilla extract to the mixture and mix until fully combined, about 30 seconds.
- Gently fold in 1 cup of all-purpose flour and ¼ teaspoon of salt (if using) until just combined, about 30 seconds.
- Fold in ¾ to 1 cup of semi-sweet chocolate chips into your dough without breaking them apart.
- Gently fold in 1 cup of fresh or frozen cherries into the mixture.
- Pour the batter into the prepared baking pan, smoothing the top for an even layer.
- Bake in the preheated oven for 27 to 32 minutes or until edges pull away and center looks slightly set yet gooey.
- Allow bars to cool in the pan for at least 1 hour before lifting out and cutting into squares.
Leave a Reply