
As I rummaged through my pantry searching for a little sweetness to uplift my evening, the shimmering wrappers of Oreo cookies caught my eye. Instantly, I knew I was destined to create a no-bake Chocolate Oreo Lush. This layered dessert is a dream come true for any chocolate lover, boasting a delightful combination of crunchy Oreos, silky chocolate pudding, and a clouds-like whipped topping. The best part? It’s a crowd-pleaser that works wonders for any occasion and can be prepped ahead of time—perfect for those busy weeknights or spontaneous gatherings. With endless variations, like adding a hint of espresso or swapping in fresh fruit, this recipe invites your creativity to shine. Curious how to whip up this irresistible treat? Let’s dive right in!
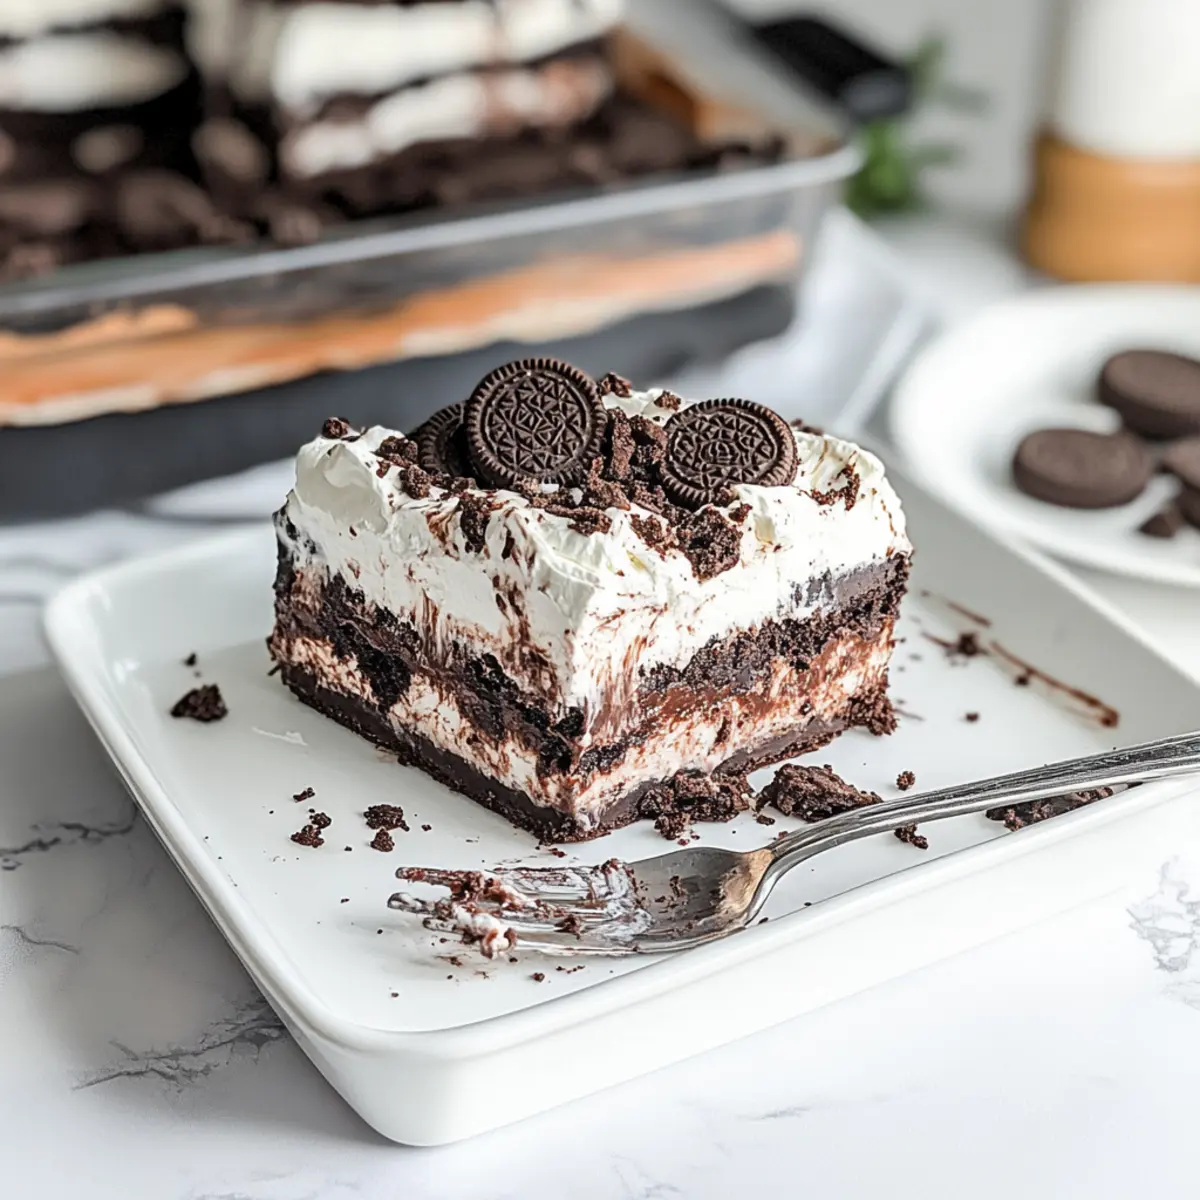
Why is Chocolate Oreo Lush a Must-Try?
Irresistible Flavor: The rich, creamy layers of chocolate and whipped toppings meld into a decadent sweetness that’s hard to resist.
No-Bake Convenience: Perfect for those who want dessert without the fuss—this indulgent treat comes together quickly and requires no baking!
Customizable Delight: With variations like adding espresso powder or fresh fruit, you can easily tailor this dessert to suit your taste or occasion.
Crowd-Pleaser: Whether it’s a family dinner or a friendly gathering, this dessert is sure to impress and leave guests asking for the recipe!
Make-Ahead Marvel: Prep it the day before for a hassle-free treat awaiting to wow your guests—or simply indulge over a cozy night in.
Once you try this, you might also want to explore our delicious Chocolate Halloween Oreo or tempting Gluten Free Chocolate options!
Chocolate Oreo Lush Ingredients
For the Crust
• Oreos – The fundamental base of this no-bake dessert, ensuring a deliciously chocolaty flavor.
• Butter – Adds richness and binds the crushed Oreos together; use real melted butter for the best texture.
For the Cream Cheese Layer
• Cream Cheese – Provides a creamy texture; make sure it’s at room temperature to avoid lumps.
• Heavy Cream – Essential for achieving a silky, smooth filling and a fluffy topping.
• Powdered Sugar – Sweetens the cream cheese mixture smoothly, preventing any grittiness.
• Cool Whip – Offers a light, airy texture; can be replaced by homemade whipped cream but may soften more quickly.
For the Chocolate Layer
• Instant Chocolate Pudding – Forms the luxe chocolate layer; two boxes are recommended for better volume.
• Cold Milk – Needed to prepare the pudding; whole milk is ideal, but alternatives work too.
For the Garnish
• Chocolate Curls (optional) – Adds an elegant touch to your finished dessert; delightful for presentation.
Dive into this delightful Chocolate Oreo Lush and let the layers of flavor captivate your senses!
Step‑by‑Step Instructions for Chocolate Oreo Lush
Step 1: Prepare the Crust
Begin by crushing 24 Oreos into fine crumbs using a food processor or a plastic bag and rolling pin. In a medium bowl, combine the crumbs with ½ cup of melted butter, mixing until evenly moistened. Press this mixture firmly into the bottom of a 9×13 dish to form a solid crust. Refrigerate for 5 minutes to set while you prepare the next layer.
Step 2: Make Cream Cheese Layer
In a large mixing bowl, beat 8 ounces of softened cream cheese, 1 cup of heavy cream, and ½ cup of powdered sugar until smooth and creamy, then fold in 8 ounces of Cool Whip gently until fully combined. This creamy mixture should be light and airy. Spread it evenly over the chilled crust, smoothing with a spatula, and return to the refrigerator for 10 minutes.
Step 3: Prepare Pudding Layer
In another bowl, whisk together 2 boxes of instant chocolate pudding mix with 4 cups of cold milk until the mixture thickens, about 2 minutes. The thickened pudding should be smooth and vivid in color. Carefully spread the pudding on top of the cream cheese layer, ensuring even coverage, and chill again in the refrigerator for another 10 minutes.
Step 4: Top with Whipped Cream
Once the pudding layer has set, spread an additional layer of Cool Whip over the top. Use a spatula to create an even, fluffy layer. For a delightful finish, sprinkle crushed Oreos and optional chocolate curls on top, adding visual appeal. Chill the complete Chocolate Oreo Lush for at least 1 hour before serving, allowing the layers to meld beautifully.
Step 5: Chill and Serve
After chilling, slice the Chocolate Oreo Lush into squares with a sharp knife for clean edges. Each piece should reveal its decadent layers of crust, cream cheese, pudding, and whipped topping. Serve chilled and enjoy this indulgent treat at your gatherings or cozy evenings in.
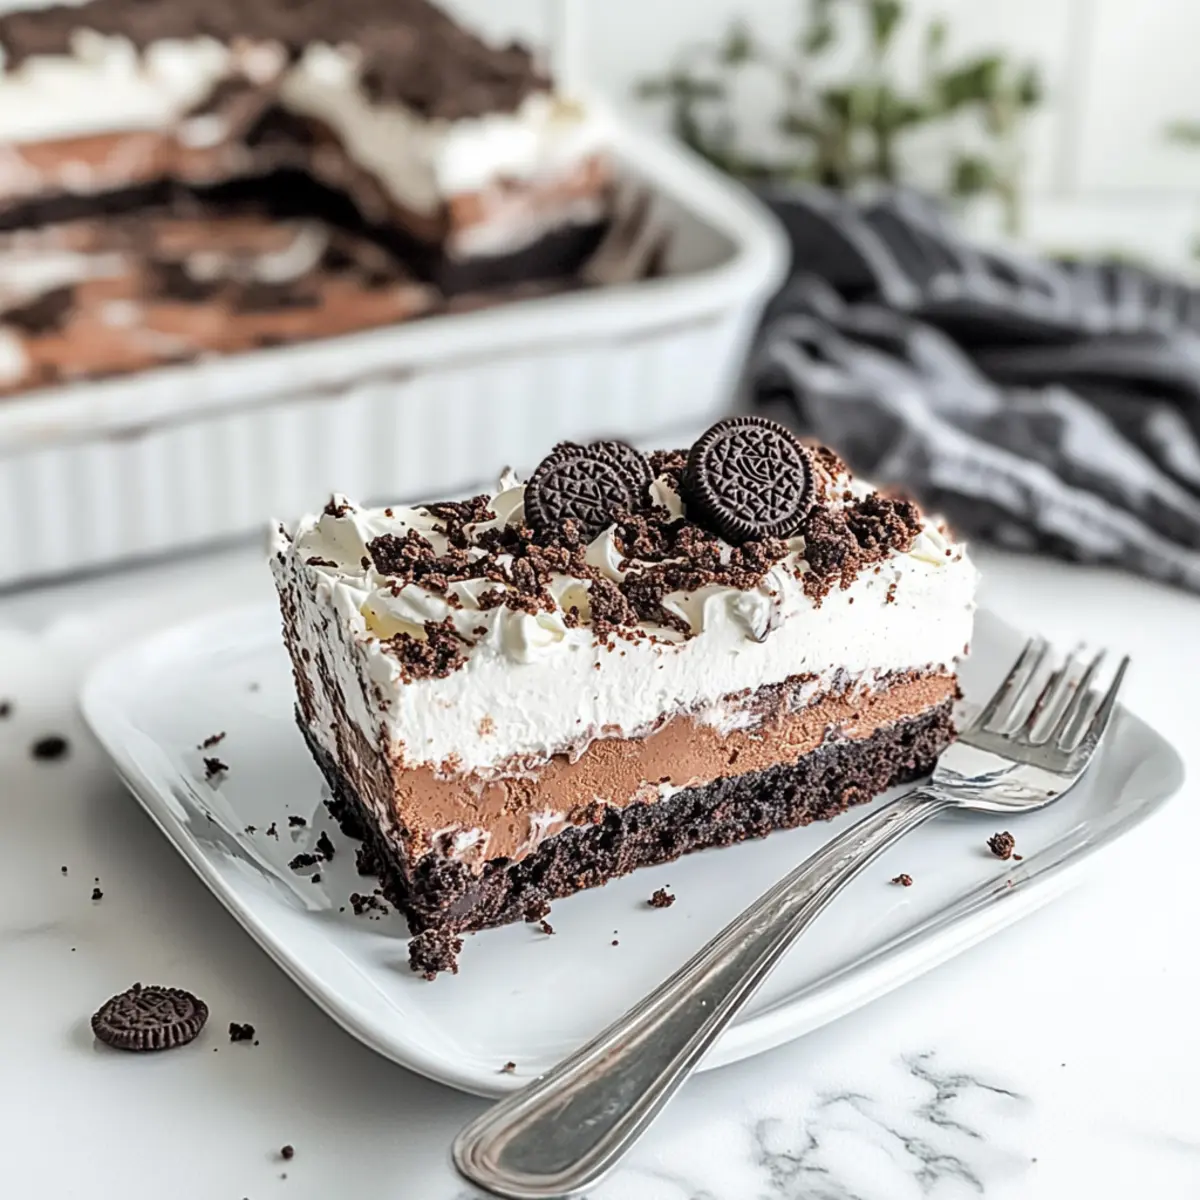
Storage Tips for Chocolate Oreo Lush
Fridge: Store leftovers in an airtight container for up to 4 days. Be sure to keep it covered to maintain its creamy texture and prevent any odors from other foods.
Freezer: You can freeze Chocolate Oreo Lush for up to 2 months. Wrap it tightly in plastic wrap and then foil to protect against freezer burn.
Reheating: This dessert is best enjoyed chilled, so there’s no need to reheat. Just thaw it in the refrigerator overnight before serving again.
Make-Ahead: Prepare this delicious no-bake dessert a day in advance, allowing the flavors to meld beautifully and save you time on the day of your event.
Make Ahead Options
These Chocolate Oreo Lush treats are perfect for busy home cooks looking to save time! You can prepare the crust and the cream cheese layer up to 24 hours ahead of time. Simply crush the Oreos and mix with melted butter, then press into your dish and refrigerate. Next, whip together the cream cheese layer and spread it over the crust, refrigerating it again. When it’s time to finish, prepare the chocolate pudding layer and add it on top, letting it chill for at least an hour before serving. Just remember to cover the dessert tightly with plastic wrap to maintain its freshness, ensuring it stays just as delicious when you’re ready to enjoy your Chocolate Oreo Lush!
Expert Tips for Chocolate Oreo Lush
• Crush Oreos Well: Ensure Oreos are finely crushed to avoid a gritty crust. Using a food processor makes this task quick and easy.
• Soften Cream Cheese: Let your cream cheese sit at room temperature before mixing. This prevents lumps and helps create a smooth cream layer.
• Chill Between Layers: Don’t skip the chilling steps after each layer. Proper chilling keeps the layers distinct and holds your hearty Chocolate Oreo Lush together beautifully.
• Cover When Storing: If you have leftovers, cover your dessert tightly in the fridge to maintain its creamy texture and prevent it from absorbing other odors.
• Try Variations: Feel free to experiment with flavor additions! Espresso powder or fresh fruit can enhance your Chocolate Oreo Lush, adding exciting new dimensions.
Chocolate Oreo Lush Variations
Feel free to get creative with this recipe, as there are so many fun twists you can add to elevate your Chocolate Oreo Lush!
-
Fruit Addition: Layer in sliced bananas or strawberries for a fresh burst of flavor that complements the richness beautifully. These fruity layers not only add color but also a delightful sweetness that lightens the dessert.
-
Espresso Powder: Stir in a teaspoon of espresso powder to the pudding for a mocha-inspired touch. The subtle coffee notes enhance the chocolate without overpowering it, making for a sophisticated dessert.
-
Nut Butters: Replace a portion of the cream cheese layer with creamy peanut butter or Nutella for an irresistible nutty wash of flavor. This twist adds depth and takes the indulgence factor up a notch!
-
Different Crust Options: Swap out regular Oreos for Golden Oreos or even gingersnap cookies for a unique flavor profile. Each crust variation will provide an exciting take on this classic no-bake treat.
-
Coconut Flakes: Add toasted coconut flakes between layers for an exotic touch that brings a tropical vibe to your dessert. The added crunch will delight your taste buds with each bite.
-
Minty Freshness: Incorporate crushed mint cookies in place of some Oreos or add a drop of peppermint extract to the cream cheese layer for a refreshing twist. This variation is perfect for those who adore mint-chocolate combinations!
-
Spicy Kick: Sprinkle a pinch of cayenne pepper into the pudding layer for a surprising hit of heat that contrasts beautifully with the sweetness. This unexpected addition adds complexity and intrigue to every bite.
-
Sweet Baby Marshmallows: Toss in mini marshmallows for a chewy texture that adds a delightful surprise to the layers. They create a fun, whimsical element that enhances the overall experience!
While you’re at it, you might also want to check out our delicious Halloween Chocolate Chip or the tempting White Chocolate Pumpkin recipes for even more dessert inspiration!
What to Serve with Chocolate Oreo Lush?
Looking to create the perfect dining experience to accompany this sweet masterpiece?
-
Fresh Berries: The tartness of strawberries or raspberries contrasts wonderfully with the rich chocolate, adding a refreshing pop to your dessert table.
-
Vanilla Ice Cream: A scoop of buttery vanilla ice cream balances the luscious layers, providing a creamy and delightful temperature contrast. Perfect for those who love chocolate and ice cream together!
-
Chocolate Milkshakes: Indulge in a nostalgic twist by serving this decadent dessert with thick chocolate milkshakes; the flavors sing in harmony while keeping your sweet tooth satisfied.
-
Coffee or Espresso: A warm cup of coffee or a rich espresso complements the chocolate nicely, adding a sophisticated touch to the experience. The slight bitterness enhances the sweetness, making every bite even more enjoyable.
-
Caramel Sauce Drizzle: Drizzle some warm caramel sauce on top before serving for an extra layer of flavor that ties in beautifully with the chocolate, creating an indulgent treat.
-
Nutty Cookies: Pair with buttery pecan or chocolate chip cookies to enhance the crunchy texture and introduce nutty flavors that harmonize with the Oreo crust.
-
Chocolaty S’mores Bars: For the ultimate chocolate experience, s’mores bars echo the flavors in the Chocolate Oreo Lush, presenting a delightful variation in texture while keeping that sweet, indulgent theme going strong.
-
Sparkling Water with Citrus: Refreshing sparkling water with a twist of lemon or lime cleanses the palate and enhances the dessert’s sweetness, making each bite feel light and delightful.
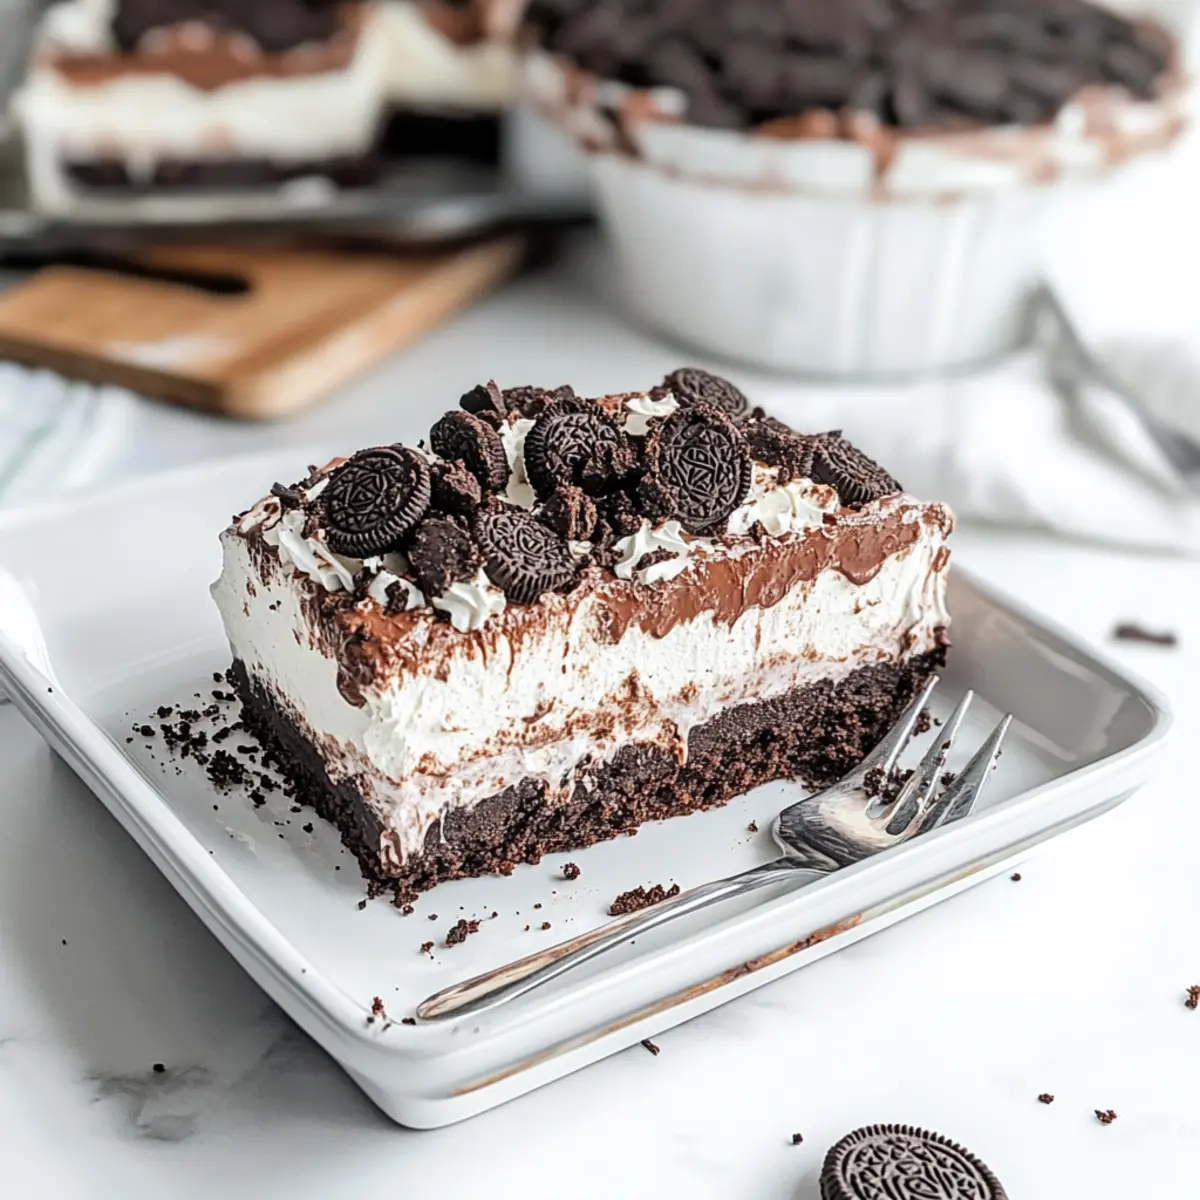
Chocolate Oreo Lush Recipe FAQs
What kind of Oreos should I use for the Chocolate Oreo Lush?
Absolutely! For the best flavor and texture, regular Oreos are recommended as they provide an authentic chocolaty base. However, feel free to experiment with variations like Golden Oreos or even flavored varieties depending on your preference!
How should I store leftovers of the Chocolate Oreo Lush?
Leftovers can be stored in an airtight container for up to 4 days in the refrigerator. Make sure it is well-covered to prevent it from absorbing other food odors and to maintain its lovely creamy texture.
Can I freeze Chocolate Oreo Lush? How?
Yes, you can freeze Chocolate Oreo Lush for up to 2 months! To do so, wrap the entire dish tightly with plastic wrap, then cover it with aluminum foil to prevent freezer burn. When you’re ready to enjoy it, just thaw it in the refrigerator overnight before serving.
What can I do if the layers of my Chocolate Oreo Lush are not setting properly?
Very! If your layers aren’t setting, ensure you’re chilling each layer for the recommended time as this helps them firm up. If you find the cream cheese layer lumpy, remember to let the cream cheese come to room temperature before mixing; using an electric mixer can also aid in achieving a smooth consistency. Lastly, make sure to use instant pudding as it needs to be mixed with cold milk to thicken correctly.
Is there a way to make this recipe nut-free?
Certainly! This Chocolate Oreo Lush is naturally nut-free since it uses standard Oreos, which don’t contain nuts. Just be mindful when selecting alternatives for Cool Whip or any add-ins, as some brands may have different allergen protocols. Always check packaging for allergy statements.
Can I add fruit to the Chocolate Oreo Lush? If so, how?
The more the merrier! Adding fruit is a fantastic way to elevate your Chocolate Oreo Lush. You can slice bananas, strawberries, or even raspberries and layer them between the cream cheese and pudding layers. Just make sure to not add too much fruit, or the layers may struggle to hold up. A light sprinkle of fruit can give a delicious freshness that complements the rich chocolate flavors beautifully!
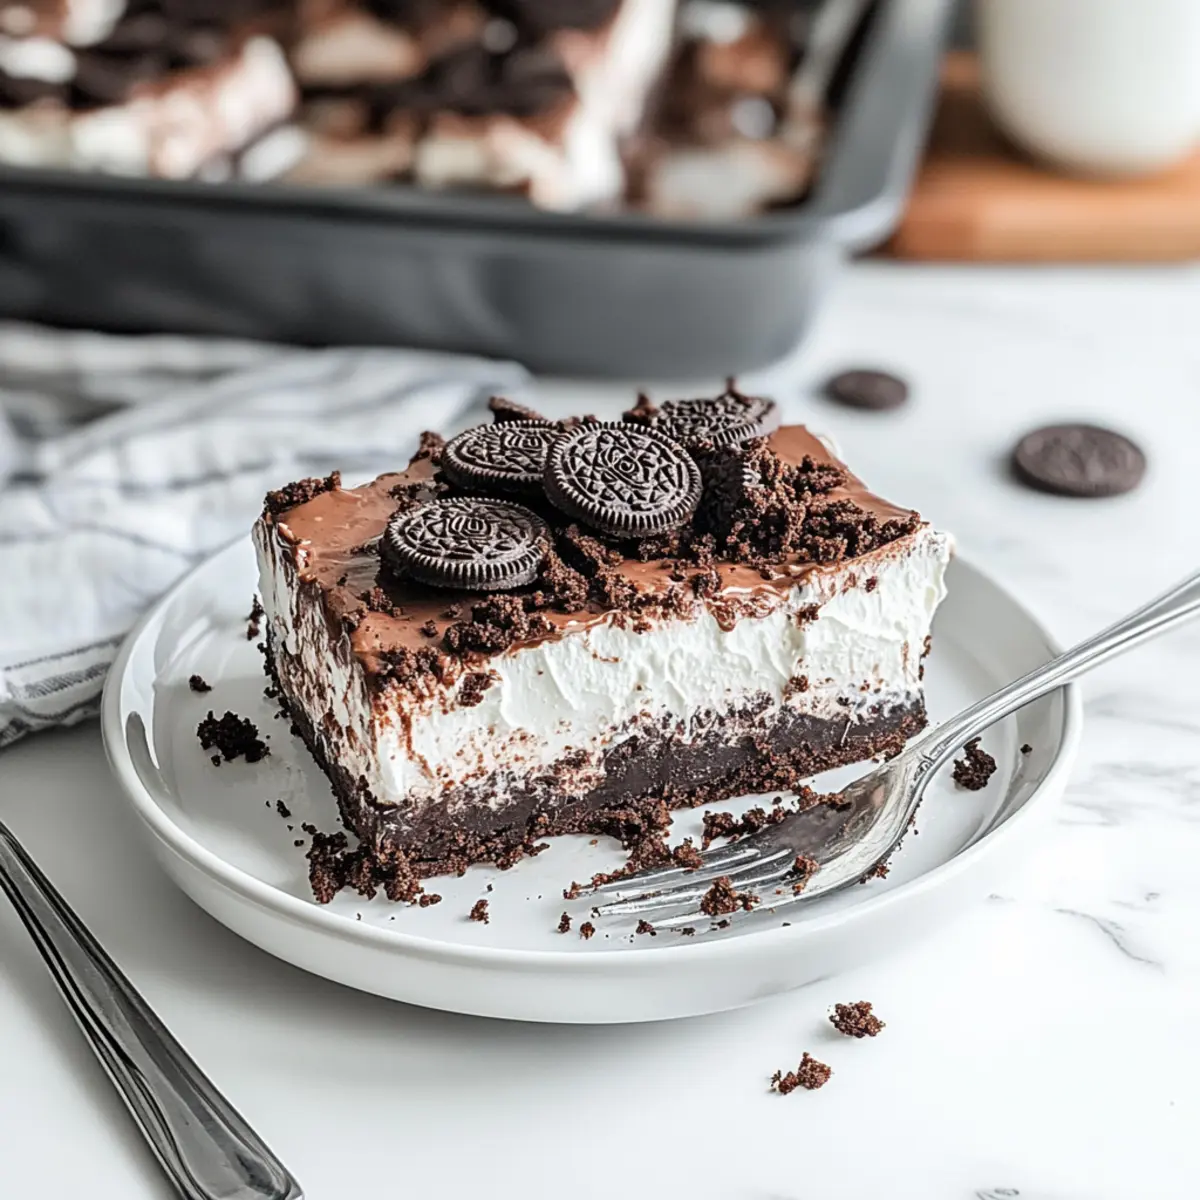
Luxurious Chocolate Oreo Lush You Can Whip Up in Minutes
Ingredients
Equipment
Method
- Crush 24 Oreos into fine crumbs and mix with 1/2 cup of melted butter. Press into the bottom of a 9x13 dish and refrigerate for 5 minutes.
- In a bowl, beat 8 ounces of cream cheese, 1 cup of heavy cream, and 1/2 cup of powdered sugar until smooth. Fold in 8 ounces of Cool Whip and spread over chilled crust. Refrigerate for 10 minutes.
- Whisk together 2 boxes of instant chocolate pudding with 4 cups of cold milk until thick. Spread on top of the cream cheese layer and chill for another 10 minutes.
- Spread an additional layer of Cool Whip over the pudding layer and garnish with crushed Oreos and optional chocolate curls. Chill for at least 1 hour before serving.
- Slice into squares and serve chilled, enjoying the layers of flavor.
Leave a Reply