
As I stood in my kitchen, the sun streaming through the window, I couldn’t help but marvel at the simplicity of homemade treats. This is how my journey to create the perfect Coconut Milk Ice Cream began—a blissful blend of creamy coconut goodness that’s both dairy-free and sugar-free. With just two ingredients, this no-churn delight transforms busy weeknights into indulgent dessert moments without the guilt. Plus, it’s low-carb and keto-friendly, making it the ideal choice for anyone looking to satisfy their sweet tooth while sticking to a healthy diet. Whether enjoyed after a long day or shared with friends, this luscious ice cream promises a scoop of happiness in every bite. Curious about making your own creamy masterpiece? Let’s dive in!
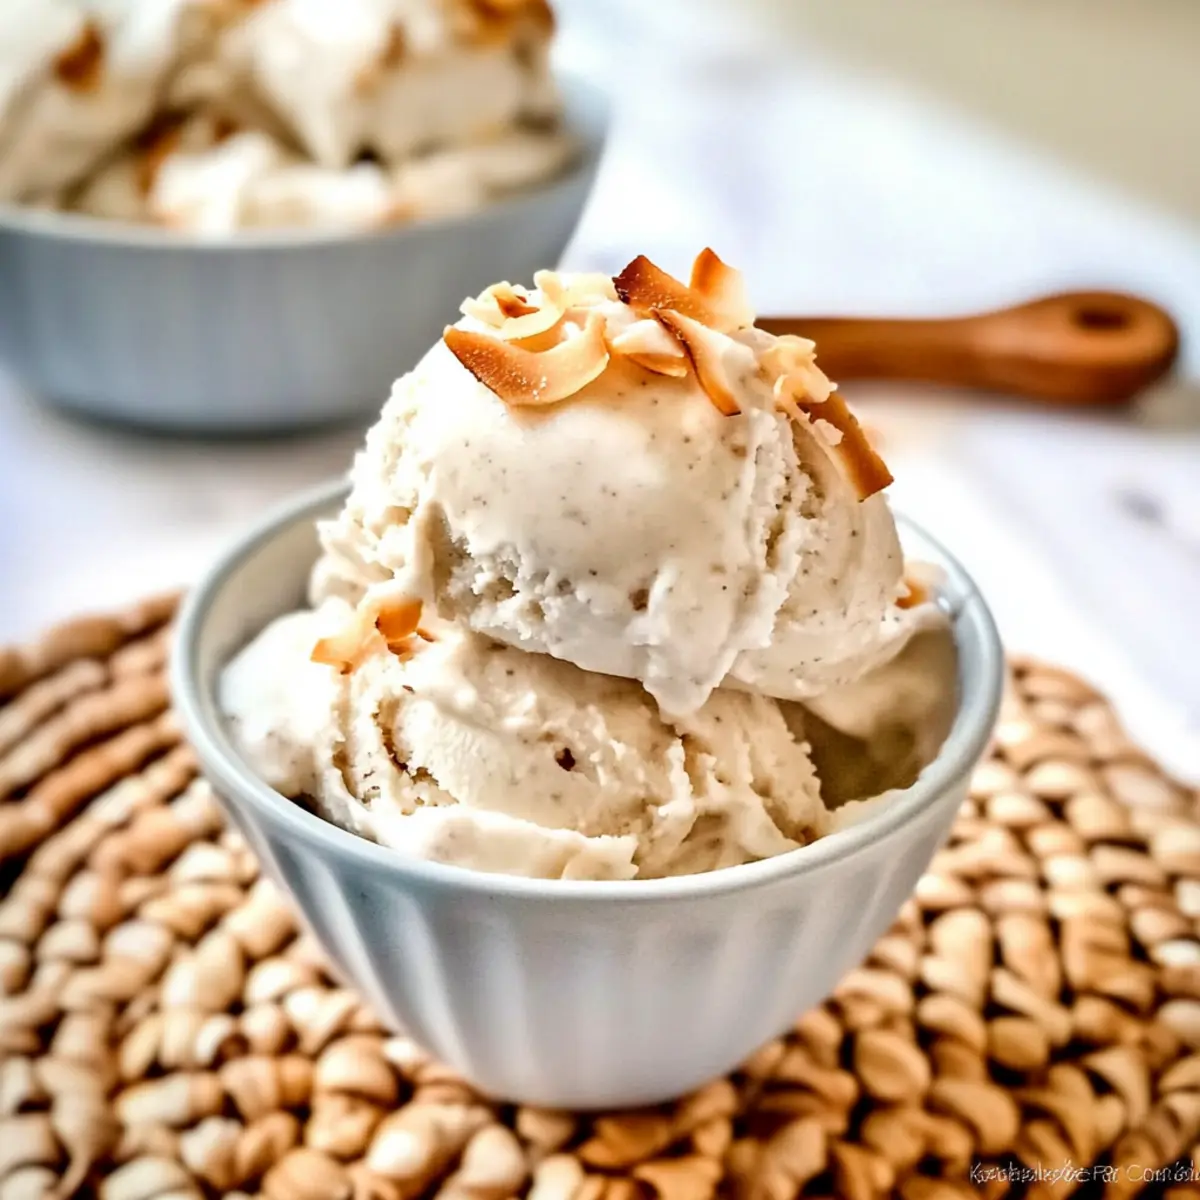
Why is Coconut Milk Ice Cream a Must-Try?
Creamy Texture: Made with full-fat coconut milk, this ice cream offers a luxurious, velvety texture that rivals traditional dairy ice creams.
Guilt-Free Indulgence: With only two ingredients and no added sugar, you can indulge without the guilt—perfect for health-conscious dessert lovers!
Versatile Flavor: Customize your ice cream by adding cocoa powder for a rich chocolate treat or fresh blended fruit for a fruity twist; the options are endless!
Quick and Easy: No ice cream maker is required, making it a hassle-free dessert that you can whip up anytime. Feeling adventurous? Try it alongside delectable dishes like Creamy Garlic Shrimp over Mashed Potatoes for a complete meal experience.
Crowd-Pleaser: This recipe is sure to be a hit at gatherings, appealing to vegan, keto, and health-conscious friends alike! Enjoy a scoop today and elevate your dessert game.
Coconut Milk Ice Cream Ingredients
For the Base
• Coconut Milk – Use full-fat canned coconut milk for the creamiest texture; it serves as the delicious base of your coconut milk ice cream.
• Sweetener (Allulose) – Provides sweetness without the added sugar; allulose prevents crystallization, ensuring your ice cream remains delightfully soft.
For Extra Flavor
• Vanilla Extract – Optional, but a splash can elevate the flavor profile with warmth and depth.
• Sea Salt – A pinch enhances and balances all flavors, making your coconut milk ice cream even more irresistible.
Step‑by‑Step Instructions for Coconut Milk Ice Cream
Step 1: Chill the Container
Begin by placing a loaf pan or any freezable container in the freezer for at least 2 hours. This pre-chilling step is crucial for achieving a creamy texture in your coconut milk ice cream. Ensure your container is not only cold but also clean and ready for the delightful mixture you’ll soon prepare.
Step 2: Blend Ingredients
In a high-speed blender, combine one can of full-fat coconut milk, your chosen sweetener (allulose works best), and a splash of vanilla extract for extra flavor. Add a pinch of sea salt to enhance the overall taste. Blend on high until the mixture is completely smooth and creamy, with a rich texture that invites your taste buds.
Step 3: Transfer and Freeze
Carefully pour the blended mixture into your pre-chilled container, using a spatula to smooth out the surface for even freezing. Seal the container tightly with a lid or plastic wrap to prevent ice crystals from forming. This will keep your coconut milk ice cream silky and enjoyable as it freezes.
Step 4: Freeze
Place the sealed container in the freezer and allow the coconut milk ice cream to freeze for a minimum of 3 hours. For the best results, check it after 3 hours; the ice cream should be firm but still scoopable, showcasing a beautiful creamy consistency that rivals traditional options.
Step 5: Serve
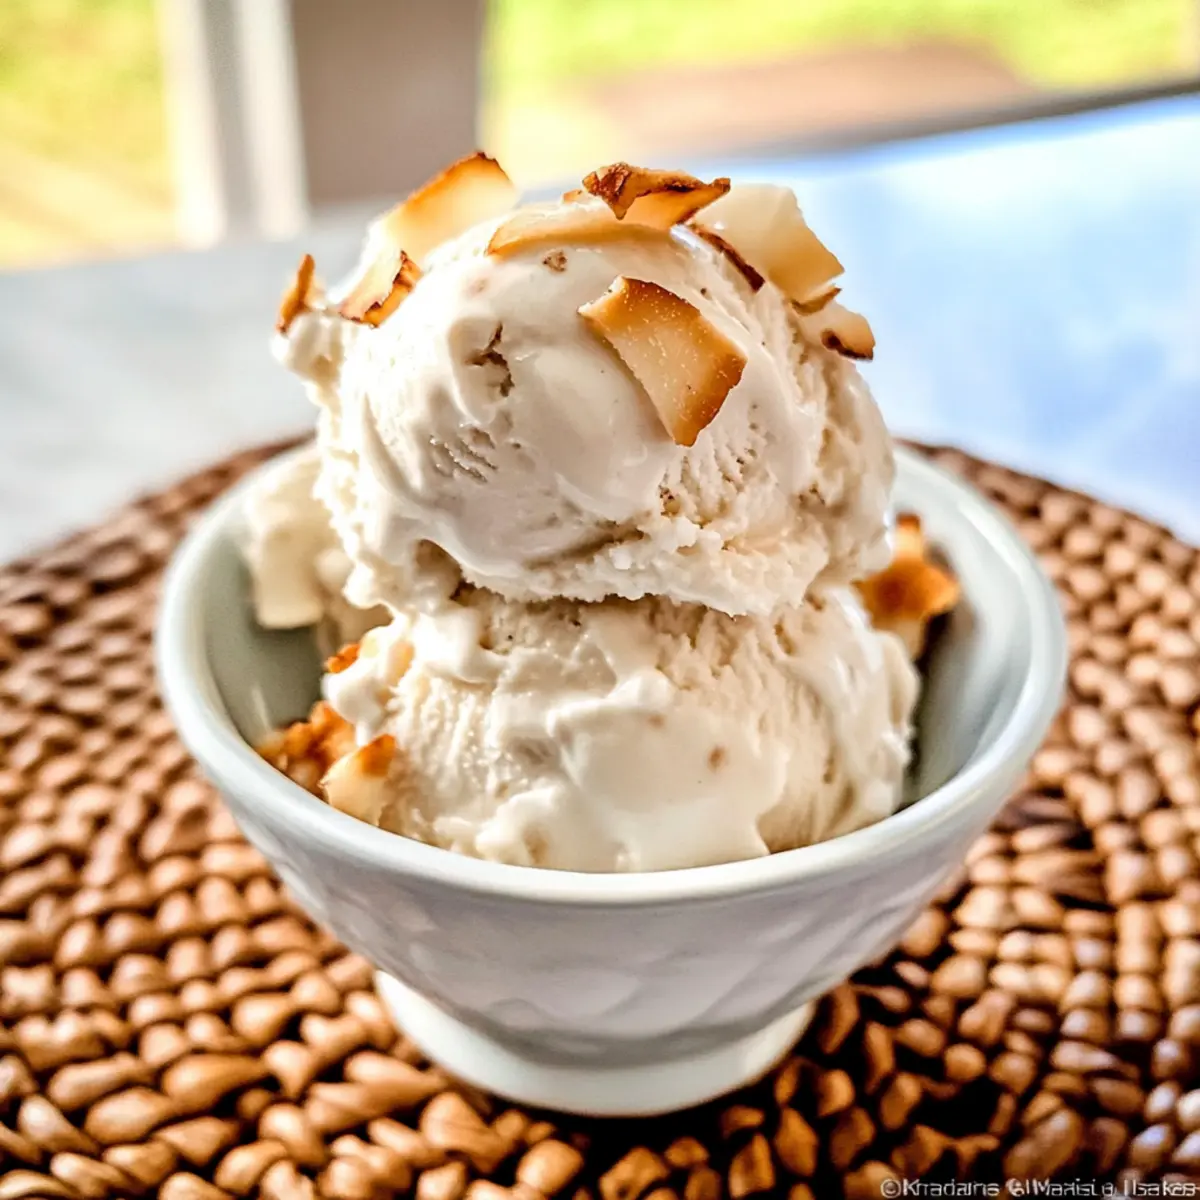
Before serving your delicious coconut milk ice cream, let it sit at room temperature for about 10-15 minutes. This will slightly soften the ice cream, making it easy to scoop. Once ready, enjoy a scoop or two of this delightful treat that offers a satisfying, guilt-free dessert option perfect for any occasion.
Expert Tips for Coconut Milk Ice Cream
-
Choose Full-Fat Milk: Using full-fat coconut milk ensures a creamy texture. Light versions can lead to icy ice cream, ruining your delicious creation.
-
Ideal Sweeteners: Stick with allulose for the best softness. Other options may alter the texture, making it harder and less enjoyable.
-
Pre-Chill Container: Don’t skip chilling your container! This simple step helps prevent ice crystals from forming, yielding a creamier coconut milk ice cream.
-
Flavor Variations: Feel free to experiment! Adding cocoa or blended fruit can greatly enhance the flavor, turning your ice cream into a unique dessert.
-
Storage Tips: Keep your ice cream in an airtight container with a layer of parchment on top to extend shelf life and prevent freezer burn.
-
Serving Softness: Allow the ice cream to sit at room temperature for 10-15 minutes before serving. It makes scooping much easier while still keeping it deliciously creamy!
How to Store and Freeze Coconut Milk Ice Cream
Fridge: Store any leftover coconut milk ice cream in the refrigerator for up to 3 days; however, it will start to lose its creamy texture and may become harder.
Freezer: Keep your coconut milk ice cream in an airtight container in the freezer for up to three months. Protect it from freezer burn by pressing a layer of parchment paper on top before sealing.
Thawing: Prior to serving, let the ice cream sit at room temperature for about 10-15 minutes to soften it, ensuring easy scooping while maintaining its rich creaminess.
What to Serve with Keto-Friendly Coconut Milk Ice Cream
As the sun sets and the day winds down, imagine ending your culinary adventure with the sweet delight of creamy coconut goodness.
-
Fresh Berries: The tartness of strawberries, raspberries, or blueberries complements the sweetness of the ice cream, adding a burst of freshness and vibrant color to each scoop.
-
Chocolate Sauce: A rich drizzle of melted dark chocolate takes this dessert to new heights, balancing the creaminess with a decadent touch—a true indulgence for chocolate lovers!
-
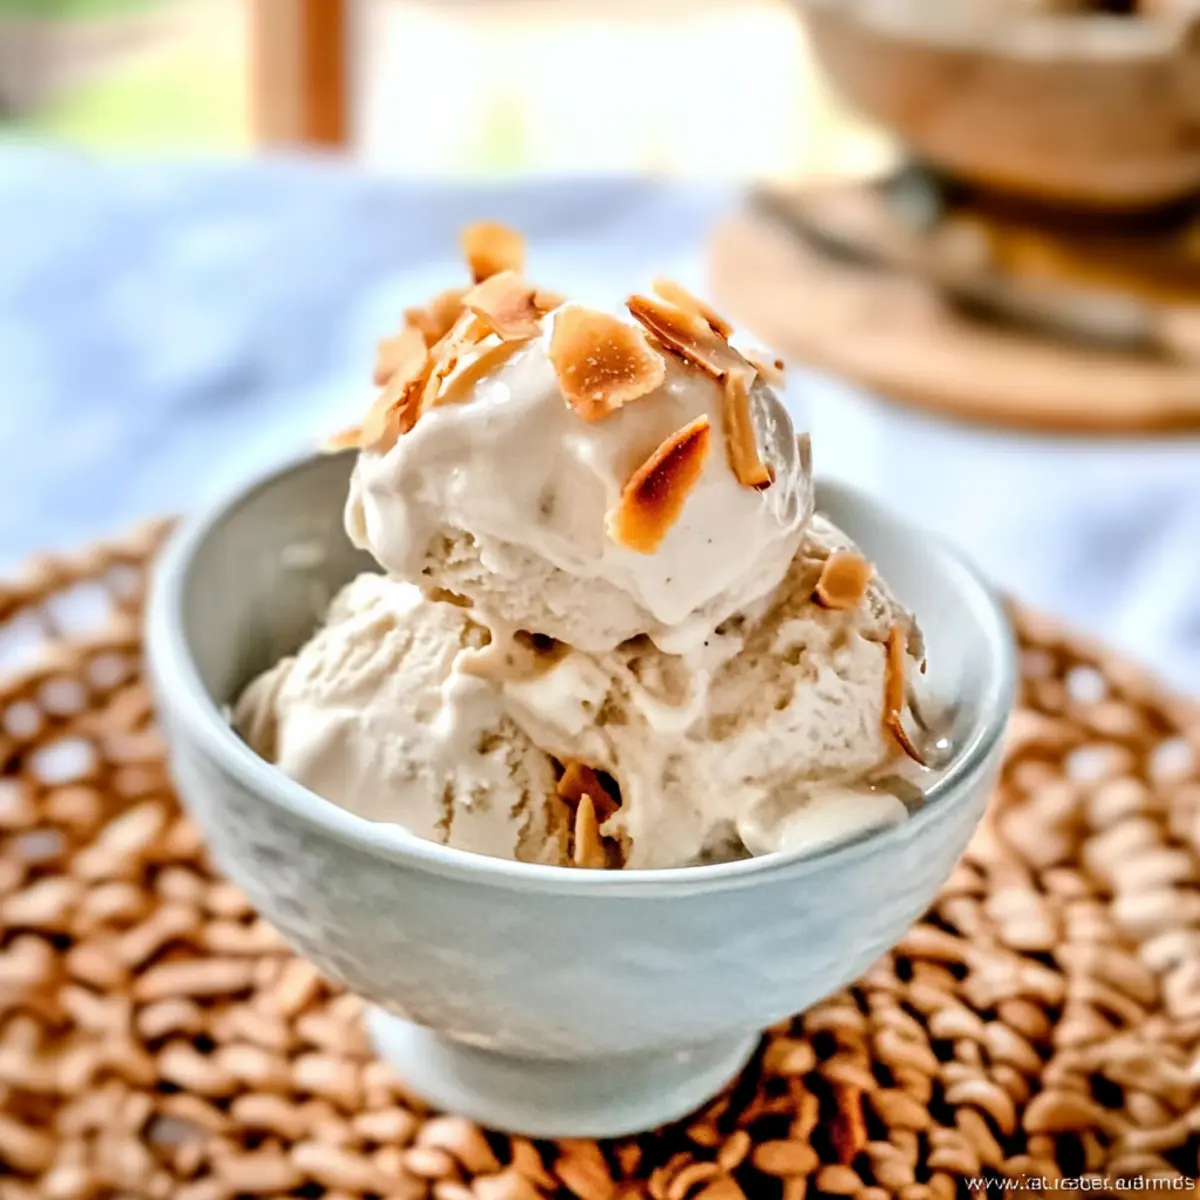
Toasted Coconut Flakes: Sprinkle these fragrant flakes over your ice cream to enhance the coconut flavor and add a chewy texture, perfect for that tropical vibe.
-
Nutty Granola: For some crunch, serve with a handful of nutty granola. This adds a satisfying contrast to the smooth ice cream, making every bite an adventure.
-
Homemade Fruit Compote: A warm, fruity compote—made from simmered seasonal fruits—adds a delightful warmth and sweetness, creating a perfect pairing for the cool dessert.
-
Iced Herbal Tea: Enjoy your coconut milk ice cream alongside a refreshing glass of iced herbal tea. The lightness and aromatic flavors offer an uplifting and cooling effect, perfect for warmer evenings.
Make Ahead Options
These Coconut Milk Ice Creams are perfect for meal prep enthusiasts! You can blend the ingredients up to 24 hours in advance and store the mixture in the fridge (this allows the flavors to meld beautifully). Simply transfer the blended mixture into a pre-chilled container and seal it tightly before freezing for a minimum of 3 hours to achieve that perfect scoopable texture. To maintain quality, be sure to prevent ice crystals by covering the surface with parchment paper before sealing the container. When you’re ready to serve, let the ice cream sit at room temperature for about 10-15 minutes to soften slightly, resulting in an indulgent dessert that’s just as delicious as when freshly made!
Coconut Milk Ice Cream Variations
Feel free to let your creativity shine as you customize this delightful coconut milk ice cream!
-
Dairy-Free Delight: For a completely dairy-free experience, stick with coconut milk and add your favorite plant-based sweetener.
-
Chocolate Lover: Mix in 2-3 tablespoons of cocoa powder or melt dark chocolate into the base for a rich chocolate fudge version. It’s a chocolate lover’s dream!
-
Berry Blast: Blend in ½ to 1 cup of your favorite berries for a fresh and fruity twist. Strawberries or mangoes work wonders, adding a splash of color and flavor!
-
Sweetener Swap: If allulose isn’t available, try powdered Swerve or erythritol, knowing it might slightly alter the texture. Keep experimenting until you find your perfect sweetness level!
-
Spicy Twist: Add a pinch of cinnamon or nutmeg to bring warmth and spice to your ice cream. These flavors pair well, especially if you top it off with some toasted coconut flakes!
-
Citrus Zest: Enhance the flavor by adding a teaspoon of lime or orange zest for a refreshing zing. It brightens the ice cream beautifully!
-
Nutty Crumble: Mix in coarsely chopped nuts or stir in a spoonful of nut butter for a delightful crunch and richness. Almonds or pecans are perfect!
-
Tropical Paradise: Incorporate shredded pineapple or ripe banana for a taste of the tropics. It feels like a mini-vacation with every scoop!
Explore these variations and discover how delightful your homemade coconut milk ice cream can be! If you’re feeling adventurous, why not enjoy a scoop with some of my Sweet Coconut Cream Pancakes? They make for a delicious brunch pairing!
Coconut Milk Ice Cream Recipe FAQs
How do I choose the right coconut milk for this recipe?
Absolutely! For the best results, always opt for full-fat canned coconut milk. It creates that rich, creamy texture we all love. Look for brands that list “coconut” as the only ingredient for a pure and delicious base.
How should I store leftover coconut milk ice cream?
To enjoy your coconut milk ice cream at its best, keep it stored in an airtight container in the freezer for up to three months. To prevent freezer burn, I recommend pressing a layer of parchment paper on top before sealing. This little trick will keep it silky smooth!
Can I freeze coconut milk ice cream? How do I do that properly?
Yes! Once you’ve blended your coconut milk ice cream mixture and transferred it to the pre-chilled container, seal it tightly. Freeze for at least 3 hours or until firm. When you’re ready to enjoy, let it sit at room temperature for 10-15 minutes to soften up enough for easy scooping.
What if my coconut milk ice cream is too hard or icy?
Very! If your ice cream turns out hard, it’s likely that the sweetener used frozen differently than allulose or other recommendations. A quick remedy is to let it thaw for a bit before serving. Additionally, using full-fat coconut milk and ensuring your container is chilled can also help improve consistency.
Is this coconut milk ice cream safe for those with dietary restrictions?
Sure thing! This ice cream is dairy-free, sugar-free, and suitable for vegans. Just double-check the sweetener you choose, as some alternatives can trigger allergies. If you’re serving this to guests, inform them of the ingredients used to ensure everyone enjoys worry-free!
How long can I keep coconut milk ice cream in the fridge?
While it’s best stored in the freezer, if you do have any leftovers, you can keep them in the refrigerator for up to 3 days. However, expect it to become firmer over time, so it’s always better to savor it fresh from the freezer!
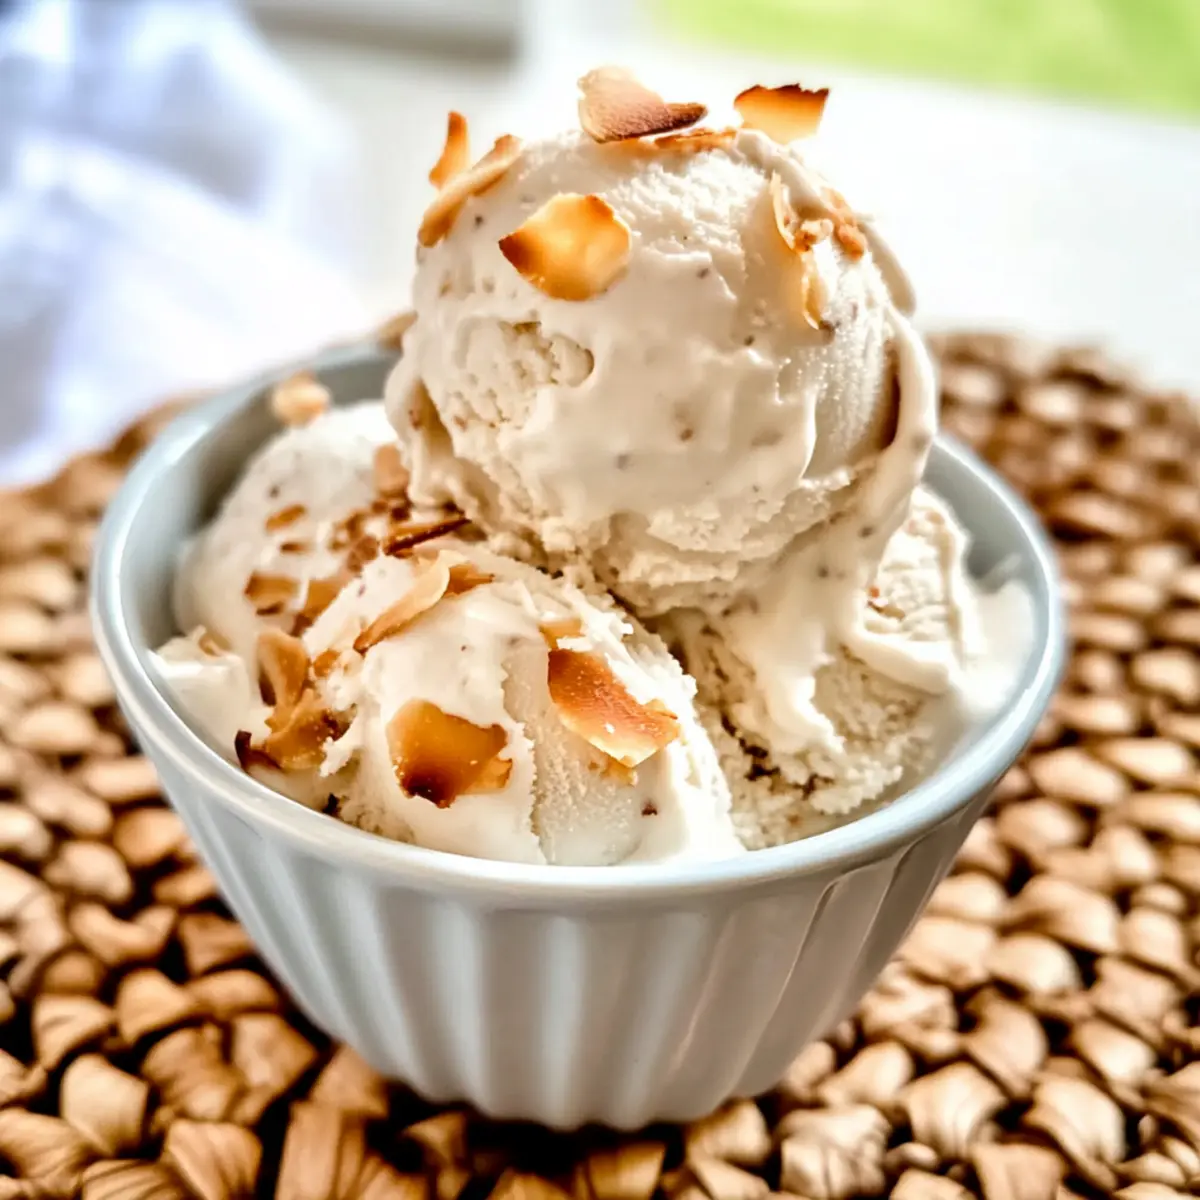
Creamy Coconut Milk Ice Cream That's Easy and Guilt-Free
Ingredients
Equipment
Method
- Chill a loaf pan or freezable container in the freezer for at least 2 hours.
- In a high-speed blender, combine full-fat coconut milk, allulose, vanilla extract, and sea salt. Blend until smooth.
- Pour the mixture into the pre-chilled container and smooth the surface. Seal tightly.
- Freeze for a minimum of 3 hours until firm but scoopable.
- Let sit at room temperature for 10-15 minutes before serving for easy scooping.
Leave a Reply