
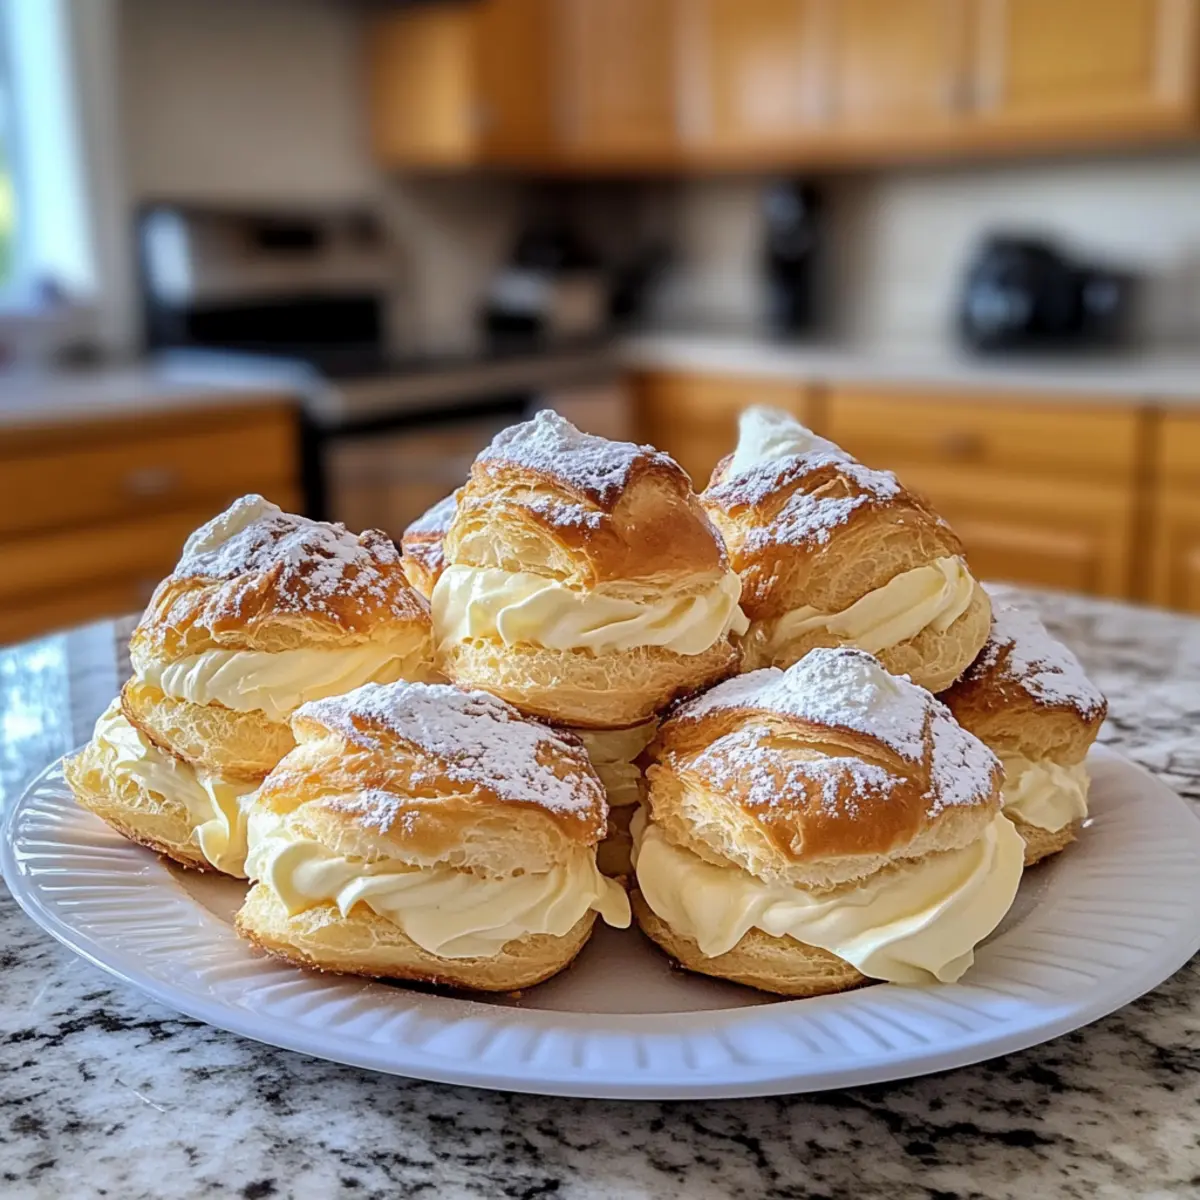
As I stood over the stove, the sweet aroma of melting butter wafted through the kitchen, instantly transporting me to my childhood home. My mom’s famous cream puffs have always been a family favorite, filled with a luscious vanilla cream that feels like a warm hug on a plate. These delightful treats are not only simple to make, but they also elevate any gathering with their impressive presentation and heavenly flavor. Perfect for a cozy dessert after dinner or as a showstopper at special occasions, these cream puffs are sure to win hearts and taste buds alike. Are you ready to create some magical memories in your own kitchen?
Why Are These Cream Puffs So Irresistible?
Light and Fluffy: Each cream puff is a delicate cloud of pastry, perfectly airy and inviting.
Decadent Filling: The creamy vanilla center offers a delicious contrast to the crisp exterior, making every bite a delightful experience.
Quick and Easy: With just a handful of ingredients, these cream puffs come together effortlessly, even for novice bakers.
Crowd-Pleasing Treat: You’ll have friends and family swooning over these delectable desserts, whether at parties or a cozy dinner.
Versatile Variations: Feel free to experiment with flavored extracts or add fruit for a unique twist—whether it’s infused with almond or dotting in chocolate, each version is a winner!
If you love delightful desserts, be sure to also check out my recipes for Sweet Coconut Cream and Creamy Garlic Shrimp over Mashed Potatoes—they’re just as easy and indulgent!
Cream Puff Ingredients
• Ready to whip up some delicious cream puffs? Here’s what you’ll need!
For the Dough
- Water – Essential for steam generation during baking; it helps the puffs rise beautifully.
- Butter – Adds richness and flavor; using margarine is a good alternative if you need a substitute.
- All-Purpose Flour – Provides the structure for your cream puffs; feel free to use gluten-free flour if preferred.
- Eggs – The key ingredient for that airy, puffy texture; substitute eggs only with caution as it alters the outcome.
For the Filling
- Vanilla Extract – Infuses the cream filling with delightful flavor; you can swap it with almond extract for a subtle twist.
- Sugar – Sweetens the filling to perfection; try reducing it or using a sugar substitute to lighten up your treats.
Step‑by‑Step Instructions for Mom’s Famous Cream Puffs
Step 1: Preheat the Oven
Begin by preheating your oven to 425°F (220°C). This high temperature is crucial for achieving those airy cream puffs. Make sure the oven is fully heated before you place your cream puffs inside, as this will help them rise beautifully while baking.
Step 2: Prepare the Dough
In a medium saucepan over medium heat, combine 1 cup of water and 1/2 cup of butter. Stir the mixture until the butter melts completely and comes to a rolling boil. This boiling water and butter mix will provide the essential moisture needed to make your cream puffs rise when baked.
Step 3: Combine Flour
Once boiling, add 1 cup of all-purpose flour all at once, stirring vigorously with a wooden spoon until a smooth dough forms. Continue to cook this mixture for about 1-2 minutes until it pulls away from the sides of the pan and becomes glossy. The texture should be soft but firm—a good sign that your dough is ready.
Step 4: Incorporate the Eggs
Remove the saucepan from heat and allow the dough to cool for about 5 minutes. Then, add 4 large eggs, one at a time, mixing well after each addition. Each egg should be fully incorporated before adding the next; this is key to creating a rich and airy texture in your cream puffs.
Step 5: Pipe the Dough
Using a piping bag fitted with a large round tip (or a spoon), dollop or pipe the dough onto a parchment-lined baking sheet, leaving about 2 inches of space between each mound. Aim for about 1.5 inches in diameter; they will spread while baking, forming delightful cream puffs that are the perfect size for filling.
Step 6: Bake the Cream Puffs
Carefully place the baking sheet in the preheated oven and bake for 20-25 minutes, until the cream puffs are golden brown and puffed up. It’s essential not to open the oven door during the first 20 minutes to maintain steam and allow them to rise adequately.
Step 7: Whip the Cream Filling
While the cream puffs are baking, prepare the filling by whipping 1 cup of heavy cream with 1 teaspoon of vanilla extract and 2 tablespoons of sugar. Beat until stiff peaks form, which will take about 3-5 minutes using an electric mixer. You want a light and fluffy mixture that holds its shape for a decadent cream filling.
Step 8: Fill the Cream Puffs
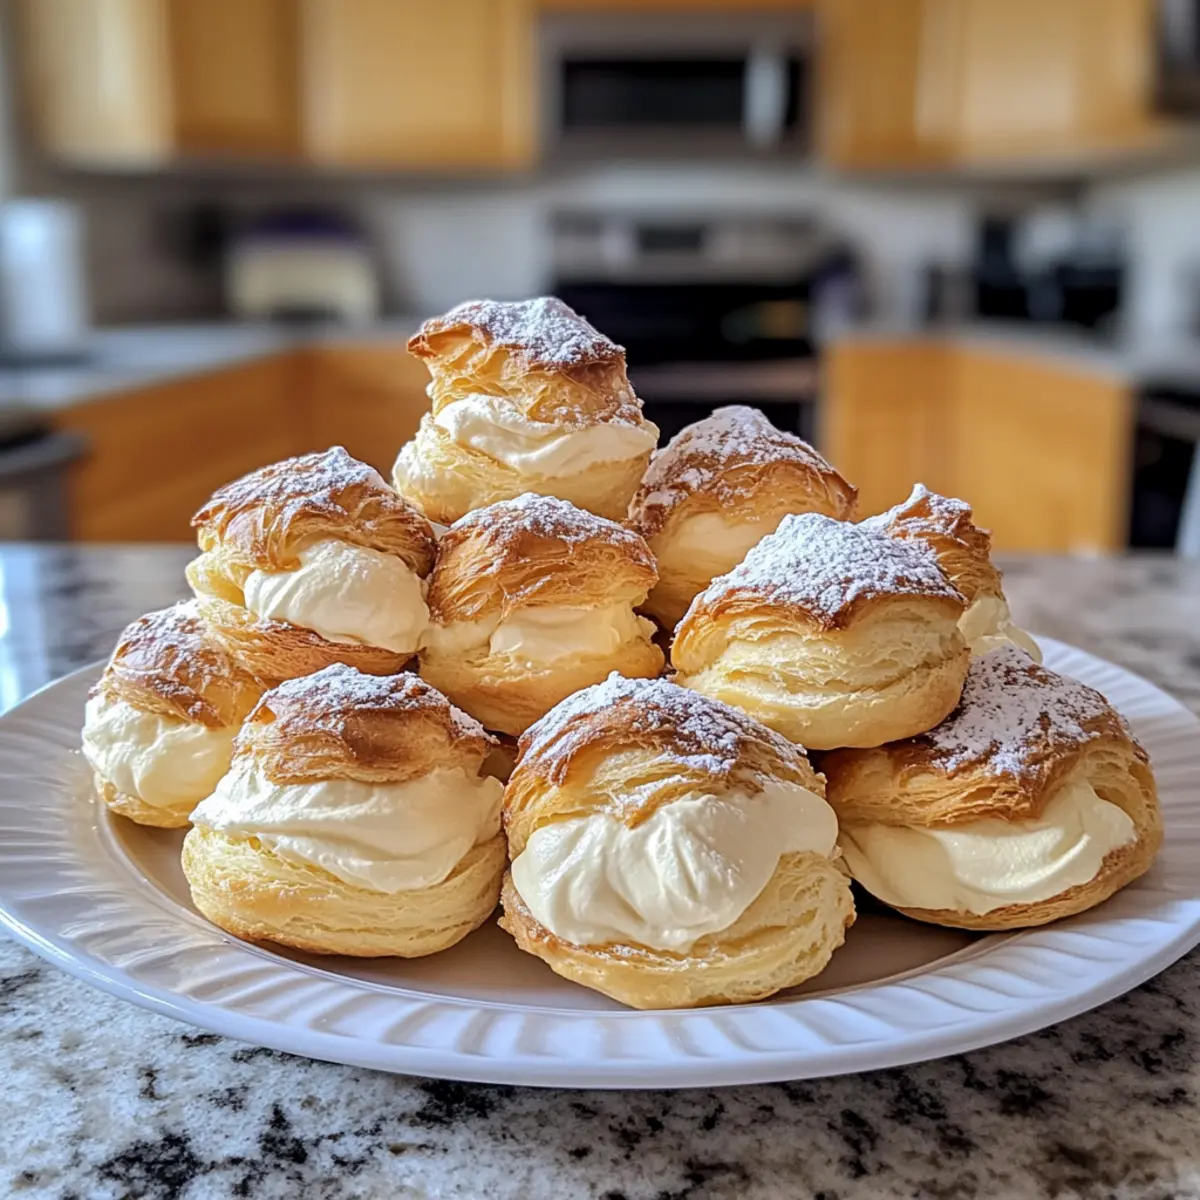
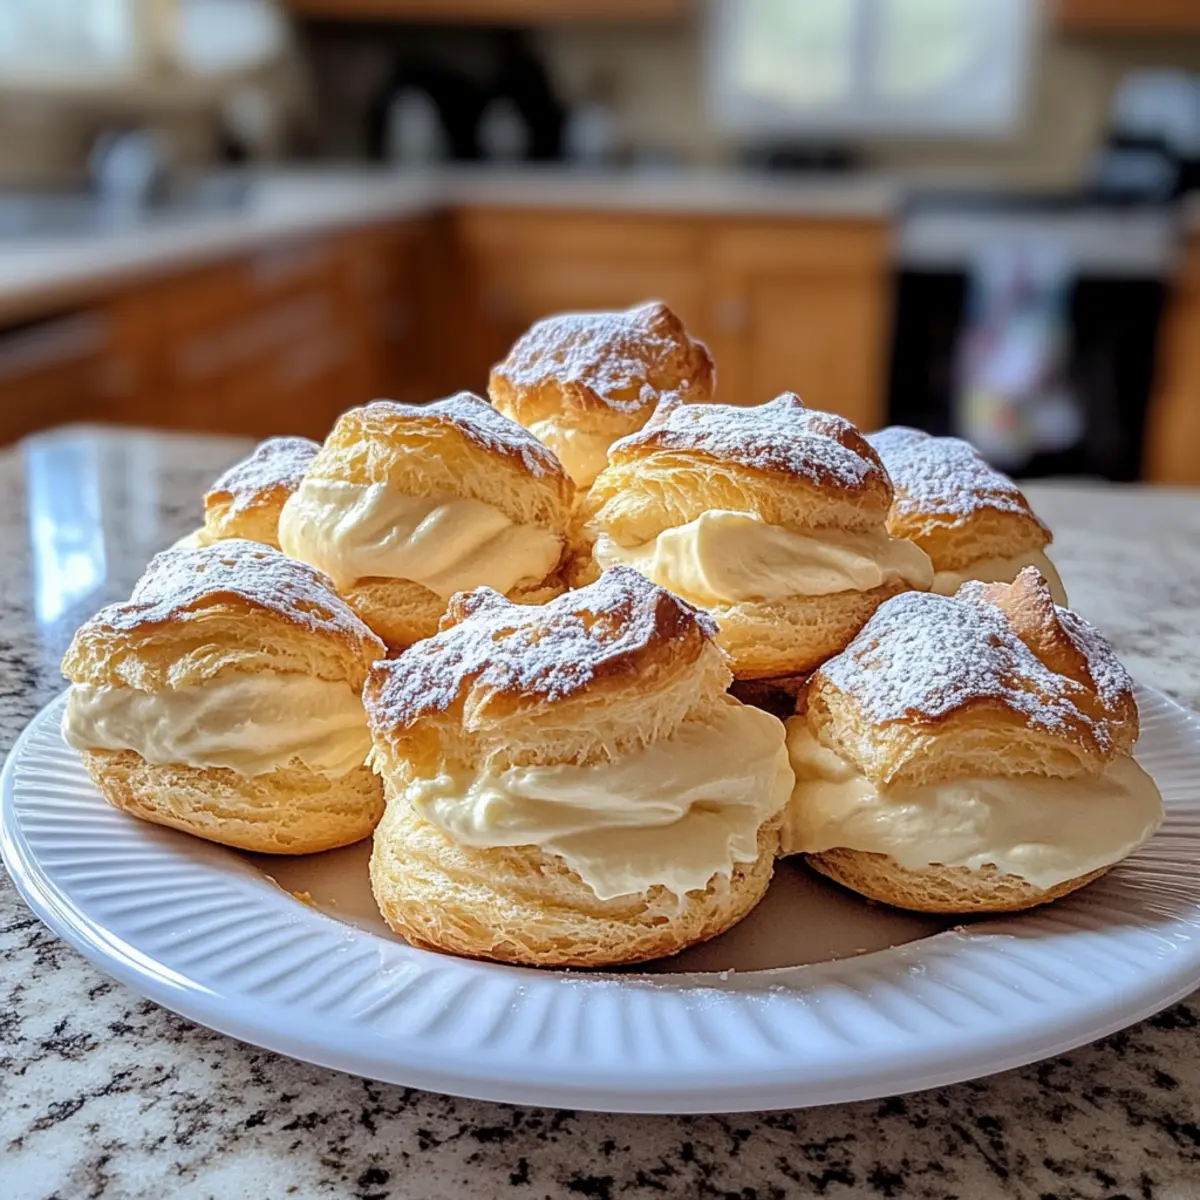
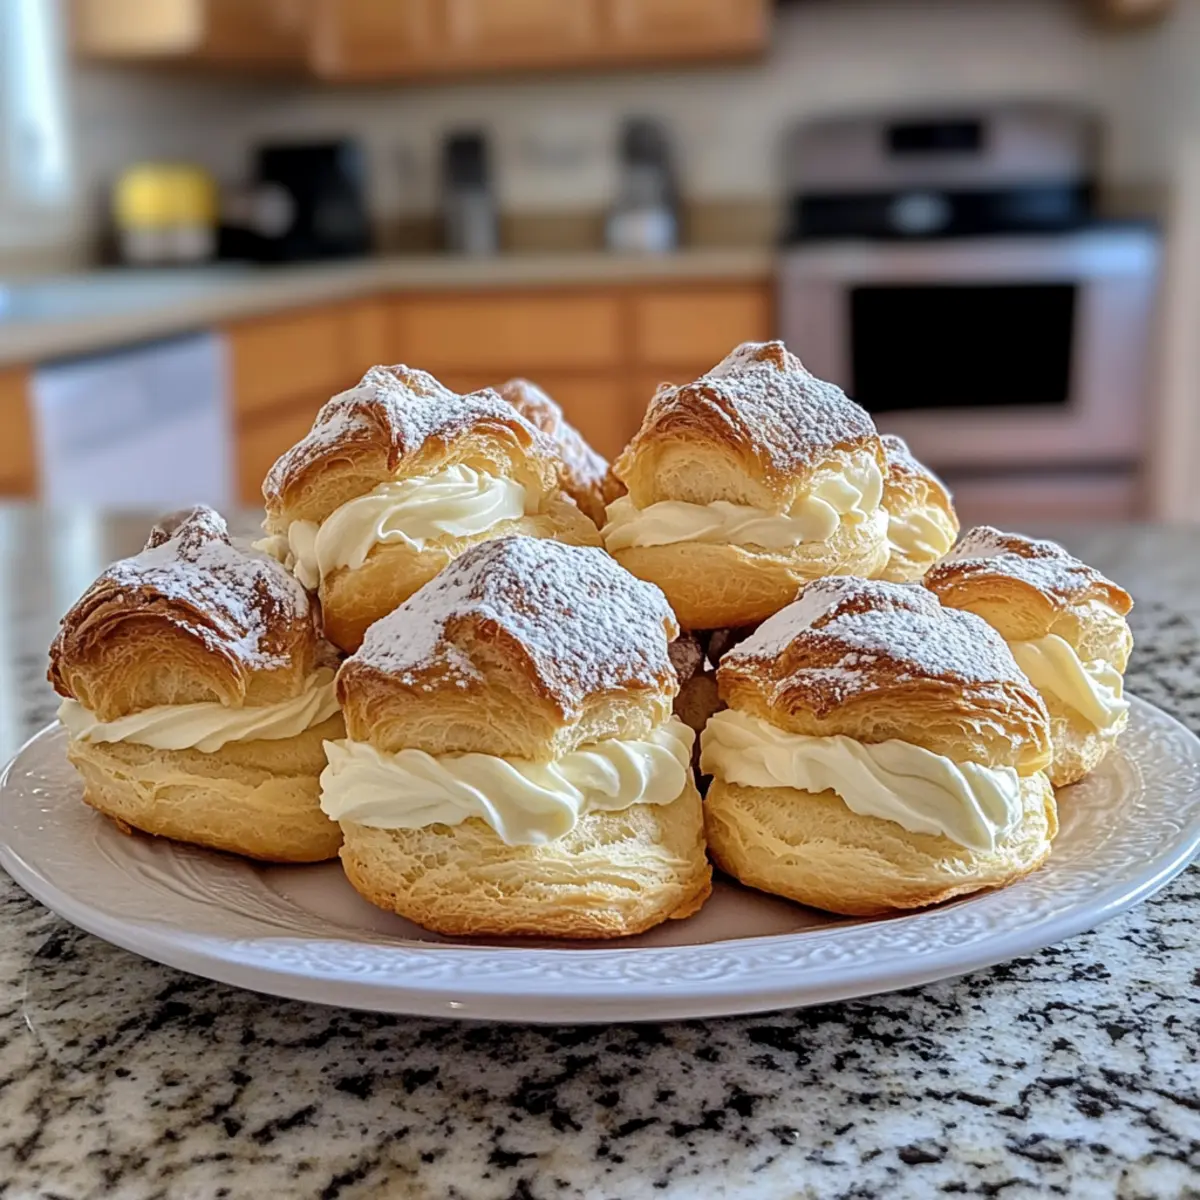
Once your cream puffs are baked and cooled completely, gently slice each puff in half using a serrated knife. Carefully fill each puff with the whipped cream mixture, offering a generous dollop. The contrast between the crisp shell and the creamy filling will make these mom’s famous cream puffs a delightful treat for any occasion.
Make Ahead Options
These Mom’s Famous Cream Puffs are perfect for meal prep enthusiasts! You can prepare the dough up to 24 hours in advance by piping the shapes onto a baking sheet and then covering it with plastic wrap, ensuring they stay fresh. Alternatively, bake the cream puffs ahead of time and store them in an airtight container at room temperature for up to 2 days; this method helps maintain their light texture. For the filling, whip the cream and store it in the refrigerator for up to 3 days. When ready to serve, simply fill the cooled cream puffs right before your gathering for a delightful treat that tastes just as fresh, saving you time amidst your busy schedule!
Expert Tips for Perfect Cream Puffs
Check the Butter: Ensure the butter is fully melted before adding flour to create a smooth dough, which is crucial for puffy cream puffs.
No Peeking! Avoid opening the oven while baking; this can cause the cream puffs to deflate. Keep the steam inside for maximum rise.
Incorporate Eggs Well: Beat in each egg one at a time until fully blended. This step is essential for achieving that light and airy puffiness.
Gentle Cutting: Use a serrated knife to carefully slice open the baked cream puffs for filling. This prevents crushing them and maintains their delightful shape.
Cool Before Filling: Let the cream puffs cool completely before adding the filling; warm puffs can cause the cream to melt and make a mess.
What to Serve with Mom’s Famous Cream Puffs
Create a delightful dining experience by pairing these airy pastries with complementary dishes that enhance their deliciousness.
-
Rich Hot Chocolate: A warm, indulgent drink that balances the lightness of the cream puffs with its creamy, chocolaty flavor. Perfect for cozy evenings.
-
Fresh Berries Salad: Bright, juicy berries add a refreshing contrast to the creamy filling, making for a vibrant and colorful plate.
-
Coffee or Espresso: A robust, slightly bitter drink brings out the sweetness of the cream filling, creating a balanced flavor that’s truly satisfying.
-
Vanilla Ice Cream: This classic pairing offers a delightful textural contrast; the cold, creamy ice cream elevates the dessert experience.
-
Decadent Chocolate Sauce: Drizzle over the puffs for a rich addition that enhances their sweetness, creating an elegant dessert display.
-
Tea Infusions: A fragrant brew, such as chai or Earl Grey, complements the creaminess while adding a sophisticated touch to your dessert spread.
-
Whipped Cream Topping: Adding a dollop on top elevates each puff, providing extra creaminess while enhancing the overall indulgent experience.
-
Lemon Curd: The tangy zestiness offers a refreshing contrast to the sweet vanilla filling, making each bite an exciting surprise.
-
Coconut Macaroon Cookies: These chewy treats bring a tropical twist to your dessert table, adding varied texture and flavor nuances.
-
Fruit Sorbet: A light and fruity alternative that cleanses the palate while delivering a sweet and tangy finish to your meal.
How to Store and Freeze Cream Puffs
Room Temperature: Keep unfilled cream puffs in an airtight container at room temperature for up to 2 days for the best texture and taste.
Fridge: Filled cream puffs should be refrigerated and consumed within 1 day as the filling can make the pastry soggy after that.
Freezer: If you want to prepare in advance, freeze unfilled cream puffs for up to 2 months. Thaw them in the fridge before filling.
Reheating: To re-crisp baked cream puffs, warm them in a 350°F (175°C) oven for about 5-10 minutes, bringing back their delightful texture before serving.
Cream Puffs: Delightful Variations Await!
Feel free to explore these scrumptious twists on classic cream puffs, letting your creativity burst forth!
- Gluten-Free: Substitute all-purpose flour with a gluten-free blend for a light and delicious option.
- Chocolate Lovers: Add cocoa powder to half of the cream filling for a delectable chocolate ganache twist.
- Fruit-Infused: Fold in fruit purées like strawberry or raspberry to the whipped cream for a fresh fruity flair.
- Nutty Flavor: Use almond extract instead of vanilla for a rich and nutty profile that surprises the palate.
- Savory Touch: Try adding a hint of cheese to the dough for a savory version perfect for snacking.
- Spicy Kick: Stir in a dash of cayenne pepper to the filling for a delightful contrast between sweet and heat.
- Caramel Drizzle: Top with a drizzle of caramel sauce for an extra indulgent touch that will have everyone reaching for more.
- Mini Puffs: Make smaller dollops for bite-sized treats—perfect for gatherings or as a fun dessert option.
These variations are a beautiful way to enjoy your creations, and if you’re looking for more delightful recipes, don’t forget to try my Creamy Garlic Shrimp Over Mashed Potatoes and Creamy Cajun Chicken Pasta! Each dish brings its own flair and will surely impress your loved ones at the dinner table.
Mom’s Famous Cream Puffs Recipe FAQs
What are the best ingredients for making cream puffs?
Absolutely! The best results come from using high-quality ingredients. For the dough, make sure your butter is real and fresh, as it adds essential flavor. Use all-purpose flour for structure, and opt for large eggs to achieve an airy texture. You can try gluten-free flour if needed. For the filling, heavy whipping cream and real vanilla extract provide the best taste.
How do I store leftover cream puffs?
I recommend keeping unfilled cream puffs in an airtight container at room temperature for up to 2 days—you’ll want to enjoy them fresh! Once filled, refrigerate your cream puffs and consume them within one day to prevent sogginess.
Can I freeze cream puffs?
Absolutely! To freeze unfilled cream puffs, place them on a parchment-lined baking sheet and freeze until solid. Then transfer them to an airtight container or freezer bag. They can be frozen for up to 2 months. When you’re ready to enjoy, thaw them in the fridge before filling.
Why do my cream puffs deflate after baking?
Very often, cream puffs deflate due to opening the oven door too soon while baking or not incorporating the eggs properly. It’s crucial to maintain the steam inside the oven, as any drafts can cause the puffs to collapse. Ensure each egg is fully incorporated into the dough before adding the next; this helps to achieve maximum puffiness.
Can my pets eat cream puffs?
No, I wouldn’t recommend sharing cream puffs with your pets. The ingredients—particularly sugar, vanilla, and cream—aren’t suitable for them and may lead to digestive issues. Stick to pet-friendly treats when treating your furry friends!
Melt-in-Your-Mouth Cream Puffs for Every Sweet Occasion
Ingredients
Equipment
Method
- Preheat your oven to 425°F (220°C).
- In a medium saucepan over medium heat, combine 1 cup of water and 1/2 cup of butter. Stir until the buttermelts completely and comes to a rolling boil.
- Add 1 cup of all-purpose flour all at once, stirring vigorously until a smooth dough forms. Continue to cook for about 1-2 minutes until it pulls away from the sides of the pan.
- Remove from heat, allow cooling for about 5 minutes, then add 4 large eggs one at a time, mixing well after each addition.
- Pipe the dough onto a parchment-lined baking sheet, leaving about 2 inches between each mound.
- Bake for 20-25 minutes, until golden brown and puffed up. Do not open the oven door during the first 20 minutes.
- While baking, whip 1 cup of heavy cream with 1 teaspoon of vanilla extract and 2 tablespoons of sugar until stiff peaks form.
- Once baked and cooled, gently slice each puff in half and fill with whipped cream mixture.
Leave a Reply