
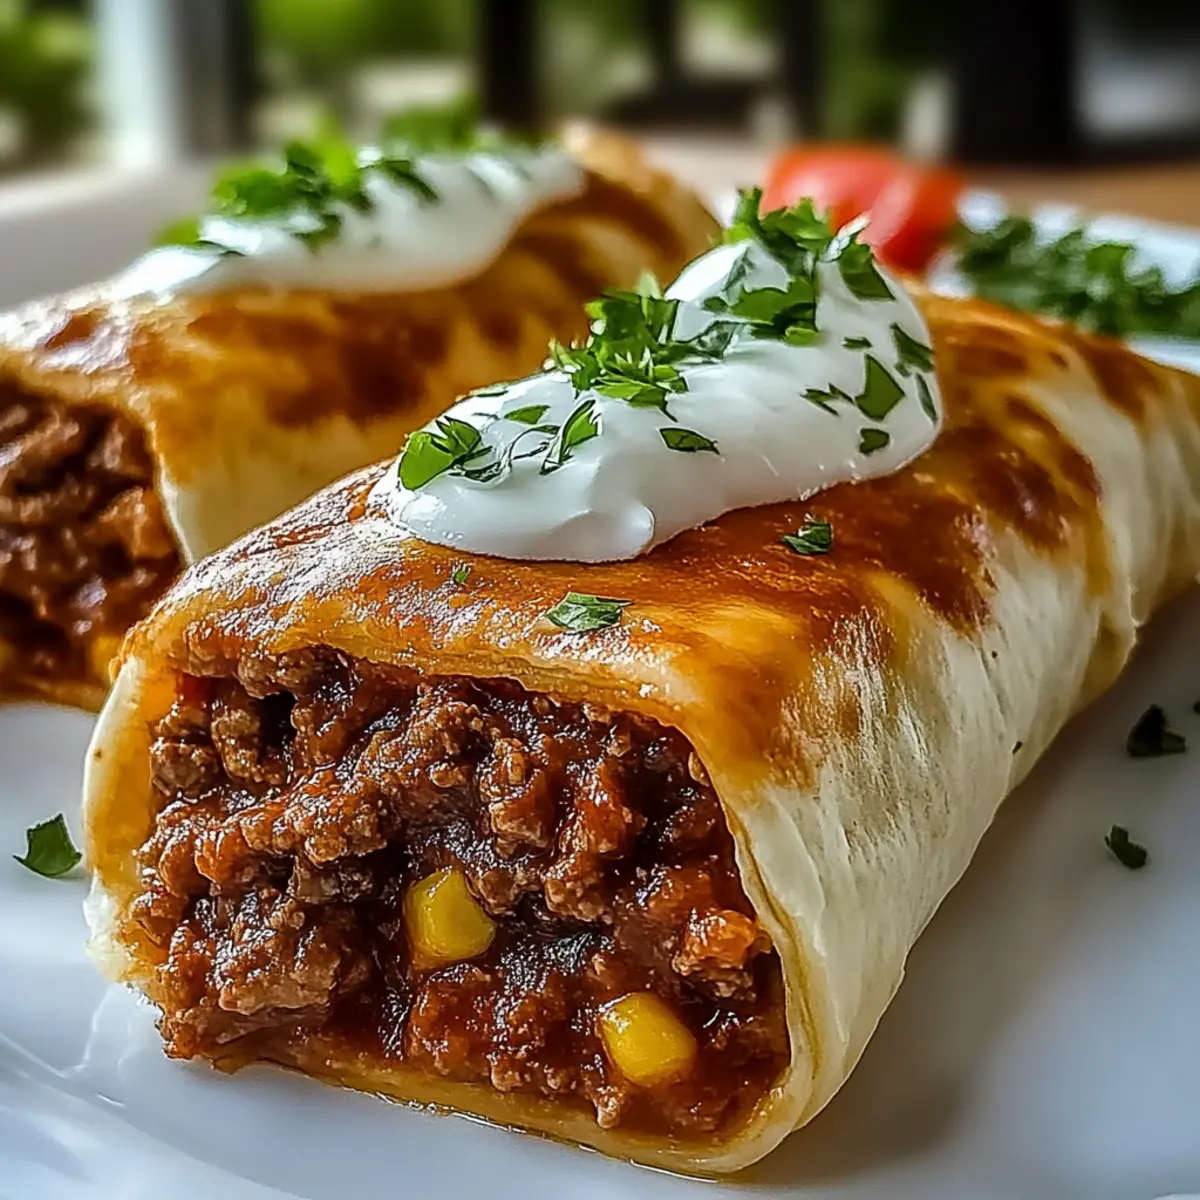
As the aroma of sizzling garlic and seasoned beef dances through the kitchen, I can’t help but feel a rush of excitement. Welcome to my take on Crispy Cheesy Beef Chimichangas, a deliciously guilt-free twist on a beloved classic. These oven-baked beauties are not only easy to whip up for a weeknight dinner, but they also keep well in the freezer for those days when cooking feels like a chore. Picture a crunchy, golden shell encasing a creamy, flavorful filling—each bite is pure comfort. Trust me, this hearty recipe will quickly become a staple in your home. Are you ready to treat yourself and your loved ones to this delightful Mexican-American dish? Let’s dive in!
Why are these chimichangas so delightful?
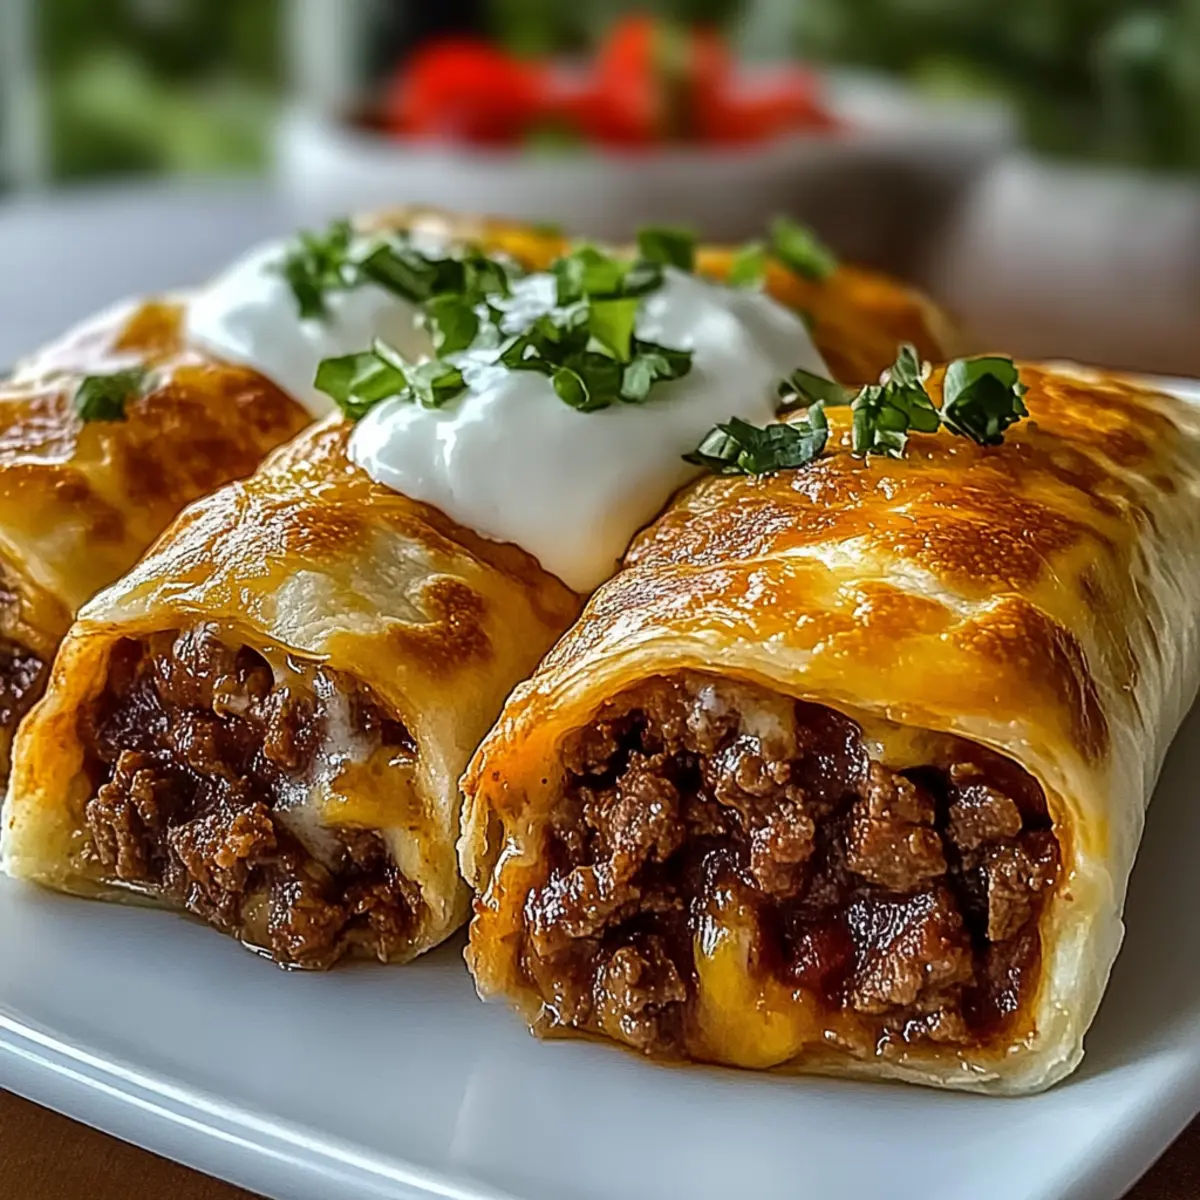
Crispy, golden perfection: Each chimichanga emerges from the oven with a satisfying crunch that makes every bite irresistible.
Easy to prepare: With just a few simple steps, you can create a delicious meal that impresses without the hassle.
Freezer-friendly: Make a batch and store extras for those busy nights when takeout tempts you.
Flavorful filling: A blend of seasoned beef and creamy cheese ensures a savory delight that everyone will love.
Versatile options: Customize your chimichangas with different proteins or veggies, making them perfect for any craving. Dive into these Crispy Cheesy Beef Chimichangas and experience comfort food like never before!
Crispy Cheesy Beef Chimichangas Ingredients
For the Filling
- Ground Beef – A main protein source; use lean ground beef to reduce fat content.
- Yellow Onion – Adds sweetness and depth of flavor; substitute with shallots for a milder taste.
- Garlic – Elevates the overall flavor; fresh minced garlic is preferred for the best taste.
- Taco Seasoning – Provides robust flavor; consider a homemade blend using cumin, chili powder, and oregano.
- Cream Cheese – Adds creaminess and binds the filling; swap with sour cream for a tangier twist.
- Sharp Cheddar Cheese – Offers a strong flavor; can be replaced with any flavorful cheese like gouda.
- Monterey Jack Cheese – Known for excellent meltability; substitute with any other melting cheese if desired.
For the Wrap
- Flour Tortillas – Encases the filling; whole wheat or corn tortillas make great alternatives.
- Olive Oil or Butter – Used for spraying or brushing for crispness; cooking spray is a lighter option.
Each ingredient plays a crucial role in crafting the perfect crispy cheesy beef chimichangas, giving you that comforting, satisfying experience you crave!
Step‑by‑Step Instructions for Crispy Cheesy Beef Chimichangas
Step 1: Preheat the Oven
Begin by preheating your oven to 400°F (200°C) while you prepare your ingredients. Line a baking sheet with parchment paper for easy cleanup and to prevent sticking. This step is crucial to ensure your crispy cheesy beef chimichangas bake evenly and achieve that golden crunch.
Step 2: Brown the Beef
In a large skillet over medium heat, add your ground beef and diced yellow onion. Cook, stirring occasionally, until the beef is fully browned and the onions are soft, about 6-7 minutes. Drain any excess grease to keep your filling light and flavorful. This savory mixture forms the heart of your chimichangas.
Step 3: Add Flavor
Next, stir in the minced garlic and taco seasoning, allowing them to cook for about 1 minute. This will release their fantastic aromas and enhance the overall flavor of the filling for your crispy cheesy beef chimichangas. Ensure everything is well combined before moving to the next step.
Step 4: Create the Filling
Reduce the heat to low and mix in the cream cheese along with half of both shredded cheeses. Stir until everything is melted and creamy, about 2-3 minutes. The combination of these ingredients creates a deliciously rich filling that will make your chimichangas irresistible. Remove from heat.
Step 5: Prepare the Tortillas
To make your tortillas pliable, warm them in the microwave for about 20 seconds. This simple step will prevent tearing when you wrap your fillings. Each soft tortilla is essential for encasing the flavorful beef mixture in your crispy cheesy beef chimichangas.
Step 6: Fill the Tortillas
Spoon 2-3 tablespoons of the beef filling onto the center of each tortilla. Fold in the sides and roll tightly to secure the filling. Be careful not to overfill them, as this can make rolling difficult and may cause leaks when baking. Securely rolled chimichangas are key to a perfect bake.
Step 7: Arrange on the Baking Sheet
Place the chimichangas seam-side down on your lined baking sheet. To achieve a crispy exterior, spray them lightly with olive oil or brush with melted butter, ensuring an even coating. This will help the chimichangas crisp up beautifully in the oven.
Step 8: Bake for Crispiness
Bake your crispy cheesy beef chimichangas in the preheated oven for 20 minutes, flipping them halfway through. Keep an eye on them until they turn golden brown and crisp. The enticing aroma wafting from the oven will whet your appetite as they bake to perfection.
Step 9: Add Extra Cheese
If you desire extra cheesiness, sprinkle the remaining shredded cheese over the chimichangas during the last 2 minutes of baking. Return them to the oven until the cheese is melted and bubbly. This final touch elevates your crispy cheesy beef chimichangas to a new level of deliciousness.
Variations & Substitutions for Crispy Cheesy Beef Chimichangas
Feel free to explore these delicious ideas to make this recipe your own!
- Turkey Swap: Use ground turkey instead of beef for a leaner, healthier version that still packs a flavor punch.
- Vegetarian Delight: Replace the meat with black beans, corn, and diced bell peppers for a colorful and filling vegetarian option.
- Spicy Kick: Add diced jalapeños or a dash of hot sauce to the beef filling for those who love a little heat in their chimichangas.
- Cheese Lovers: Mix in a combination of pepper jack and mozzarella for a gooey, melty twist on the classic cheesy goodness.
- Fried Alternative: For a traditional approach, fry the chimichangas in hot oil instead of baking them for an extra crispy exterior.
- Whole Wheat Option: Use whole wheat tortillas for a heartier, healthier wrap that adds a nutty flavor and texture to your dish.
- Extra Veggies: Consider incorporating sautéed spinach or mushrooms into the filling for added nutrition and a different taste profile.
- Serve with Style: Pair your chimichangas with creamy guacamole and fresh pico de gallo as a delightful dipping option.
The beauty of these Crispy Cheesy Beef Chimichangas lies in their versatility. If you’re a fan of flavors in bright form, you might also enjoy the zesty goodness of Garlic Butter Beef Cheeseburger Rollups or the warmth of Garlic Butter Beef Bites. Dive in and get creative!
Make Ahead Options
These Crispy Cheesy Beef Chimichangas are a fantastic choice for meal prep enthusiasts! You can prepare the beef filling (ground beef, onion, garlic, cream cheese, and taco seasoning) up to 3 days in advance, storing it in an airtight container in the refrigerator. When you’re ready to cook, warm the filling in a skillet until heated through before assembling the chimichangas. Alternatively, you can assemble the fully wrapped chimichangas up to 24 hours ahead; just be sure to cover them tightly in plastic wrap to prevent drying out. When it’s time to bake, preheat your oven and proceed with the final steps, ensuring you get that delightful crunch just as if you made them fresh!
What to Serve with Easy Crispy Cheesy Beef Chimichangas
Imagine a vibrant table filled with delicious sides that enhance every bite of your crispy, golden chimichangas.
-
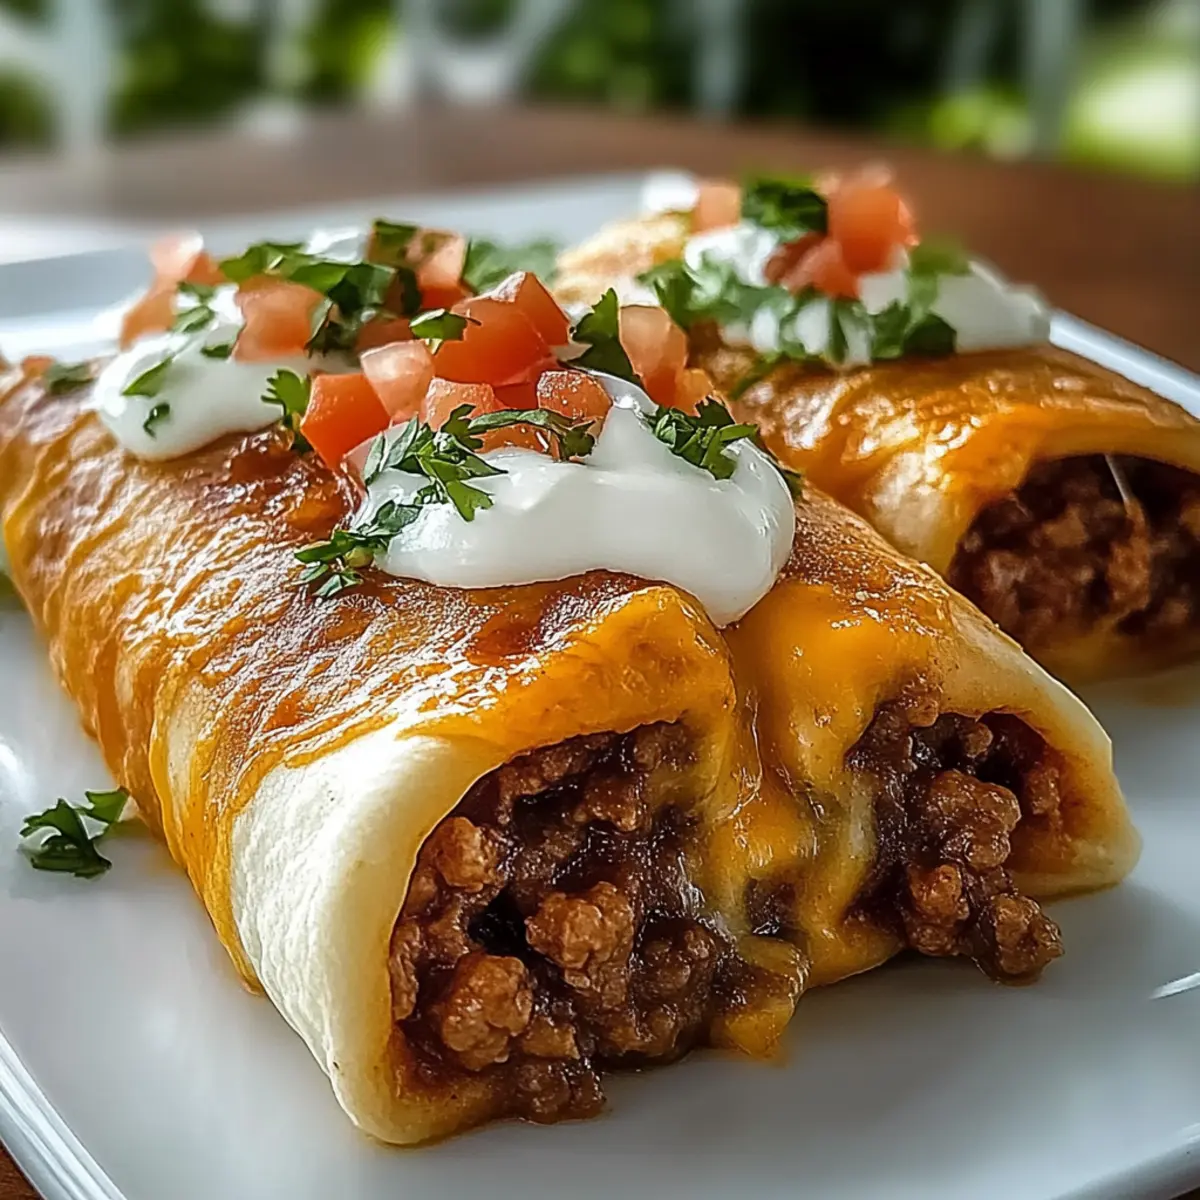
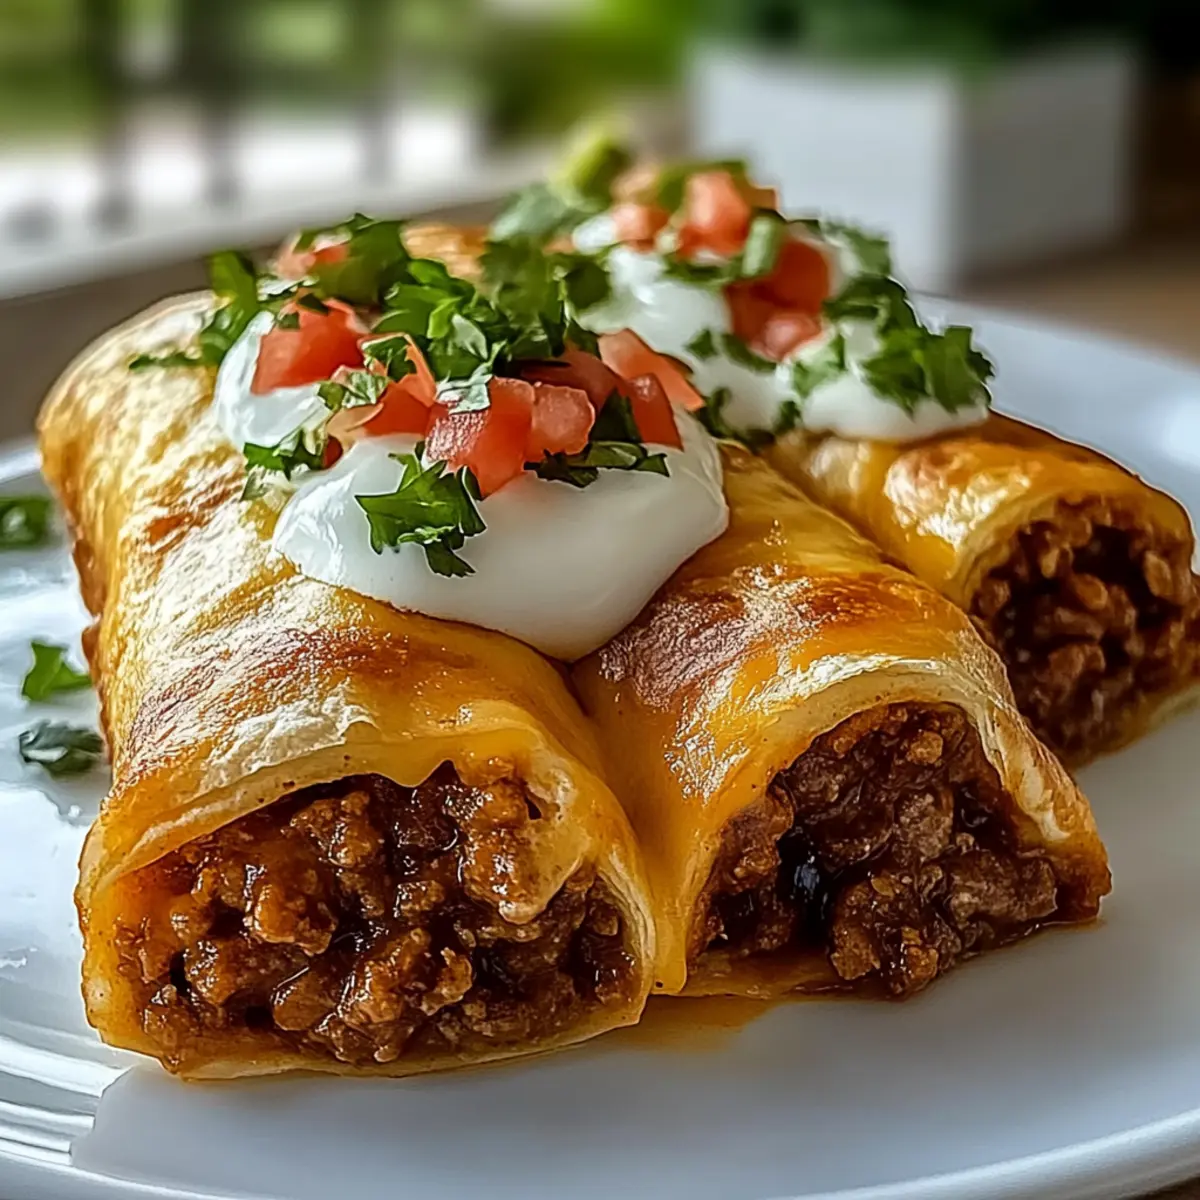
Sour Cream: A classic accompaniment that adds a cool, creamy contrast to the spicy beef filling. A dollop of sour cream can take each bite to new heights.
-
Guacamole: The smooth, rich texture of guacamole complements the crispy exterior beautifully. Fresh avocado mixed with lime and cilantro elevates the dish, bringing a refreshing taste.
-
Cilantro-Lime Rice: A fragrant side dish that balances the flavors of the chimichangas, keeping your palate refreshed between bites. This zesty rice is perfect for scooping and savoring.
-
Pico de Gallo: The fresh, tangy taste of this salsa adds a crunchy and vibrant contrast, bringing brightness to the dish. It’s a perfect topping directly on the chimichangas too!
-
Mexican Street Corn Salad: Creamy, sweet corn mixed with chili and lime offers a delightful texture and flavor that harmonizes with the hearty chimichangas. This side is always a crowd-pleaser.
-
Crunchy Slaw: A crisp slaw with a zesty dressing introduces a satisfying crunch that balances the richness of your chimichangas. The freshness of the vegetables is a lovely addition.
-
Black Bean Soup: A hearty and nutritious pairing that enriches the meal, this black bean soup offers warmth and depth that complements the flavors of the chimichangas.
-
Margaritas: For a fun drink option, combine lime juice and tequila in a refreshing margarita. It adds a festive touch to your meal, enhancing the vibrant flavors.
-
Churros: End your meal on a sweet note with these crispy, cinnamon-sugar coated treats. They bring a delightful crunch and sweetness that every family member will love.
Expert Tips for Crispy Cheesy Beef Chimichangas
-
Warm Tortillas: Ensure tortillas are warm before filling to prevent cracking and tearing during rolling. This makes assembly smoother.
-
Filling Amount: Avoid overfilling the tortillas, as this can lead to messy leaks and difficult rolling. Stick to 2-3 tablespoons of filling.
-
Crispy Texture: For a crispier outside, consider using an air fryer set at 375°F for 10-12 minutes instead of baking, yielding perfectly crunchy chimichangas.
-
Check Browning: Keep an eye on the chimichangas while baking; flipping halfway through helps achieve even golden-brown crispiness.
-
Customize Fillings: Feel free to experiment by adding vegetables or different proteins to your crispy cheesy beef chimichangas for a unique twist.
How to Store and Freeze Crispy Cheesy Beef Chimichangas
Fridge: Store leftover chimichangas in an airtight container for up to 4 days. Reheat them in the oven at 350°F for 7-10 minutes to restore their crispy texture.
Freezer: To freeze, wrap each chimichanga individually in plastic wrap followed by foil; they can last in the freezer for up to 3 months.
Thawing: When ready to enjoy, thaw in the fridge overnight and reheat in the oven at 350°F for about 15-20 minutes until heated through.
Reheating: For best results, consider reheating in an air fryer at 375°F for 8-10 minutes to achieve that desirable crunch on the outside.
Crispy Cheesy Beef Chimichangas Recipe FAQs
What kind of ground beef should I use?
Absolutely! I recommend using lean ground beef for a healthier option. This helps to reduce fat content while still providing a rich flavor. If you prefer, you can also use ground turkey or chicken for a lighter variation.
How should I store leftover chimichangas?
For optimal freshness, store leftover crispy cheesy beef chimichangas in an airtight container in the fridge for up to 4 days. If you want to maintain their crunch, reheating them in the oven at 350°F for about 7-10 minutes is ideal.
Can I freeze these chimichangas?
Very! To freeze, simply wrap each chimichanga individually in plastic wrap and then in foil. This helps to protect them from freezer burn. They’ll keep well for up to 3 months. When you’re ready to enjoy them, thaw them in the fridge overnight and reheat in the oven at 350°F for about 15-20 minutes.
What’s the best way to prevent my tortillas from cracking?
To prevent cracking, it’s crucial to warm your tortillas in the microwave for about 20 seconds before filling them. This minor step makes them pliable and easier to roll without tearing. Be sure to handle them gently during assembly.
Are there any dietary considerations I should be aware of?
Absolutely! When preparing these crispy cheesy beef chimichangas, keep in mind any allergies or dietary restrictions. You can substitute cream cheese with dairy-free options or use gluten-free tortillas if you’re avoiding gluten. Always read ingredient labels carefully!
What if my chimichangas aren’t crispy enough?
If your chimichangas aren’t achieving the desired crispiness, try spraying them lightly with oil before baking. Flipping them halfway through baking also helps to ensure even crispness. For an extra crispy texture, consider using an air fryer set at 375°F for about 10-12 minutes instead of the oven.
Crispy Cheesy Beef Chimichangas for Ultimate Comfort Food
Ingredients
Equipment
Method
- Preheat the oven to 400°F (200°C) and line a baking sheet with parchment paper.
- In a large skillet, brown the ground beef and diced yellow onion over medium heat for 6-7 minutes.
- Add minced garlic and taco seasoning, cooking for 1 minute until fragrant.
- Reduce heat to low, mix in cream cheese and half of the shredded cheeses until melted.
- Warm tortillas in the microwave for about 20 seconds.
- Spoon 2-3 tablespoons of beef filling onto each tortilla, fold the sides, and roll tightly.
- Place chimichangas seam-side down on the baking sheet and lightly spray with olive oil or brush with melted butter.
- Bake for 20 minutes, flipping halfway through until golden brown.
- If desired, sprinkle remaining cheese over chimichangas in the last 2 minutes of baking.
Leave a Reply