
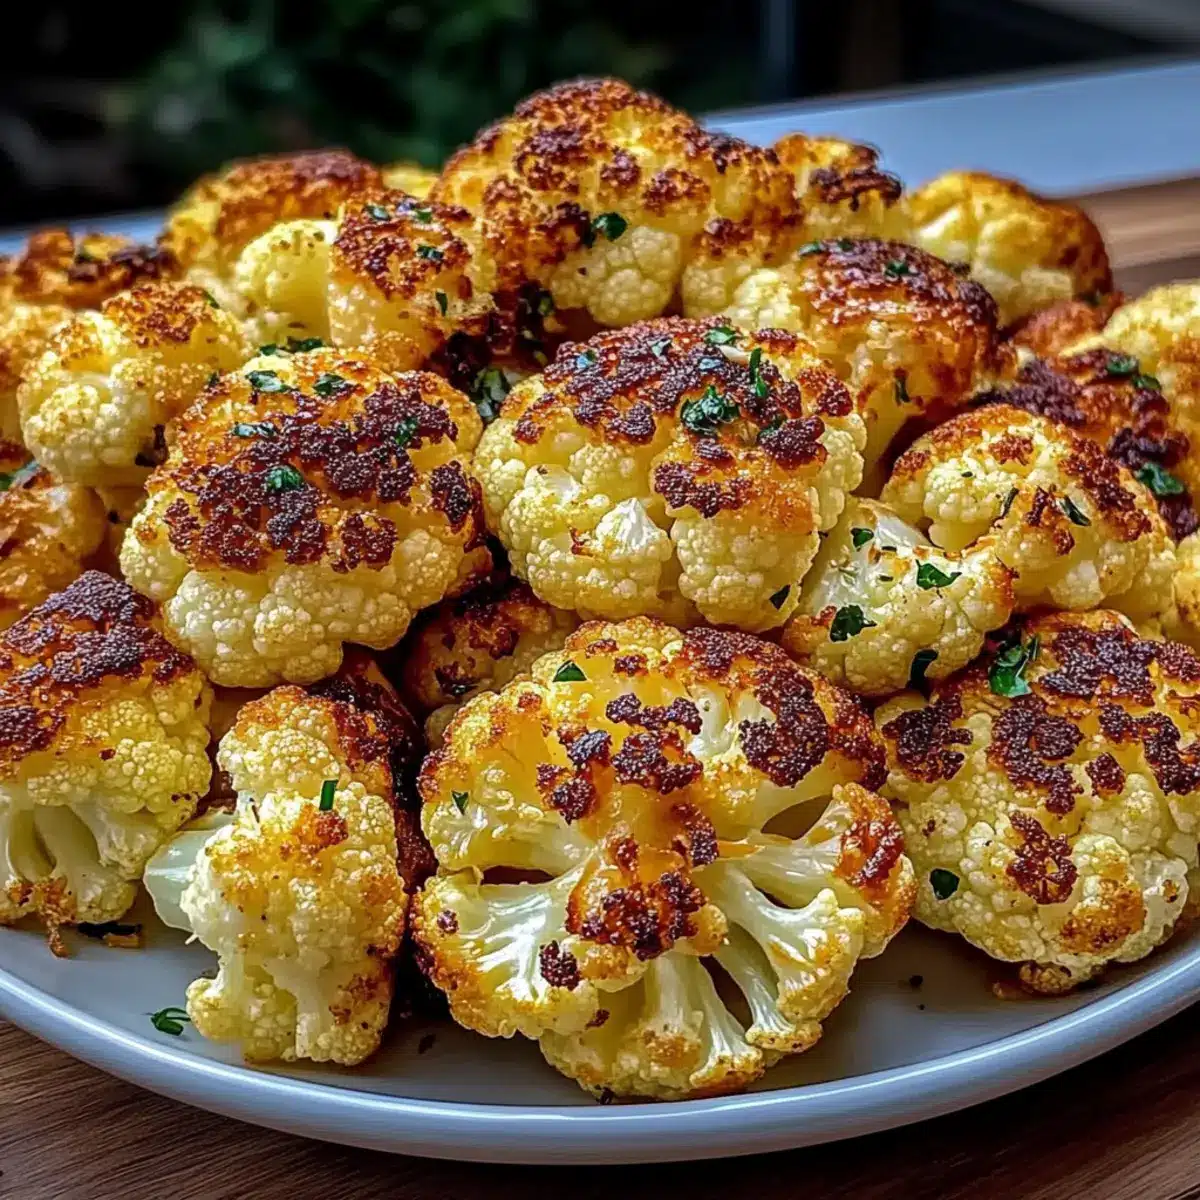
The warm, inviting aroma of garlic butter wafting from the oven instantly transports me to cozy family dinners, where the side dishes steal the show as much as the main course. Today, I’m excited to share my Garlic Butter Roasted Cauliflower Side, a delightful twist on a humble vegetable. This recipe turns cauliflower florets into crispy, golden bites that are not only easy to prepare but also wonderfully low-carb and gluten-free—perfect for health-conscious eaters. Whether you’re cooking for a busy weeknight or an elegant gathering, this cauliflower dish will elevate your table effortlessly. Are you ready to indulge in this simple, yet flavorful side that can charm both family and guests alike?
Why Is This Cauliflower Recipe Irresistible?
Simplicity reigns supreme with this Garlic Butter Roasted Cauliflower side—easy to make, even for novice cooks! Flavor explosion occurs as the garlic butter penetrates every nook of the cauliflower, resulting in an unforgettable taste. Versatile enough to pair with grilled meats, casseroles, or your favorite wrap, it fits any meal. Healthy indulgence is key here; it’s low-carb, gluten-free, and rich in vital nutrients. For a cozy, elegant touch, consider a drizzle of balsamic glaze, or if you’re in the mood for something fun, check out our Pot Garlic Butter for another delightful garlic butter treat!
Garlic Butter Roasted Cauliflower Ingredients
• Elevate your cooking game with these essentials!
For the Cauliflower
- Cauliflower – A nutrient-packed main ingredient; opt for firm, white heads with no brown spots.
- Olive Oil (for dairy-free version) – Substitute for butter to keep it dairy-free while enhancing flavor.
For the Garlic Butter
- Unsalted Butter – Adds a rich, creamy taste; using quality butter, like Kerrygold, makes all the difference.
- Fresh Garlic – Freshly minced garlic imparts robust flavor; use 1 teaspoon garlic powder if short on fresh.
- Salt – A pinch or two is essential for flavor enhancement; adjust according to your taste.
- Black Pepper – Freshly cracked for a little kick; add to taste.
Optional Enhancements
- Smoked Paprika – Adds depth for dairy-free options; sprinkle in for an extra smoky flavor.
- Lemon Juice – A splash brightens the dish right before serving, making every bite sing.
Now you’re ready to assemble these ingredients for a Garlic Butter Roasted Cauliflower side that will truly steal the show!
Step‑by‑Step Instructions for Garlic Butter Roasted Cauliflower Side
Step 1: Preheat the Oven
Start by preheating your oven to 400°F (200°C). This temperature ensures the garlic butter roasted cauliflower will develop a beautiful golden brown color while becoming perfectly tender inside. A hot oven is essential for achieving that flavorful caramelization we’re aiming for.
Step 2: Prepare Cauliflower
While the oven is heating, take a fresh head of cauliflower and cut it into evenly-sized florets. Aim for bite-sized pieces for even roasting. This step is crucial as uniform sizes allow the cauliflower to cook consistently and achieve that irresistible crispy texture you’ll adore.
Step 3: Melt Garlic Butter
In a medium saucepan over medium heat, melt 4 tablespoons of unsalted butter. Once melted, add 4 cloves of freshly minced garlic to the bubbling butter, sautéing for about 1-2 minutes until fragrant. Be careful not to let the garlic brown, as burnt garlic can impart a bitter flavor to your garlic butter roasted cauliflower.
Step 4: Combine Ingredients
In a mixing bowl, toss the cauliflower florets with the garlic butter mixture, ensuring each piece is well-coated. Add salt and freshly cracked black pepper to taste, mixing thoroughly. This coating will infuse the cauliflower with an irresistible flavor, creating a side dish everyone will crave.
Step 5: Arrange on Baking Sheet
Spread the coated cauliflower florets in a single layer on a rimmed baking sheet, ensuring they aren’t crowded. This arrangement allows hot air to circulate freely, leading to perfectly roasted florets with crispy edges. Give each piece space to shine in your garlic butter roasted cauliflower creation.
Step 6: Roast in the Oven
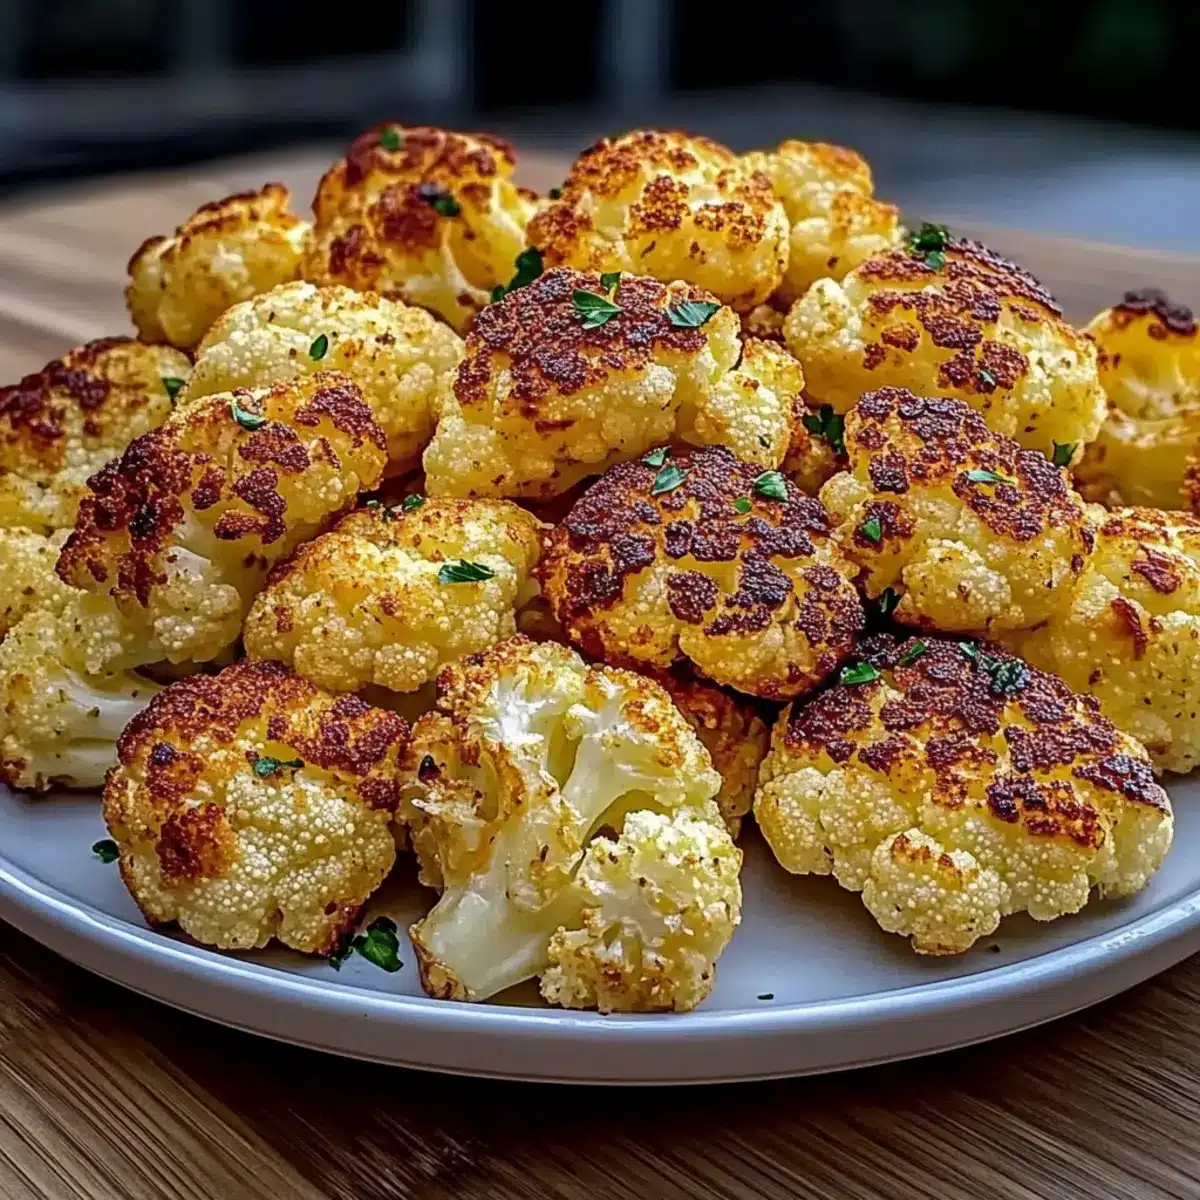
Place the baking sheet in the preheated oven and roast for 25-30 minutes. Halfway through roasting, flip the florets to ensure even browning on all sides. You’ll know they’re ready when the cauliflower is tender and golden brown with delicious crispy bits that add texture and flavor to every bite.
Step 7: Optional Lemon Drizzle
Once your garlic butter roasted cauliflower is done, consider drizzling some fresh lemon juice over the top before serving. This extra step brightens the dish and adds a zing that complements the rich garlic butter beautifully, making it a perfect addition to any meal.
Garlic Butter Roasted Cauliflower Variations
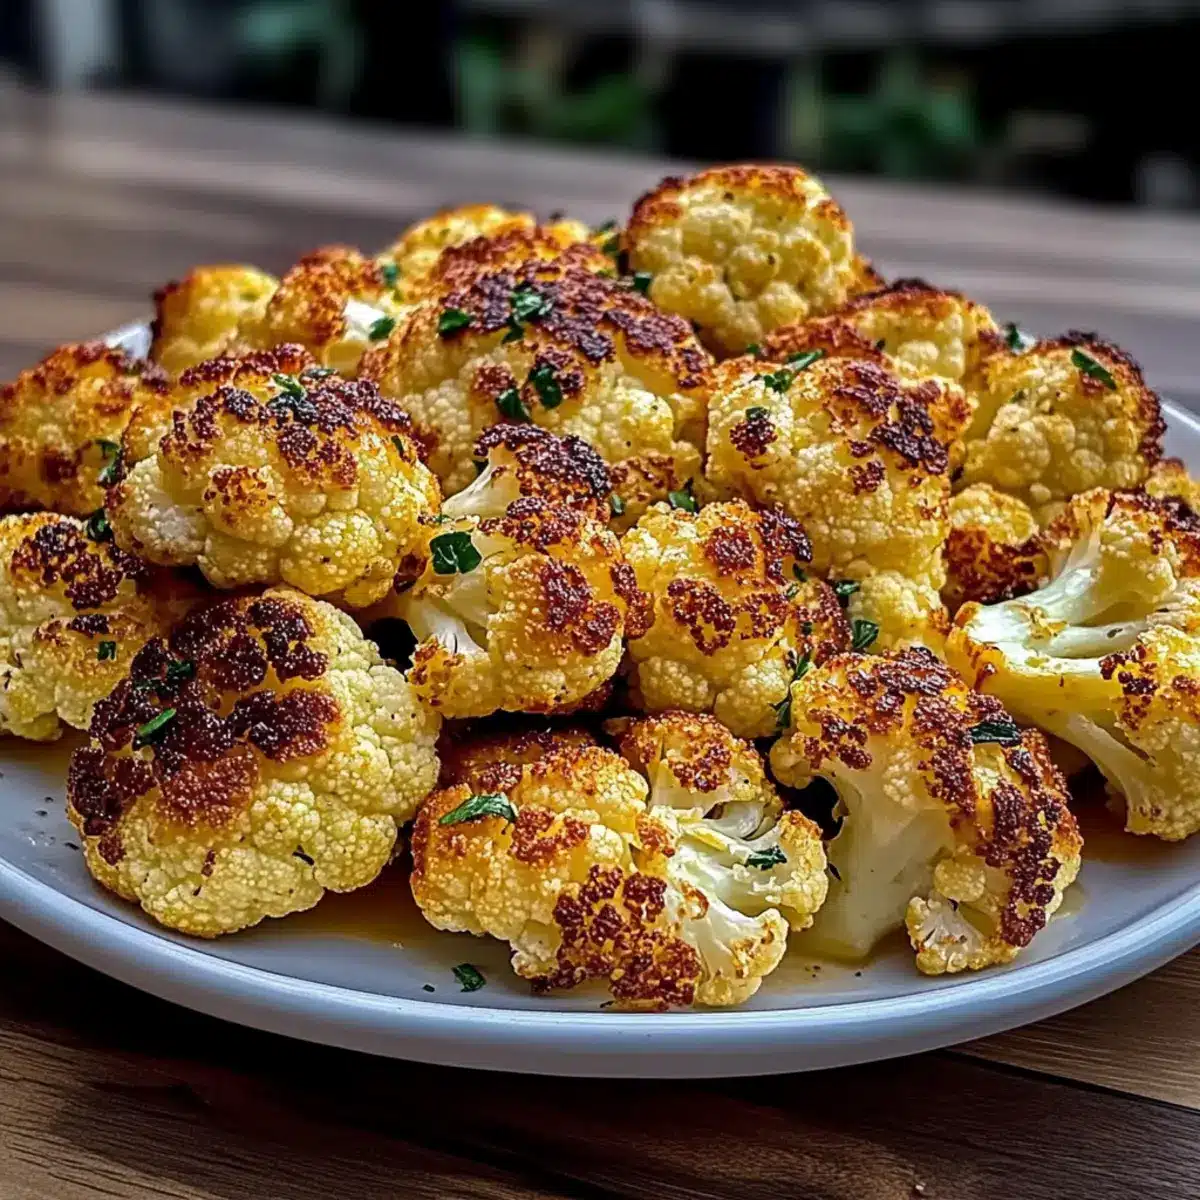
Feel free to get creative with your Garlic Butter Roasted Cauliflower side! Each twist adds a new layer of flavor to this delightful dish.
- Dairy-Free: Swap unsalted butter for olive oil to make this dish dairy-free while maintaining rich flavor.
- Balsamic Glaze: Drizzle balsamic glaze over the cauliflower after roasting for a tangy kick that complements the garlic beautifully.
- Spicy Kick: Toss in red pepper flakes before roasting to introduce a delightful heat that adds excitement to every bite.
- Herb Infusion: Add fresh herbs like rosemary or thyme for an aromatic twist that elevates the flavor profile significantly.
- Smoky Flavor: Incorporate smoked paprika during mixing for an extra depth of flavor, creating a mouthwatering twist with a touch of smoke.
- Crispy Topping: Sprinkle some panko breadcrumbs and parmesan cheese on top in the last 5 minutes of roasting for an irresistible crunch.
- Garlic Lovers: Amp up the garlic by adding more cloves or even some roasted garlic for a decadent punch of flavor.
- Lemon Zest: Grate fresh lemon zest over the cauliflower before serving for a vibrant pop that brightens the dish incredibly; it’s like sunshine in a bite!
Want more garlic-infused deliciousness? Check out our Garlic Butter Brazilian recipe or dive into our Garlic Butter Beef Bites for further inspiration!
What to Serve with Garlic Butter Roasted Cauliflower
The perfect side dish can transform any meal, and this garlic butter delight deserves to shine alongside some fantastic companions.
- Grilled Chicken: Juicy, smoky grilled chicken adds protein and complements the rich flavors of garlic butter, making for a balanced plate.
- Quinoa Salad: This light, nutrient-rich salad introduces a refreshing crunch that contrasts beautifully with the tender cauliflower, enhancing your dining experience.
- Roasted Salmon: The savory, flaky texture of roasted salmon pairs wonderfully, bathing your palate in savory goodness that’s simply irresistible.
- Stir-Fried Greens: Bright and vibrant stir-fried greens add a pop of color and freshness while providing a light crunch that balances the roasted richness.
- Cheesy Polenta: Creamy, dreamy cheesy polenta creates a comforting base that wonderfully absorbs the garlicky flavors from the cauliflower, elevating every bite.
- Crispy Brussels Sprouts: Roasted Brussels sprouts deliver a delightful crunch and earthy flavor, creating depth in your meal that perfectly complements the cauliflower.
- Herbed Couscous: Fluffy couscous tossed with fresh herbs brings a light and fragrant touch, marrying the buttery notes of the cauliflower harmoniously.
- Sparkling Water with Lemon: A refreshing drink option that cleanses the palate and brightens the overall flavor profile of the meal, making each bite even more enjoyable.
- Chocolate Mousse Cups: For dessert, these light, airy mousse cups balance the savory notes of your meal and end it on a deliciously sweet note.
Make Ahead Options
These Garlic Butter Roasted Cauliflower florets are perfect for meal prep enthusiasts! You can chop the cauliflower into florets and toss them with the garlic butter mixture up to 24 hours in advance, then refrigerate them in an airtight container to maintain freshness. This way, when you’re ready to roast, simply spread the prepped florets on a baking sheet and roast as directed for 25-30 minutes, flipping halfway through. To keep the flavors vibrant, avoid adding lemon juice until just before serving. You’ll enjoy the advantage of effortless meal planning with this easy side, making it a breeze to impress your family or guests with minimal effort!
How to Store and Freeze Garlic Butter Roasted Cauliflower
- Fridge: Store leftover garlic butter roasted cauliflower in an airtight container for up to 3 days. Make sure the dish is completely cooled to maintain freshness.
- Freezer: For longer storage, freeze the cooled cauliflower in a freezer-safe container for up to 2 months. You can also use a vacuum sealer for best results!
- Reheating: To reheat, preheat your oven to 400°F (200°C) and bake for 8-10 minutes until heated through and crispy. Avoid microwaving, as it can make the cauliflower soggy.
- Thawing: If frozen, thaw the cauliflower in the fridge overnight before reheating to ensure even heating. Enjoy your delicious garlic butter roasted cauliflower just like the first time!
Expert Tips for Garlic Butter Roasted Cauliflower
-
Dry Thoroughly: Make sure to dry the cauliflower florets completely after washing. Moisture will prevent them from achieving that satisfying crispy texture.
-
Space It Out: Avoid overcrowding the baking sheet. If florets are too close together, they steam, resulting in a softer texture rather than crispy edges.
-
Watch the Garlic: Keep an eye on your garlic while cooking; if it starts to brown too quickly, remove it from heat. Burnt garlic can overpower the flavor of your garlic butter roasted cauliflower.
-
Flip for Evenness: Remember to flip the florets halfway through cooking. This ensures even browning and a delightful crispiness all around.
-
Adjust Seasonings: Feel free to taste and adjust the salt and pepper to your liking. Personalizing the seasoning can elevate this garlic butter roasted cauliflower dish even further!
Garlic Butter Roasted Cauliflower Recipe FAQs
How do I know if my cauliflower is fresh?
Select firm, white cauliflower heads with no brown spots or blemishes. Fresh cauliflower should feel heavy for its size and have tightly packed florets. If you see any dark spots or signs of wilting, it’s best to choose another head as these indicators suggest that the cauliflower is beginning to spoil.
What is the best way to store leftover garlic butter roasted cauliflower?
After enjoying your delicious garlic butter roasted cauliflower, allow it to cool completely before transferring to an airtight container. This will keep it fresh in the fridge for up to 3 days. Remember, the dish should be stored in a cool environment to maintain its crispy texture. When you’re ready to enjoy it again, reheating in the oven at 400°F (200°C) for about 8-10 minutes will help regain some of that crispiness!
Can I freeze garlic butter roasted cauliflower?
Absolutely! To freeze, cool the cauliflower completely, then transfer it to a freezer-safe container or use a vacuum sealer for the best results. It can be stored in the freezer for up to 2 months. When ready to eat, thaw it in the fridge overnight and reheat it in the oven at 400°F (200°C) for 8-10 minutes—this keeps the texture delightful!
What should I do if my garlic starts to burn while cooking?
If your garlic starts to brown too quickly in the butter, immediately remove it from the heat. You can discard the burnt garlic and start with fresh garlic to avoid bitterness in your garlic butter roasted cauliflower. It’s always better to sauté garlic at a lower temperature to control the cooking process.
Is this garlic butter roasted cauliflower suitable for a gluten-free diet?
Yes! This garlic butter roasted cauliflower is not only gluten-free but also low-carb, making it a delicious and healthy option for anyone following these dietary preferences. Just ensure that any additional ingredients or sides served with it also adhere to gluten-free guidelines.
What are some variations I can try for this recipe?
For a fun twist, you can drizzle balsamic glaze over the cauliflower after roasting, or sprinkle some fresh herbs like parsley or thyme for an aromatic touch. If you’re looking for a bit of heat, toss in some red pepper flakes before roasting. The more the merrier—experiment to find your perfect flavor combination!
Garlic Butter Roasted Cauliflower Side That Steals the Show
Ingredients
Equipment
Method
- Preheat your oven to 400°F (200°C) for caramelization.
- Cut the cauliflower into evenly-sized florets.
- Melt 4 tablespoons of unsalted butter in a medium saucepan and add minced garlic, sauté for 1-2 minutes.
- Toss cauliflower florets with the garlic butter mixture and season with salt and pepper.
- Arrange cauliflower on a rimmed baking sheet in a single layer.
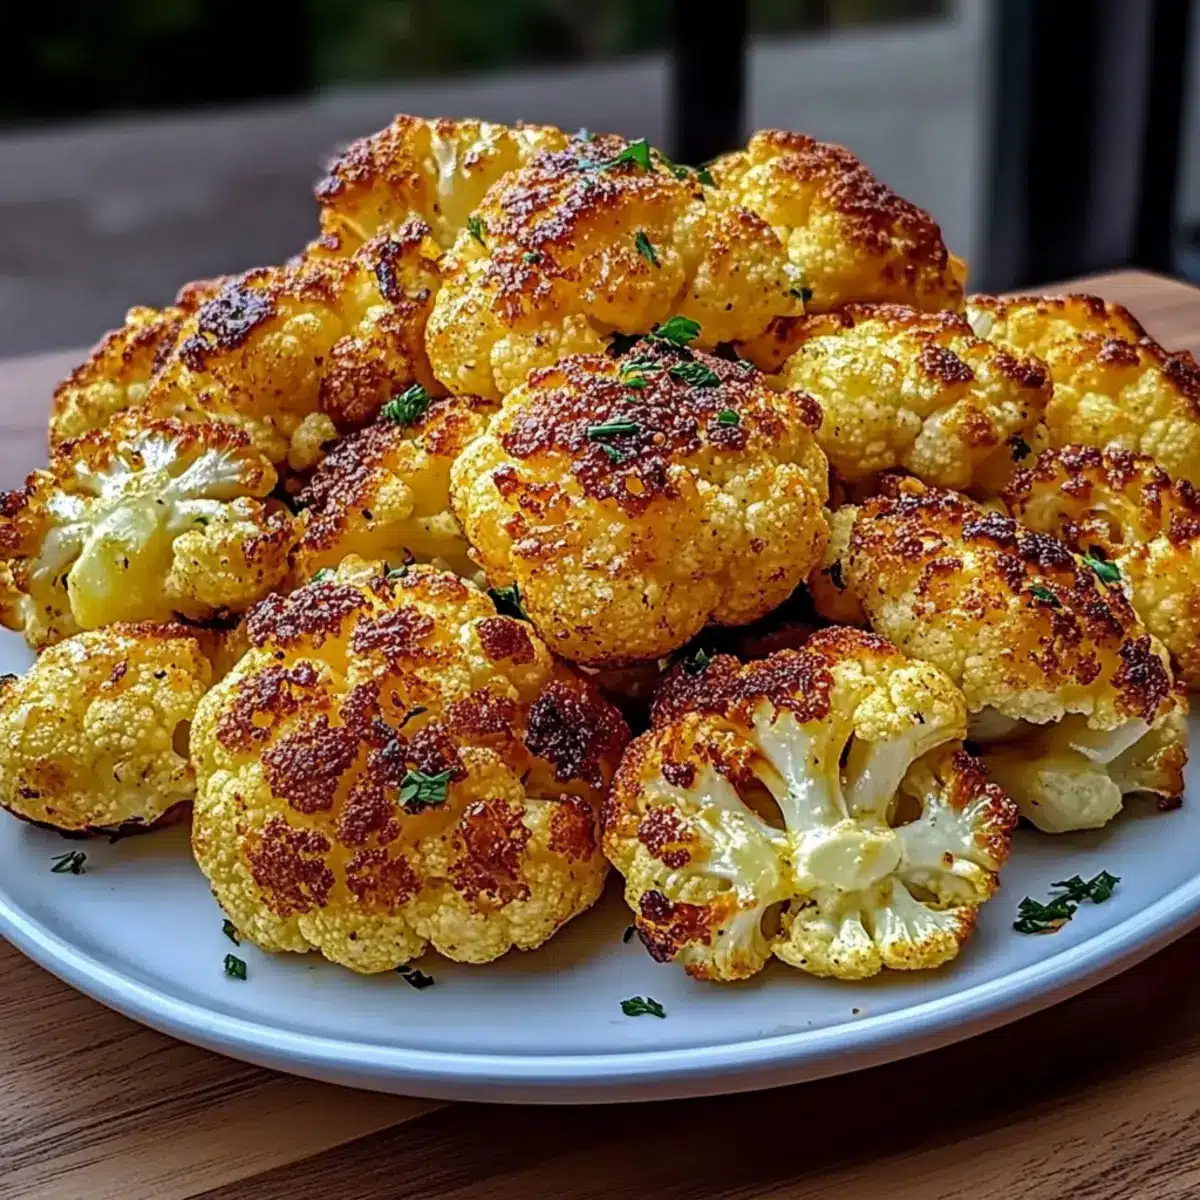
- Roast for 25-30 minutes, flipping halfway through until golden brown.
- Drizzle with fresh lemon juice before serving, if desired.
Leave a Reply