
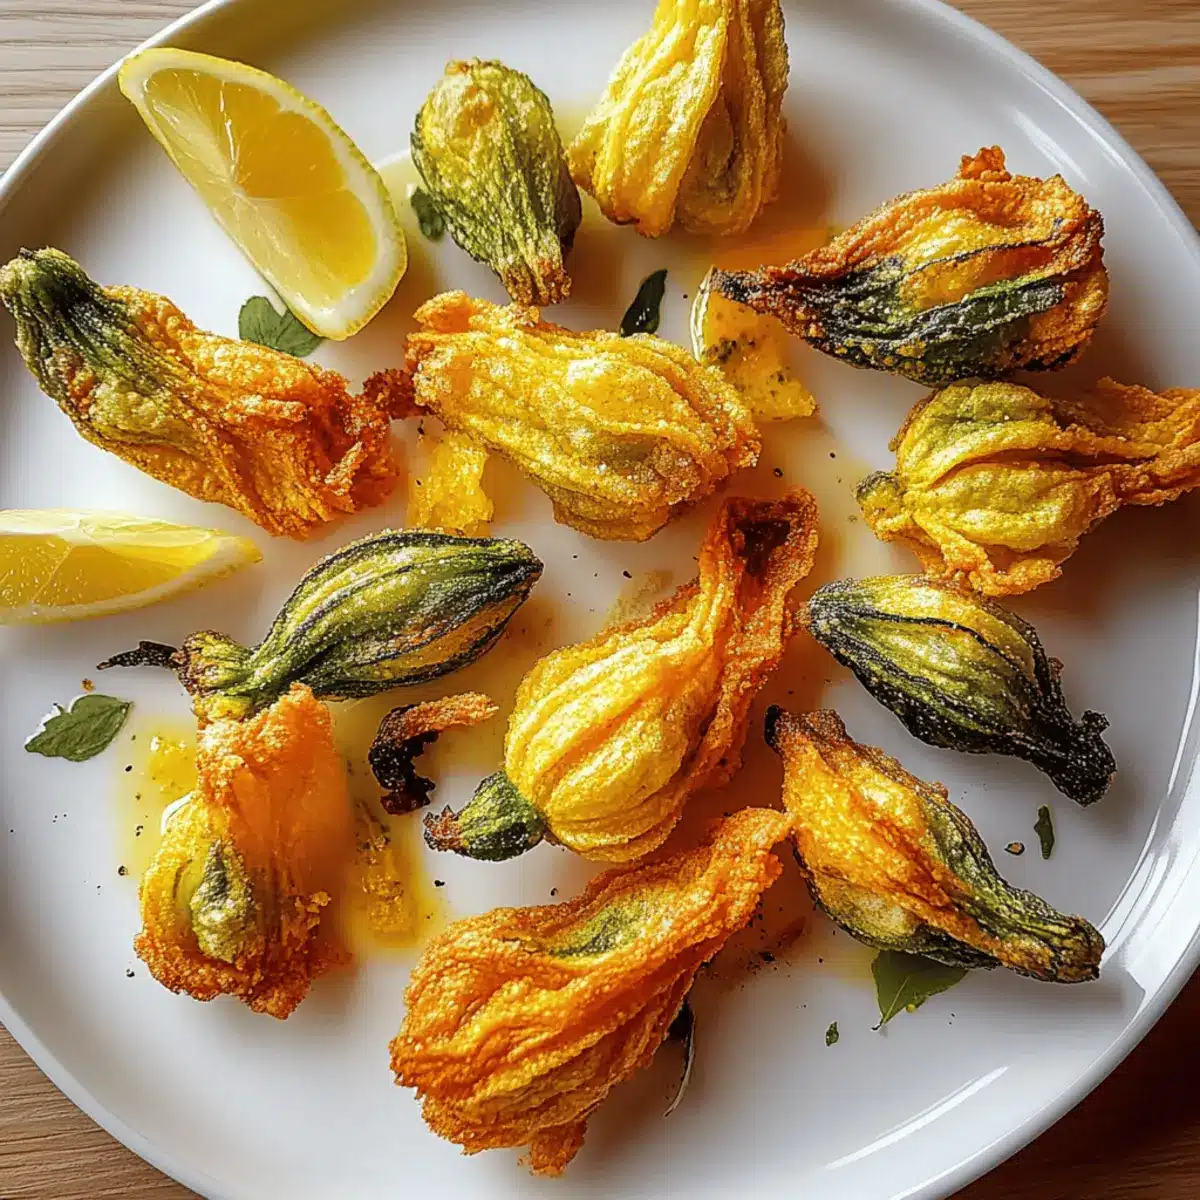
As the golden sun dips below the horizon, I find myself captivated by the delicate beauty of fresh pumpkin blossoms, their vibrant hues reminiscent of summer days. These Healthy Pumpkin Blossoms offer a delightful escape from the ordinary, transforming a simple ingredient into a gourmet appetizer that’s both healthy and vegan. With a light, crispy coating that contrasts beautifully with the tender petals inside, they’re the perfect addition to any gathering, allowing you to impress your guests without the fuss. Plus, they’re gluten-free and packed with nutrients, making them a guilt-free indulgence! Ready to stir up some culinary magic and elevate your snack game? Let’s dive into this mouthwatering recipe together!
Why Are These Pumpkin Blossoms Irresistible?
Crispy, they boast a delightful crunch that makes every bite satisfying, perfect for those seeking a healthier alternative. Vegan & gluten-free, these blossoms cater to a range of dietary preferences without compromising on taste. Nutritious, packed with vitamins and minerals, they bring guilt-free indulgence to your table. Versatile, feel free to experiment with different spices or dipping sauces, enhancing your culinary adventure. Quick and easy to make, these blossoms are sure to impress at any gathering! For a sweet finishing touch, try pairing them with Pumpkin Cupcakes Brown for a delightful dessert.
Healthy Pumpkin Blossoms Ingredients
Discover the essential components that make up these delicious Healthy Pumpkin Blossoms!
For the Batter
• Chickpea Flour – Adds an earthy flavor and creates a crunchy texture; perfect for gluten-free diets.
• Water – Thins the batter to a smooth consistency; adjust as needed for the right thickness.
• Olive Oil – Contributes moisture and a subtle fruitiness; feel free to replace with any vegetable oil.
• Garlic Powder – Provides a savory depth that enhances the flavor without overpowering.
• Onion Powder – Adds a hint of sweetness, perfectly complementing the blossoms.
• Salt – Enhances all the flavors; adjust to your personal taste.
• Black Pepper – Delivers a warm kick to the batter; tailor to your preference.
• Chili Flakes (optional) – Adds a spicy kick; omit for a milder flavor.
For Cooking
• Olive Oil Spray – Prevents sticking and helps achieve that golden-brown exterior.
For Serving
• Lemon Wedges – Brightens the dish with a refreshing citrus flavor; a must-have for squeezing over your blossoms.
These irresistible Healthy Pumpkin Blossoms are sure to be a hit at your next gathering!
Step‑by‑Step Instructions for Healthy Pumpkin Blossoms
Step 1: Clean the Blossoms
Begin by gently washing the fresh pumpkin blossoms under cold water, ensuring all dirt and debris are removed. Pat them dry with a clean kitchen towel, taking care to remove any stamens or pistils inside. Properly cleaned blossoms will not only look beautiful but will also contribute to the vibrant flavor of your Healthy Pumpkin Blossoms.
Step 2: Prepare the Batter
In a mixing bowl, whisk together chickpea flour, water, olive oil, garlic powder, onion powder, salt, black pepper, and chili flakes until you achieve a smooth, thick batter. Ensure there are no lumps and the consistency resembles pancake batter. This flavorful batter is what will create a delightful, crispy coating when frying your Healthy Pumpkin Blossoms.
Step 3: Heat the Skillet
Place a skillet on the stove and preheat it over medium heat for about 3–5 minutes. Lightly grease the skillet with olive oil, ensuring it is evenly coated to prevent sticking. A properly heated skillet is crucial for achieving that perfect golden-brown exterior on your Healthy Pumpkin Blossoms.
Step 4: Coat the Blossoms
Carefully dip each cleaned pumpkin blossom into the batter, making sure to coat the flower completely while allowing any excess batter to drip off. This step is important for ensuring each blossom is generously coated, which will help create a perfectly crispy texture when frying.
Step 5: Cook to Perfection
Gently place the coated pumpkin blossoms in the preheated skillet, being careful not to overcrowd them. Cook for about 3–4 minutes on one side until they turn a lovely golden brown. Then, flip the blossoms and cook for an additional 3–4 minutes until both sides are crispy and golden. This will ensure your Healthy Pumpkin Blossoms are perfectly cooked and delicious.
Step 6: Drain Excess Oil
Once they are cooked to perfection, carefully transfer the golden blossoms to a plate lined with paper towels. This will help absorb any excess oil, ensuring your Healthy Pumpkin Blossoms stay light and crispy. Allow them to drain for a couple of minutes before serving.
Step 7: Serve and Enjoy
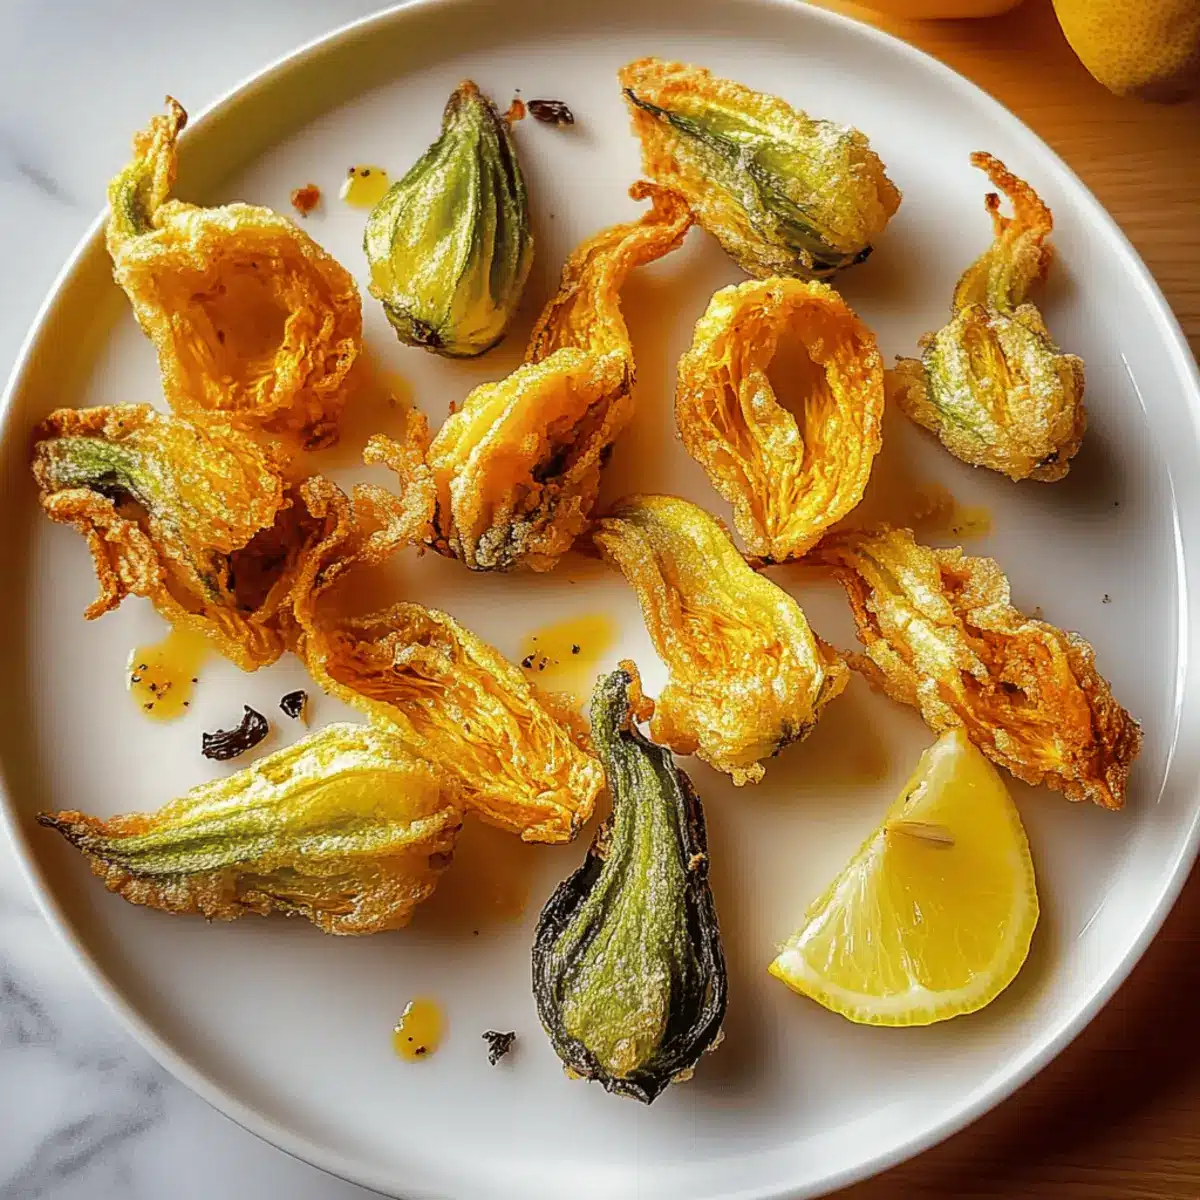
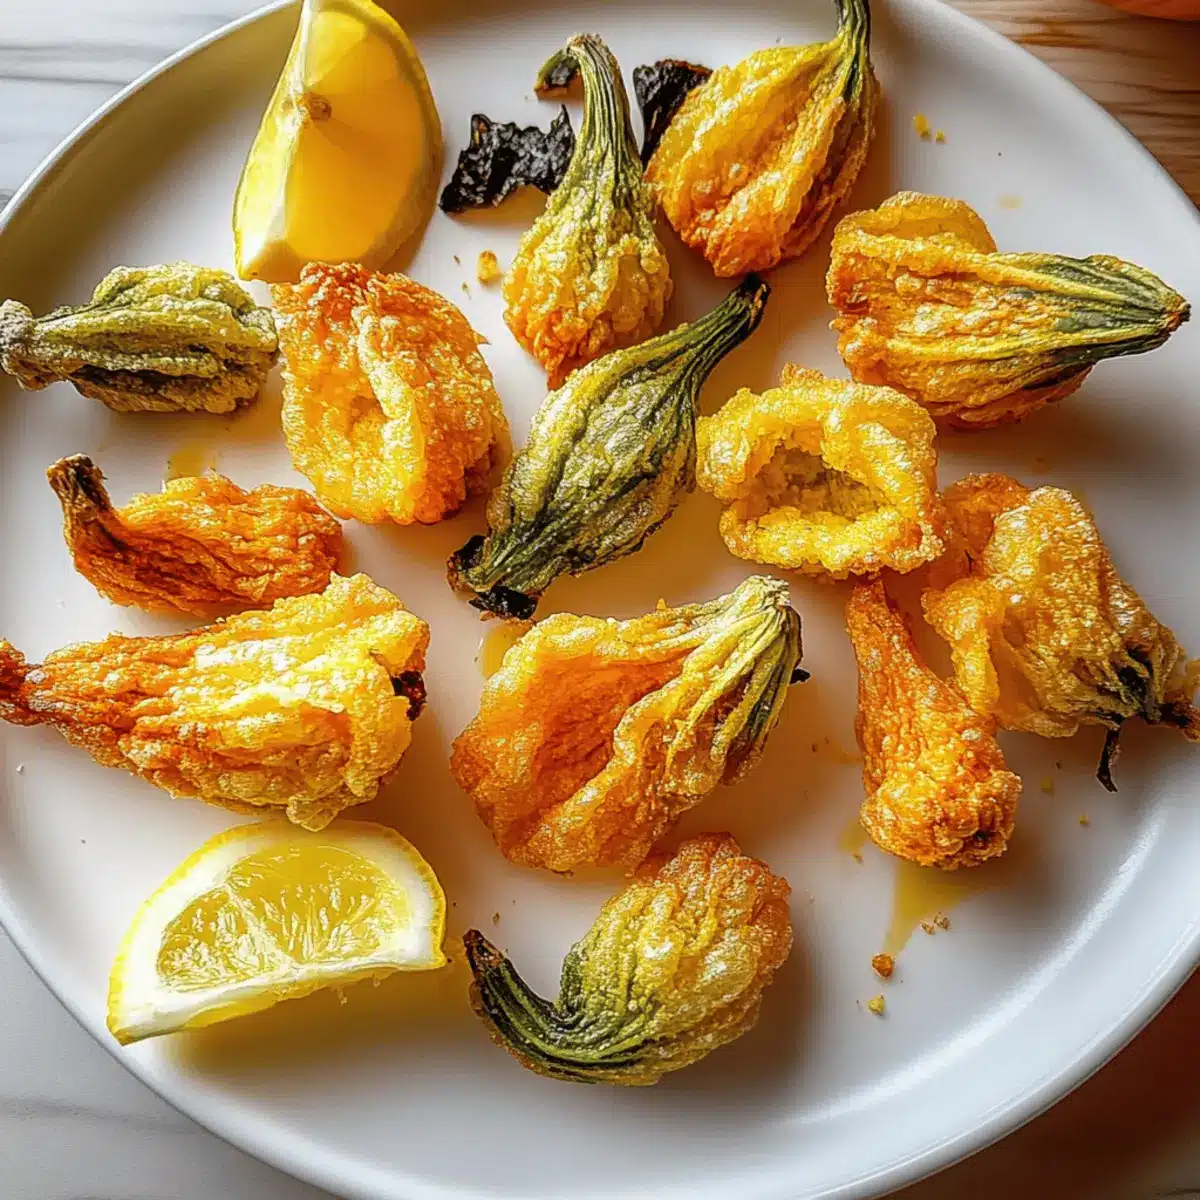
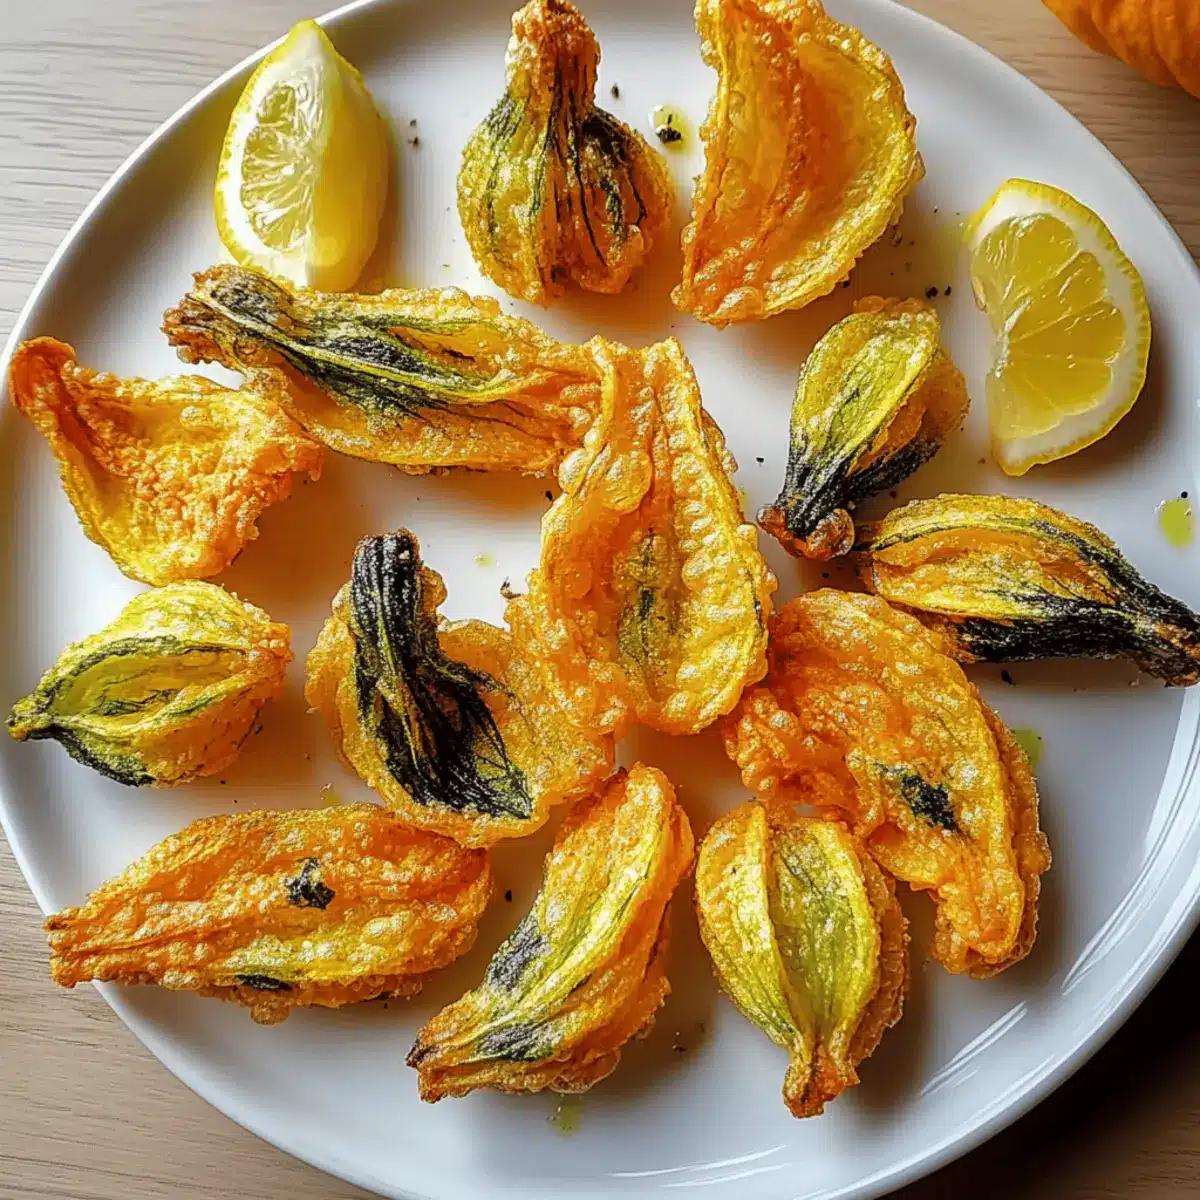
Present your beautifully crispy Healthy Pumpkin Blossoms alongside lemon wedges for an added burst of refreshing citrus. Squeeze the lemon over the blossoms just before eating for a bright flavor enhancement. These stunning treats are not only delicious but are sure to impress at any gathering!
What to Serve with Crispy Healthy Pumpkin Blossoms
Elevate your dining experience with delightful pairings that complement the vibrant flavors of these crispy blooms.
-
Crispy Salad: A fresh mixed greens salad with a zesty vinaigrette adds a crunchy contrast and balances the rich flavors of the blossoms.
-
Herbed Quinoa: Light and fluffy quinoa tossed with fresh herbs and lemon zest brings a nutritious, nutty aspect, enhancing the overall meal experience.
-
Roasted Vegetables: Seasonal roasted vegetables like zucchini and bell peppers provide depth of flavor, while their caramelized sweetness harmonizes beautifully with the pumpkin blossoms.
-
Creamy Avocado Dip: A refreshing avocado dip adds creaminess and richness that perfectly balances the crispy texture of the blossoms.
-
Sangria: For a refreshing drink option, a light sangria infused with seasonal fruits provides a hint of sweetness while cutting through the richness of the dish.
-
Coconut Rice Pudding: For dessert, a warm coconut rice pudding offers a subtle sweetness, bringing a delightful end to your meal while echoing the blooms’ vibrant flavors.
Healthy Pumpkin Blossoms Variations
Feel free to let your creativity shine as you customize these delightful pumpkin blossoms!
-
Spice It Up: Add 1 teaspoon of smoked paprika or cumin to the batter for a smoky twist that’s sure to elevate flavors.
-
Dairy-Free Ranch: Serve with a plant-based ranch dressing for a creamy complement that balances the crunch. It’s irresistibly refreshing!
-
Herb-Infused: Mix chopped fresh herbs like parsley or cilantro into the batter for a fresh herbal note. This simple addition adds a vibrant lift to every bite.
-
Texture Boost: Swap in a bit of panko breadcrumbs before frying to amp up the crunch factor. This gives your blossoms a delightful, extra crispy layer!
-
Cheesy Flavor: For a cheesy taste, add nutritional yeast to the batter. It’s a fantastic way to give your dish that umami kick without dairy.
-
Fried vs. Baked: Experiment by baking on a parchment-lined tray at 400°F (200°C) for about 20 minutes for a healthier method of cooking without the oil.
-
Sweet Surprise: Try stuffing your blossoms with a touch of vegan cream cheese mixed with herbs for a sweet and savory twist that will surprise your guests.
-
Chili Heat: Incorporate sliced jalapeños into the batter for an extra spicy kick. It’s a delightful way to turn up the heat in your appetizer!
Each of these variations opens up a world of flavor possibilities, transforming your Healthy Pumpkin Blossoms into something uniquely yours. For more pumpkin-themed inspiration, consider trying my Pumpkin Cinnamon Roll Muffins or indulge in tasty White Chocolate Pumpkin Snickerdoodles!
Storage Tips for Healthy Pumpkin Blossoms
-
Fridge: Store leftover cooked Healthy Pumpkin Blossoms in an airtight container for up to 2 days. This keeps them fresh and ready for your next snack!
-
Freezer: If you want to save some for later, freeze the cooked blossoms in a single layer on a baking sheet. Once frozen, transfer them to an airtight container for up to 1 month.
-
Reheating: For the best texture, reheat thawed blossoms in an oven at 350°F (175°C) for about 10 minutes. This helps regain their crispy goodness!
-
Room Temperature: Enjoy freshly made blossoms at room temperature when serving; just be sure to consume them within the first few hours for optimum flavor and texture.
Make Ahead Options
These Healthy Pumpkin Blossoms are a fantastic meal prep option for busy weeknights! You can wash and dry the pumpkin blossoms up to 24 hours in advance, storing them in an airtight container lined with a damp paper towel in the refrigerator to keep them fresh and vibrant. Additionally, prepare the batter by whisking together the chickpea flour, water, olive oil, and seasonings a day ahead—just cover and refrigerate. When you’re ready to enjoy, simply reheat the batter to room temperature, dip the blossoms, and cook as per the instructions. This way, your blossoms will still be just as delicious and crispy, allowing you to serve up a delightful snack with minimal effort!
Helpful Tricks for Healthy Pumpkin Blossoms
- Pat Dry: Gently pat the blossoms dry after washing to prevent excess moisture. This avoids a soggy batter and ensures crispiness.
- Batter Rest: Let the chickpea flour batter rest for a few minutes before dipping the blossoms. This extra time allows for better adhesion and crunch.
- Avoid Overcrowding: When cooking, make sure not to overcrowd the skillet. This ensures even cooking and prevents steaming, leading to perfectly crispy Healthy Pumpkin Blossoms.
- Watch the Heat: Keep the skillet at medium heat during cooking. Too high heat can burn the batter, while too low will make the blossoms greasy.
- Check for Doneness: Look for a golden-brown color on the batter when the blossoms are ready. This visual cue is crucial for achieving that perfect texture.
Healthy Pumpkin Blossoms Recipe FAQs
How do I select fresh pumpkin blossoms?
Absolutely! When choosing pumpkin blossoms, look for vibrant, unwilted petals without any dark spots. Fresh blossoms should feel firm, be free from blemishes, and have a sweet, mild aroma. If the blossoms appear wilted or have begun to brown at the edges, it’s best to avoid those.
How should I store leftover Healthy Pumpkin Blossoms?
I recommend storing leftover cooked blossoms in an airtight container in the fridge for up to 2 days. To keep them crispy, place a paper towel in the container to absorb excess moisture. For longer storage, freeze the blossoms by laying them flat on a baking sheet until frozen, then transfer to an airtight container for up to 1 month.
Can I freeze cooked Healthy Pumpkin Blossoms?
The more the merrier! To freeze, first let the cooked blossoms cool completely. Line a baking sheet with parchment paper, arrange the blossoms in a single layer, and freeze them until solid—about 1-2 hours. Then, transfer to a freezer-safe bag or container. This method prevents them from sticking together, allowing you to take out just what you need later.
What should I do if my batter is too thick?
Very often, if your batter is too thick, it can affect the coating of the blossoms. Start by adding a tablespoon of water at a time and whisking until you reach a smoother, pancake-like consistency. This will ensure a light and crispy coating. If it’s too runny, you can thicken it up by adding a little more chickpea flour.
Are there any dietary considerations to keep in mind with pumpkin blossoms?
Pumpkin blossoms are naturally gluten-free and vegan, making them suitable for a variety of diets. However, if someone’s allergic to chickpeas, they may want to substitute chickpea flour with another gluten-free option like almond flour or rice flour. Always double-check ingredients, especially with spices, to accommodate any allergies!
Crispy Healthy Pumpkin Blossoms for a Flavorful Treat
Ingredients
Equipment
Method
- Begin by gently washing the fresh pumpkin blossoms under cold water, ensuring all dirt and debris are removed. Pat them dry with a clean kitchen towel, taking care to remove any stamens or pistils inside.
- In a mixing bowl, whisk together chickpea flour, water, olive oil, garlic powder, onion powder, salt, black pepper, and chili flakes until you achieve a smooth, thick batter.
- Place a skillet on the stove and preheat it over medium heat for about 3-5 minutes. Lightly grease the skillet with olive oil.
- Carefully dip each cleaned pumpkin blossom into the batter, making sure to coat the flower completely.
- Gently place the coated pumpkin blossoms in the preheated skillet. Cook for about 3-4 minutes on one side until they turn a lovely golden brown. Then, flip the blossoms and cook for an additional 3-4 minutes until both sides are crispy.
- Once cooked, transfer the golden blossoms to a plate lined with paper towels to absorb excess oil.
- Present your beautifully crispy Healthy Pumpkin Blossoms alongside lemon wedges for an added burst of refreshing citrus.
Leave a Reply