
Stepping into my kitchen, I can almost hear the cheerful chatter of friends gathered around a summer table, ready to dive into something sweet and refreshing. That’s the magic of these Mini Key Lime Cheesecakes. They’re not just adorable bite-sized treats; they’re quick to prepare and perfect for make-ahead entertaining, meaning you’ll have more time to enjoy the sunshine and laughter. Each little cheesecake is a creamy, tangy delight sitting on a perfectly crunchy graham cracker crust, making them a must-have for any occasion. Whether you’re hosting a backyard barbecue or simply craving a light dessert, these cheesecakes are sure to impress. Ready to whip up a batch and serve up smiles? Let’s get started!
Why are Mini Key Lime Cheesecakes a Must-Try?
Irresistible: These mini key lime cheesecakes blend creamy, tangy flavors with a delightful crunch, perfect for summer gatherings.
Effortless: With simple ingredients and easy steps, you’ll be enjoying these treats in no time.
Make-Ahead: Prepare them ahead of time and chill, freeing you to relax and enjoy the company of friends.
Crowd-Pleaser: Their bite-sized format makes them ideal for sharing, guaranteeing smiles all around.
For more delicious variations with fresh flavors, check out my Cilantro Lime Steak Bowls or try the refreshing Fiesta Lime Chicken.
Mini Key Lime Cheesecakes Ingredients
For the Crust
• Graham Crackers – These form the crunchy base and provide great flavor; gluten-free versions can be swapped in for dietary needs.
• Granulated Sugar – Sweetens the crust beautifully; feel free to use a sugar substitute if preferred.
• Melted Butter – Binds the crust together; opt for unsalted butter to control the salt level.
For the Cheesecake Filling
• Cold Heavy Whipping Cream – This adds a lovely creaminess; make sure it’s cold for the best whipping results.
• Full-Fat Cream Cheese – Essential for that rich, smooth texture; avoid whipped varieties for an optimal result.
• Granulated Sugar (for filling) – Sweetens the cheesecake perfectly; adjust according to your taste.
• Full-Fat Sour Cream – Enhances the richness and tanginess; you can omit this or increase the cream cheese if needed.
• Key Lime Juice – This is the star for that classic tangy flavor; fresh juice gives the best taste, though bottled works too.
• Lime Zest – Adds a zesty aroma; always best to use fresh for maximum flavor.
• Pinch of Salt – Helps balance all the flavors beautifully in each bite.
For Topping
• Heavy Whipping Cream – Creates a light, fluffy topping; whip until soft peaks form for the perfect texture.
• Granulated Sugar (for topping) – Sweetens the whipped cream for a delicious finish; adjust to your liking.
• Lime Slices – Use for garnishing, adding a touch of freshness and decoration to your cheesecakes.
These Mini Key Lime Cheesecakes are a true summertime treat that’s as delicious as it is easy to whip up!
Step‑by‑Step Instructions for Mini Key Lime Cheesecakes
Step 1: Prepare the Muffin Pan
Start by preheating your oven to 350°F (175°C). Then, line a 12-count muffin pan with paper liners, which will help with easy removal of the mini key lime cheesecakes later on. Make sure the liners are properly placed in each muffin cup to hold the delicious crust and filling.
Step 2: Make the Graham Cracker Crust
In a food processor, pulse the graham crackers into fine crumbs, ensuring no large pieces remain. Mix the crumbs with granulated sugar and melted unsalted butter until well combined. Once blended, press the mixture firmly into the bottom of each muffin liner, creating a sturdy crust. Refrigerate the crusts for about 15 minutes to help them firm up.
Step 3: Whip the Heavy Cream
While the crust is chilling, pour the cold heavy whipping cream into a mixing bowl. Use an electric mixer to whip it on medium speed until stiff peaks form, which should take around 3-5 minutes. Keep an eye on the cream to avoid overwhipping, then set aside the fluffy whipped cream for later use in the mini key lime cheesecake filling.
Step 4: Prepare the Cheesecake Filling
In a separate bowl, beat the full-fat cream cheese with sugar using an electric mixer until it’s smooth and creamy, about 2-3 minutes. Add in the full-fat sour cream, lime zest, key lime juice, and a pinch of salt. Mix everything together until fully incorporated and the filling is lump-free. The blend of these ingredients will offer that irresistible tang we adore in mini key lime cheesecakes!
Step 5: Fold in the Whipped Cream
Carefully fold the whipped cream from Step 3 into the cream cheese mixture using a spatula. This gentle folding technique will help retain the airiness of the whipped cream, giving your mini key lime cheesecakes a light and fluffy texture. Aim for a uniform mix without overworking it, preserving that delightful creaminess.
Step 6: Fill the Crusts
Once the filling is ready, transfer it into the prepared crusts. You can use a piping bag for a cleaner appearance or simply spoon the mixture in. Fill each muffin liner generously, making sure to distribute the filling evenly.
Step 7: Chill the Cheesecakes
Place the muffin pan in the refrigerator and allow the mini key lime cheesecakes to chill until set, approximately 3 hours. This chilling time not only helps them firm up but also allows the flavors to meld beautifully.
Step 8: Prepare the Topping
Just before serving, whip more heavy cream with a touch of sugar until soft peaks form, creating a delightful topping for each cheesecake. This light and airy cream will provide a beautiful contrast to the tangy bite of the mini key lime cheesecakes.
Step 9: Garnish and Serve
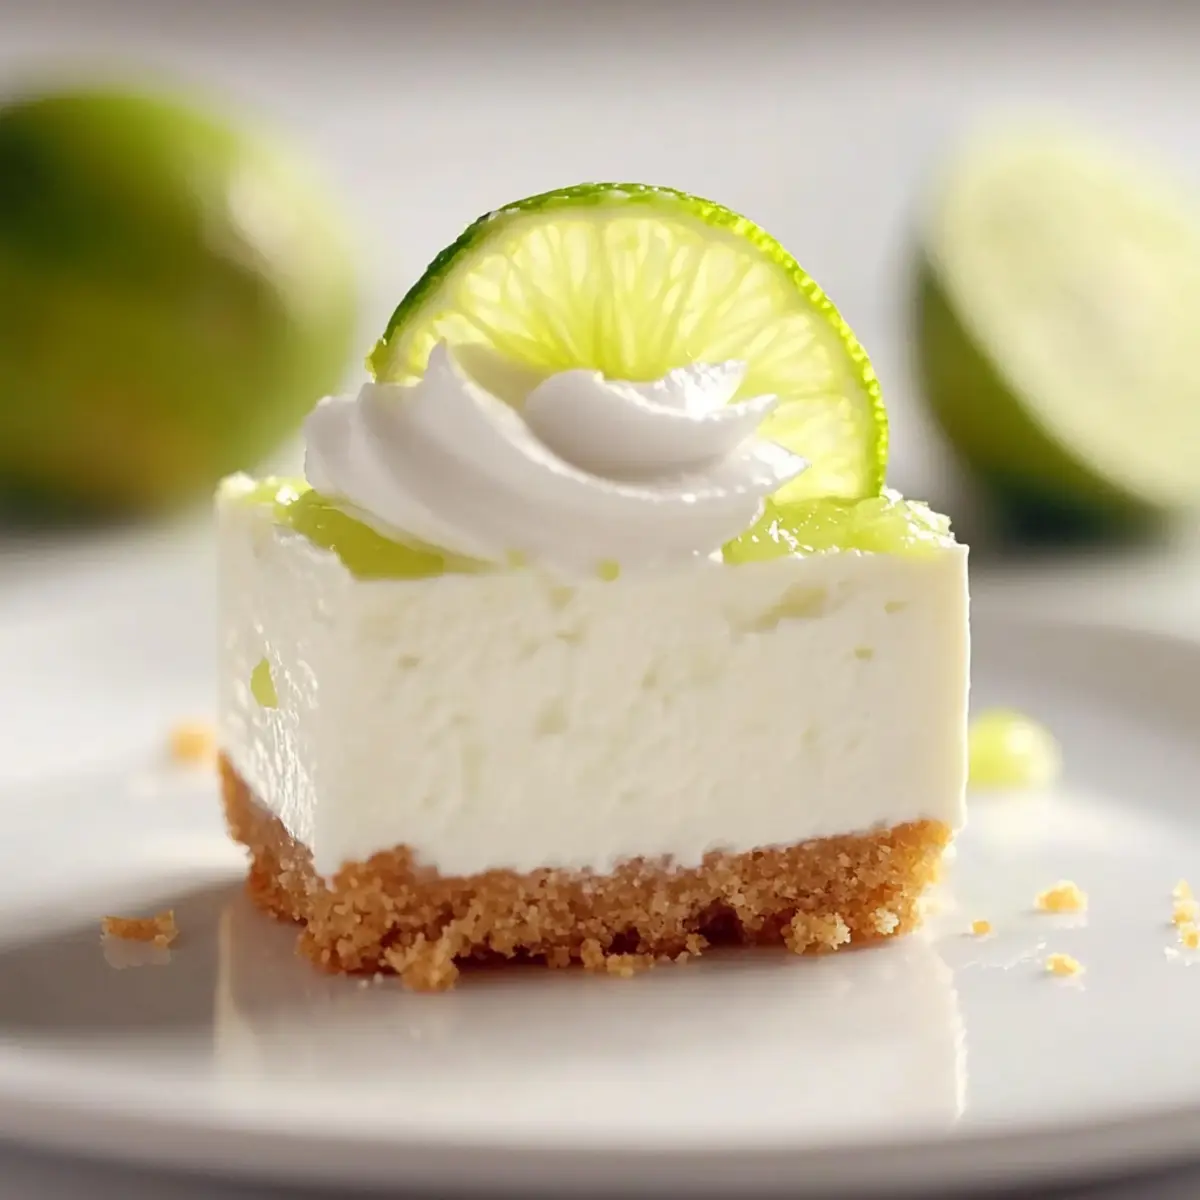
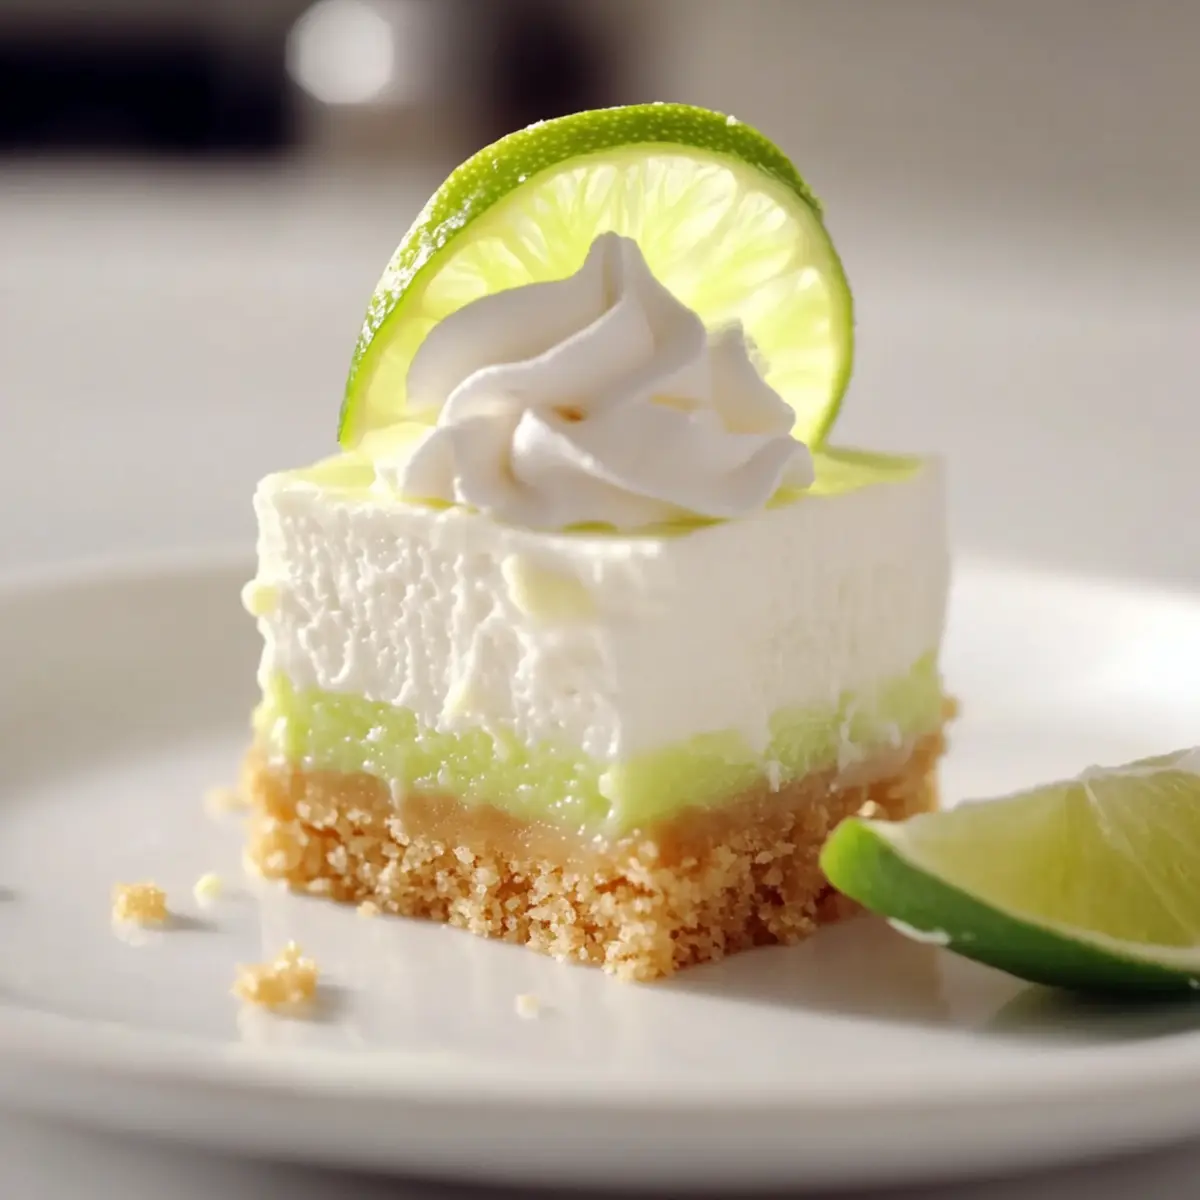
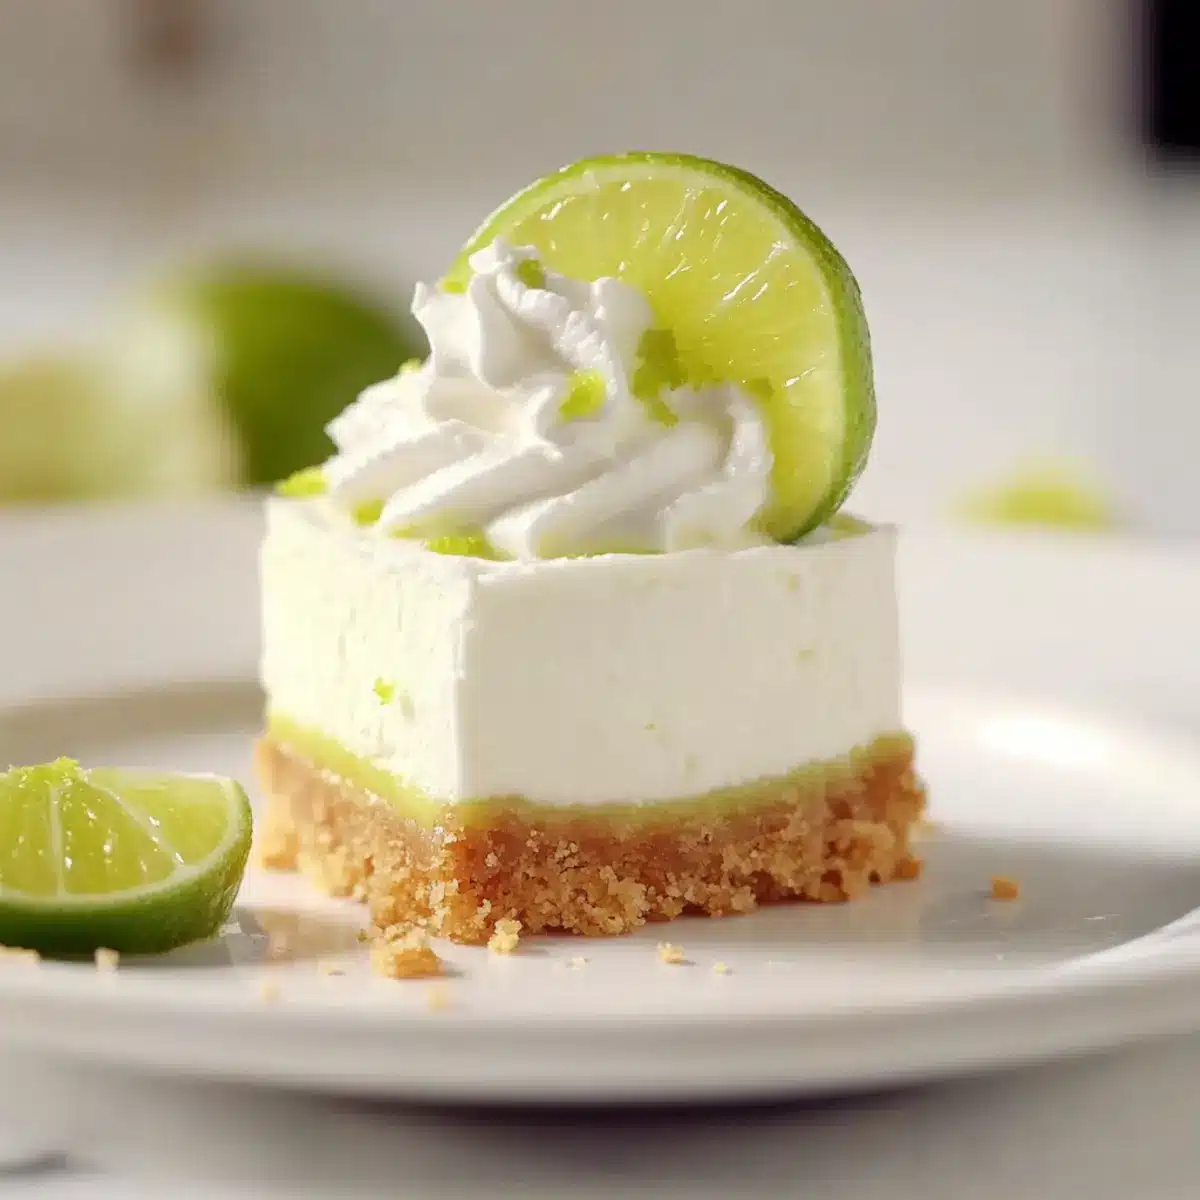
Finally, dollop or pipe the whipped cream onto each chilled mini key lime cheesecake. Garnish with a thin slice of lime for a vibrant touch that enhances the presentation. Serve these delightful treats chilled as a refreshing end to a summer meal, and watch the smiles on everyone’s faces!
Make Ahead Options
These Mini Key Lime Cheesecakes are a fantastic option for meal prep, allowing you to enjoy a homemade treat without the last-minute rush! You can prepare the graham cracker crust up to 24 hours in advance; simply store it in the refrigerator to keep it fresh. The cheesecake filling can also be made ahead and kept in the fridge for up to 3 days before filling the crusts. Just remember to give the filling a quick stir before transferring it, maintaining its creamy texture. When you’re ready to serve, fill the crusts and chill until set, then top with whipped cream just before garnishing and enjoying these delicious desserts!
What to Serve with Juicy Mini Key Lime Cheesecakes
The perfect balance of sweetness and tang makes these bites a delightful finish to any meal.
- Fresh Berries: A medley of strawberries, blueberries, and raspberries adds a vibrant pop of color and a refreshing bite to each cheesecake.
- Iced Coffee: The rich, smooth flavors of iced coffee contrast wonderfully with the zesty cheesecakes, making for an inviting combination.
Indulge in the refreshing taste of summer! Pair your mini key lime cheesecakes with a light arugula salad dressed in a citrus vinaigrette. The peppery greens balance the sweetness superbly while adding a nutritious element to your meal.
- Lemon Sorbet: A scoop of lemon sorbet provides a cool, tart complement, enhancing the citrus notes in the cheesecakes.
- Mint-Infused Water: Serve with mint water for an uplifting, fragrant drink that refreshes the palate between bites.
- Chocolate Dipped Strawberries: The rich chocolate meets its match with the tangy cheesecake, creating an unforgettable dessert experience.
- Pineapple Salad: A tropical pineapple salad adds juicy sweetness and a fun, laid-back vibe that’s perfect for summer gatherings.
- Sparkling Wine: A glass of bubbly complements the cheesecakes beautifully, elevating your dessert experience.
- Coconut Macaroons: Their chewy texture and sweetness create a delightful contrast to the creamy, tangy cheesecakes, rounding out your dessert table.
Mini Key Lime Cheesecakes Variations
Feel free to bring your own twist to these delightful mini key lime cheesecakes, letting your creativity shine!
-
Lemon Juice: Swap key lime juice for fresh lemon juice for a zesty alternative. This hint of brightness can offer a delicious summer vibe.
-
Berry Toppings: Top with fresh berries like raspberries or blueberries for a pop of color and contrasting flavors. The sweet-tart berries complement the creamy cheesecakes beautifully.
-
Passion Fruit Drizzle: Add a drizzle of passion fruit sauce on top for an exotic twist. Its tropical flavors will transport you to a sunny beach!
-
Gluten-Free Crust: Use gluten-free graham crackers to make this dessert accessible for gluten-sensitive friends. The taste remains just as delightful.
-
Coconut Flakes: Incorporate shredded coconut in the crust for added texture. It gives a delightful crunch and a hint of tropical flavor.
-
Chocolate Ganache: Add a layer of chocolate ganache under the cheesecake filling for a rich contrast. Chocolate lovers will be in heaven!
-
Mint Zest: Garnish with mint leaves or a sprinkle of lime zest for a refreshing finish. It brightens the dish, making each bite even more delightful.
-
Mini Chocolate Chips: Fold in some mini chocolate chips into the filling for a sweet surprise. It adds a fun texture and flavor that kids will adore!
For more zesty flavors, check out my refreshing Chili Lime Flank or try the tangy Cilantro Lime Steak Bowls.
Expert Tips for Mini Key Lime Cheesecakes
Room Temperature Cream Cheese: Allow cream cheese to come to room temperature before mixing for a smoother filling; cold cream cheese can cause lumps.
Fold Gently: When incorporating whipped cream into the filling, fold gently to maintain airiness; overmixing can lead to a dense texture.
Chill Time is Crucial: Be patient and allow the cheesecakes to chill for at least 3 hours to set properly; skipping this step can result in a runny filling.
Check the Filling: The center of the cheesecakes should be slightly jiggly when you remove them from the fridge; they will firm up as they cool.
Top Just Before Serving: For the best presentation and flavor, add the whipped cream topping just before serving your mini key lime cheesecakes.
How to Store and Freeze Mini Key Lime Cheesecakes
Fridge: Store in an airtight container in the refrigerator for up to 5 days. This keeps them fresh while allowing the flavors to meld beautifully.
Freezer: Mini key lime cheesecakes freeze well for up to 3 months. Wrap each cheesecake individually in plastic wrap, then place them in a freezer-safe bag.
Thawing: To enjoy, simply remove from the freezer and thaw in the fridge overnight. This helps maintain their creamy texture without excess moisture.
Reheating: They are best served cold, so no reheating is necessary—just top with whipped cream and enjoy!
Mini Key Lime Cheesecakes Recipe FAQs
How do I select the best limes for the key lime juice?
Absolutely! When choosing limes, opt for those that are firm and feel heavy for their size. Look for limes featuring a bright green color, avoiding any that have dark spots or a dull appearance. Fresh limes will provide a zestier flavor that elevates your mini key lime cheesecakes beautifully.
What’s the best way to store leftover mini key lime cheesecakes?
Very! Place any leftovers in an airtight container and store them in the refrigerator for up to 5 days. This method keeps them fresh and allows the flavors to marry even further. Just remember to give them a gentle stir if you see any separation before serving them again.
Can I freeze mini key lime cheesecakes, and if so, how?
Absolutely! These mini key lime cheesecakes freeze wonderfully. To do this, individually wrap each cheesecake in plastic wrap, then place them in a freezer-safe bag or container. They can be kept frozen for up to 3 months. When you’re ready to enjoy them, simply thaw in the refrigerator overnight; this will help retain their creamy texture.
What do I do if my whipped cream isn’t forming stiff peaks?
Oh no! If your whipped cream isn’t thickening as expected, it could be due to the cream being too warm or not enough fat content. Make sure your heavy whipping cream is chilled and try increasing the mixer speed. If you’ve already whipped it too long, try adding a little more cream to balance it out, or simply start again with a fresh batch of cold cream.
Are these mini key lime cheesecakes suitable for those with dietary restrictions?
Certainly! To accommodate those with dietary needs, you can use gluten-free graham crackers for the crust. Additionally, consider substituting granulated sugar with a sugar alternative like stevia or erythritol. Always verify the ingredients to ensure they’re suitable for specific allergies, especially dairy, as these cheesecakes contain cream cheese and heavy cream.

Tangy Mini Key Lime Cheesecakes Perfect for Summer Treats
Ingredients
Equipment
Method
- Preheat your oven to 350°F (175°C) and line a 12-count muffin pan with paper liners.
- Pulse graham crackers into fine crumbs; mix with granulated sugar and melted butter, then press into muffin liners. Refrigerate for 15 minutes.
- Whip cold heavy cream in a mixing bowl until stiff peaks form, about 3-5 minutes, and set aside.
- Beat cream cheese with sugar until smooth. Add sour cream, lime zest, key lime juice, and salt. Mix until lump-free.
- Gently fold in the whipped cream into the cream cheese mixture until uniform.
- Transfer the filling into the crusts using a piping bag or spoon, filling each muffin liner evenly.
- Chill the cheesecakes for approximately 3 hours until set.
- Whip more heavy cream with sugar until soft peaks form for the topping.
- Dollop or pipe whipped cream onto each cheesecake and garnish with lime slices before serving.
Leave a Reply