
As I pulled open the pantry door, my eyes landed on the jar of old-fashioned rolled oats—a simple ingredient that can transform into something truly delightful. Today, I’m excited to share my favorite recipe: No-Bake Chocolate Oat Cookies. These treats bring together the sweetness of chocolate, the chewiness of oats, and just a whisper of peanut butter, all without the need for an oven. Perfect for busy days or hot weather, this quick recipe is not only a crowd-pleaser but also gluten-free, making it a fantastic option for everyone. Whether you’re a seasoned pro or just beginning your culinary journey, these cookies are a fun way to satisfy your sweet tooth. Ready to whip up a batch? Let’s dive in and explore how these no-bake delights can brighten your snack time!
Why are No-Bake Cookies a Game Changer?
Embrace Simplicity: These No-Bake Chocolate Oat Cookies can be whipped up in just minutes, perfect for those who crave sweet treats without the fuss of baking.
Endless Flavor Combinations: From adding chocolate chips to swapping in different nut butters, the variations are fantastic—tailor them to your taste!
Healthy Indulgence: Made with wholesome ingredients like oats and peanut butter, they provide a satisfying snack that’s gluten-free and packed with protein.
Chill & Enjoy: Simply refrigerate for a quick and easy treat that’s perfect for hot days or snack time.
Crowd-Pleasing Texture: The chewy, chocolatey goodness mimics a granola bar but with an added indulgent twist, making them a favorite for all ages.
For more quick recipes, check out my Cajun Chicken Pasta or the delightful One Pot Pasta. You’re just one recipe away from deliciousness!
No-Bake Chocolate Oat Cookies Ingredients
• Deliciously simple, let’s gather what we need!
For the Batter
- Old-Fashioned Rolled Oats – A must-have for that chewy texture; quick oats can be used for a softer bite.
- Natural Peanut Butter – Adds creaminess and rich flavor; feel free to substitute with almond butter or sunflower seed butter for nut-free cookies.
- Honey or Maple Syrup – Brings sweetness and binds everything together; agave syrup is a great vegan option.
- Unsweetened Cocoa Powder – Provides deep chocolate flavor; consider using carob powder for a caffeine-free alternative.
- Vanilla Extract – Enhances all the flavors; optional if you want to keep it super simple.
- Salt – Balances the sweetness; sea salt is ideal, but feel free to omit it for a sweeter cookie.
Optional Add-Ins
- Chocolate Chips – For extra sweetness and indulgence; a delightful twist on your no-bake chocolate oat cookies.
- Dried Fruit – Boost flavor and texture; try raisins, cranberries, or chopped dates!
- Chopped Nuts or Seeds – Add crunch and nutty notes to your cookies; great for an energy boost!
Now that you have everything ready, let’s dive into making your tasty treats!
Step‑by‑Step Instructions for No-Bake Chocolate Oat Cookies
Step 1: Combine the Base Ingredients
In a medium saucepan over medium heat, combine 1 cup of honey (or maple syrup), 1 cup of natural peanut butter, 1/2 cup of unsweetened cocoa powder, and a pinch of salt. Stir frequently until the mixture begins to bubble gently and is completely melted and smooth, about 3–5 minutes. Remove from heat and let it cool slightly.
Step 2: Add Vanilla and Mix Oats
Once the chocolate mixture has cooled for a minute, add 1 teaspoon of vanilla extract for an extra flavor boost. Stir well to integrate it completely. Then, gradually mix in 3 cups of old-fashioned rolled oats, ensuring everything is thoroughly combined. The mixture should be sticky and cohesive.
Step 3: Scoop and Shape the Cookies
Using a tablespoon, scoop out portions of the cookie mixture and place them onto a lined baking sheet or parchment paper. Lightly flatten each cookie with the back of the spoon to give them a uniform shape. Aim for about 2 inches apart, as these will firm up but not spread while chilling.
Step 4: Chill to Set
Place the tray of cookie dollops in the refrigerator for at least 30 minutes, or until they have set firm. This chill time allows the flavors to meld and the cookies to achieve their chewy texture. Keep an eye on them—they are ready when firm to the touch.
Step 5: Serve and Store
Once the No-Bake Chocolate Oat Cookies are set, remove them from the refrigerator and serve. Enjoy with a glass of milk or alongside fresh fruit. Store any leftovers in an airtight container in the fridge for up to one week, allowing you to indulge in this delicious treat whenever cravings strike!
What to Serve with No-Bake Chocolate Oat Cookies
Transform your snack time into a delightful feast by pairing these chewy, chocolatey bites with complementary treats!
-
Glass of Milk: A classic choice to balance the rich sweetness, enhancing the creamy flavors of the cookies.
-
Fresh Fruit Salad: Bright and juicy, a mix of berries or citrus can cut through the richness, refreshing your palate.
-
Creamy Yogurt: A dollop of Greek yogurt adds tanginess and protein, making for a satisfying snack or dessert combo.
-
Nutty Granola: A sprinkle of granola provides crunch and additional wholesome flavors, making these cookies even more indulgent.
-
Ice Cream Scoop: A scoop of vanilla or chocolate ice cream creates a luscious dessert experience perfect for special occasions. Pairing the cold ice cream with warm cookies can be heavenly!
-
Homemade Chia Pudding: Light and nutritious, chia pudding offers a unique texture contrast while keeping the meal wholesome and satisfying.
-
Milkshake: A chocolate or peanut butter milkshake is an indulgent way to combine flavors, creating a fun and creamy experience that pairs beautifully with the cookies.
-
Dark Chocolate Drizzle: Elevate these cookies even further by drizzling with melted dark chocolate for an extra touch of decadence.
Expert Tips for No-Bake Chocolate Oat Cookies
• Thorough Mixing: Ensure the mixture is well-combined to prevent dry spots that can affect the texture of your cookies.
• Firm Pressing: Press the cookie dough down firmly on the parchment paper for better shape retention during chilling.
• Creative Mix-Ins: Mix in chocolate chips or dried fruit for extra flavor and texture, enhancing your no-bake chocolate oat cookies.
• Storage Know-How: Keep cookies in an airtight container in the fridge for up to a week to maintain their chewy goodness.
• Chill Time: Be patient during the refrigeration step; letting them set longer improves both texture and flavor development.
Make Ahead Options
These No-Bake Chocolate Oat Cookies are a fantastic choice for meal prep enthusiasts looking to save time! You can prepare the base mixture (honey, peanut butter, cocoa powder, and oats) up to 24 hours in advance; simply store it in an airtight container in the refrigerator. This ensures the flavors meld beautifully, keeping them fresh. When you’re ready to enjoy these treats, just form the cookies and chill them for at least 30 minutes to set. For optimal quality, make sure to flatten them well before refrigerating, so they maintain their delightful shape. With this prep-ahead strategy, you’ll have a delicious snack ready to go anytime!
No-Bake Chocolate Oat Cookies Variations
Feel free to let your creativity shine and customize these delightful treats to match your preferences and dietary needs!
- Gluten-Free: Use certified gluten-free oats to ensure these cookies cater to those with gluten sensitivities.
- Nut-Free: Swap peanut butter for sunflower seed butter or tahini for a delicious alternative that keeps the cookies nut-free.
- Chocolate Mint: Add a few drops of peppermint extract along with your vanilla for a refreshing minty flavor that pairs beautifully with chocolate.
- Coconut Bliss: Replace some cocoa powder with finely shredded coconut for a sweet, tropical twist that brings new texture and depth.
Plus, you can even drizzle a little melted dark chocolate on top for an extra treat! - Spiced Up: Incorporate a teaspoon of cinnamon or a pinch of nutmeg to warm up the flavors, creating a cozy aroma throughout your kitchen.
- Chunky Add-Ins: Toss in your favorite chopped nuts or seeds to introduce a satisfying crunch and extra protein to the mix.
- Caramel Swirl: For a sweet surprise, drizzle a tad of caramel sauce into the mix before chilling, adding a lovely gooey texture and flavor.
- Berry Burst: Dried cranberries or chopped dates work wonderfully to enhance the chewy texture of the cookies, delivering an unexpected burst of sweetness.
For more tasty meal ideas, check out my delicious Sausage Sweet Potatoes or the famous Steak Pasta Ready recipe that the whole family will love!
Storage Tips for No-Bake Chocolate Oat Cookies
Fridge: Keep your No-Bake Chocolate Oat Cookies in an airtight container in the refrigerator for up to one week. This will preserve their chewy texture and delicious flavor.
Freezer: For longer storage, freeze the cookies for up to three months. Place them in a single layer in a freezer-safe container, separating layers with parchment paper.
Thawing: To enjoy frozen cookies, thaw them in the fridge overnight or leave them at room temperature for about 30 minutes before serving.
Reheating: If you prefer a warm treat, you can microwave individual cookies for about 10 seconds, just to soften them slightly without melting.

No-Bake Chocolate Oat Cookies Recipe FAQs
What type of oats should I use for the best texture?
I always recommend using old-fashioned rolled oats for that perfect chewy texture. However, if you prefer a softer bite or only have quick oats on hand, feel free to substitute. Just keep in mind that the texture will be slightly different!
How should I store my No-Bake Chocolate Oat Cookies?
To keep your cookies fresh, store them in an airtight container in the refrigerator for up to one week. This helps maintain their chewy goodness and rich flavor. If you end up with a stash you can’t finish, don’t worry—you can freeze them!
Can I freeze these cookies for later?
Absolutely! You can freeze your No-Bake Chocolate Oat Cookies for up to three months. To do this, place them in a single layer in a freezer-safe container, making sure to separate layers with parchment paper to prevent them from sticking together. When you’re ready to enjoy them, just thaw overnight in the fridge or at room temperature for about 30 minutes.
What if my mixture is too dry or crumbly?
If you find your cookie mixture is too dry and not coming together, don’t panic! Simply add a little bit of additional honey or peanut butter, one tablespoon at a time, mixing thoroughly until it reaches a sticky, cohesive consistency. This ensures you achieve that perfect chewy texture.
Are there any dietary considerations I should be aware of?
These No-Bake Chocolate Oat Cookies can easily accommodate various dietary needs. For nut allergies, you can swap out peanut butter for sunflower seed butter. Additionally, if you’re looking for a vegan option, using maple syrup or agave syrup instead of honey works wonderfully. Just make sure your oats are certified gluten-free if that’s a concern!
Can I add other ingredients to customize my cookies?
The more the merrier! You can absolutely mix in chocolate chips, dried fruit, or even chopped nuts for extra pop and flavor. If you’re feeling adventurous, try adding a dash of cinnamon or some finely shredded coconut for a delightful twist!

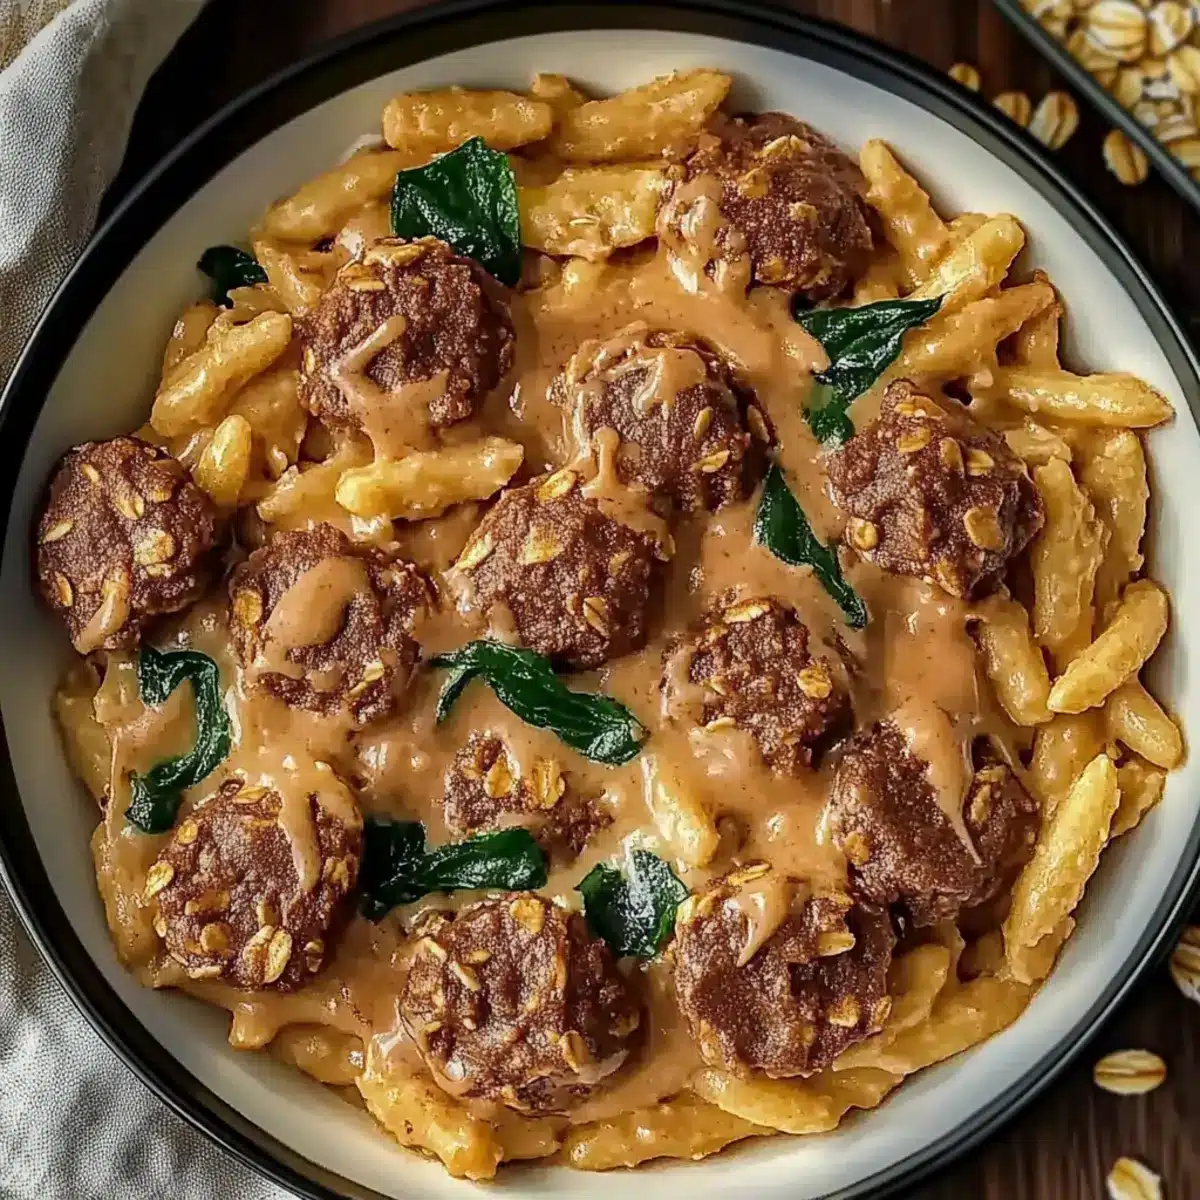
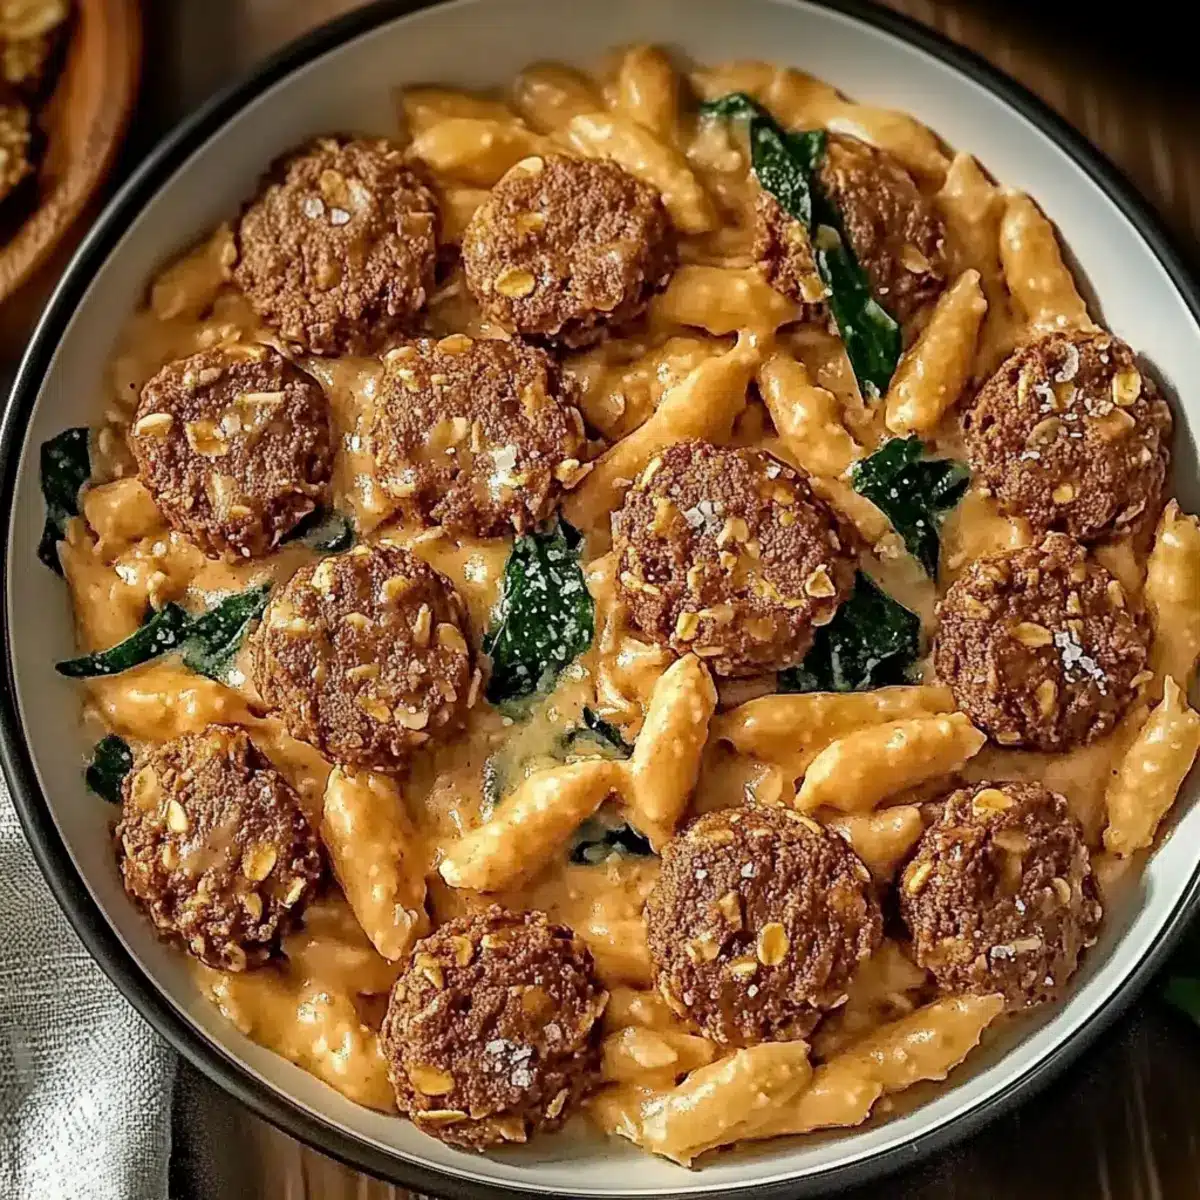
One Pot Creamy Cajun Sausage Pasta: A Flavor Explosion!
Ingredients
Equipment
Method
- In a medium saucepan over medium heat, combine honey, peanut butter, cocoa powder, and salt. Stir until the mixture is melted and smooth, about 3-5 minutes.
- Add vanilla extract and stir well. Gradually mix in the rolled oats until thoroughly combined.
- Scoop portions onto a lined baking sheet and lightly flatten each cookie.
- Chill in the refrigerator for at least 30 minutes until set firm.
- Serve and store leftovers in an airtight container.
Leave a Reply