
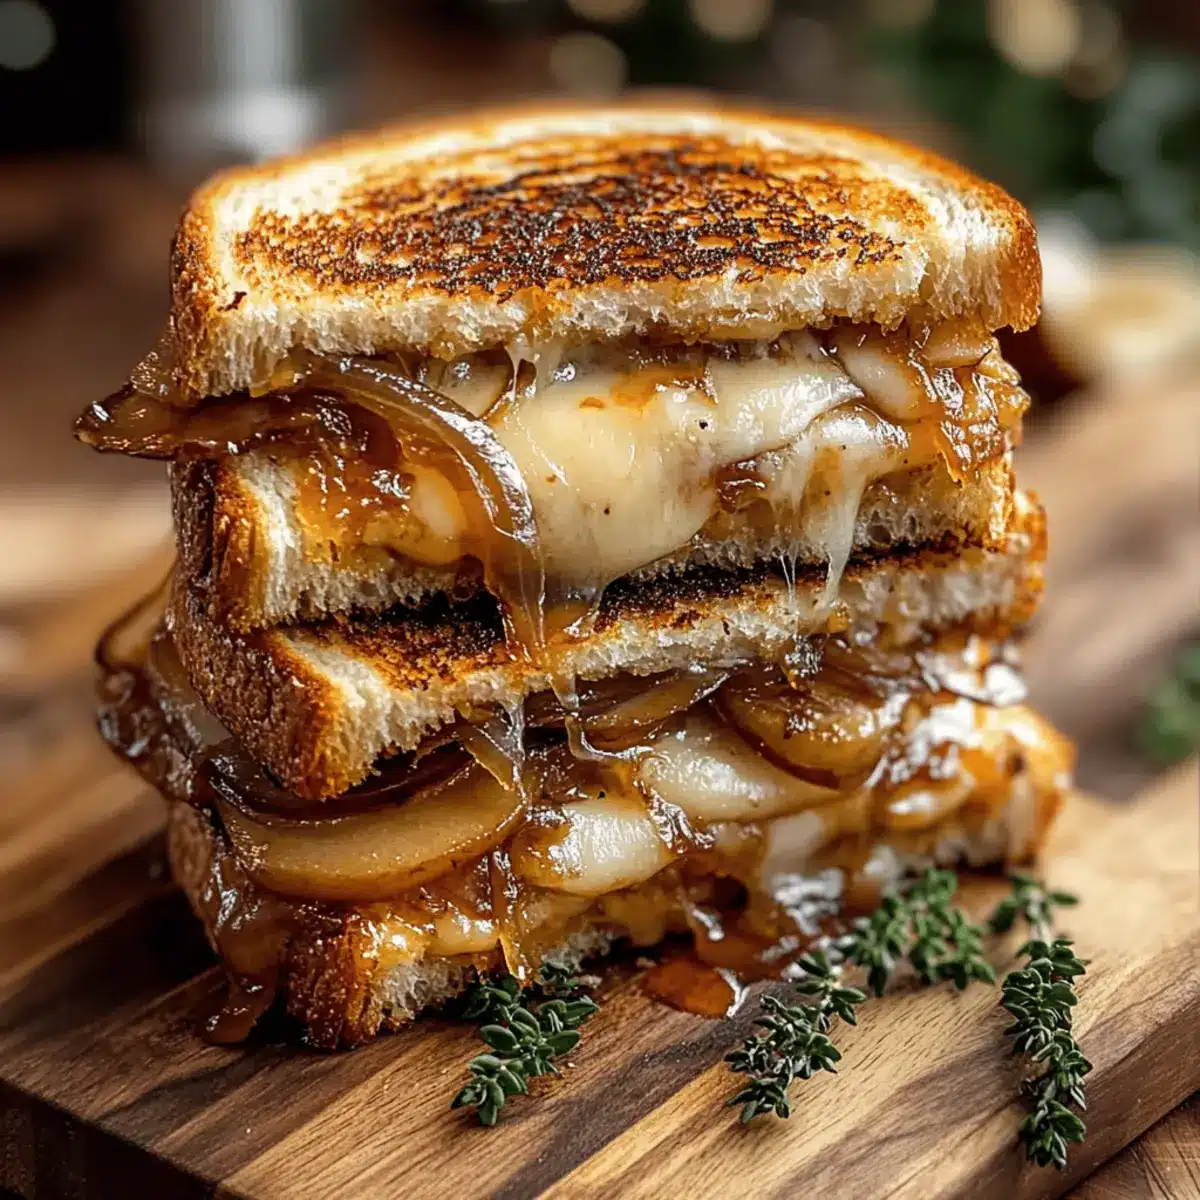
As I unearthed a forgotten block of cheddar in my fridge, a lightbulb moment sparked. Why not elevate my usual cheese fix? Enter the Pear & Apple Grilled Cheese with Caramelized Onions—a comforting twist on a classic that’s perfect for any weeknight. This recipe is a delightful blend of sweet and savory, combining the irresistible flavors of juicy pears, tart apples, and sweet caramelized onions. Not only is it a quick meal that requires minimal effort, but it also transforms humble sandwich ingredients into a gourmet experience. Best of all, it offers flexibility for whatever you have on hand, making it a go-to comfort food for any occasion. Are you ready to take your grilled cheese game to the next level? Let’s dive in!
Why is this grilled cheese irresistible?
Comforting Twist: The Pear & Apple Grilled Cheese with Caramelized Onions redefines your ordinary sandwich. Sweet, Savory Balance: Juicy pears, tart apples, and sweet caramelized onions create a mouthwatering harmony of flavors. Easy to Prepare: This quick meal requires minimal effort, making it perfect for busy weeknights. Flexible Ingredients: Use whatever bread or cheese you have on hand for a personalized touch—check out our Cheese Bread Cozy for more ideas! Satisfying Texture: Enjoy the satisfying crunch of toasted bread encasing gooey melted cheese and tender fruit, reminiscent of gourmet café delights right at home.
Pear & Apple Grilled Cheese Ingredients
• Get ready to elevate your sandwich game with these wonderful ingredients that blend perfectly together!
For the Bread
- Sourdough Bread – Provides a crispy exterior when grilled; feel free to swap with any hearty bread like whole grain for added texture.
For the Filling
- Unsalted Butter – Essential for grilling; olive oil can be used for a dairy-free alternative.
- Medium Pear – Adds sweetness and moisture; choose a ripe pear for the best flavor.
- Medium Apple – Brings tartness and crunch; Granny Smith or Honeycrisp varieties work wonderfully.
- Medium Onion – Adds depth of flavor; caramelized onions bring a natural sweetness—yellow onions are ideal, but red onions add a splash of color.
- Shredded Sharp Cheddar Cheese – Offers rich meltability; mix with mozzarella or gouda for extra taste.
For the Enhancement
- Balsamic Vinegar – Introduces acidity and depth; consider using red wine or apple cider vinegar as pleasing substitutes.
- Salt – Enhances overall flavor; season according to taste.
- Black Pepper – Adds a touch of spice; adjust based on your preference.
With these ingredients, your Pear & Apple Grilled Cheese with Caramelized Onions is set to impress and delight!
Step‑by‑Step Instructions for Pear & Apple Grilled Cheese With Caramelized Onions
Step 1: Caramelize the Onions
In a skillet over medium heat, melt 1 tablespoon of unsalted butter. Add sliced medium onions with a pinch of salt, stirring occasionally. Cook for approximately 10 minutes until the onions turn golden brown and sweetly fragrant. Pour in balsamic vinegar, cooking for an additional 2-3 minutes until thickened. Remove from heat and set them aside to enhance the flavor of your Pear & Apple Grilled Cheese.
Step 2: Prepare the Sandwich
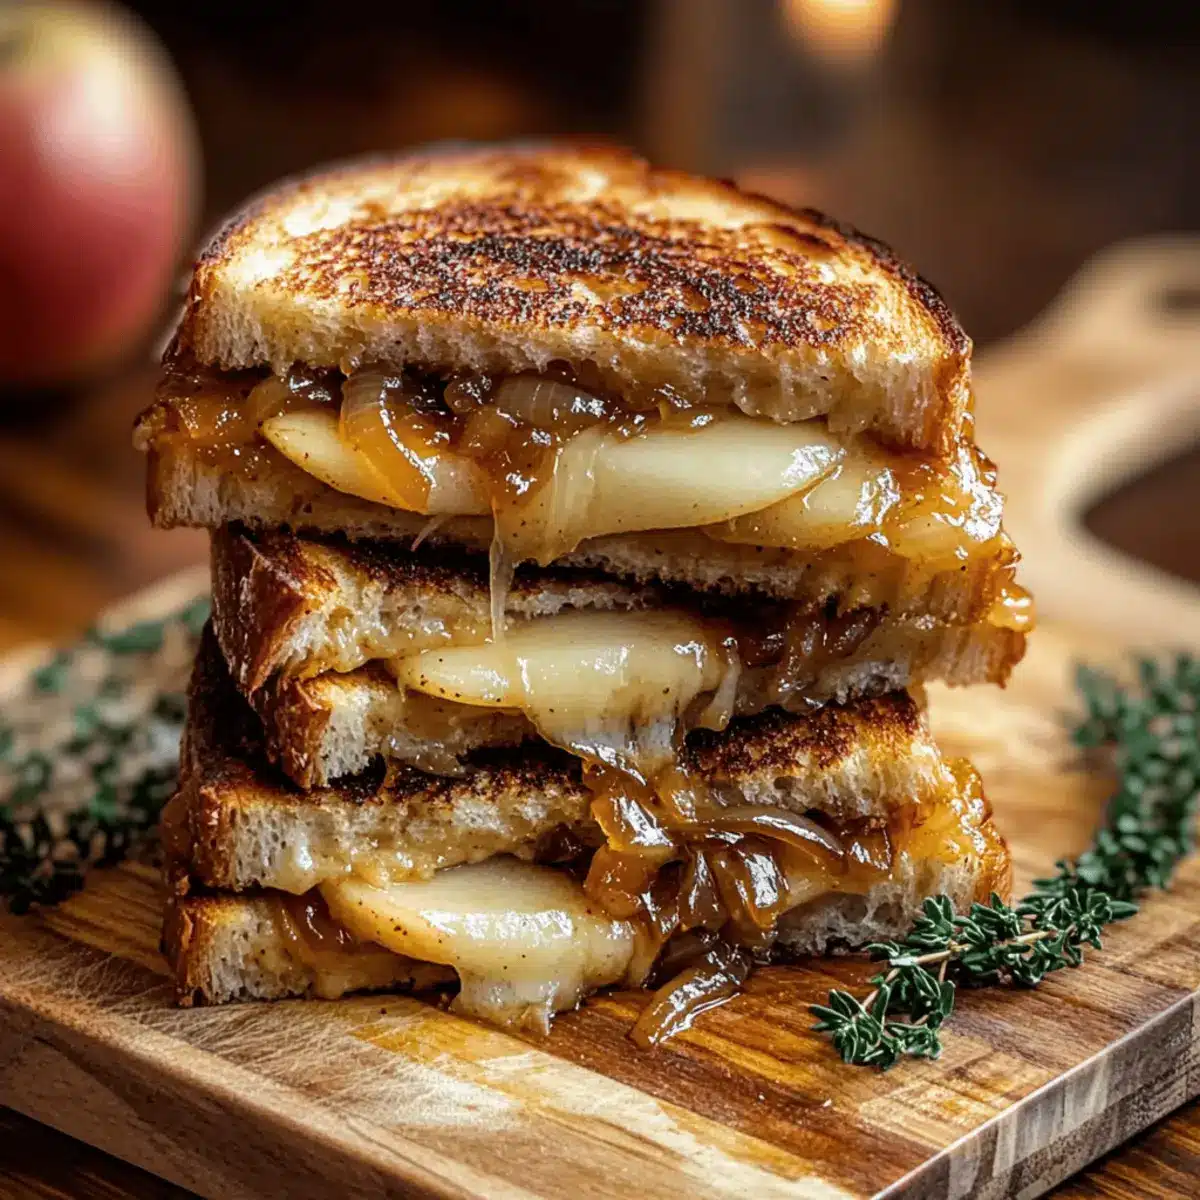
Using the same skillet, melt the remaining butter over medium heat. Take two slices of sourdough bread and layer half of the shredded sharp cheddar cheese on one slice. Spread the sweet caramelized onions evenly on top, followed by thinly sliced medium pear and apple. Top it with the remaining cheddar, placing the other slice of bread over to complete the sandwich, ensuring a delightful filling for your grilled cheese.
Step 3: Grill the Sandwiches
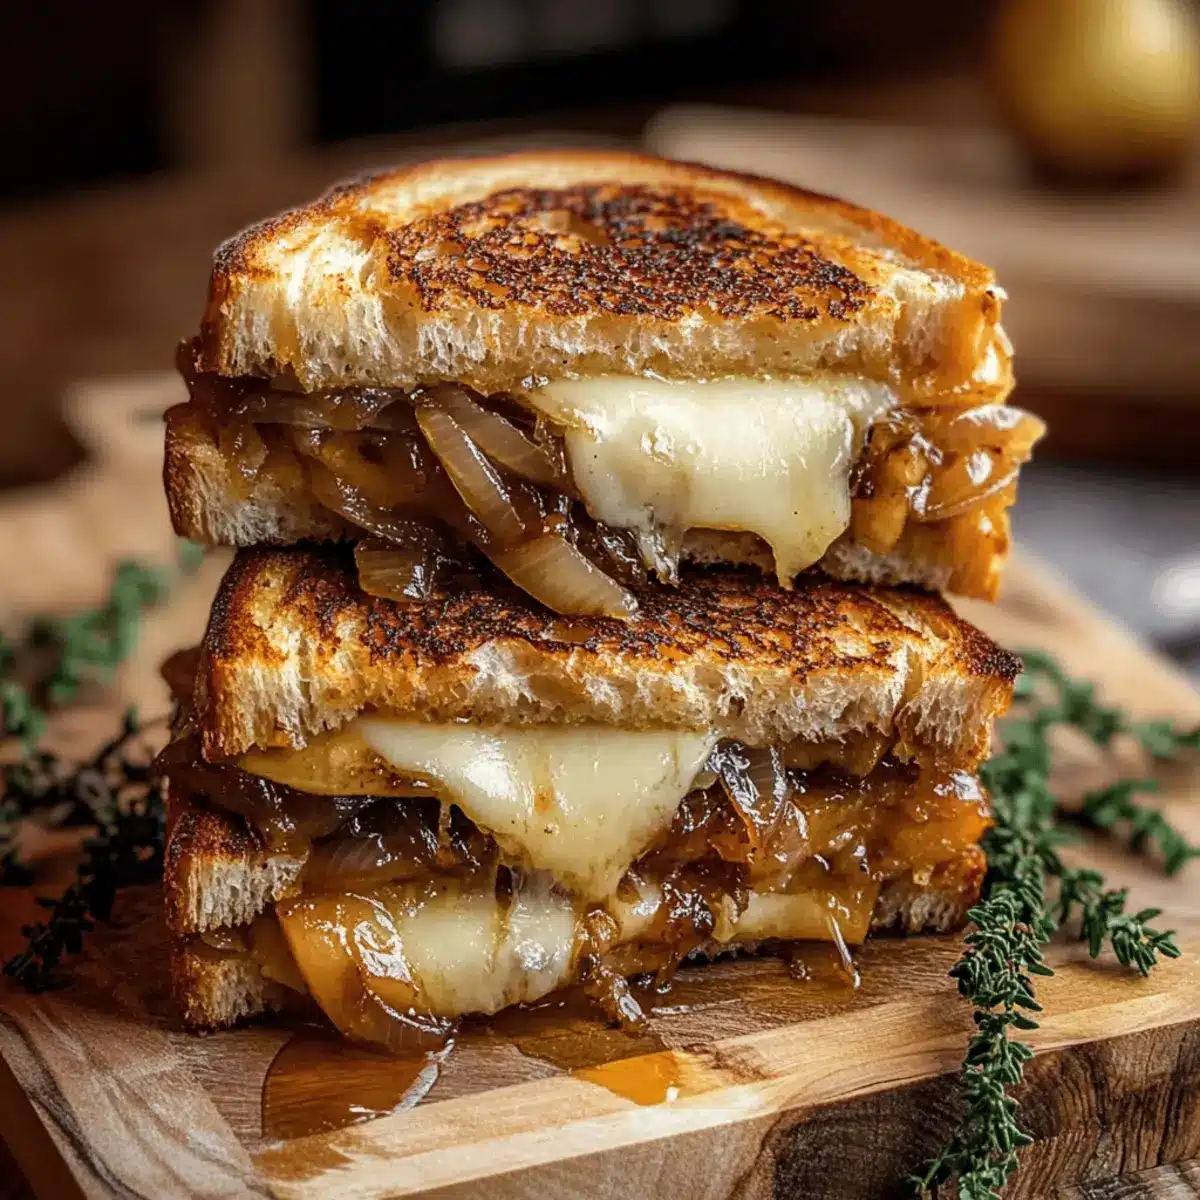
Carefully place one prepared sandwich in the heated skillet. Grill it for about 4-5 minutes, checking for a golden brown crust. Use a spatula to flip the sandwich gently and cook the other side for another 4-5 minutes. Monitor closely, ensuring the cheese melts beautifully while the bread crisps up to perfection for your delicious Pear & Apple Grilled Cheese With Caramelized Onions.
Step 4: Serve and Enjoy
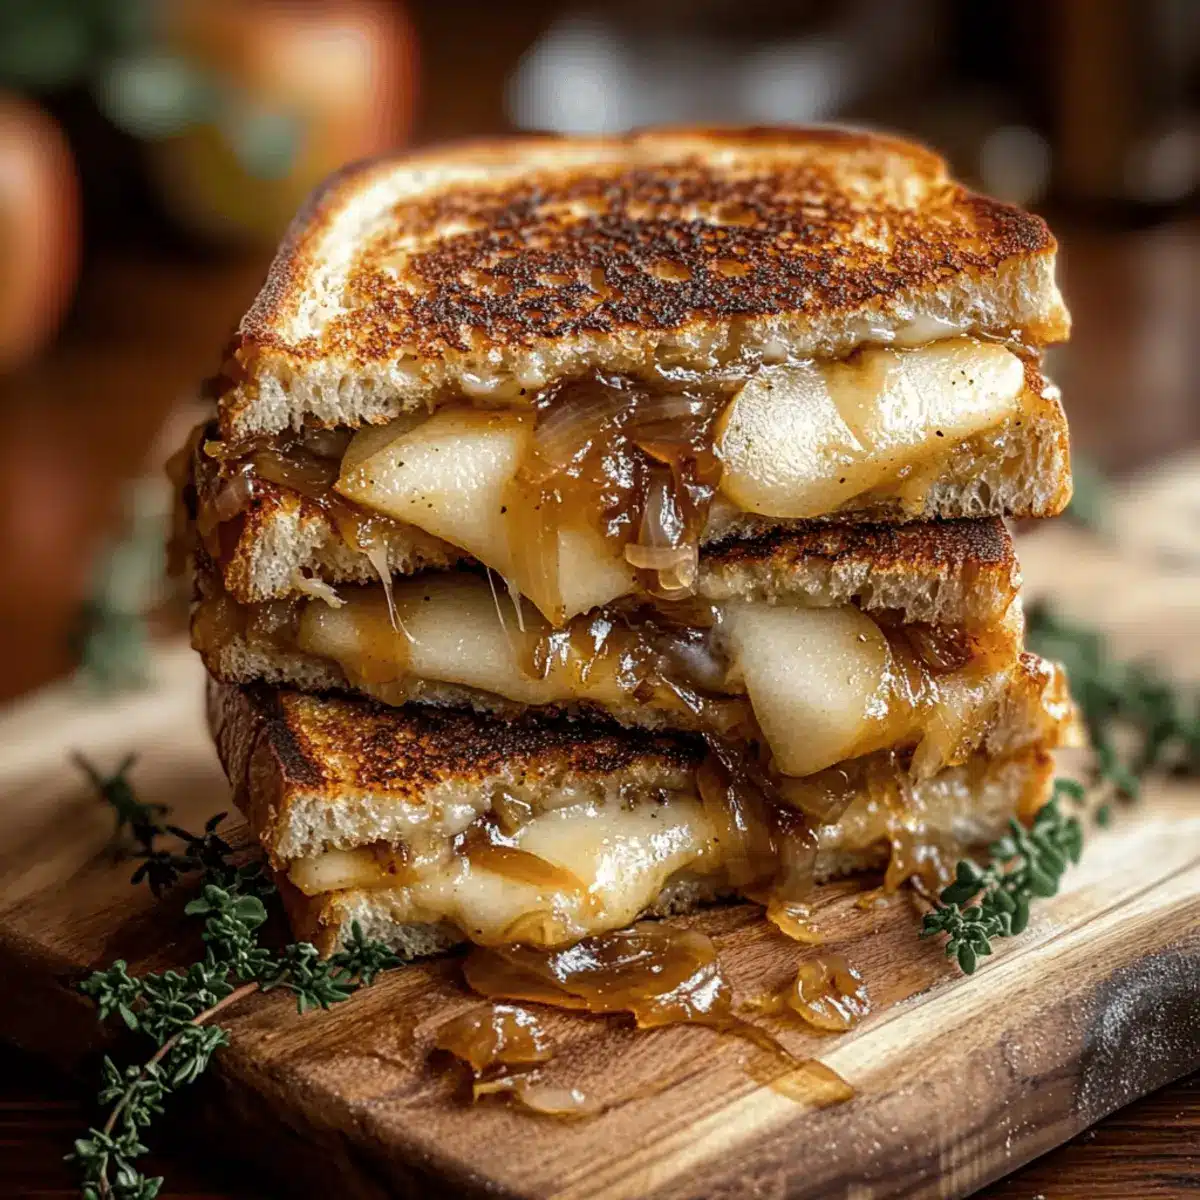
Once both sides of the sandwich are golden and crispy, remove it from the skillet and let it cool for a minute. Slice the grilled cheese in half to reveal the melty cheese and flavorful layers. Serve warm, and indulge in the irresistible combination of sweet pears, tart apples, and caramelized onions that make this dish a comforting delight.
Pear & Apple Grilled Cheese Variations
Customize this delightful sandwich to suit your taste buds and pantry—let your creativity flow!
- Spinach Boost: Add fresh spinach for a nutritious twist and vibrant color. The earthy greens pair beautifully with sweet fruits.
- Tortilla Quesadilla: Swap the bread for tortillas and grill up a cheesy quesadilla. It’s a fun, crispy take on the original!
- Spicy Kick: Toss in some sliced jalapeños for heat; the spicy contrast elevates the sweetness of the pears and apples.
- Nutty Crunch: Sprinkle toasted walnuts or pecans inside for a satisfying crunch that enhances the texture and flavor profile.
- Different Cheeses: Experiment with brie or fontina for a rich, creamy melt; these cheeses bring a whole new depth of flavor.
- Apple Butter Glaze: Spread a thin layer of apple butter on the outside of the bread before grilling for an extra layer of sweetness.
- Seasonal Fruits: Swap the pear and apple for seasonal fruits like peaches or figs for a refreshing, summery twist.
- Herb Infusion: Try adding fresh herbs like basil or thyme; their aromatic qualities complement the sweetness of the fruits beautifully.
For more inspiring twists on classic recipes, don’t miss our delightful Apple Pie Bars or give the savory flavor of Baked Broccoli Cheese a try!
Expert Tips for Pear & Apple Grilled Cheese
-
Cheese Variety: Mix cheeses like mozzarella or gouda with sharp cheddar for added flavor complexity in your Pear & Apple Grilled Cheese.
-
Perfect Onion Caramelization: Stir occasionally while cooking to avoid burning; evenly cooking the onions will enhance their sweetness.
-
Freshness Matters: Use ripe fruit for the best flavor; under-ripe pears or apples will not deliver the same delightful sweetness.
-
Grilling Technique: Flip your sandwich gently using a spatula to maintain its structure and keep the filling intact while grilling.
-
Reheating Leftovers: If you have any leftover sandwiches, reheat them in a toaster oven or skillet to retain that perfect crispiness.
How to Store and Freeze Pear & Apple Grilled Cheese
Fridge: Store leftovers in an airtight container for up to 2 days to maintain freshness and prevent sogginess.
Freezer: Wrap the cooled sandwich tightly in aluminum foil or freezer-safe bags; it can last in the freezer for up to 1 month.
Reheating: For best results, reheat from frozen in a skillet over medium heat, cooking both sides until golden brown and the cheese is melted again.
Enjoy Freshness: The Pear & Apple Grilled Cheese is best enjoyed fresh, but proper storage can help you savor its delicious flavors later!
Make Ahead Options
These Pear & Apple Grilled Cheese with Caramelized Onions are perfect for meal prep enthusiasts seeking time-saving solutions! You can prepare the caramelized onions up to 3 days in advance; simply store them in an airtight container in the refrigerator to maintain their sweetness. Additionally, you can slice the pears and apples 24 hours prior to grilling, keeping them fresh by tossing them in a little lemon juice to prevent browning. When you’re ready to serve, layer the prepped ingredients between slices of sourdough, grill until golden, and savor the cozy flavors. With these make-ahead tips, you’ll enjoy a gourmet experience with minimal effort on busy weeknights!
What to Serve with Pear & Apple Grilled Cheese with Caramelized Onions
To create a truly satisfying meal that delights all your senses, consider these perfect pairings to complement your grilled cheese creation.
- Simple Side Salad: A crisp salad with mixed greens and a tangy vinaigrette balances the richness of the sandwich beautifully. The textures and fresh flavors add a refreshing contrast.
- Tomato Basil Soup: This classic combo makes for a comforting meal. The warm soup hugs your taste buds while the acidity cuts through the creaminess of melted cheese.
- Sweet Potato Fries: Crispy fries bring a delightful crunch, offering a sweet counterpart to the salty, savory flavors of the grilled cheese. Their caramelized edges create a wonderful textural play.
- Roasted Brussels Sprouts: The roasted, nutty flavors of these sprouts add an earthy element that enhances the sweetness of the pears and apples in your sandwich. Toss with balsamic for extra depth.
- Mulled Apple Cider: A warm, spiced cider is a cozy drink that pairs wonderfully with the sweet flavors of your grilled cheese, wrapping you in comfort with every sip.
- Chocolate Chip Cookies: For dessert, opt for a soft cookie to satisfy any sweet tooth. The gooey chocolate complements the caramelized onions and fruit without overshadowing them.
- Pear and Gorgonzola Salad: This gourmet twist incorporates similar flavors from your sandwich; the creamy gorgonzola and sweet pear create a delightful harmony that keeps the meal cohesive.
Pear & Apple Grilled Cheese with Caramelized Onions Recipe FAQs
How do I choose the ripeness of my fruit?
Absolutely! For the best flavor in your Pear & Apple Grilled Cheese with Caramelized Onions, select ripe fruit. Look for pears that yield slightly to pressure and have a sweet aroma; they should be free of dark spots. For apples, choose varieties like Granny Smith or Honeycrisp that are firm and crisp, as they’ll add the right tartness to balance the sweetness.
What is the best way to store leftovers?
To keep your leftover Pear & Apple Grilled Cheese fresh, store it in an airtight container in the fridge for up to 2 days. This helps prevent sogginess while keeping the flavors intact. If you notice the bread getting too soft, consider reheating it in a skillet to restore the crispy texture.
Can I freeze this grilled cheese sandwich?
Very! Freezing is a great option if you want to preserve your Pear & Apple Grilled Cheese. Once completely cooled, wrap the sandwich tightly in aluminum foil or place it in a freezer-safe bag. You can freeze it for up to 1 month. When you’re ready to enjoy it again, reheat it in a skillet over medium heat for about 5-7 minutes, flipping once, until both sides are golden brown and the cheese is deliciously melty again.
What if my onions don’t caramelize properly?
No worries! If your onions aren’t caramelizing as desired, they may need a bit more time or lower heat. Make sure to stir them every couple of minutes to avoid burning. If they’re browning too quickly, reduce the heat and add a splash of balsamic vinegar earlier to promote sweetness. Ideally, they should cook for about 10-12 minutes until golden. Caramelization takes patience, but the sweet reward is worth it!
Are there any dietary considerations for this recipe?
Absolutely! If you have dietary restrictions, you can easily adapt this recipe. Opt for gluten-free bread to make it gluten-free. For dairy-free options, use olive oil for grilling and select dairy-free cheese alternatives. Make sure to check the ingredient labels, especially for any allergy concerns related to nuts or soy in cheese substitutes.
Can I customize ingredients based on what I have?
The more the merrier! This recipe is incredibly flexible—feel free to swap out the cheese for whatever you have on hand, such as mozzarella or gouda, and use different fruits if desired. Toss in some fresh spinach or arugula for extra nutrients or experiment with different onion varieties for a unique twist!
Pear & Apple Grilled Cheese With Caramelized Onions Bliss
Ingredients
Equipment
Method
- Caramelize the Onions: In a skillet over medium heat, melt 1 tablespoon of unsalted butter. Add sliced medium onions with a pinch of salt, stirring occasionally. Cook for approximately 10 minutes until golden brown. Pour in balsamic vinegar, cooking for an additional 2-3 minutes until thickened. Remove from heat.
- Prepare the Sandwich: Using the same skillet, melt the remaining butter over medium heat. Layer half of the shredded sharp cheddar cheese on one slice of sourdough bread. Spread caramelized onions, followed by thinly sliced pear and apple. Top with remaining cheddar and place second slice over it.
- Grill the Sandwiches: Place the sandwich in the heated skillet and grill for 4-5 minutes until golden brown. Flip carefully and cook the other side for another 4-5 minutes until the cheese melts and bread crisps up.
- Serve and Enjoy: Once both sides are golden and crispy, slice the sandwich in half to reveal the melty cheese and flavorful layers. Serve warm.
Leave a Reply