
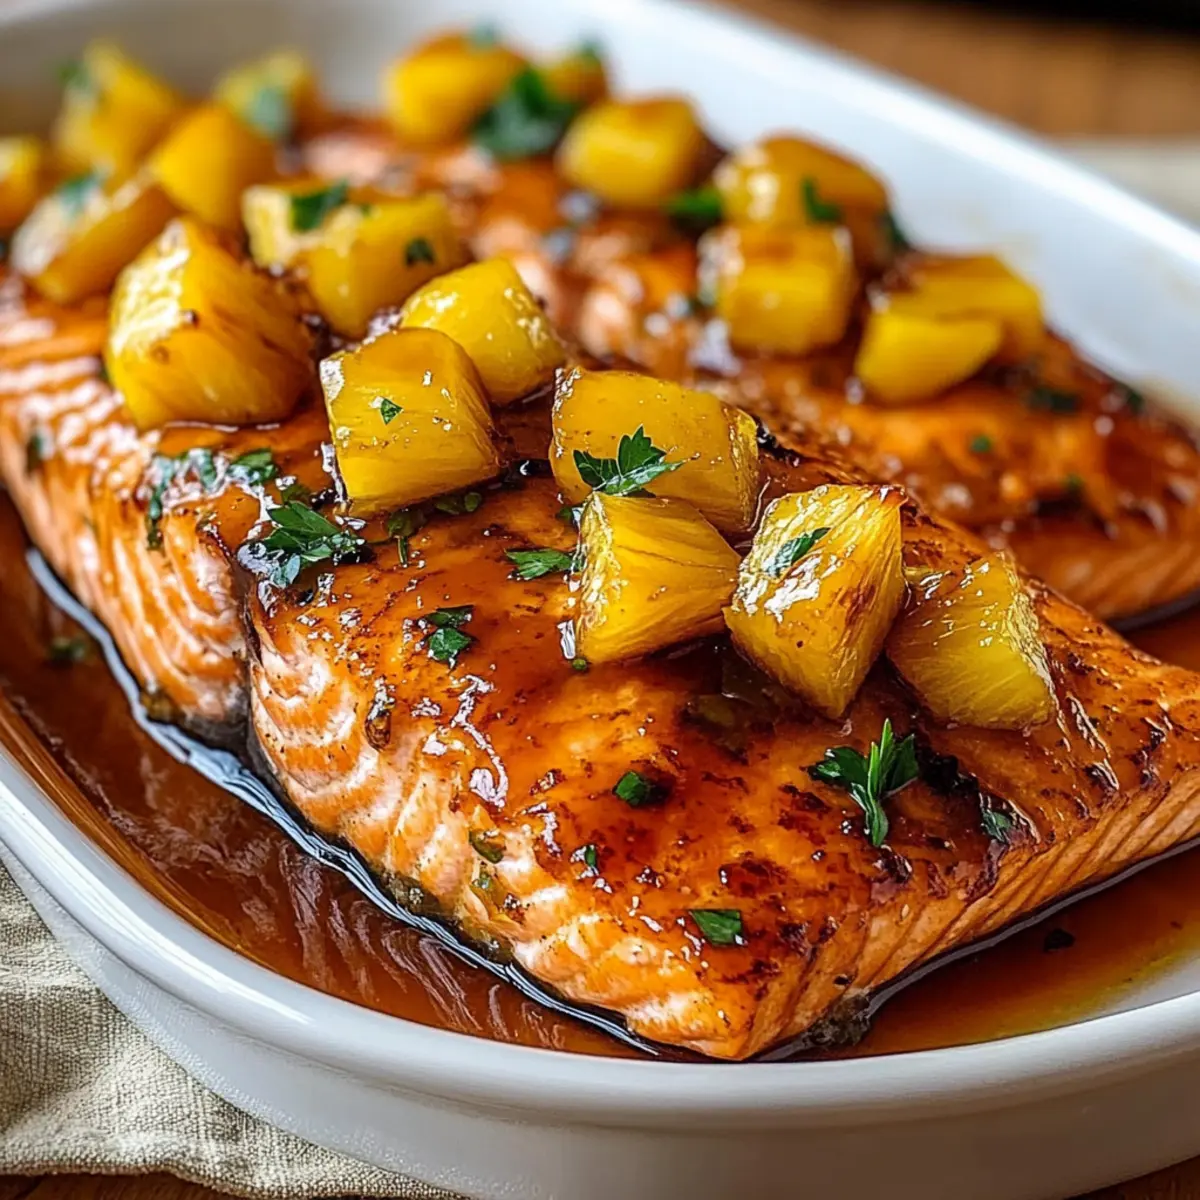
As I was marinating some salmon the other day, I had a moment of culinary revelation—who would’ve thought that a simple glaze could transform a humble protein into a tropical getaway? This Pineapple Glazed Salmon recipe delivers a tender, juicy bite, perfectly complementing the sweet-and-savory notes that dance on your palate. With quick prep and a stunning presentation, it elevates even the most ordinary weeknight dinner into something special. Whether you’re planning a casual meal or an impressive feast, this dish effortlessly blends the vibrant flavors of Asian cuisine, making it gluten-free and truly irresistible. Curious about how this delightful fusion of ingredients can brighten your dinner table? Let’s dive in!
Why Is Pineapple Glazed Salmon So Irresistible?
Exciting flavors: The sweet and savory glaze transforms salmon into a tropical delight, making each bite an adventure.
Easy prep: With minimal ingredients and simple steps, this recipe is perfect for busy weeknights or last-minute gatherings.
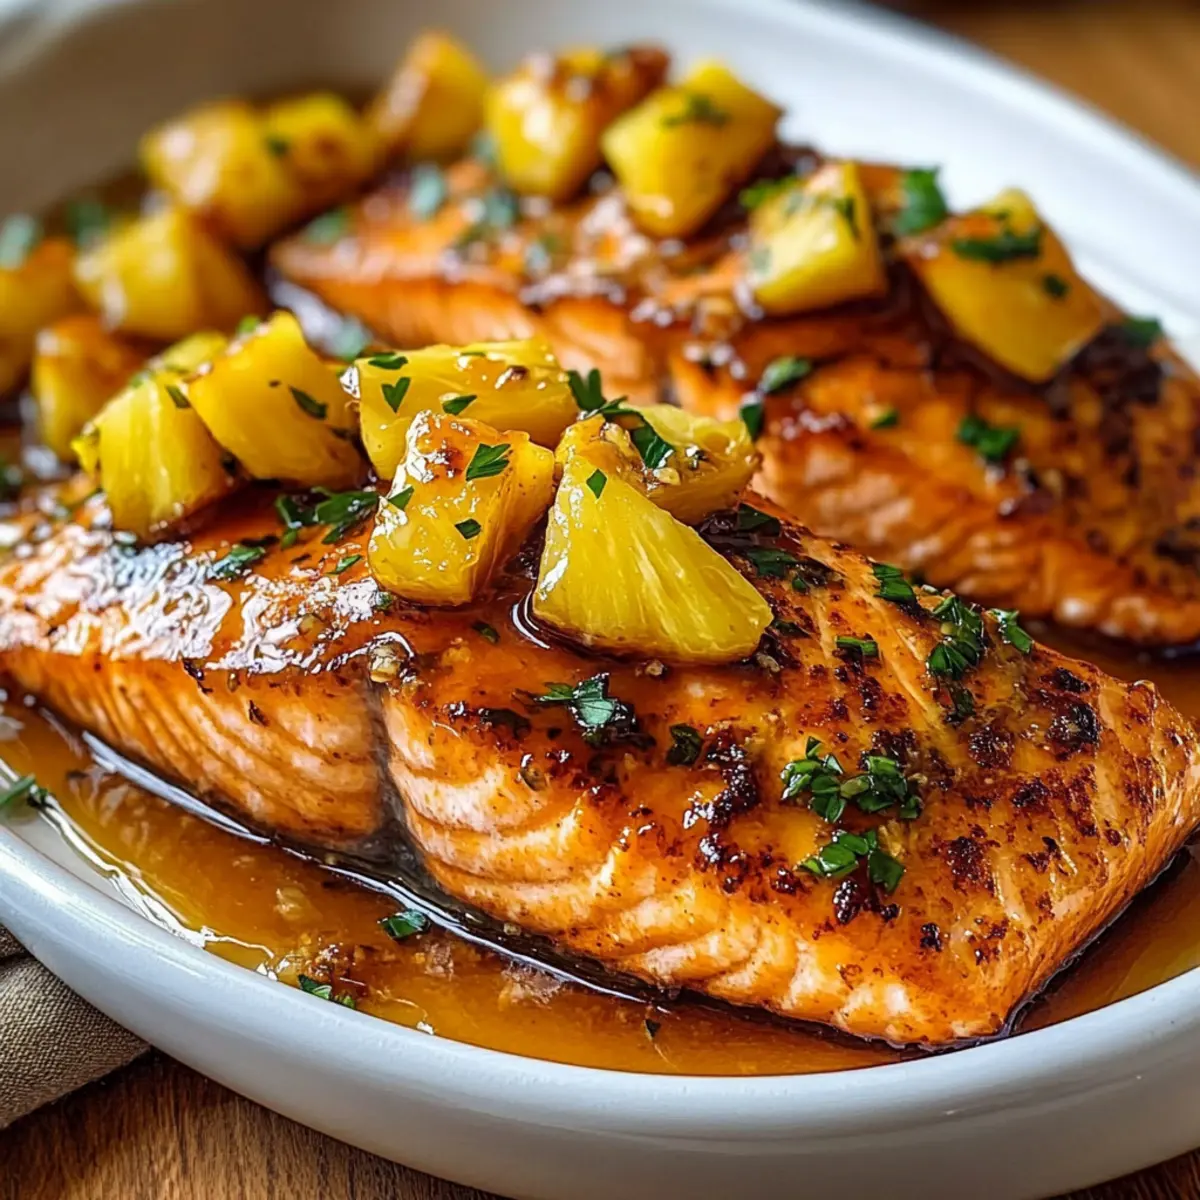
Gourmet flair: The beautifully caramelized glaze and vibrant pineapple make for a show-stopping dish that impresses guests.
Versatile pairing: Complement it with sides like steamed asparagus or coconut rice to enhance the tropical vibes.
Healthy choice: Packed with protein and nutritious ingredients, it’s a wholesome option that fits into any dietary plan. Enjoy this delightful fusion of flavors that brings a taste of Asian cuisine right to your table!
Pineapple Glazed Salmon Ingredients
Unleash the tropical goodness!
For the Salmon
• Salmon Fillets – Choose wild-caught for a burst of freshness and flavor.
• Olive Oil – Keeps the salmon moist during cooking; can substitute with a neutral oil if desired.
• Salt – Essential for elevating the natural flavor of the fish.
• Black Pepper – Adds a layer of warmth and depth to your dish.
For the Glaze
• Pineapple (fresh or canned) – This ingredient brings delightful sweetness and tang; well-drained canned pineapple works great!
• Light Brown Sugar – Helps in caramelization, creating that irresistible glossy finish; coconut sugar is a wonderful alternative.
• Soy Sauce – Contributes a savory umami flavor; ensure it’s gluten-free to meet dietary needs.
• Rice Vinegar – Delivers a bright acidity; feel free to swap it with apple cider or white wine vinegar if you prefer.
• Minced Garlic – Infuses aromatic flavor and warmth into the glaze.
• Grated Fresh Ginger (optional) – Provides earthy undertones; you can skip it if ginger is unavailable.
For Garnish
• Fresh Parsley – Adds a pop of color and freshness to complete your presentation!
Dive into this recipe to enjoy the juicy, tender bite of Pineapple Glazed Salmon that oozes flavor and brightness!
Step‑by‑Step Instructions for Pineapple Glazed Salmon
Step 1: Preheat and Prepare
Preheat your oven to 400°F (200°C) and lightly grease a baking dish with olive oil to prevent sticking. This temperature ensures even cooking while preserving the salmon’s natural moisture. As the oven heats, gather your ingredients and get ready to create the splendid glaze that will elevate your Pineapple Glazed Salmon.
Step 2: Make the Glaze
In a small mixing bowl, whisk together light brown sugar, gluten-free soy sauce, rice vinegar, minced garlic, and grated fresh ginger until smooth and well combined. This delightful mixture will become the star of the dish, imparting a sweet and savory flavor that perfectly complements the fish. Set this glaze aside while you prep the salmon.
Step 3: Prepare the Salmon
Pat the salmon fillets dry with paper towels to remove excess moisture, which helps achieve a nice sear. Rub a thin layer of olive oil over both sides of each fillet and season generously with salt and freshly cracked black pepper. This seasoning ensures that the salmon is flavorful, delivering a tender, juicy experience with every bite of the Pineapple Glazed Salmon.
Step 4: Arrange for Baking
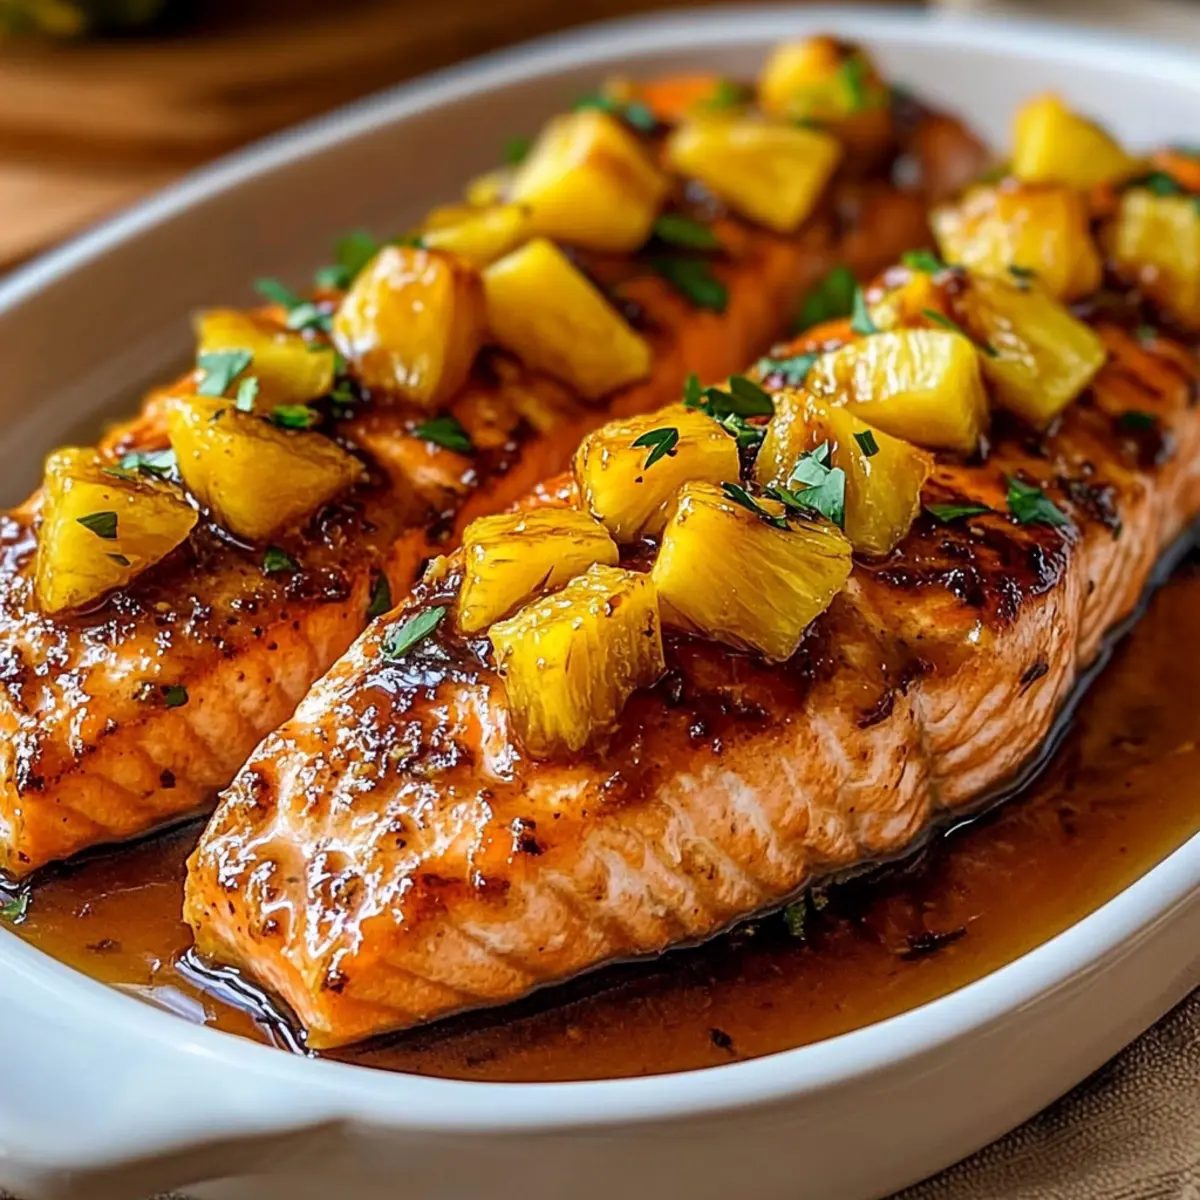
Place the seasoned salmon fillets in the prepared baking dish, ensuring they are spaced evenly. Spoon the pineapple glaze generously over the tops of the fillets, making sure each piece is well-coated. Scatter ice-cold diced pineapple around the salmon to infuse it with even more tropical flavor.
Step 5: Bake the Salmon
Transfer the baking dish to your preheated oven and bake for 12-15 minutes. Keep an eye on the salmon; it’s done when it flakes easily with a fork and is still moist at the center. The glaze should caramelize, creating a beautiful glossy finish on your Pineapple Glazed Salmon.
Step 6: Broil for Extra Flavor
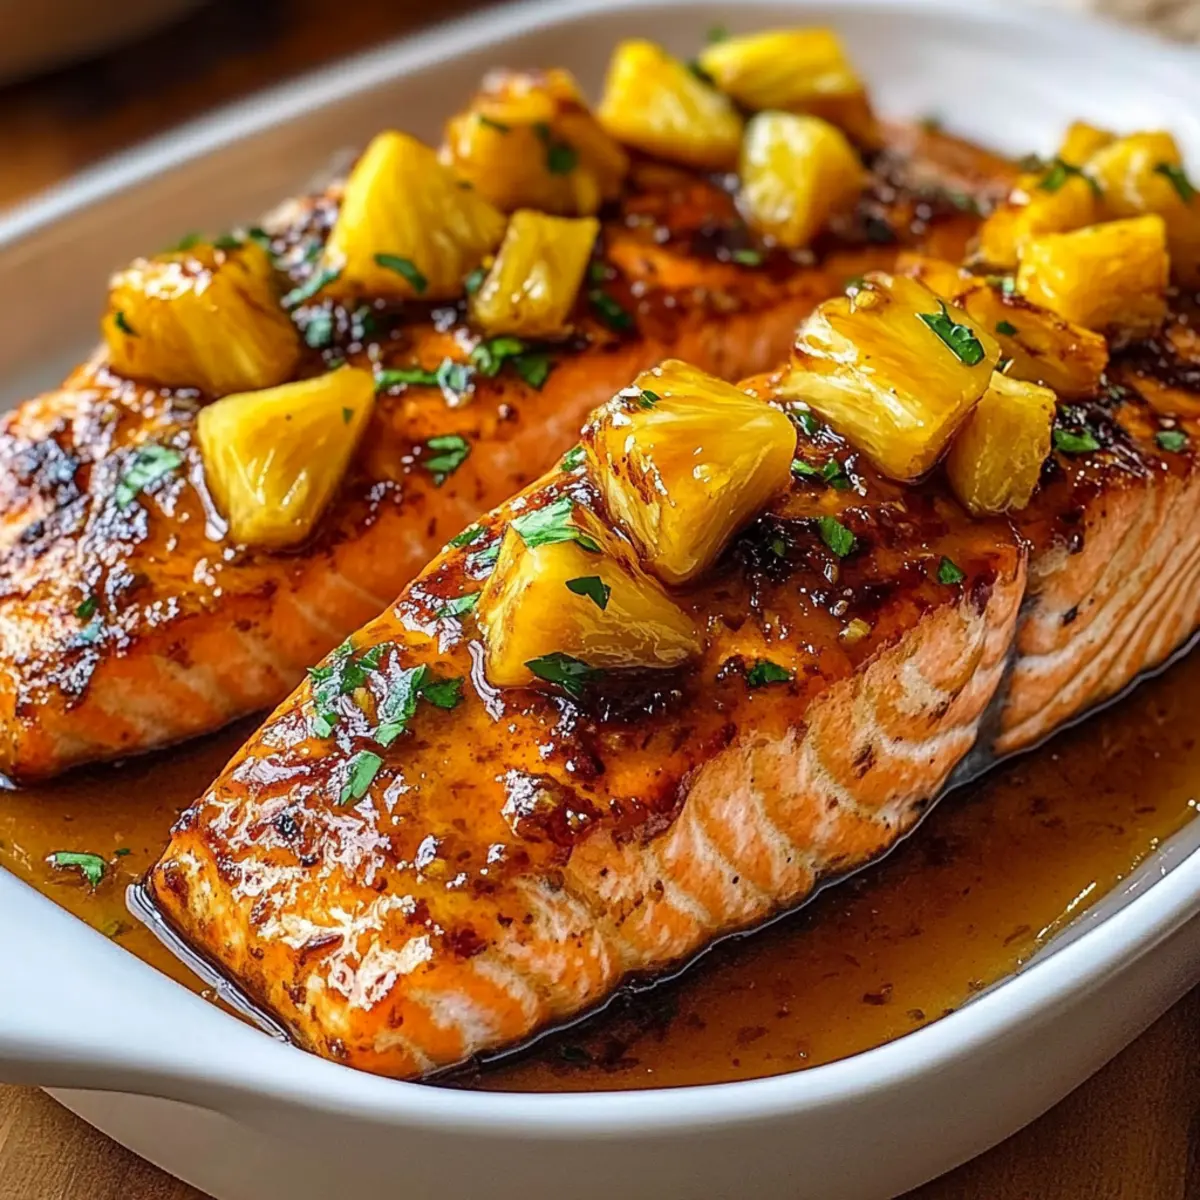
For an added caramelization effect, switch to the broil setting for the last 1-2 minutes of cooking. Watch closely to prevent burning, as sugars in the glaze can caramelize quickly. This step adds depth and enhances the visual appeal of your dish, making it a true showstopper.
Step 7: Rest and Garnish
Once baked, carefully remove the dish from the oven and allow the salmon to rest for about 5 minutes. This brief resting period allows the juices to redistribute, ensuring every bite is juicy and tender. Garnish your Pineapple Glazed Salmon with freshly chopped parsley and a drizzle of pan juices, inviting vibrant color to your plate.
Pineapple Glazed Salmon Variations
Unleash your culinary creativity and make this dish uniquely yours with these fun twists!
- Canned Swap: Exchange fresh pineapple for well-drained canned pineapple to save time. This option still offers great flavor without the prep work.
- Heat it Up: Add a sprinkle of red pepper flakes or a dash of sriracha in the glaze for a spicy kick that makes your taste buds dance!
- Coconut Rice: Substitute jasmine rice with coconut rice for an extra layer of tropical sweetness that complements the glaze beautifully.
- Zesty Lemon: Mix in some freshly squeezed lemon juice for a bright acidity that enhances the dish’s overall flavor profile.
- Vegetable Boost: Add sliced bell peppers or snow peas around the salmon while baking for a vibrant veggie twist and added crunch.
- Herb Variations: Experiment with fresh herbs like cilantro or basil for a fragrant twist that adds herby flair to your glaze.
- Maple Glaze: Swap out brown sugar for maple syrup for a different kind of sweet and a unique flavor profile that’s equally delightful.
- Pineapple Salsa: Top your salmon with a fresh pineapple salsa, combining diced pineapple, jalapeño, and cilantro for an exciting, bold taste.
Feel free to explore these variations for a meal that feels fresh and exciting every time. And if you’re looking for more delicious ideas, don’t miss out on this enchanting Salmon Spinach Pasta for a delightful pairing!
Expert Tips for Pineapple Glazed Salmon
- Pat It Dry: Always pat salmon fillets dry before seasoning; this step ensures the glaze adheres better and promotes a crispy exterior.
- Check Doneness: Avoid overcooking your salmon; check for flakiness around the 12-minute mark. The perfect temperature is 145°F (63°C) for juicy, tender results.
- Broiling Caution: If you choose to broil for extra caramelization, keep a close eye on it. Sugar can burn quickly, so stay vigilant to avoid any mishaps!
- Glaze Consistency: If your glaze seems too thin, simmer it on the stovetop before using. A thicker glaze clings beautifully to the salmon, enhancing flavor and presentation.
- Ingredient Quality: Use fresh pineapple if possible for the best flavor. However, well-drained canned pineapple is a convenient alternative and still delicious in this Pineapple Glazed Salmon recipe!
How to Store and Freeze Pineapple Glazed Salmon
Fridge: Store leftovers in an airtight container for up to 2-3 days. This will help preserve the moisture and flavor of the Pineapple Glazed Salmon.
Freezer: If you want to freeze the salmon, place it in a freezer-safe container or wrap tightly in plastic wrap. It can be frozen for up to 2 months; simply thaw overnight in the fridge before reheating.
Reheating: To reheat, place the salmon in a preheated oven at 350°F (175°C) for about 10-15 minutes or until warmed through. This method keeps the salmon juicy without drying it out.
Make Ahead Options
Pineapple Glazed Salmon is perfect for those busy weeknights when you want a flavorful meal without the fuss! You can prepare the glaze up to 3 days in advance, allowing the sweet and savory ingredients to meld together beautifully. For optimal freshness, store the glaze in an airtight container in the refrigerator. Additionally, you can season and prep your salmon fillets (pat them dry and rub with olive oil, salt, and pepper) up to 24 hours ahead. Keep them refrigerated, and this will enhance their flavor and texture when cooked. When it’s time to serve, simply place the salmon in your baking dish, top with the glaze, and bake as directed for restaurant-quality results with minimal effort!
What to Serve with Pineapple Glazed Salmon
Elevate your dinner experience by pairing this vibrant dish with delightful sides that complement its tropical flair.
-
Steamed Asparagus: Their crisp-tender texture and subtle flavor beautifully balance the sweet and savory notes of the salmon.
-
Coconut Rice: This dish adds a creamy, aromatic touch with a hint of sweetness, echoing the flavors of the pineapple glaze.
-
Garlic Green Beans: Sautéed with garlic, these beans provide a crunchy contrast, cutting through the richness of the salmon.
-
Quinoa Salad: A protein-packed option, it offers a refreshing crunch with added herbs and lemon, elevating the overall meal.
-
Mango Salsa: This fruity addition enhances the tropical vibe, offering sweetness and acidity that perfectly complement the salmon’s glaze.
-
Chilled White Wine: A glass of chilled Sauvignon Blanc or Riesling pairs wonderfully, enhancing the dish’s flavors while refreshing your palate.
Allow these sides to create a stunning presentation and joyful dining experience that brings the essence of tropical cuisine right to your table!
Pineapple Glazed Salmon Recipe FAQs
How do I choose ripe pineapple for this recipe?
Absolutely! When selecting a fresh pineapple, look for one that’s slightly soft to the touch and has a sweet aroma at the base. Avoid any with dark spots or an overly firm texture. If using canned pineapple, ensure it’s well-drained to avoid excess moisture.
How should I store leftovers of Pineapple Glazed Salmon?
Very! For the best results, store leftovers in an airtight container in the refrigerator, where they will stay fresh for up to 2-3 days. If you plan to reheat, add a splash of water or sauce to the container to help retain moisture.
Can I freeze Pineapple Glazed Salmon?
Absolutely! To freeze, wrap the salmon tightly in plastic wrap and place it in a freezer-safe container. This will keep it fresh for up to 2 months. When you’re ready to enjoy it, thaw it overnight in the refrigerator before reheating.
What should I do if my glaze is too thin?
If your glaze isn’t thick enough, don’t worry! Simply simmer it on the stovetop over medium heat for 5-7 minutes, stirring occasionally, until it reduces and thickens to your desired consistency. This will enhance the flavor and help it cling better to the salmon.
Is Pineapple Glazed Salmon safe for those with gluten allergies?
Absolutely! To make this dish gluten-free, just opt for gluten-free soy sauce or tamari. Always double-check ingredient labels to ensure they’re gluten-free, and you can enjoy this flavorful recipe without concerns.
What if I don’t have fresh ginger for the glaze?
No problem at all! If you don’t have fresh ginger, you can simply omit it from the recipe. Alternatively, ground ginger can work in a pinch—just use about 1/4 teaspoon as a substitute to give your glaze a bit of that earthy flavor.
Pineapple Glazed Salmon: Quick, Juicy, and So Irresistible
Ingredients
Equipment
Method
- Preheat your oven to 400°F (200°C) and lightly grease a baking dish.
- In a mixing bowl, whisk together light brown sugar, soy sauce, rice vinegar, minced garlic, and grated ginger until smooth.
- Pat salmon fillets dry and rub with olive oil, salt, and pepper.
- Place salmon in the baking dish and spoon the pineapple glaze over the tops.
- Bake for 12-15 minutes until the salmon flakes easily.
- Switch to broil for 1-2 minutes for extra caramelization.
- Remove from oven and let rest for 5 minutes, then garnish with parsley.
Leave a Reply