
As I wandered through a vibrant local market recently, the air was filled with the enchanting scent of blooming roses, igniting my imagination and cravings for something truly special. That’s when the thought of crafting my own Rose Ice Cream struck—a refreshing homemade dessert that perfectly captures those heavenly floral notes. This delightful treat is not only an irresistible way to celebrate the sunny days of spring and summer but also a gluten-free indulgence that will charm your taste buds. With minimal prep time required, you’ll be treating yourself and your loved ones to a unique dessert experience in no time. Are you ready to embark on this floral ice cream journey? Let’s dive into making your very own creamy Rose Ice Cream!
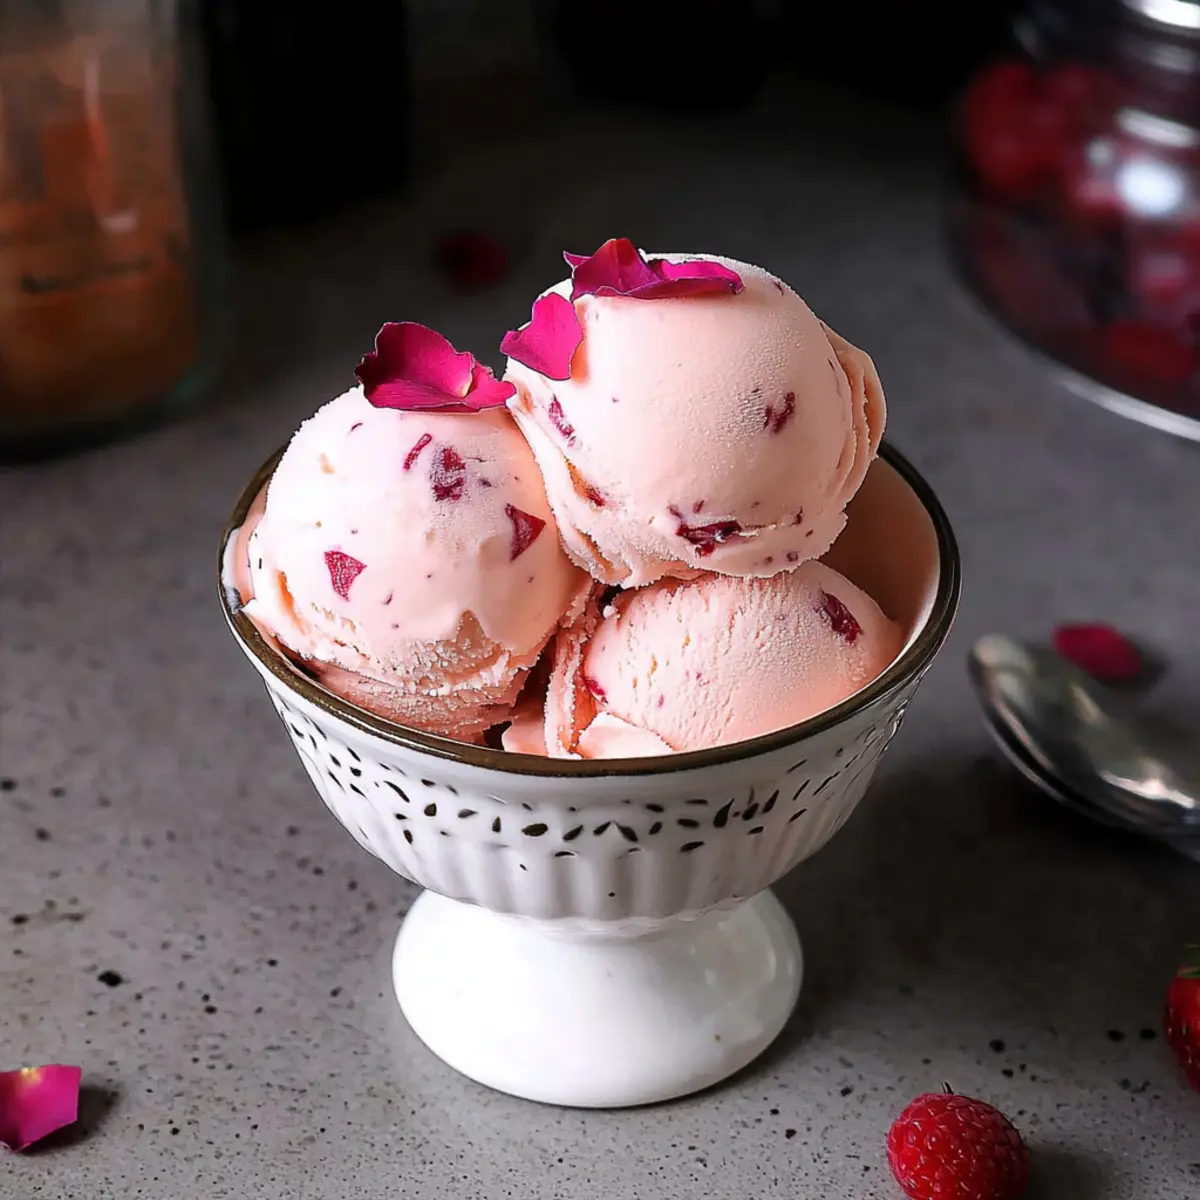
Why is This Rose Ice Cream Special?
Indulge in an exceptionally creamy treat that brings the essence of spring right to your bowl. Floral Flavor Explosion: Each scoop is delicately infused with fragrant rose water for a refreshing twist. Easy to Make: With just a few simple ingredients, you can whip this homemade dessert up in no time. Gluten-Free Delight: Perfect for everyone, ensuring no one misses out on this gourmet experience. Impress Guests: Serve it alongside fresh berries for an elegant dessert platter that’s sure to wow your friends and family. Versatile Recipe: Feel free to get creative by experimenting with other floral flavors like lavender or hibiscus!
Rose Ice Cream Ingredients
• A delightful assortment for a unique treat!
For the Base
- Heavy Cream – Provides a rich and creamy texture; substitute with coconut cream for a dairy-free version.
- Milk – Adds fluidity and lightness to the base; whole milk is preferred, but any milk can be used.
- Salt – Enhances flavor; a pinch is sufficient.
- Egg Yolks – Contributes to a thicker custard base for a velvety texture; cannot be substituted in custard-style ice cream.
- Granulated Sugar – Sweetens the mixture; substitute with a sugar alternative for a low-calorie option.
- Xanthan Gum (optional) – Helps improve texture and creaminess; omit if you do not have it.
For Flavoring
- Vanilla Extract – Adds depth of flavor; use pure vanilla for the best results.
- Rose Water – Infuses the ice cream with a strong floral note; don’t substitute unless using homemade rose water.
- Pink Food Coloring – Provides a visually appealing hue; use natural food coloring as an alternative.
Step‑by‑Step Instructions for Rose Ice Cream
Step 1: Heat the Cream Base
In a medium saucepan, combine 2 cups of heavy cream, 1 cup of milk, and a pinch of salt. Heat over medium heat, stirring occasionally, until the mixture starts to simmer. Keep an eye on it to avoid boiling; you want it to bubble gently. Once simmering, remove the saucepan from the heat to allow the flavors to meld.
Step 2: Prepare the Egg Mixture
While the cream mixture cools slightly, grab a mixing bowl and whisk together 6 egg yolks, 3/4 cup of granulated sugar, and 1 tablespoon of xanthan gum, if using. Whisk until the mixture is smooth and pale yellow, which should take about 2-3 minutes. This step is essential for achieving a velvety texture in your unique Rose Ice Cream.
Step 3: Temper the Egg Yolks
Slowly pour about one-third of the hot cream mixture into the egg yolk mixture, whisking continuously. This process, known as tempering, prevents the eggs from curdling. Once incorporated, return the combined mixture to the saucepan with the remaining cream. This ensures a smooth custard base that forms the heart of your creamy Rose Ice Cream.
Step 4: Thicken the Custard
Cook the mixture over low heat, stirring constantly with a wooden spoon until it thickens and coats the back of the spoon. This will take about 5-8 minutes, but be careful not to let it boil, as boiling will lead to scrambled eggs instead of a silky custard. You know it’s ready when it feels thick and luxurious.
Step 5: Strain Mixture
Once thickened, remove the custard from the heat and strain it through a fine mesh sieve into a clean container to catch any cooked egg bits. This step ensures a smooth texture in your Rose Ice Cream. Allow the custard to cool slightly at room temperature before proceeding, as this enhances the final flavor.
Step 6: Add Flavors and Color
After the mixture has cooled a bit, stir in 1 tablespoon of vanilla extract and 2 tablespoons of rose water. For a playful touch, add a few drops of pink food coloring until you reach your desired hue. Cover the container with cling film, pressing it directly onto the surface to prevent a skin from forming, and let it cool completely in the fridge.
Step 7: Chill
Transfer the bowl to the refrigerator and chill your mixture for at least 4 hours, or preferably overnight. This allows the flavors to marry and the mixture to take on a lovely, cool temperature, essential for a delightfully creamy Rose Ice Cream that’s refreshing on warm days.
Step 8: Churn
Once chilled, pour the mixture into an ice cream maker. Churn according to the manufacturer’s instructions, typically for about 20-25 minutes until it reaches a soft-serve consistency. This step incorporates air and gives your Rose Ice Cream its silky, airy texture, making it even more delectable.
Step 9: Freeze
Transfer the churned ice cream to an airtight container and smooth the top with a spatula. Freeze it for at least 4 hours, or until solid. This final freezing step is crucial for creating a scoopable texture when you’re ready to serve your delightful Rose Ice Cream, giving you the perfect treat for any occasion.
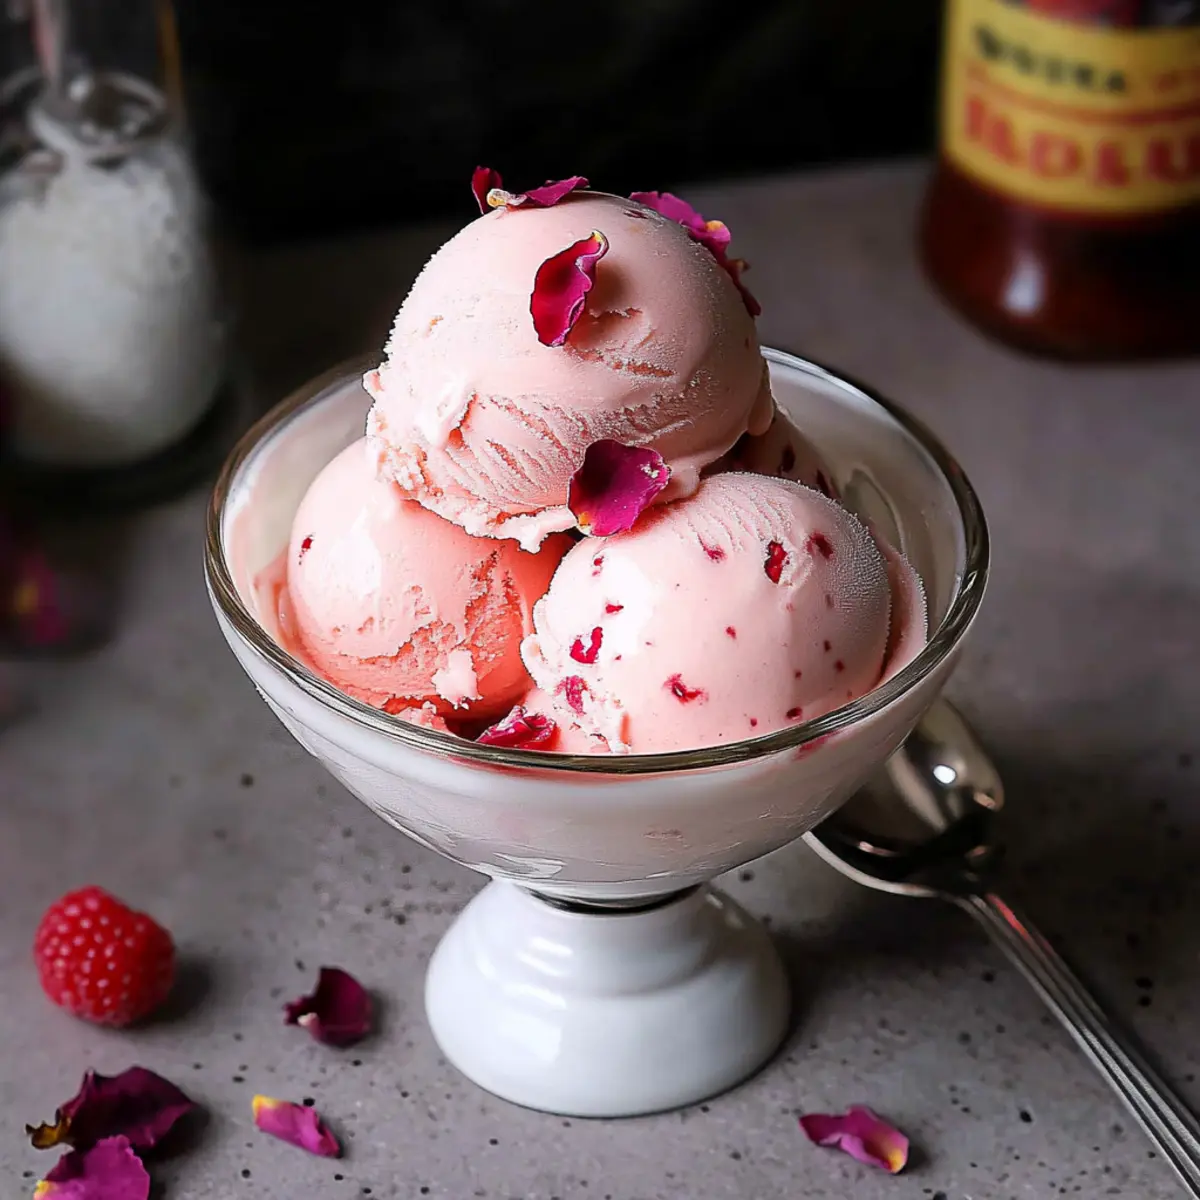
What to Serve with Creamy Rose Ice Cream
Elevate your dessert experience by pairing this luscious treat with delightful accompaniments that enhance its floral flavor.
- Fresh Berries: The brightness of raspberries or strawberries balances the creamy sweetness and adds a pop of color to your plate.
- Lavender Shortbread Cookies: These delicately flavored cookies bring a delightful crunch and their own floral notes, creating a harmonious dessert experience.
- Minty Fruit Salad: A refreshing mix of seasonal fruits with a hint of mint complements the rose flavor while adding vibrant freshness and texture.
- Chocolate Fondue: Dip fruits or bite-sized treats into warm chocolate, providing a rich contrast to the lightness of the Rose Ice Cream.
- Pistachio Baklava: The nutty, flaky sweetness of baklava pairs beautifully with the creamy dessert, enhancing the overall gourmet feel of your meal.
- Sparkling Rosé: Pour this bubbly drink alongside your Rose Ice Cream, and let the subtle effervescence uplift your dessert experience. Consider serving in elegant flutes for added charm!
- Creamy Cheesecake Slices: Indulge in a heavenly combination of light cheesecake paired with Rose Ice Cream, crafting a deliciously rich duo that will leave you wanting more.
- Chilled Lemonade or Iced Tea: A refreshing drink offers a zesty contrast to the ice cream, cleansing the palate beautifully between bites.
Expert Tips for Perfecting Rose Ice Cream
- Whisk Carefully: Ensure to whisk egg yolks thoroughly to prevent curdling. This step is crucial in achieving the smooth custard needed for your Rose Ice Cream.
- Heat Management: Monitor the heat while thickening the custard. Avoid boiling to prevent scrambled eggs, which can ruin the consistency.
- Taste Testing: Always taste your mixture before churning; you can adjust sweetness or rose water for the perfect floral flavor.
- Strain for Smoothness: Straining is essential—don’t skip this step! It removes any coagulated bits, ensuring your Rose Ice Cream is luxuriously creamy.
- Chill Time Matters: Allow adequate chilling time in the fridge, as this helps enhance flavors and sets up a better texture once churned.
- Use Quality Ingredients: For the best results, use high-quality vanilla extract and rose water; they significantly elevate the overall taste of your ice cream.
Storage Tips for Rose Ice Cream
Fridge: Store any leftover Rose Ice Cream in an airtight container in the refrigerator for up to 2-3 days if you prefer a softer texture.
Freezer: For longer storage, freeze the Rose Ice Cream in an airtight container for up to 2 weeks. Make sure to press plastic wrap directly onto the surface to prevent ice crystals from forming.
Reheating: If the ice cream becomes too hard, let it sit at room temperature for about 5-10 minutes before scooping; this will enhance the creamy texture you desire.
Make Ahead Options
These delightful Rose Ice Cream is perfect for meal prep enthusiasts! You can prepare the custard base up to 24 hours in advance, ensuring you save time on busy days. Simply follow the recipe through the cooling phase (steps 1-6) and then refrigerate the mixture, covered with cling film to maintain its smooth texture. This allows the flavors to meld beautifully. When you’re ready to serve, chill the mixture again for at least 4 hours if it has been sitting for a while. Finally, churn and freeze as directed in steps 8 and 9, and you’ll enjoy restaurant-quality results with minimal effort!
Rose Ice Cream Variations
Feel free to unleash your creativity with these delightful twists on this creamy treat!
- Dairy-Free: Substitute heavy cream with coconut cream for a luscious, vegan-friendly version that retains its rich texture.
- Lavender Infusion: Swap out rose water for a fragrant lavender essence, creating a uniquely aromatic ice cream. Pair it with honey for a warm touch!
- Hibiscus Twist: Use hibiscus extract to introduce tartness and a dazzling ruby hue, giving your ice cream a vibrant kick that’s refreshing on warm days.
- Nutty Delight: Fold in chopped pistachios or almonds post-churning for a delightful crunch that contrasts beautifully with the smooth creaminess of the ice cream.
- Honey Sweetened: Replace granulated sugar with honey for a natural sweetness; it will harmonize wonderfully with the floral notes of the ice cream.
- Chocolate Rose: Drizzle melted dark chocolate into the ice cream while churning for an added layer of richness that complements the floral flavor magnificently.
- Raspberry Ripple: Swirl in a homemade raspberry puree for a fruity twist, offering a gorgeous marbled effect and a delicious tart contrast to the sweetness.
- Spicy Rose: Add a pinch of cayenne pepper or ground cardamom to the base mixture for a surprising kick awakening the floral flavors in an unexpected way.
For more sensational flavor inspiration, check out my recipes like Creamy Garlic Shrimp Over Mashed or try something indulgent like Steak Pasta Ready. Each recipe brings its own unique twist, perfect for any culinary adventure!
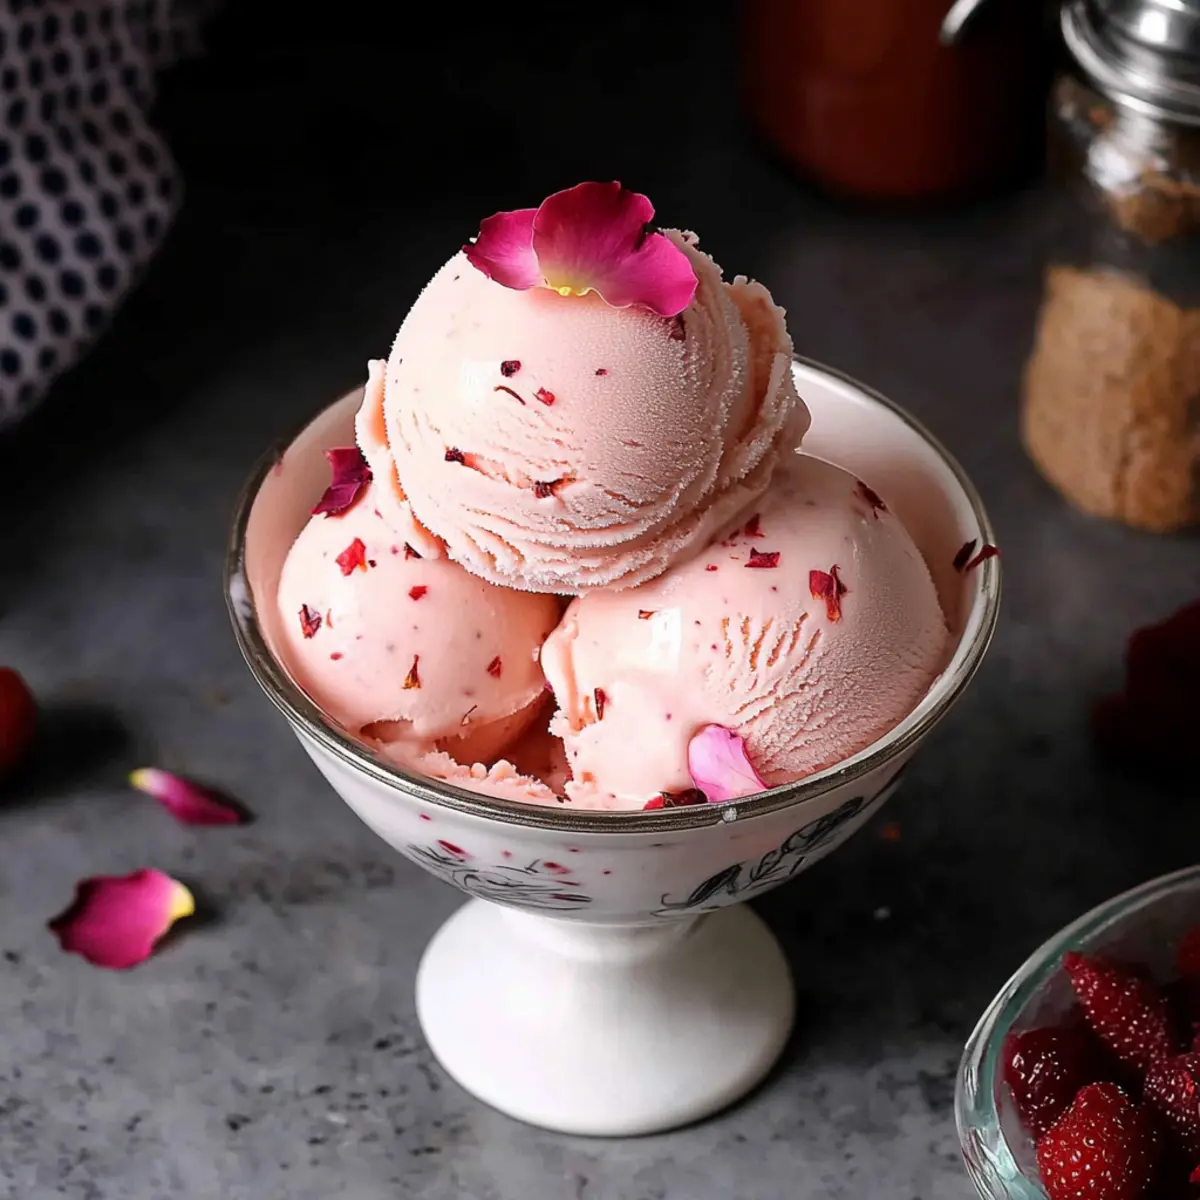
Rose Ice Cream Recipe FAQs
How do I choose the best roses for rose water?
When selecting roses for rose water, opt for organic or unsprayed roses to avoid chemicals. Look for fresh, fragrant blooms without any dark spots or signs of wilting. Typically, aromatic varieties like Damask or Centifolia are perfect for crafting rose water. Remember, the fresher the rose, the more intense the flavor!
How should I store leftover Rose Ice Cream?
Store any leftover Rose Ice Cream in an airtight container in the freezer for up to 2 weeks. To maintain its creamy texture and prevent ice crystals, press a sheet of plastic wrap directly onto the surface before sealing. If you have some in the refrigerator, consume it within 2-3 days for the best texture.
Can I freeze Rose Ice Cream for a longer period?
Absolutely! You can freeze your Rose Ice Cream in an airtight container for up to 2 weeks. To avoid ice crystals forming, ensure the container is well sealed and the ice cream is smoothed out; this helps maintain the rich creaminess.
Why is my Rose Ice Cream not creamy?
If your Rose Ice Cream turned out icy or grainy, it might be due to not churning the mixture long enough or not chilling it adequately before churning. Churning incorporates air, giving it that silky texture, while proper chilling ensures it sets up perfectly. Always use the recommended chilling duration of at least 4 hours or overnight.
Is this Rose Ice Cream safe for people with allergies?
While this Rose Ice Cream is gluten-free, it does contain eggs and dairy, making it unsuitable for those with egg or dairy allergies. If you’re looking for alternatives, try using a dairy-free milk substitute like coconut milk and vegan egg replacements to ensure everyone can enjoy this delightful treat.
Can I make this Rose Ice Cream without an ice cream maker?
Yes! If you don’t have an ice cream maker, you can still create a delicious Rose Ice Cream. Simply follow all the steps until the chilling phase, then pour the mixture into a shallow dish and freeze. Stir it every 30 minutes for about 2-3 hours to break up any ice crystals and ensure a creamy texture. Enjoy the journey to a lovely homemade dessert!
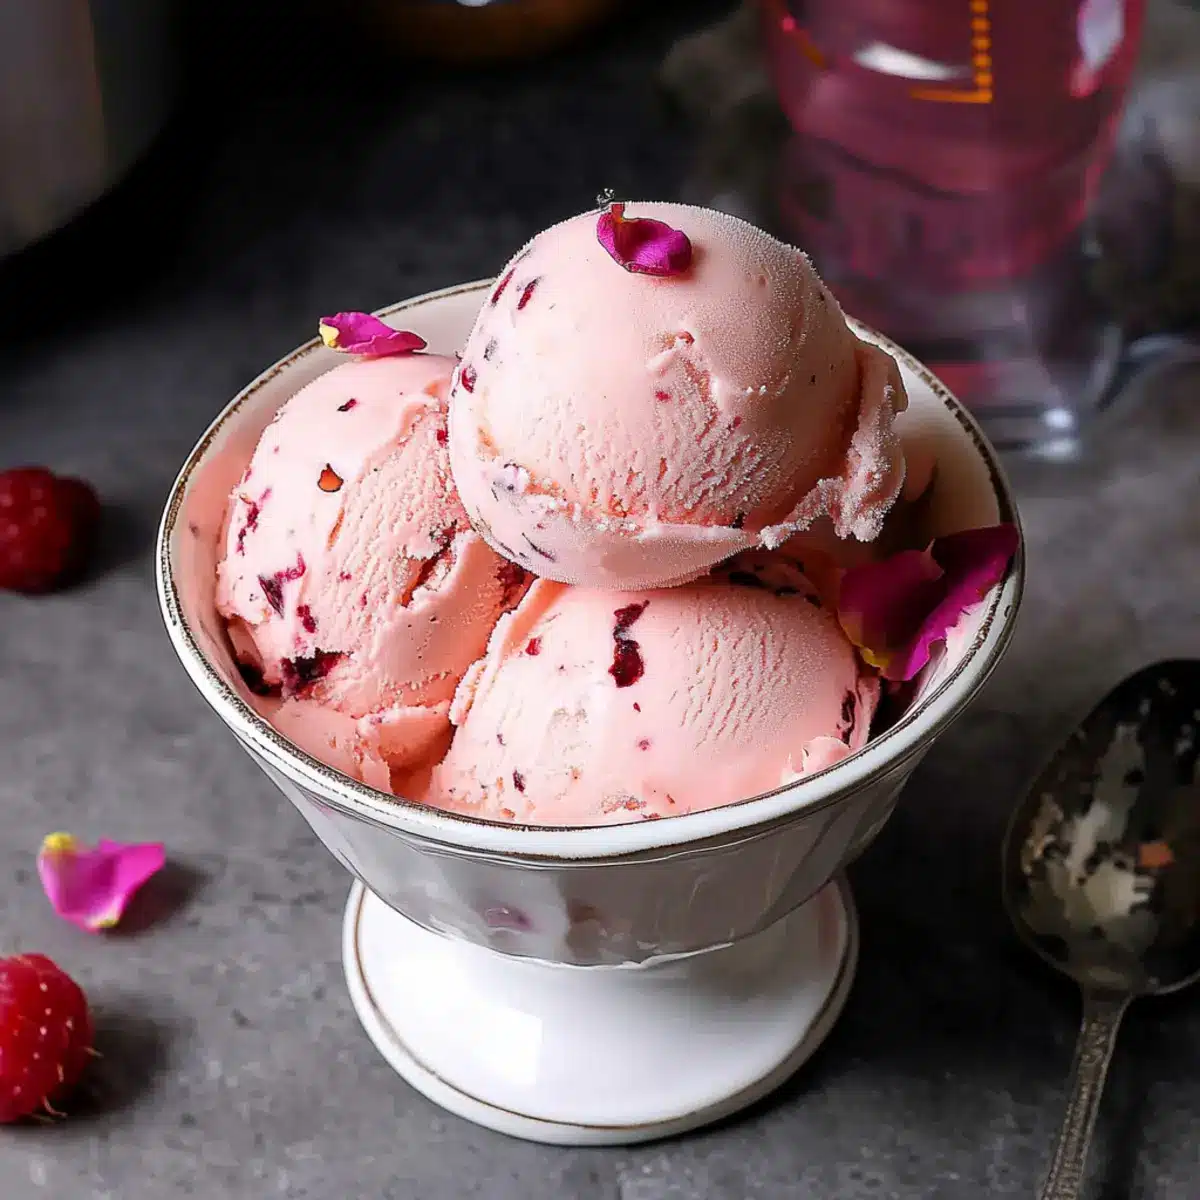
Delightful Rose Ice Cream: A Creamy Floral Escape
Ingredients
Equipment
Method
- In a medium saucepan, combine 2 cups of heavy cream, 1 cup of milk, and a pinch of salt. Heat over medium heat, stirring occasionally, until the mixture starts to simmer.
- While the cream mixture cools slightly, whisk together 6 egg yolks, 3/4 cup of granulated sugar, and 1 tablespoon of xanthan gum in a mixing bowl until smooth.
- Slowly pour about one-third of the hot cream mixture into the egg yolk mixture, whisking continuously to temper the eggs. Then return this combined mixture to the saucepan.
- Cook the mixture over low heat, stirring constantly with a wooden spoon until it thickens and coats the back of the spoon, about 5-8 minutes.
- Remove the custard from heat and strain it through a fine mesh sieve into a clean container to remove any cooked egg bits. Allow cooling slightly.
- Stir in 1 tablespoon of vanilla extract and 2 tablespoons of rose water. Add pink food coloring until desired hue is achieved. Cover with cling film and cool completely in the fridge.
- Chill the mixture in the refrigerator for at least 4 hours or preferably overnight.
- Once chilled, pour the mixture into an ice cream maker and churn according to the manufacturer's instructions for about 20-25 minutes.
- Transfer the churned ice cream to an airtight container, smooth the top with a spatula, and freeze for at least 4 hours until solid.
Leave a Reply