
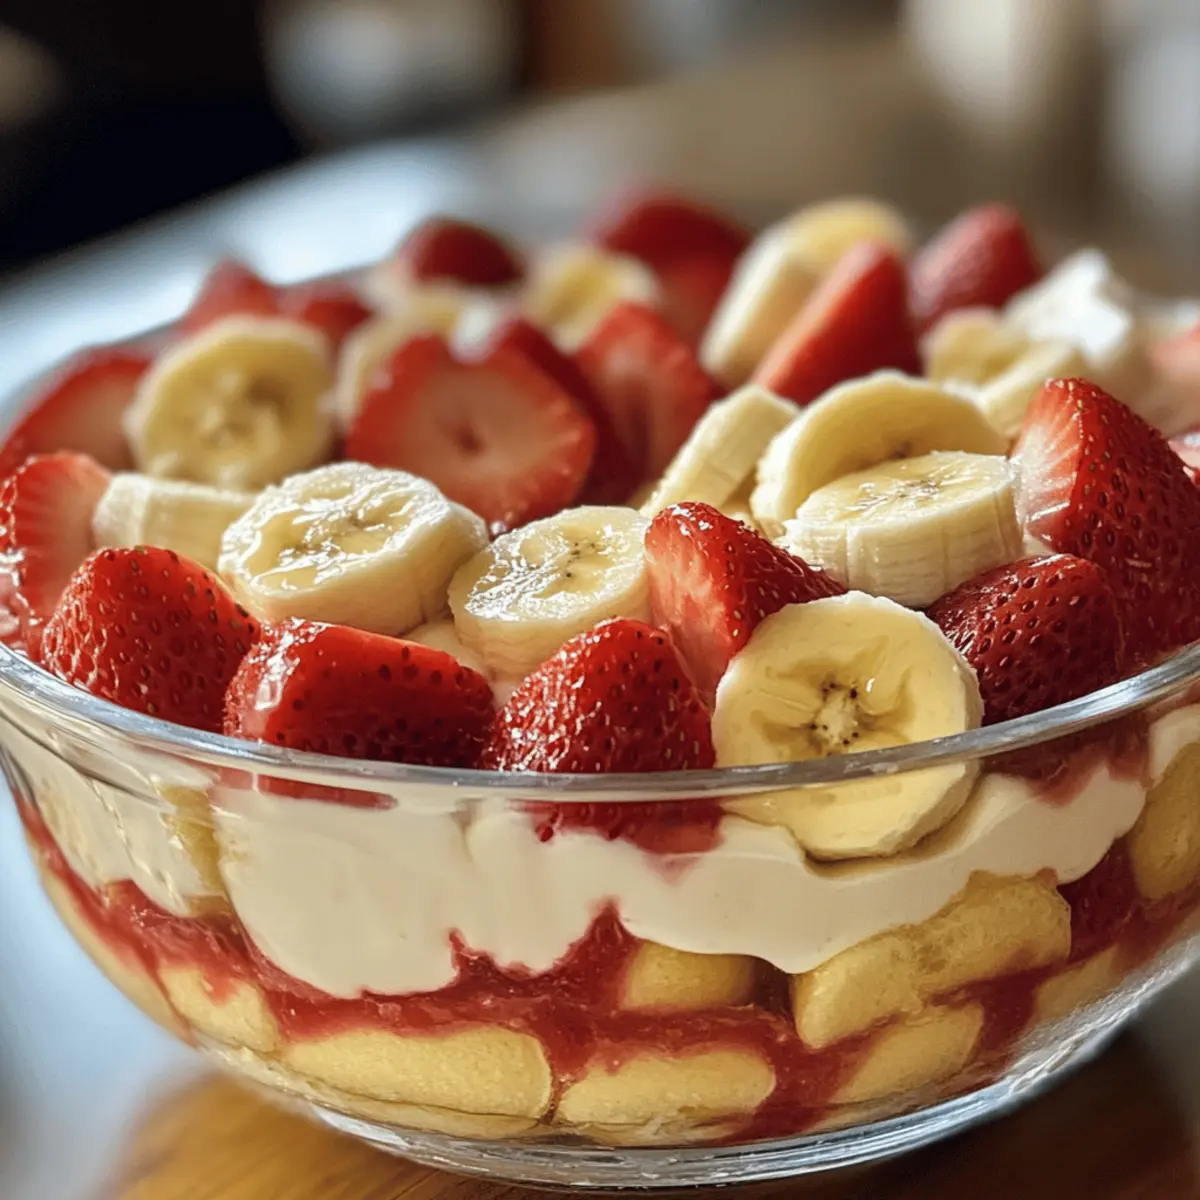
Amid the swirl of daily life, there’s nothing quite as comforting as a dessert that brings a smile to everyone’s face. Enter the Strawberry Banana Pudding Dream, a vibrant showstopper that comes together in just 20 minutes! This no-bake delight makes the most of fresh bananas and strawberries, marrying their natural sweetness with creamy pudding for an experience that’s not only visually stunning but also super satisfying. Perfect for family gatherings or as a special treat just for yourself, this easy recipe is a crowd-pleaser that checks all the boxes—simple, delicious, and gluten-free with a few swaps. Ready to experience a dessert that’s as much about the journey as the destination? Let’s dive in!
Why is this dessert a must-try?
No-Bake Wonder: Whip up this delicious Strawberry Banana Pudding Dream with zero fuss—only 20 minutes from start to finish!
Fresh and Fruity: Enjoy the bright, natural sweetness of fresh strawberries and bananas layered in creamy goodness.
Crowd-Pleasing Delight: Ideal for gatherings, this dessert will have everyone asking for seconds, whether you’re hosting a party or just treating yourself.
Versatile Options: Easily adapt it to accommodate dietary needs—try Greek yogurt for a lighter touch or gluten-free wafers for a tailored version.
Memorable Presentation: With its gorgeous layers, this pudding is not only tasty but also a feast for the eyes, perfect for impressing guests!
Craving something sweet? Don’t miss out on making this treat alongside our delightful Strawberry Crunch Cookies!
Strawberry Banana Pudding Dream Ingredients
For the Pudding Base
- Cream Cheese – Provides creaminess and richness; substitute with Greek yogurt or dairy-free cream cheese for a lighter option.
- Sweetened Condensed Milk – Adds sweetness and moisture; no direct substitution, but you can adjust sugar levels if needed.
- French Vanilla Pudding Mix – Essential for flavor; instant pudding mix is required for the perfect creamy texture.
- Milk – Creates a smooth consistency for the pudding; feel free to use any milk, whether dairy or non-dairy.
For the Layers
- Vanilla Wafers – Serve as the base layer for a delightful crunch; gluten-free wafers can be used for a gluten-free version.
- Bananas – Add natural sweetness and flavor; fresh bananas are best, but overripe bananas can work in a pinch.
- Strawberries – Bring a bright, fruity flavor and beautiful color; you can opt for thawed and drained frozen strawberries if fresh ones aren’t available.
For the Topping
- Whipped Topping – Provides a light, fluffy finish; alternative options include coconut whipped cream for a dairy-free option.
Whip up this Strawberry Banana Pudding Dream and enjoy a simple, delicious, and visually stunning dessert!
Step‑by‑Step Instructions for Strawberry Banana Pudding Dream
Step 1: Mix the Creamy Base
In a medium mixing bowl, combine 8 oz of softened cream cheese and 1 can of sweetened condensed milk. Use a hand mixer on medium speed for about 2 minutes until the mixture is smooth and free of lumps. This creamy base forms the foundation of your Strawberry Banana Pudding Dream, so ensure it reaches a uniform consistency before moving to the next step.
Step 2: Add the Pudding Mix
Next, add a 3.4 oz package of French vanilla pudding mix and 1 cup of milk to the cream cheese mixture. Carefully fold these ingredients in with a spatula, then turn the mixer back on low speed, blending for an additional 2 minutes. The pudding should thicken slightly and become velvety smooth, setting up the perfect layer for your dessert.
Step 3: Prepare the Layering Dish
Grab a 9×13-inch glass dish to layer your ingredients. Start by evenly spreading a single layer of vanilla wafers across the bottom. Make sure not to overlap them too much, as these will provide a delightful crunch and texture in your Strawberry Banana Pudding Dream. Leave some space for the fresh fruit to shine through!
Step 4: Layer the Fruits
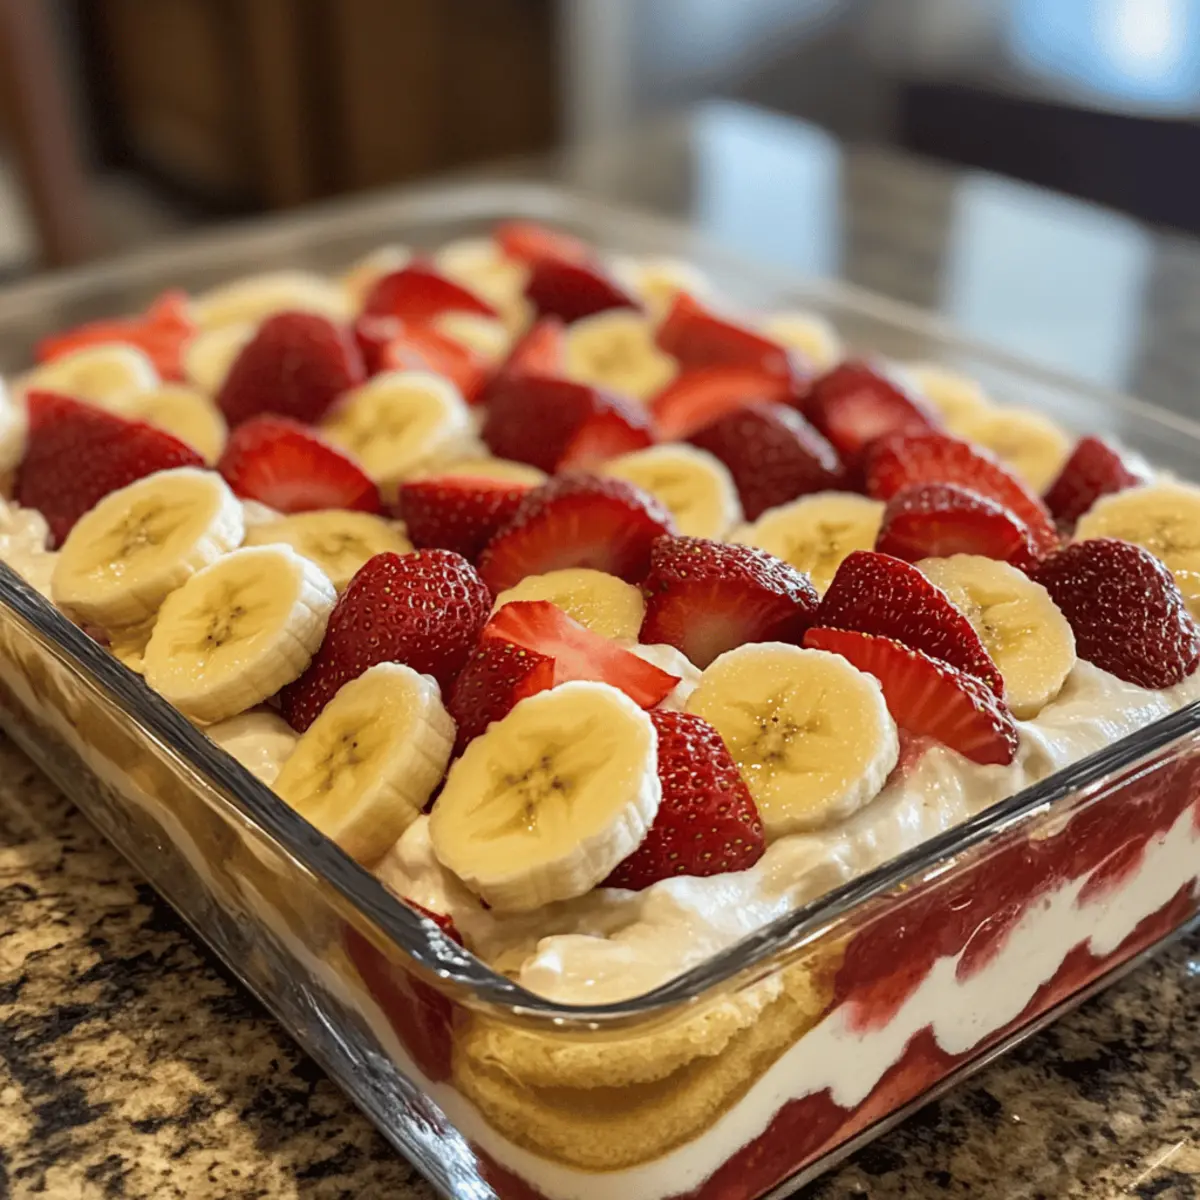
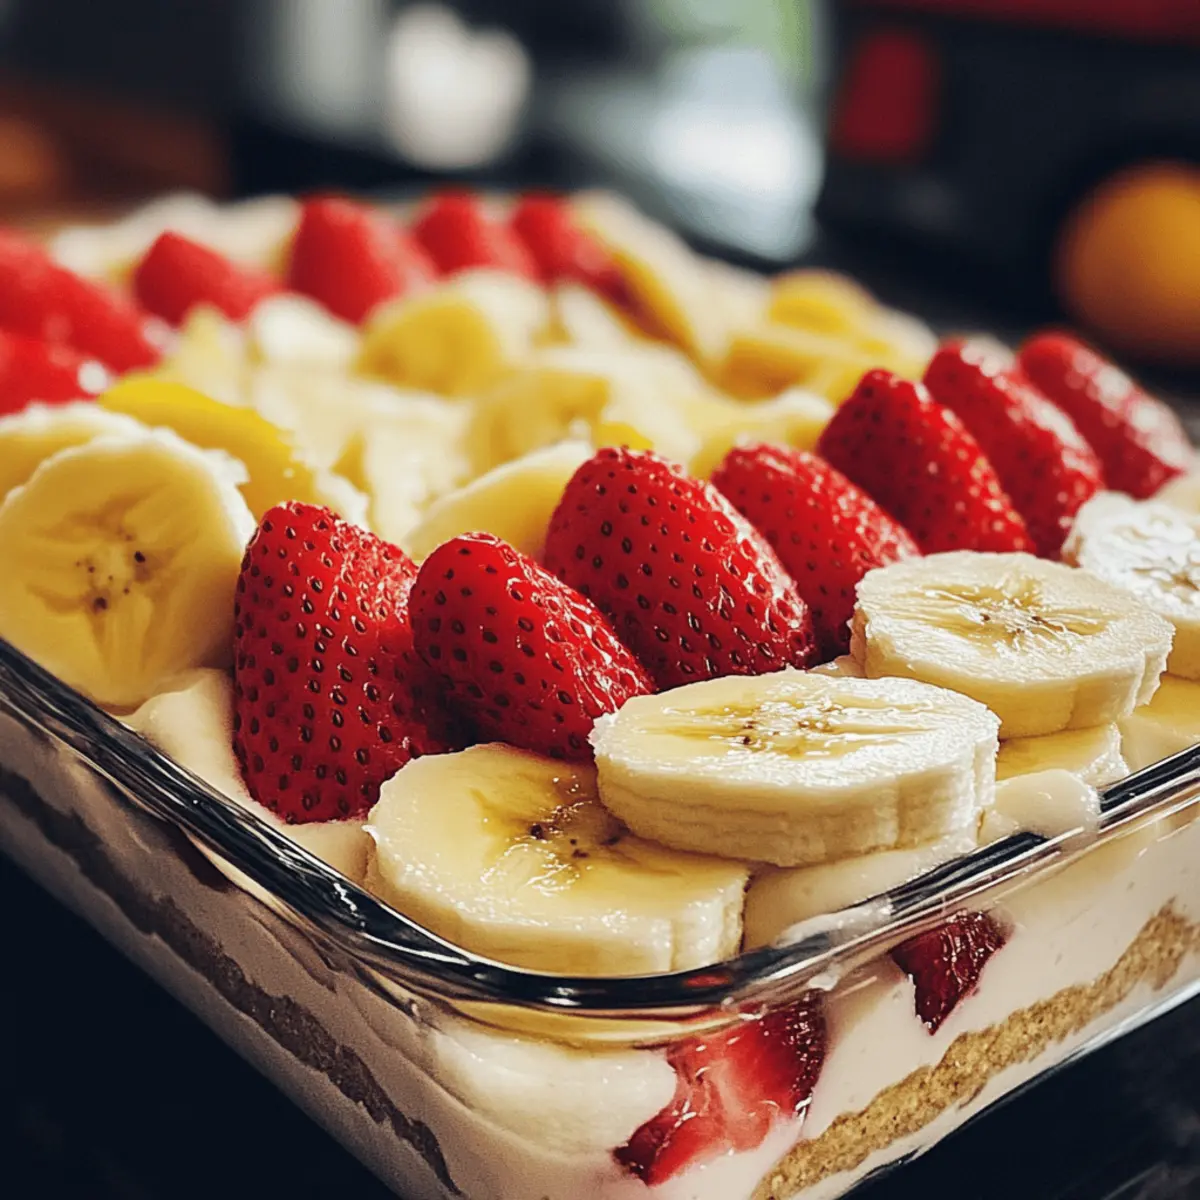
After laying down the vanilla wafers, add a layer of sliced bananas on top, followed by a layer of fresh strawberries. Scatter the banana slices evenly and arrange the strawberries in a colorful pattern for visual appeal. This layering not only enhances taste but also makes your dessert a feast for the eyes.
Step 5: Add the Pudding Mixture
Pour half of the prepared pudding mixture over the layered fruits and wafers. Use a spatula to spread it evenly, ensuring every corner is covered and smooth. This creamy layer will meld beautifully with the fruit below, creating a luscious contrast in flavors as it sets in the refrigerator.
Step 6: Repeat the Layers
Now, repeat the layering process: add another layer of vanilla wafers, followed by more sliced bananas and strawberries. Finish by pouring the remaining pudding mixture over the top. Ensure the layers are even and visually appealing, as the Strawberry Banana Pudding Dream’s beauty lies in its vibrant colors and delicious textures.
Step 7: Complete with Whipped Topping
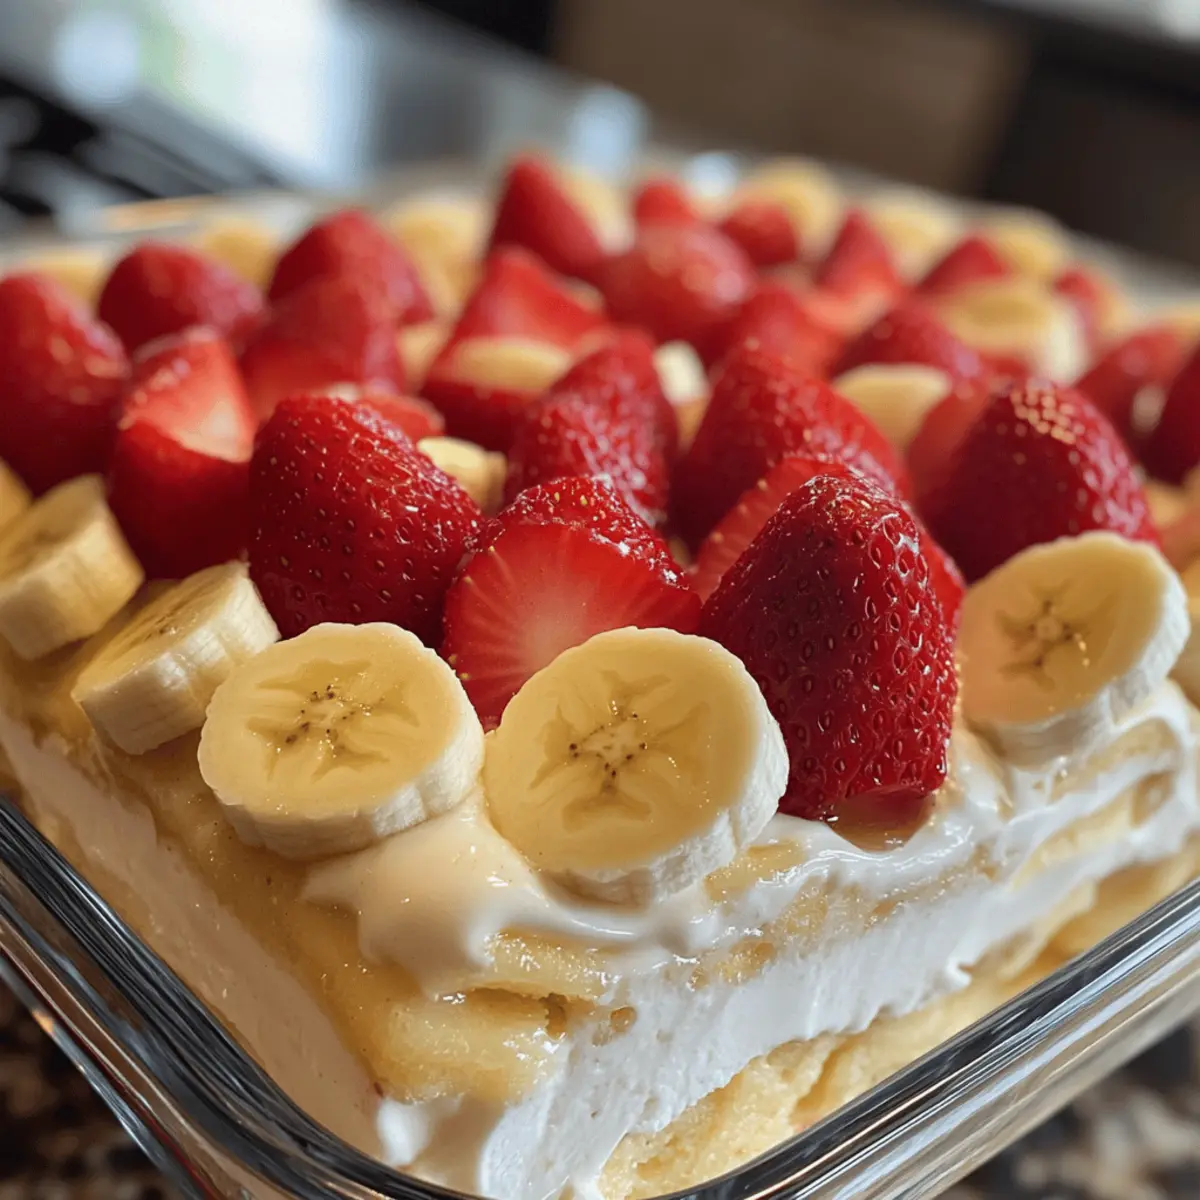
Finally, top your dessert with a generous layer of whipped topping, spreading it smoothly across the top. This light finish will add a fluffy texture to your Strawberry Banana Pudding Dream, making it even more indulgent. Once completed, cover the dish with plastic wrap to prevent moisture loss and ensure it retains its lovely layers.
Step 8: Chill and Serve
Refrigerate the layered dessert for at least 4 hours, or preferably overnight, allowing the flavors to meld and the pudding to set fully. When ready to serve, take it out of the fridge and enjoy the stunning layers and tantalizing flavors of your Strawberry Banana Pudding Dream.
Expert Tips for Strawberry Banana Pudding Dream
• Chill Time Matters: Allow the pudding to chill for at least 4 hours, but overnight is even better. It ensures all the flavors meld beautifully.
• Freshness Counts: Use ripe, fresh strawberries and bananas for the best flavor and texture. If you’re using frozen fruit, make sure they are well-drained to avoid sogginess.
• Layering Technique: Be gentle when layering ingredients. Use a spatula to even out the pudding and whipped topping for a polished finish to your Strawberry Banana Pudding Dream.
• Avoid Overmixing: When combining your pudding base, mix just until smooth. Overmixing can lead to a thin texture that won’t set as nicely.
• Customize Layers: Feel free to switch up the fruits based on your preference, but avoid using overly ripe bananas for better texture in your dessert.
• Store with Care: Cover tightly to prevent moisture loss and maintain freshness; the pudding can be enjoyed for up to three days!
Strawberry Banana Pudding Dream Variations
Customize your Strawberry Banana Pudding Dream to match your taste and dietary needs, creating a delightful experience for everyone!
- Greek Yogurt: Swap cream cheese for Greek yogurt for a lighter, tangy flavor that still maintains creaminess.
- Dairy-Free Delight: Use dairy-free cream cheese and coconut whipped cream for a delicious vegan option everyone will love.
- Berry Bliss: Substitute fresh strawberries with a mix of berries such as blueberries, raspberries, or blackberries for a berry-filled twist.
- Tropical Fruit: Replace bananas and strawberries with fresh mango and pineapple to transport your taste buds to a tropical paradise.
- Nutty Crunch: Add a layer of chopped nuts like walnuts or almonds between the pudding layers for an extra crunchy texture.
- Spice It Up: Mix in a teaspoon of cinnamon or nutmeg to the pudding for a warm, inviting flavor that’s unexpected yet delightful.
- Chocolate Lovers: Drizzle melted chocolate or sprinkle chocolate shavings between the layers for a rich chocolatey touch. This works beautifully with your biscuit layers!
- Layer Variation: Instead of vanilla wafers, try using crushed graham crackers or even chocolate cookies to create depth and varied flavor profiles in your pudding.
Feeling inspired? As you create your own version of this dessert, consider serving it alongside delightful treats like our scrumptious Strawberry Crunch Cookies for an even sweeter experience!
Make Ahead Options
Busy home cooks will love how easily the Strawberry Banana Pudding Dream can be prepared in advance, making it a fantastic choice for meal prep! You can create the creamy pudding base and layer it with vanilla wafers, bananas, and strawberries up to 24 hours before serving. Simply prepare the layers, cover the dish tightly with plastic wrap, and refrigerate. This allows the flavors to meld beautifully while preventing the bananas from browning and keeping the strawberries fresh. When you’re ready to serve, just add the whipped topping on top for that fluffy finish. A little planning means you can enjoy a delightful dessert with minimal last-minute effort!
What to Serve with Strawberry Banana Pudding Dream
Looking to complement your dreamy dessert with the perfect side dishes? Let’s explore some delightful pairings!
- Fresh Fruit Salad: A light and colorful mix of seasonal fruits will enhance the freshness of the pudding. The natural brightness complements the lively flavors beautifully.
- Chocolate-Covered Strawberries: These treats bring a fun twist and added decadence, marrying well with the pudding’s fruity essence while offering a contrasting texture.
- Vanilla Ice Cream: A scoop of creamy vanilla ice cream not only adds richness but also balances the sweet and tangy flavors of the pudding, creating a harmonious dessert experience.
- Homemade Whipped Cream: Top both the pudding and other desserts with fluffy whipped cream. Its lightness adds an airy finish that pairs wonderfully with creamy textures and sweet flavors.
- Grilled Peaches: Caramelized grilled peaches offer a warm fruity contrast. Their juiciness provides a delightful contrast with the chilled pudding, making every bite a burst of flavor.
- Minty Lemonade: Refreshing mint lemonade adds a zesty twist to the meal. Its tanginess cuts through the sweetness of the dessert, creating a refreshing palate cleanser.
- Buttery Biscotti: A crunchy biscotti alongside the pudding not only adds texture but also provides a lovely dipping option that encourages leisurely enjoying the dessert.
- Coconut Macaroons: For a tropical flair, these chewy, toasted coconut treats evoke flavors that beautifully enhance the fruity notes in the pudding.
- Espresso: A shot of rich espresso creates a delightful after-dinner pairing. The bitter notes contrast perfectly with the sweetness of the dessert.
- Chocolate Mousse: Creating a layered dessert table with chocolate mousse adds a different flavor profile for a decadent finish that guests will love!
Storage Tips for Strawberry Banana Pudding Dream
Fridge: Store your Strawberry Banana Pudding Dream in the refrigerator for up to 3 days. Make sure it’s covered tightly with plastic wrap or in an airtight container to maintain its creamy texture and freshness.
Freezer: If you want to save it for later, you can freeze the assembled pudding for up to 2 months. However, note that the texture may change slightly upon thawing, so it’s best to enjoy it fresh!
Reheating: Since this is a no-bake dessert, there’s no need to reheat. Simply take it out of the fridge and serve chilled to savor the delightful layers and flavors.
Serving Tip: For best results, add any toppings like whipped cream just before serving to keep them light and fluffy.
Strawberry Banana Pudding Dream Recipe FAQs
How do I choose the right strawberries for this recipe?
Absolutely! When selecting strawberries, look for vibrant red berries that are firm to the touch and free from dark spots or blemishes. Fresh strawberries should have a sweet fragrance. If you notice any dark spots all over, they might be overripened.
What’s the best way to store leftover Strawberry Banana Pudding Dream?
Very! Store your Strawberry Banana Pudding Dream in the refrigerator, covered tightly with plastic wrap or in an airtight container. It can last up to 3 days while retaining its delicious creamy texture.
Can I freeze the Strawberry Banana Pudding Dream?
Certainly! You can freeze it by covering your assembled dessert with plastic wrap securely and placing it in an airtight container. It can be frozen for up to 2 months. To thaw, move it to the refrigerator for several hours or overnight before serving. Be aware that the texture may be slightly different once thawed, but it’s still delightful!
What can I do if my pudding mixture isn’t thick enough?
No worries! If your pudding mixture is too thin, it may be due to overmixing. Ensure to mix just until smooth. If it still doesn’t thicken, you can refrigerate it for 30 minutes; it should help with the consistency. After chilling, use it as you normally would in your layering.
Are there any ingredient substitutions for dietary restrictions?
Absolutely! For a lighter option, you can substitute Greek yogurt for cream cheese. If you’re looking for dairy-free, choose coconut whipped cream instead of traditional whipped topping and select dairy-free cream cheese for the base. And to make it gluten-free, opt for gluten-free vanilla wafers, which are readily available.
Is this dessert safe for pets or those with allergies?
Very! While the Strawberry Banana Pudding Dream is safe for adults and kids, be mindful that ingredients like cream cheese and whipped toppings can pose risks for pets—especially dogs, as dairy isn’t always recommended for them. If anyone in your household has allergies, always double-check the ingredients for potential allergens like nuts or dairy.
Strawberry Banana Pudding Dream: No-Bake Bliss in 20 Minutes
Ingredients
Equipment
Method
- In a medium mixing bowl, combine cream cheese and sweetened condensed milk. Use a hand mixer on medium speed for about 2 minutes until smooth.
- Add the pudding mix and milk to the cream cheese mixture. Fold in with a spatula, then blend for an additional 2 minutes until thickened.
- Spread a single layer of vanilla wafers evenly across the bottom of a 9x13-inch glass dish.
- Add a layer of sliced bananas on top of the wafers, followed by a layer of fresh strawberries.
- Pour half of the pudding mixture over the fruits and wafers, spreading evenly.
- Repeat the layering: vanilla wafers, more bananas, and strawberries, then the remaining pudding mixture on top.
- Top with a generous layer of whipped topping, spreading smoothly across the top.
- Refrigerate for at least 4 hours or overnight before serving to allow the pudding to set.
Leave a Reply