
As I stirred that warm, velvety mixture of oats and chocolate, the comforting scent wafted through my kitchen, transforming it into a cozy haven. This is the magic of my 4-Ingredient Crispy Chocolate Oat Cookies—a delightful surprise for anyone craving a quick homemade snack. Not only are these cookies delightfully easy to whip up, but they’re also gluten-free and a fantastic way to use pantry staples without going on a wild ingredient hunt. Whether you need an energy boost for your afternoon slump or a sweet treat to share, these cookies promise a taste of indulgence without the fuss. Ready to satisfy your chocolate cravings? Let’s dive into the recipe!

Why Are These Cookies a Must-Try?
Simplicity at Its Core: With only four ingredients, these cookies are effortless to make, ideal for novice and seasoned bakers alike.
Unforgettable Flavor: The irresistible combination of rich chocolate and chewy oats creates a taste sensation that satisfies your sweet tooth without overwhelming it.
Versatile Customization: Feel free to add your favorite nuts or dried fruits for an extra nutrition boost, or switch to almond butter for a delightful twist.
Quick to Bake: These cookies bake in just 10-12 minutes, making them a go-to recipe for unexpected guests or last-minute cravings.
Crowd-Pleasing Snack: Whether you enjoy them warm with a glass of milk or as a post-workout refuel, these cookies will quickly become a family favorite. Try pairing them with a cozy cup of coffee or one of my other delightful treats like Apple Pie Bars with Salted Peanut Butter Caramel for a perfect treat!
Chocolate Oat Cookie Ingredients
• Perfect for your next baking adventure!
For the Cookie Mixture
- Oats – A great source of chewiness; use gluten-free oats for a perfect gluten-free treat.
- Peanut Butter – Delivers richness and binding; try almond butter or sunflower seed butter as a substitute.
- Honey or Maple Syrup – Natural sweeteners that enhance flavor; maple syrup is also an excellent vegan option.
- Chocolate Chips – Adds delicious sweetness; opt for dairy-free chocolate chips for a vegan-friendly cookie.
Optional Add-ins
- Nuts – Give a satisfying crunch; walnuts or almonds are perfect for extra texture and nutrition.
- Dried Fruits – Incorporate chewy bites for a fruity twist; cranberries or raisins work wonderfully.
Get ready to indulge in these delightful cookies that are both simple and utterly satisfying!
Step‑by‑Step Instructions for 4-Ingredient Crispy Chocolate Oat Cookies
Step 1: Preheat Oven
Begin by preheating your oven to 350°F (175°C). While the oven warms up, line a baking sheet with parchment paper to prevent the cookies from sticking. This walnut-hued backdrop will soon cradle your delightful 4-Ingredient Crispy Chocolate Oat Cookies as they transform from dough to delectable treats!
Step 2: Mix Ingredients
In a large mixing bowl, combine gluten-free oats, creamy peanut butter, and your choice of honey or maple syrup. Stir vigorously for about 1-2 minutes until all ingredients form a thick, cohesive mixture. The peanut butter should be semi-melted for easier blending—this ensures your cookies will be beautifully chewy and rich.
Step 3: Add Chocolate Chips
Once your mixture is well combined, fold in the chocolate chips gently. Aim for even distribution so that each cookie is a treasure trove of chocolatey goodness. Take a moment to relish the sweet aroma as the chocolate melds with the oat and peanut butter mix, creating a mouthwatering anticipation for your soon-to-be-baked cookies.
Step 4: Shape Cookies
Using a tablespoon or cookie scoop, portion out the cookie mixture onto your prepared baking sheet, making sure to leave space between each scoop. You should yield about 12 cookies. Their irregular, rustic shape makes them perfectly homemade, ready for the oven to enhance their golden edges and delicious chew.
Step 5: Bake
Carefully place the baking sheet in the preheated oven, allowing the cookies to bake for 10-12 minutes. Watch closely as the edges turn golden brown—this is your cue that the cookies are transforming into crispy, chewy perfection. The centers might appear slightly soft, but they will firm up as they cool.
Step 6: Cool
After baking, let the cookies sit on the baking sheet for around 5 minutes to firm up before transferring them to a wire rack. This delicate cooling stage allows the flavors to deepen while the crispy exterior contrasts beautifully with the soft, chewy center—your 4-Ingredient Crispy Chocolate Oat Cookies are now ready to be enjoyed!

Storage Tips for Chocolate Oat Cookies
• Room Temperature: Store your cookies in an airtight container at room temperature for up to 5 days to maintain their delicious texture and flavor.
• Fridge: If you need to store them longer, keep them in the fridge for up to 1 week. Ensure they are in a tightly sealed container to prevent drying out.
• Freezer: For longer storage, freeze the cookies for up to 3 months. Place them in a single layer in a freezer-safe bag or container, adding parchment paper between layers to prevent sticking.
• Reheating: When you’re ready to enjoy, reheat in the microwave for about 10-15 seconds or in the oven at 350°F (175°C) for a few minutes until warm and gooey, perfect for enjoying your chocolate oat cookies again!
Variations & Substitutions for Chocolate Oat Cookies
Feel free to customize these delightful cookies to suit your taste and dietary needs!
-
Nut-Free: Replace peanut butter with tahini or sunflower seed butter for a nut-free version that’s equally rich and creamy. Both will bring a unique flavor twist and nutritious profile.
-
Vegan Swap: Use maple syrup instead of honey and opt for dairy-free chocolate chips. This transforms your cookies into an indulgent, plant-based treat loved by everyone.
-
Add Crunch: Stir in some chopped nuts like walnuts or almonds to the batter. They’ll add a wonderful crunchy texture that complements the chewy oats beautifully.
-
Fruit Burst: Incorporate dried fruits like cranberries or apricots for a delightful explosion of flavor in each bite. Their sweetness pairs perfectly with the richness of the cookies.
-
Flavor Upgrade: Swap regular chocolate chips for butterscotch or white chocolate chips to create a new flavor dimension. Each variety can evoke a different mood or craving!
-
Trial Textures: For a chewier cookie, experiment by replacing a portion of the oats with quick oats. They’ll yield a more traditional cookie texture while maintaining delicious flavors.
-
Spice It Up: Add a pinch of cinnamon or a dash of vanilla extract for an aromatic boost. These spices elevate the overall flavor, making every bite deliciously warm and inviting.
-
Sweetness Control: Adjust the sweetness by reducing the honey or maple syrup slightly, allowing for a more balanced cookie that’s perfect for those who prefer less sugary treats.
Try these variations and discover how easy it is to make these cookies uniquely yours. And if you’re looking for more delicious recipes, check out my Garlic Butter Beef Cheeseburger Rollups or Ranch Beef Pasta Shells for family-approved flavors!
Make Ahead Options
These 4-Ingredient Crispy Chocolate Oat Cookies are a fantastic option for meal prep enthusiasts! You can mix the dough and refrigerate it for up to 24 hours, which not only saves time but also deepens the flavors. Alternatively, you can bake the cookies ahead of time and store them in an airtight container at room temperature for up to 3 days. To preserve their crispy edges, let them cool completely before storing. When you’re ready to serve, simply pair them with a glass of milk or warm them slightly to bring back that delicious, fresh-out-of-the-oven vibe! Enjoy the ease of planning ahead while still treating yourself to homemade goodness.
What to Serve with 4-Ingredient Crispy Chocolate Oat Cookies
Looking to create a delightful spread that perfectly complements the sweet, chewy goodness of these cookies?
- Cup of Milk: Nothing beats the classic duo of cookies and milk; the creaminess pairs beautifully with the rich chocolate.
- Fresh Berries: Juicy berries like strawberries or raspberries add a refreshing, tangy contrast to the cookies’ sweetness. Their vibrant color lifts the whole presentation!
- Creamy Yogurt: A dollop of yogurt enhances the cookies with a velvety texture; try a vanilla or coconut flavor for added richness.
- Ice Cream Sundae: Elevate your cookies by serving them warm with a scoop of vanilla ice cream and a drizzle of chocolate sauce. A heavenly treat!
- Nutty Granola: Pair with a crunchy granola for a lovely textural contrast—sprinkle some over yogurt for a delightful breakfast option.
- Herbal Tea: A soothing cup of chamomile or mint tea adds a sophisticated touch; the herbal notes beautifully balance the cookies’ richness.
- Homemade Trail Mix: Mix nuts, dried fruits, and chocolate chips for a crunchy snack that echoes the cookies’ flavor profile—perfect for nibbling!
- Fruit Smoothie: Blend a fresh fruit smoothie using bananas and spinach for a nutrient-packed drink that complements the sweet treat wonderfully.
Expert Tips
• Peanut Butter Temperature: Ensure peanut butter is at room temperature to mix easily and achieve a smooth, well-blended cookie dough.
• Don’t Overbake: Remove cookies when edges are golden—overbaking can lead to a dry texture, losing that delightful chewy center in your chocolate oat cookies.
• Storage Matters: Store in an airtight container at room temperature to maintain their crispy exterior and chewy interior. Avoid moisture to prevent sogginess.
• Experiment with Mix-ins: Feel free to mix in nuts or dried fruits; just be cautious not to overload the mixture, which may alter the dough’s consistency.
• Gluten-Free Options: Always check labels when using oats and chocolate chips, ensuring they meet gluten-free standards for your delicious chocolate oat cookies.

4-Ingredient Crispy Chocolate Oat Cookies Recipe FAQs
How do I select the right oats for the recipe?
Absolutely! For the best texture, choose rolled oats or old-fashioned oats. If you need a gluten-free option, make sure to look for certified gluten-free oats, as regular oats may be cross-contaminated with gluten during processing.
How should I store my cookies?
Very! You can store your cookies in an airtight container at room temperature for up to 5 days to maintain their delightful crispiness. If you prefer to keep them longer, consider refrigerating them for up to 1 week in a tightly sealed container to prevent drying out.
Can I freeze these cookies?
Definitely! To freeze your cookies, first allow them to cool completely after baking. Place them in a single layer in a freezer-safe container or bag, adding parchment paper between layers to prevent sticking. They can be stored for up to 3 months. When you’re ready to enjoy, reheat them in the microwave for about 10-15 seconds or in the oven at 350°F (175°C) until warm.
What should I do if my cookies come out too dry?
I understand that can be frustrating! If your cookies turn out dry, check the baking time next time; they should be removed from the oven when the edges are golden brown. Additionally, ensure your peanut butter is creamy and at room temperature to contribute moisture to the dough.
Are there any allergy concerns with this recipe?
Yes, it’s important to consider allergies! For those with nut allergies, substitute peanut butter with sunflower seed butter or tahini. Additionally, be mindful of the chocolate chips; select dairy-free options if vegan or lactose-intolerant, and always check labeling for any allergens.
Can I use other sweeteners instead of honey or maple syrup?
Absolutely! You can experiment with agave syrup or coconut sugar. If you choose a drier sweetener, like granulated sugar, consider adding a tiny bit of oil or milk to maintain moisture in your cookie dough.
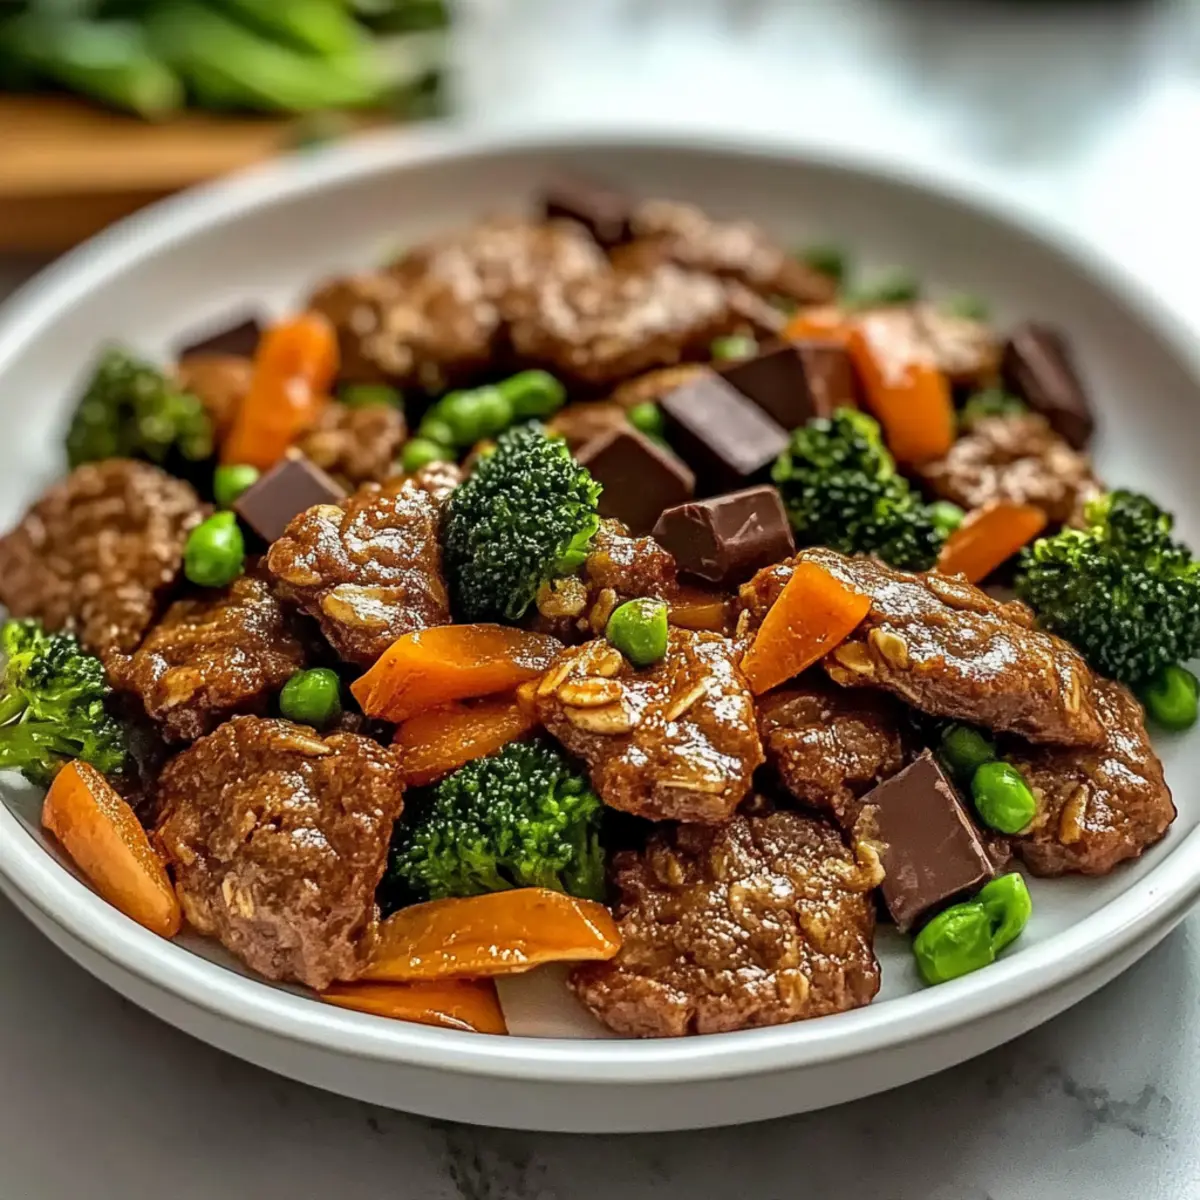
Quick and Flavorful Beef Stir Fry with Fresh Vegetables
Ingredients
Equipment
Method
- Preheat your oven to 350°F (175°C) and line a baking sheet with parchment paper.
- In a large mixing bowl, combine gluten-free oats, peanut butter, and honey or maple syrup until well mixed.
- Fold in chocolate chips gently for even distribution.
- Scoop mixture onto prepared baking sheet, leaving space between each scoop.
- Bake for 10-12 minutes until edges are golden brown.
- Let cookies cool for 5 minutes before transferring them to a wire rack.
Leave a Reply