
Just when I thought I had perfected the classic dessert bar, my summer fruit stash decided to throw a curveball. Welcome to the world of Chocolate Chip Cherry Bars, where gooey blondie meets jack-of-all-fruits delight! This easy, no-mixer recipe brings together the luscious sweetness of chocolate chips and the tart juiciness of fresh cherries for a treat that’s irresistibly good. Not only are these bars quick to whip up, but they’re also perfect for sharing with family and friends—ideal for those warm gathering nights. Whether you’re indulging after a long day or celebrating a special occasion, the delightful balance of flavors and textures in every bite will have everyone asking for seconds. Ready to discover how simple it is to create this show-stopping dessert? Let’s dive into the recipe!
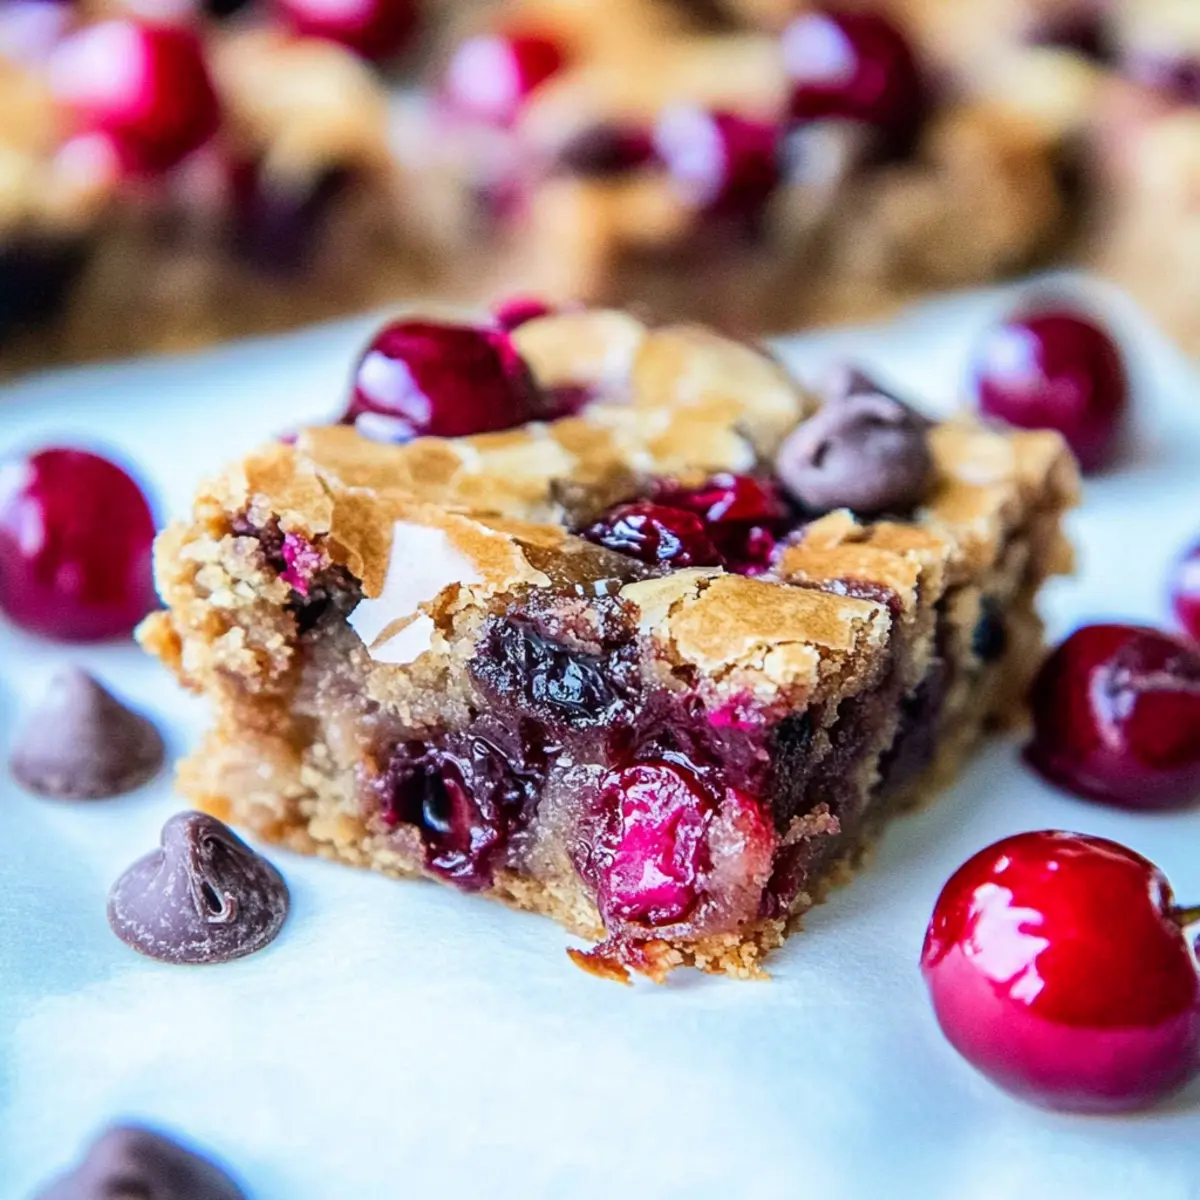
Why Are These Bars a Must-Try?
Simplicity at Its Best: Get ready to enjoy a delightful dessert with this no-mixer recipe that requires only a few basic ingredients.
Rich Flavors: The combination of cherries and chocolate creates a perfect balance of sweetness and tartness, making every bite a flavor explosion.
Texture Delight: With a chewy blondie base, these bars offer a heavenly contrast of gooey chocolate and juicy cherry pockets that will leave your taste buds dancing.
Versatile Options: Use fresh or frozen cherries, swap in your favorite fruits like blueberries or peaches, or even go half and half for a unique twist!
Perfect for Sharing: Whether it’s a summer picnic or a cozy night in, these bars are sure to impress friends and family alike.
Once you’ve mastered this recipe, you might also want to try other delicious treats like Pumpkin Snickerdoodles or have a go at some scrumptious Apple Pie Bars for your next gathering!
Chocolate Chip Cherry Bars Ingredients
For the Base
• Unsalted Butter – Adds richness and moisture; melt it before mixing for best results.
• Light Brown Sugar – Provides sweetness and a hint of caramel flavor; avoid dark brown for a more subtle taste.
• Large Egg – Binds the ingredients for structure; use a room-temperature egg for better emulsification.
• Vanilla Extract – Enhances flavor; opt for pure vanilla extract for the most delicious results.
• All-Purpose Flour – Key for structure; feel free to substitute gluten-free flour for a gluten-free option.
• Salt – Optional, but balances sweetness; can be omitted if needed.
For the Mix-Ins
• Semi-Sweet Chocolate Chips – Offers a rich chocolaty flavor; milk or white chocolate can substitute if desired.
• Cherries, Pitted – Fresh cherries add moisture and tartness; frozen cherries work if fresh aren’t available.
Enjoy making these Chocolate Chip Cherry Bars, a delightful dessert that combines the sweetness of chocolate with the tartness of cherries!
Step‑by‑Step Instructions for Chocolate Chip Cherry Bars
Step 1: Preheat the Oven
Begin by preheating your oven to 350°F (175°C). This ensures that when you’re ready to bake, the temperature is just right for producing golden edges and a soft center in your Chocolate Chip Cherry Bars. While the oven warms up, gather the rest of your ingredients.
Step 2: Prepare the Baking Pan
Grab an 8×8 inch baking pan and line it with foil or parchment paper. Make sure to grease it well with cooking spray or butter to make the removal process easier later on. Taking this step helps to achieve perfectly baked bars without any sticking.
Step 3: Melt the Butter
In a medium microwave-safe bowl, add your unsalted butter. Microwave it for about 30 seconds, or until fully melted, stirring halfway through to ensure even melting. This buttery mixture is essential for the richness of your Chocolate Chip Cherry Bars.
Step 4: Mix in Brown Sugar
Once the butter is melted, combine it with light brown sugar in the bowl. Stir the mixture until it’s smooth and well combined, turning creamy with a hint of caramel color. This creamy base adds sweetness and enhances the overall flavor.
Step 5: Add Egg and Vanilla
Crack a large egg into the mixture, along with vanilla extract. Stir vigorously until everything is smooth and creamy, allowing the flavors to meld together beautifully. This combination will provide the structure and moisture your Chocolate Chip Cherry Bars need.
Step 6: Incorporate Dry Ingredients
Slowly add all-purpose flour and optional salt to the wet mixture. Fold the ingredients together gently until just combined; avoid overmixing to keep the bars light and chewy. You want to see a few flour streaks remaining for the best results.
Step 7: Add Mix-Ins
Gently fold in the semi-sweet chocolate chips and pitted cherries. Ensure they are evenly distributed throughout the batter, as they will create delicious pockets of flavor and texture in your Chocolate Chip Cherry Bars. The mix should look vibrant and appetizing.
Step 8: Pour and Spread the Batter
Pour the batter into your prepared baking pan. Use a spatula or the back of a spoon to spread the mixture evenly across the pan, smoothing the top for an enticing presentation. You’re now ready to bake your delicious creation!
Step 9: Bake the Bars
Place the pan in your preheated oven and bake for 27 to 32 minutes. Keep an eye on them—look for slightly pulled edges and a center that is set but still moist. A toothpick inserted into the center should come out with a few moist crumbs.
Step 10: Cool and Serve
Once baked, remove the pan from the oven and let it cool on a wire rack for at least 1 hour. This cooling period allows your Chocolate Chip Cherry Bars to set perfectly, making cutting into them much easier and more enjoyable.
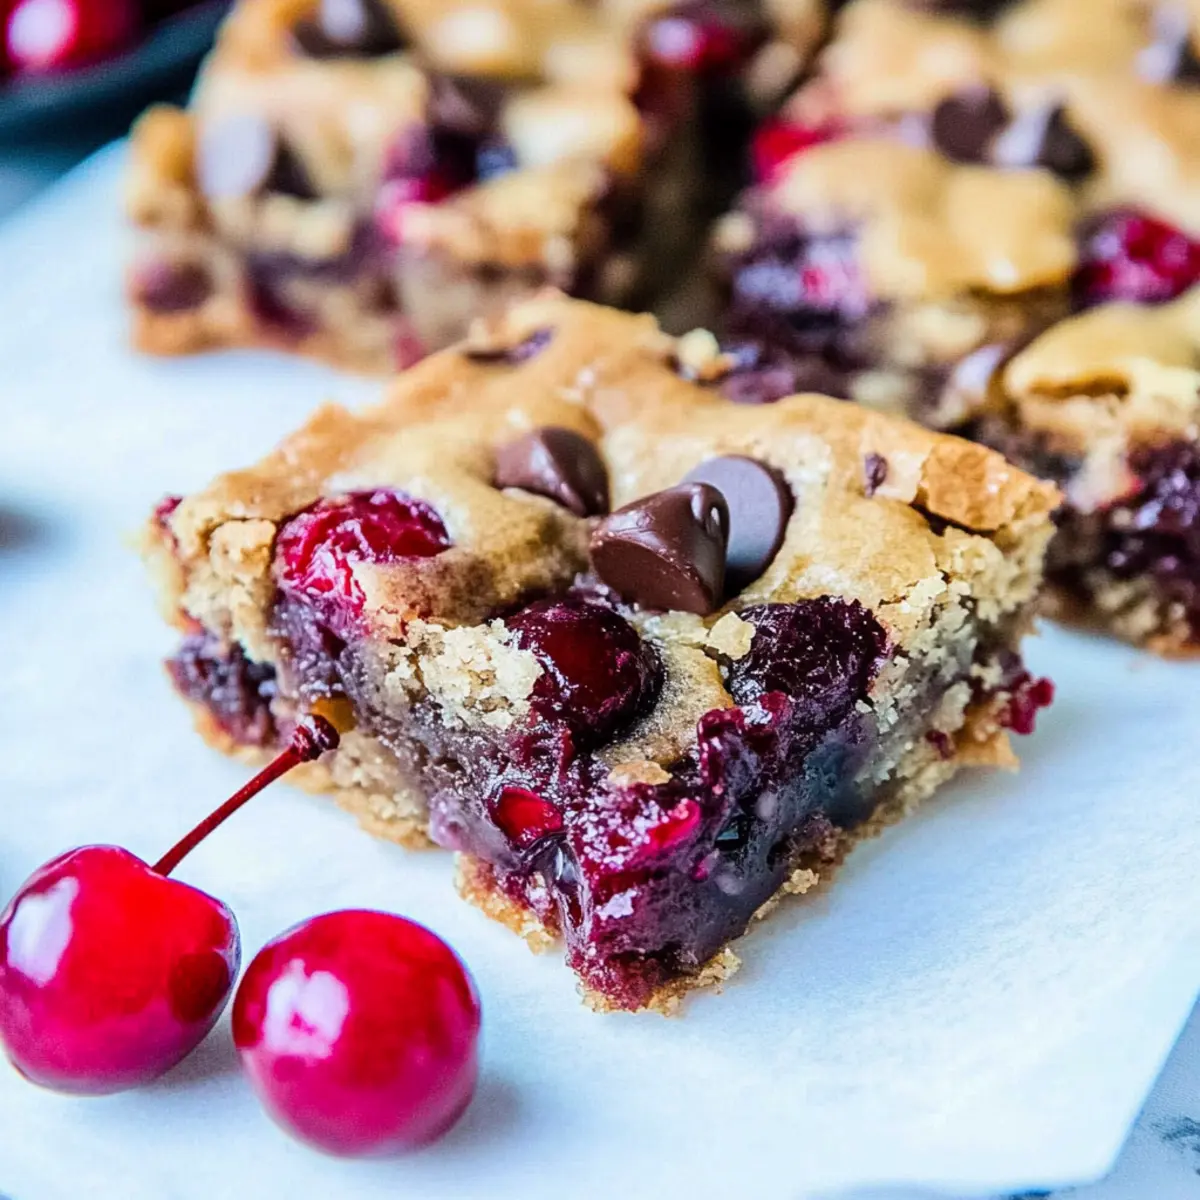
How to Store and Freeze Chocolate Chip Cherry Bars
Room Temperature: Store your Chocolate Chip Cherry Bars in an airtight container at room temperature for up to 7 days to maintain their soft, chewy texture.
Fridge: If you prefer them chilled or if it’s particularly warm, keep the bars in the fridge for up to 2 weeks. Just be sure to wrap them tightly to prevent drying out.
Freezer: Freeze the bars for long-term storage for up to 3 months. Cut them into squares, then wrap each piece individually in plastic wrap and place in a freezer-safe bag.
Reheating: To enjoy the bars after freezing, let them thaw in the fridge overnight or warm them slightly in the microwave for about 10-15 seconds before serving.
What to Serve with Chocolate Chip Cherry Bars
These divine bars deserve a spot on your dessert table, but pairing them with the right sides will take your meal to the next level!
-
Vanilla Ice Cream: The creamy scoop adds coolness and enhances the rich flavors, creating a beloved contrast of temperatures. It’s a classic combo that’s sure to impress!
-
Whipped Cream: A dollop of freshly whipped cream lightens the dessert and adds an airy sweetness that complements the rich cherry and chocolate.
-
Fresh Berries: Juicy strawberries or blueberries add a pop of freshness and a burst of flavor, making every bite more exciting.
-
Chocolate Drizzle: Liven up the bars by drizzling melted chocolate on top. This adds an extra layer of decadence and visual appeal to your dessert.
-
Mint Tea: A warm, fragrant mint tea can cleanse your palate after the sweet bars, providing a soothing finish to your dessert experience.
-
Chilled Lemonade: Bright, zesty lemonade can offer a refreshing counterbalance to the sweetness, perfect for summer gatherings.
-
Coconut Macaroons: The chewy texture of these delightful treats can create a fun bite-sized pairing, making the dessert spread even more enjoyable.
-
Espresso: A small cup of rich, bold espresso complements the sweetness of the bars and enhances the chocolatey flavors, making it a perfect after-dinner treat.
With these pairing suggestions, you can create a delightful experience that highlights the deliciousness of Chocolate Chip Cherry Bars!
Expert Tips for Chocolate Chip Cherry Bars
-
Use Room Temperature Egg: A room-temperature egg helps bind the ingredients better, ensuring a smooth batter that leads to delicious Chocolate Chip Cherry Bars.
-
Melt Butter Properly: Melt the butter completely in the microwave for consistent richness, stirring halfway for even melting; this enhances the final flavor.
-
Don’t Overmix: Gently fold the batter until just combined to avoid tough, dense bars. A few flour streaks are perfectly fine!
-
Cool Completely: Allow the bars to cool for a full hour before cutting. This setting time helps ensure that slices hold their shape beautifully.
-
Experiment with Mix-Ins: Feel free to add other fruits like blueberries or dried cherries for unique variations in your Chocolate Chip Cherry Bars.
Chocolate Chip Cherry Bars Variations
Feel free to let your creativity shine with these Chocolate Chip Cherry Bars by trying out some exciting twists!
-
Dried Cherry Delight: Swap fresh cherries for dried cherries for a chewy texture and deeper flavor. This variation is perfect for year-round enjoyment.
-
Berry Boost: Incorporate a mix of blueberries or raspberries for a tangy burst of flavor that complements the chocolate beautifully. Each bite becomes a fruity surprise!
-
Peachy Keen: Substitute fresh or frozen peaches for a sweet, summery twist. The soft peaches melt into the bars, offering a delightful contrast to the chocolate.
-
Nutty Addition: Add 1/2 cup of chopped nuts like walnuts or almonds for an extra crunch. The nuttiness pairs splendidly with the chocolate and cherries.
-
Coconut Twist: Stir in 1/2 cup of shredded coconut for a tropical flair. This gives the bars a chewy texture and a hint of coconut flavor that is absolutely delightful.
-
Spicy Kick: Incorporate a pinch of cayenne pepper into the batter for a surprising heat that beautifully contrasts with the sweetness. Just a little can elevate the flavor profile!
After enjoying your Chocolate Chip Cherry Bars, consider trying some other fun treats like Halloween Chocolate Chip Cookies or indulge in the sweet goodness of Baked Banana Oatmeal Bars next time!
- Flavorful Extracts: Enhance the flavor by mixing in a teaspoon of almond or orange extract. These subtle notes can take your bars to the next level, making each bite unforgettable.
Make Ahead Options
These Chocolate Chip Cherry Bars are perfect for meal prep enthusiasts looking to save time during busy weeks! You can mix the batter up to 24 hours in advance, storing it in an airtight container in the refrigerator. Additionally, you can chop and pit the cherries a day ahead to maintain their freshness. When you’re ready to bake, simply pour the batter into the prepared pan and bake as instructed. To keep the bars fresh after baking, allow them to cool completely, then store them in an airtight container at room temperature for up to 3 days. They will remain just as delicious, making them ideal for last-minute gatherings or sweet cravings!
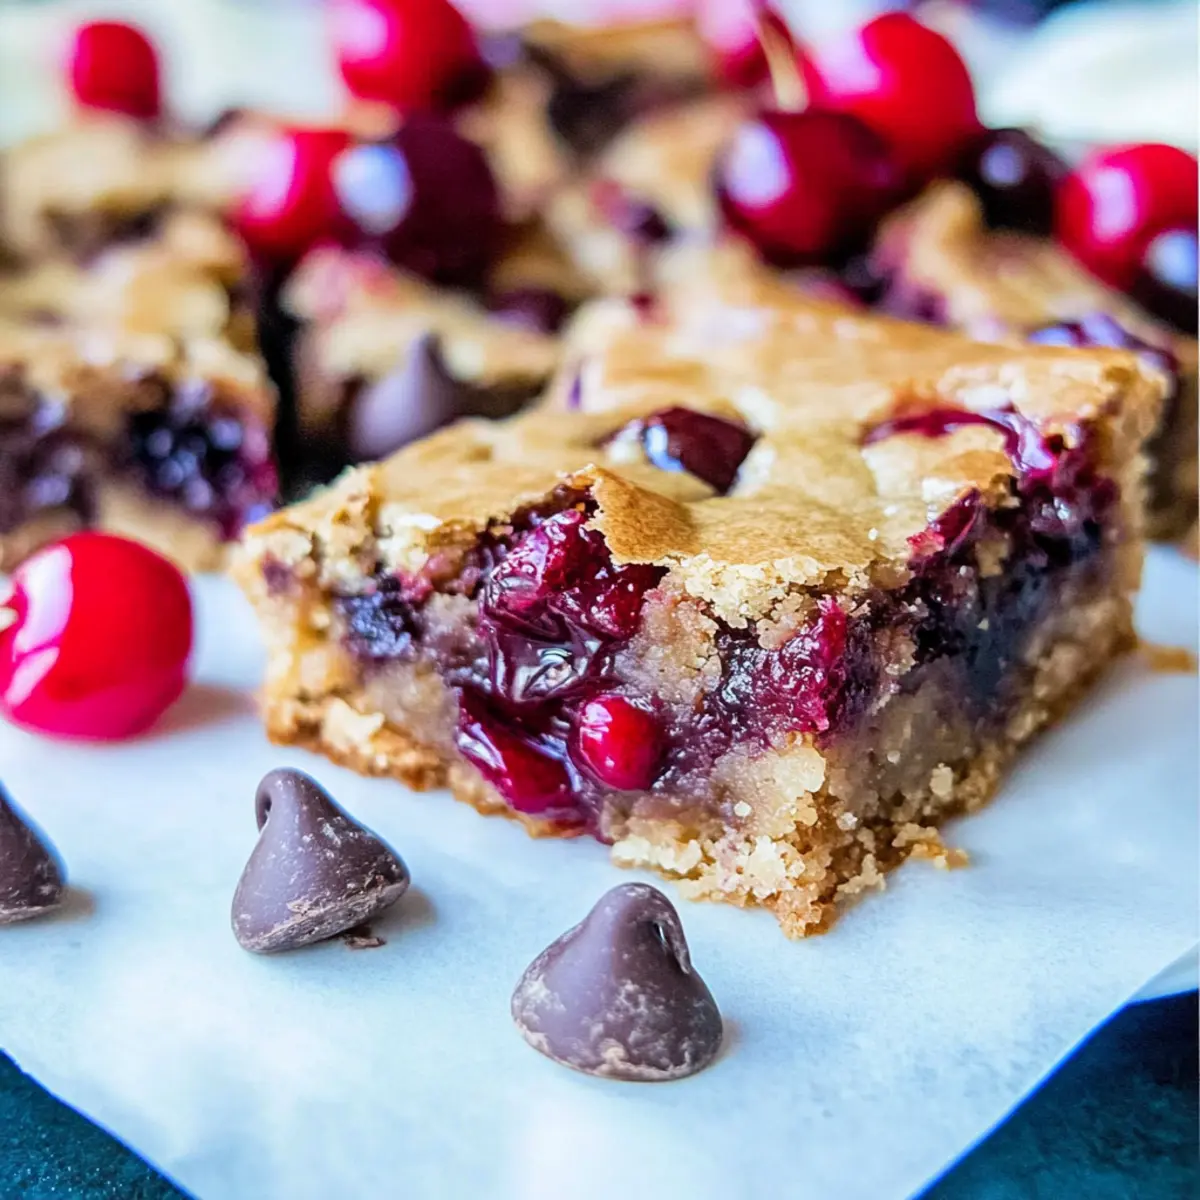
Chocolate Chip Cherry Bars Recipe FAQs
How do I select the best cherries for this recipe?
Absolutely! For the best Chocolate Chip Cherry Bars, choose plump, firm cherries that are deep red in color. Avoid any with dark spots or soft areas, as these can indicate overripeness. Seasonal cherries are usually juicier, so keep an eye out during summer when they’re at their peak!
How should I store my Chocolate Chip Cherry Bars?
Very simply! Store your Chocolate Chip Cherry Bars in an airtight container at room temperature for up to 7 days. If you prefer a chilled treat, they can also be kept in the fridge for up to 2 weeks, just make sure to wrap them well to keep them moist.
Can I freeze these Chocolate Chip Cherry Bars?
Absolutely! To freeze, first cut the bars into squares. Then, wrap each piece individually in plastic wrap and place them in a freezer-safe bag. They can be frozen for up to 3 months. When you’re ready to enjoy, simply let them thaw in the fridge overnight or warm them in the microwave for 10-15 seconds.
What can I do if my bars turn out too gooey?
If your Chocolate Chip Cherry Bars are too gooey, it’s likely they need a bit more baking time. Make sure to bake until the edges are slightly pulled away and the center is set—not jiggly when you give the pan a gentle shake. If you increase the baking time, keep an eye on them, as ovens can vary.
Are there any dietary considerations for this recipe?
Yes! For those with gluten sensitivities, you can substitute all-purpose flour with a gluten-free flour blend. Always check your chocolate chips for potential allergens, as some brands may contain milk or nuts. Additionally, if you’re concerned about servings for pets, remember that chocolate is toxic to dogs, so keep these delicious bars safely out of reach!
Can I use other fruits instead of cherries?
Very much so! Feel free to experiment with different fruits! Consider using blueberries, raspberries, or even dried cherries for a unique twist on the classic Chocolate Chip Cherry Bars. Just be mindful of the moisture content for fresh fruits, as it may affect the baking time slightly.
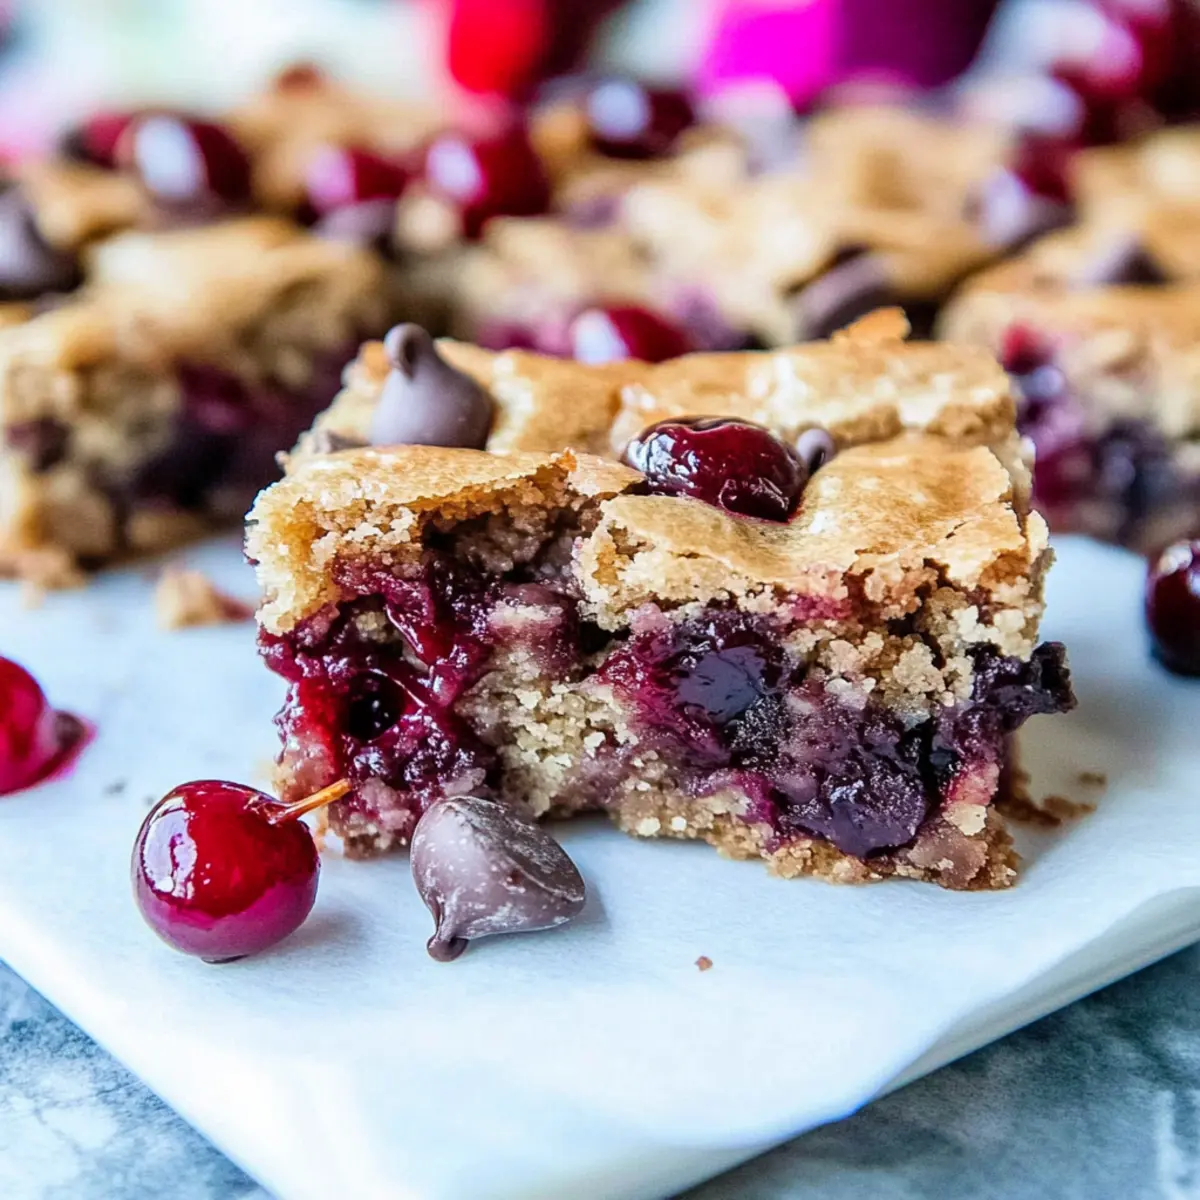
Irresistible Chocolate Chip Cherry Bars for Easy Indulgence
Ingredients
Equipment
Method
- Preheat your oven to 350°F (175°C).
- Prepare an 8x8 inch baking pan with foil or parchment paper, greased.
- Melt unsalted butter in a microwave-safe bowl for about 30 seconds.
- Mix melted butter with light brown sugar until creamy.
- Add large egg and vanilla extract; stir until smooth.
- Incorporate all-purpose flour and optional salt; fold gently to combine.
- Fold in semi-sweet chocolate chips and pitted cherries evenly.
- Pour the batter into the prepared baking pan and smooth the top.
- Bake for 27 to 32 minutes, until edges are set and center is moist.
- Cool on a wire rack for at least 1 hour before cutting.
Leave a Reply