
There’s something magical about transforming just four simple ingredients into something truly special. These Chocolate Peanut Butter Truffles are a delightful no-bake dessert that brings the indulgent flavor of rich chocolate and creamy peanut butter right to your kitchen. They’re as easy to make as they are to devour, making them the perfect solution for satisfying that sweet tooth without the fuss. Not only do they come together in a snap, but they also make for heartfelt, homemade gifts or an elegant treat for any gathering. Whether you’re a seasoned home chef or just starting your culinary journey, these truffles promise to thrill your taste buds and elevate your dessert game. Are you ready to whip up these delightful bites?
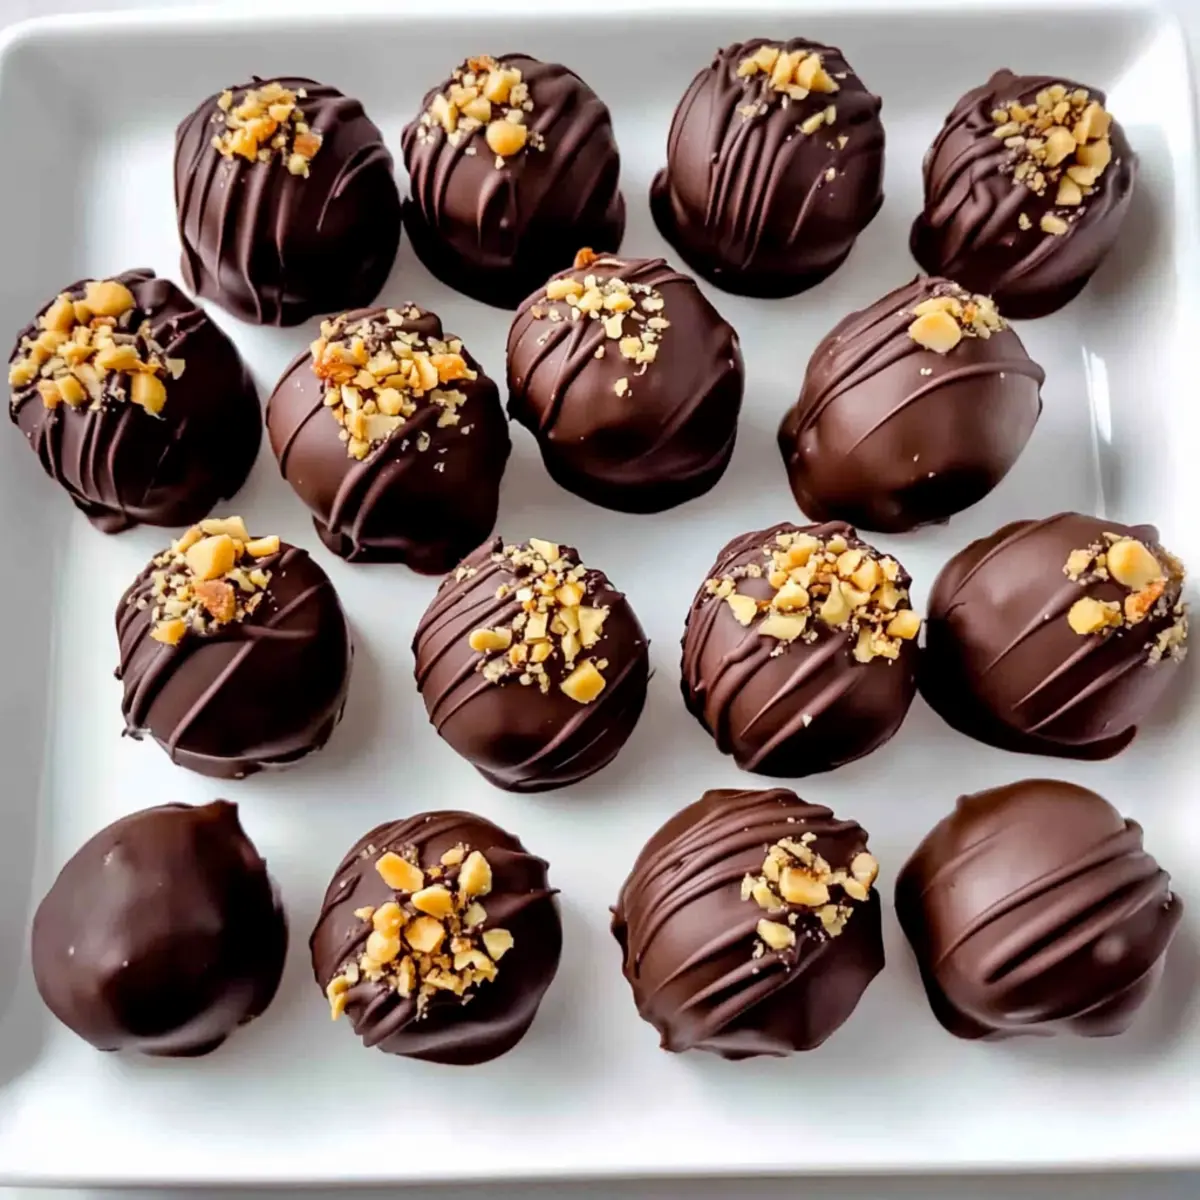
Why are Chocolate Peanut Butter Truffles Amazing?
Indulgent Bliss: These truffles harmoniously blend rich chocolate with creamy peanut butter to create a mouthwatering flavor explosion.
Simple Steps: With just four ingredients, these truffles come together effortlessly, making them ideal for even the busiest days.
No-Bake Ease: You won’t need to fire up the oven, saving you time and energy while still delivering an impressive dessert.
Versatile Treat: Perfect for gifting during the holidays or serving at parties, they’ll leave everyone asking for seconds.
Crowd-Pleasing: Whether you’re a novice or a pro, these treats are a guaranteed hit—just like our deliciously easy Garlic Butter Beef or sweet Brown Butter Coffee cookies that are always a favorite!
Chocolate Peanut Butter Truffles Ingredients
For the Truffle Base
• Creamy Peanut Butter – ensures a smooth texture; use at room temperature for effortless mixing.
• Salted Butter – adds richness and binds the mixture; be sure it’s soft for easy blending.
• Powdered Sugar – provides sweetness and helps reach the perfect consistency; add it gradually for best results.
For the Chocolate Coating
• Chocolate Melting Wafers – coats the truffles with a glossy finish; no need to temper, making your Chocolate Peanut Butter Truffles even easier to prepare!
Step‑by‑Step Instructions for Chocolate Peanut Butter Truffles
Step 1: Prepare the Baking Sheet
Start by lining a baking sheet with parchment paper, ensuring it’s flat and smooth. This will provide a non-stick surface for your finished truffles. Once ready, set it aside so you can easily place your chocolate peanut butter truffles on it after shaping.
Step 2: Mix Base Ingredients
In a large mixing bowl, combine room temperature creamy peanut butter and softened salted butter. Stir vigorously until the mixture is smooth and well blended. Gradually add powdered sugar, mixing continuously until no lumps remain, and the mixture forms a thick, creamy consistency that holds together nicely.
Step 3: Shape Balls
Using a small cookie scoop or your hands, portion out the peanut butter mixture into tablespoon-sized balls. Roll each portion gently between your palms to ensure a uniform shape, then place the balls onto the lined baking sheet, leaving a little space between each to allow for easy coating later.
Step 4: Chill
Once all the balls are shaped, place the baking sheet in the freezer and let the truffles chill for about 30 minutes. This will firm them up, making them easier to coat with chocolate later. You’ll know they’re ready when they are firm to the touch and hold their shape well.
Step 5: Melt Chocolate
While the truffles chill, prepare your chocolate coating. Melt the chocolate melting wafers according to package instructions, or use a microwave-safe bowl to heat them in 30-second intervals, stirring after each until completely smooth and free of lumps. This creates a luscious coating for your chocolate peanut butter truffles.
Step 6: Coat Balls
Once the chocolate is melted and smooth, remove the truffle balls from the freezer. Dip each ball into the melted chocolate, using a fork to fully coat and allowing any excess chocolate to drip off. Carefully place the coated balls back on the lined baking sheet to set.
Step 7: Decorate (Optional)
If you want to jazz up your chocolate peanut butter truffles, sprinkle crushed peanuts or colorful sprinkles over the wet chocolate coating before it sets. This adds a fun visual element as well as a bit of extra crunch and flavor to your delightful treats.
Step 8: Cool and Store
After decorating, return the truffles to the refrigerator to chill until the chocolate is fully set, typically about 15-30 minutes. Once they’re cool, transfer your truffles to an airtight container and store them in the fridge for up to a week—perfect for indulging whenever your sweet tooth calls!
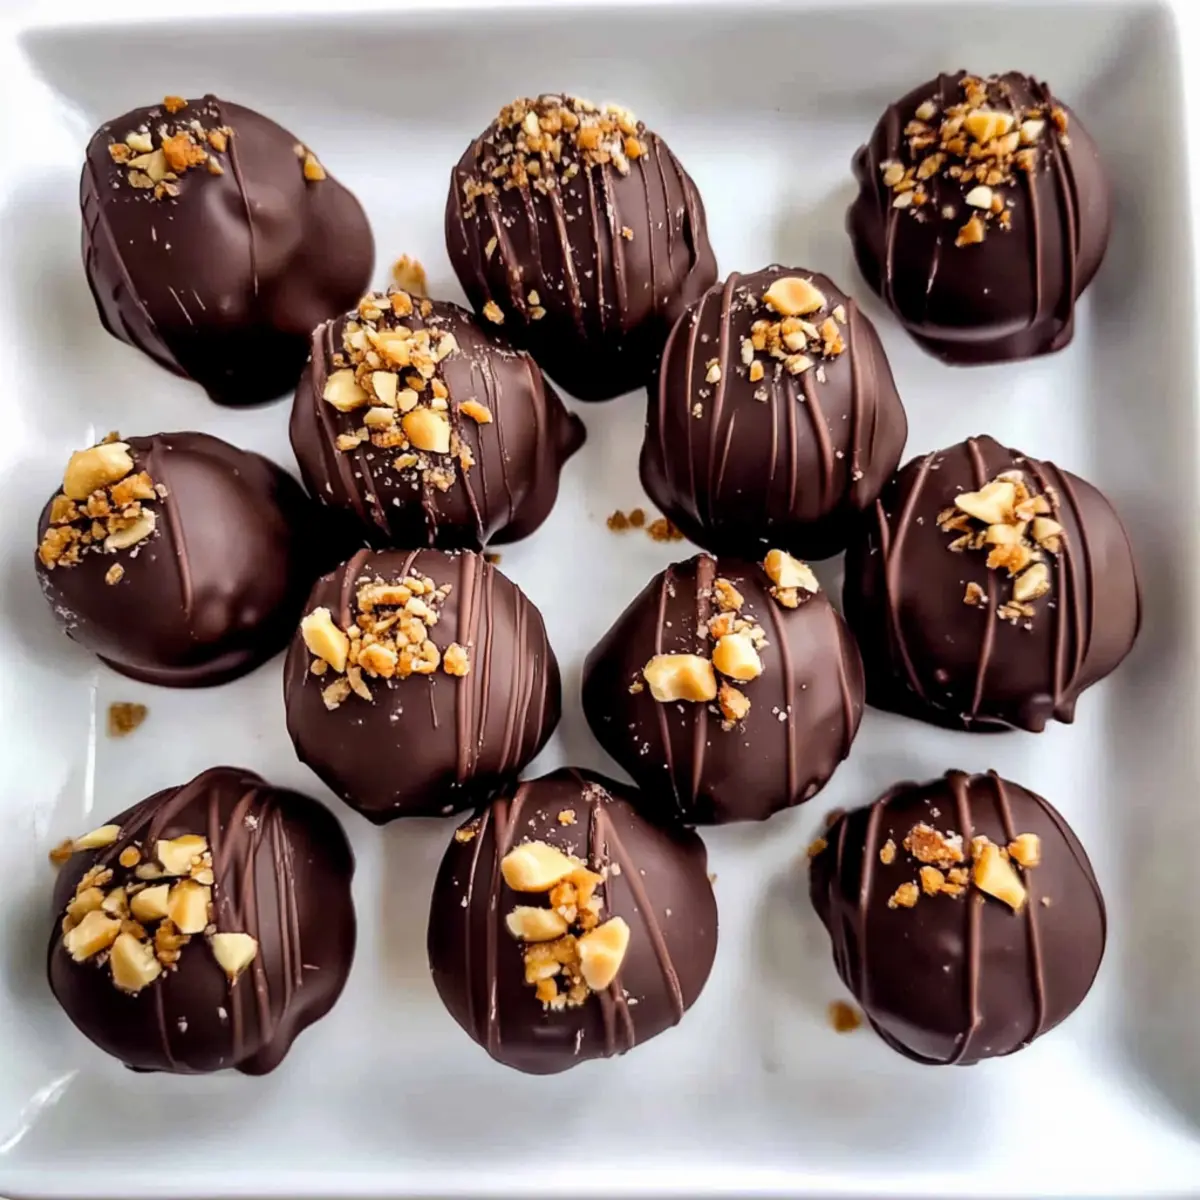
How to Store and Freeze Chocolate Peanut Butter Truffles
Fridge: Store your Chocolate Peanut Butter Truffles in an airtight container in the refrigerator for up to 7 days to keep them fresh and delicious.
Freezer: For longer storage, freeze the truffles in a single layer on a baking sheet before transferring to a freezer-safe container. They can last for up to 3 months.
Thawing: When ready to enjoy, simply transfer the frozen truffles to the fridge for a few hours to thaw gradually, ensuring the best texture.
Reheating: There’s no need to reheat; simply take them out of the fridge and they’re ready to be savored right away!
Expert Tips for Chocolate Peanut Butter Truffles
• Use Room Temperature Ingredients: Ensure both the peanut butter and butter are at room temperature for easier mixing, resulting in a smoother truffle mixture.
• Consistent Sizing: Using a small cookie scoop will help you achieve uniform-sized truffles, ensuring even coating and a polished look.
• Gradual Sugar Addition: To avoid a crumbly texture, add the powdered sugar gradually while mixing; this allows for better integration into the creamy base.
• Dip Technique: Allow excess chocolate to drip off the truffles before placing them back on the parchment paper, creating a neater, more appealing finish on your Chocolate Peanut Butter Truffles.
• Chill for Firmness: Don’t skip the chilling step; it helps the truffles hold their shape during coating and enhances their texture.
• Storage Tips: Keep your truffles in an airtight container in the fridge for up to a week to maintain their freshness—perfect for snacking throughout the week!
Chocolate Peanut Butter Truffles Variations
Feel free to get creative and make these truffles your own with these scrumptious variations!
-
Chunky Peanut Butter: Swap out creamy peanut butter for chunky to add delightful texture and an extra nutty flavor. You’ll love the crunch with every bite!
-
Dark Chocolate Coating: Use dark chocolate melting wafers for a deeper, richer taste that perfectly contrasts the sweetness of peanut butter. It’s a grown-up twist that’s simply divine.
-
Sea Salt Sprinkles: After coating the truffles, sprinkle a pinch of flaky sea salt on top before the chocolate sets for a sweet and salty combo that’ll have you craving more.
-
Flavor Infusions: Add a dash of vanilla extract or a tablespoon of espresso powder to the peanut butter mixture for an unexpected depth of flavor. These small tweaks will elevate your truffles to new heights.
-
Nutty Coating: Roll the finished truffles in crushed nuts, like peanuts or almonds, before the chocolate sets. This not only enhances the visual appeal but also adds a delightful crunch.
-
Cocoa Dusting: For a lighter touch, dust the truffles with unsweetened cocoa powder instead of chocolate. This option delivers a chocolatey finish with a sophisticated flair.
-
Spicy Kick: Mix in a pinch of cayenne pepper with the powdered sugar for a surprising burst of heat that beautifully balances the sweet and creamy peanut butter.
-
Festive Spirit: During the holidays, add orange zest to the peanut butter mixture for a festive, citrusy twist that compliments the chocolate beautifully. It’s a perfect seasonal touch!
Try these variations and make your Chocolate Peanut Butter Truffles a personal favorite that you can share with family and friends. For inspiring dessert ideas, check out our delectable Apple Pie Bars or treat yourself to some delightful White Chocolate Halloween Oreo Bark!
What to Serve with Chocolate Peanut Butter Truffles?
There’s nothing quite like indulging in a dessert that beautifully combines rich flavors and a touch of elegance.
-
Fresh Berries: Juicy raspberries or strawberries add a bright, tart contrast that balances the sweetness of the truffles. Their juiciness refreshes the palate perfectly after each delectable bite.
-
Whipped Cream: A dollop of freshly whipped cream serves as a luscious, airy complement that enhances the creamy texture of the truffles while adding an inviting lightness to each serving.
-
Chocolate Sauce: Drizzling warm chocolate sauce over the truffles or on the plate creates an elegant presentation, enhancing the experience as you dive into the rich flavors of peanut butter and chocolate.
-
Coffee: A robust cup of coffee pairs incredibly well, its bitterness contrasting beautifully with the sweetness of the truffles and offering a comforting warmth alongside each delightful mouthful.
-
Milk: A glass of cold milk provides a classic touch, its creaminess perfectly matching the truffles while making for a nostalgic pairing that feels like a childhood treat.
-
Ice Cream: Serve alongside a scoop of vanilla or chocolate ice cream for an indulgent dessert experience—each bite melts in your mouth, creating a dreamy combination of flavors and textures.
-
Nutty Cookies: Crunchy, nut-studded cookies add a delightful texture contrast, making every bite a fabulous adventure that highlights the nutty notes of the peanut butter.
-
Chocolate Port: A glass of sweet chocolate port elevates the dessert experience, its fruity notes enhancing the richness of the chocolate while creating a luxurious after-dinner drink.
Make Ahead Options
These Chocolate Peanut Butter Truffles are perfect for busy home cooks looking to save time! You can prepare the truffle base (peanut butter, butter, and powdered sugar) up to 24 hours in advance. Simply mix until smooth and shape into balls, then refrigerate them in an airtight container. When you’re ready to serve, melt the chocolate wafers, coat the chilled truffles directly from the fridge, and allow them to set. This means you can enjoy these delightful treats with minimal effort on less hectic days, ensuring they stay just as delicious as when freshly made!
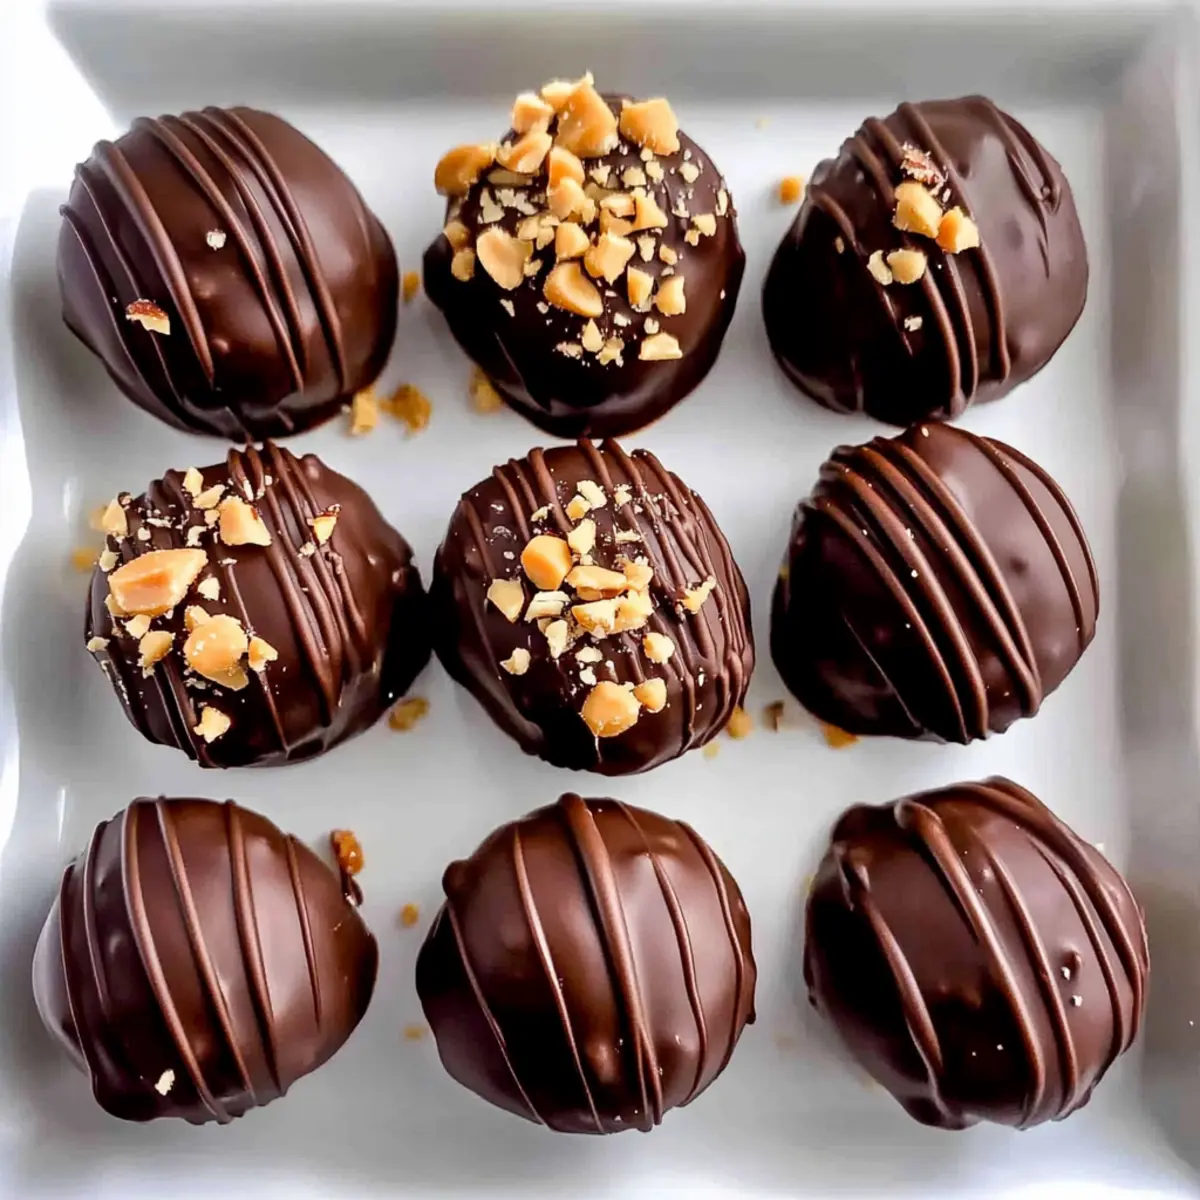
Chocolate Peanut Butter Truffles Recipe FAQs
How do I know if my ingredients are ripe or in good condition?
Absolutely! For the best texture and flavor in your Chocolate Peanut Butter Truffles, ensure your creamy peanut butter is smooth and free of separation. Check that your salted butter is fresh and soft, which facilitates easy mixing. Using powdered sugar that’s fresh will also result in a better consistency, so avoid any that feels hard or clumpy.
What’s the best way to store Chocolate Peanut Butter Truffles?
Keep your Chocolate Peanut Butter Truffles in an airtight container in the refrigerator for up to 7 days. This helps maintain their creamy texture and delicious flavor. If you’re looking to extend their life, try freezing them; just make sure they’re in a container that seals well to prevent freezer burn.
Can I freeze Chocolate Peanut Butter Truffles, and if so, how?
Very! To freeze your Chocolate Peanut Butter Truffles, first, place them in a single layer on a baking sheet lined with parchment paper. Freeze them for about 2-3 hours until firm, then transfer them to a freezer-safe container or a resealable plastic bag. They can stay good for up to 3 months! When you’re ready to enjoy them, thaw in the refrigerator for a few hours before serving.
What if my truffle mixture is too crumbly?
No worries! If your mixture appears crumbly after adding the powdered sugar, it could be due to the sugar being added too quickly. Just keep mixing it until you achieve a smooth consistency. You can also add a teaspoon of milk or additional peanut butter to help bring the mixture together for the perfect texture.
Are there any dietary considerations I should keep in mind?
Absolutely! If you’re making Chocolate Peanut Butter Truffles for someone with nut allergies, consider using sun butter or soy nut butter as an alternative to peanut butter. For those with gluten concerns, rest assured that this recipe is naturally gluten-free; just make sure the chocolate wafers you choose are gluten-free as well. Always check food labels to ensure they fit within dietary restrictions.
Can pets eat any of these ingredients?
It’s very important to remember that chocolate is toxic to dogs and other pets! So, while you enjoy making these delicious Chocolate Peanut Butter Truffles, be sure to keep them securely stored away from your furry friends. If your pet accidentally consumes chocolate, contact your veterinarian immediately for advice.
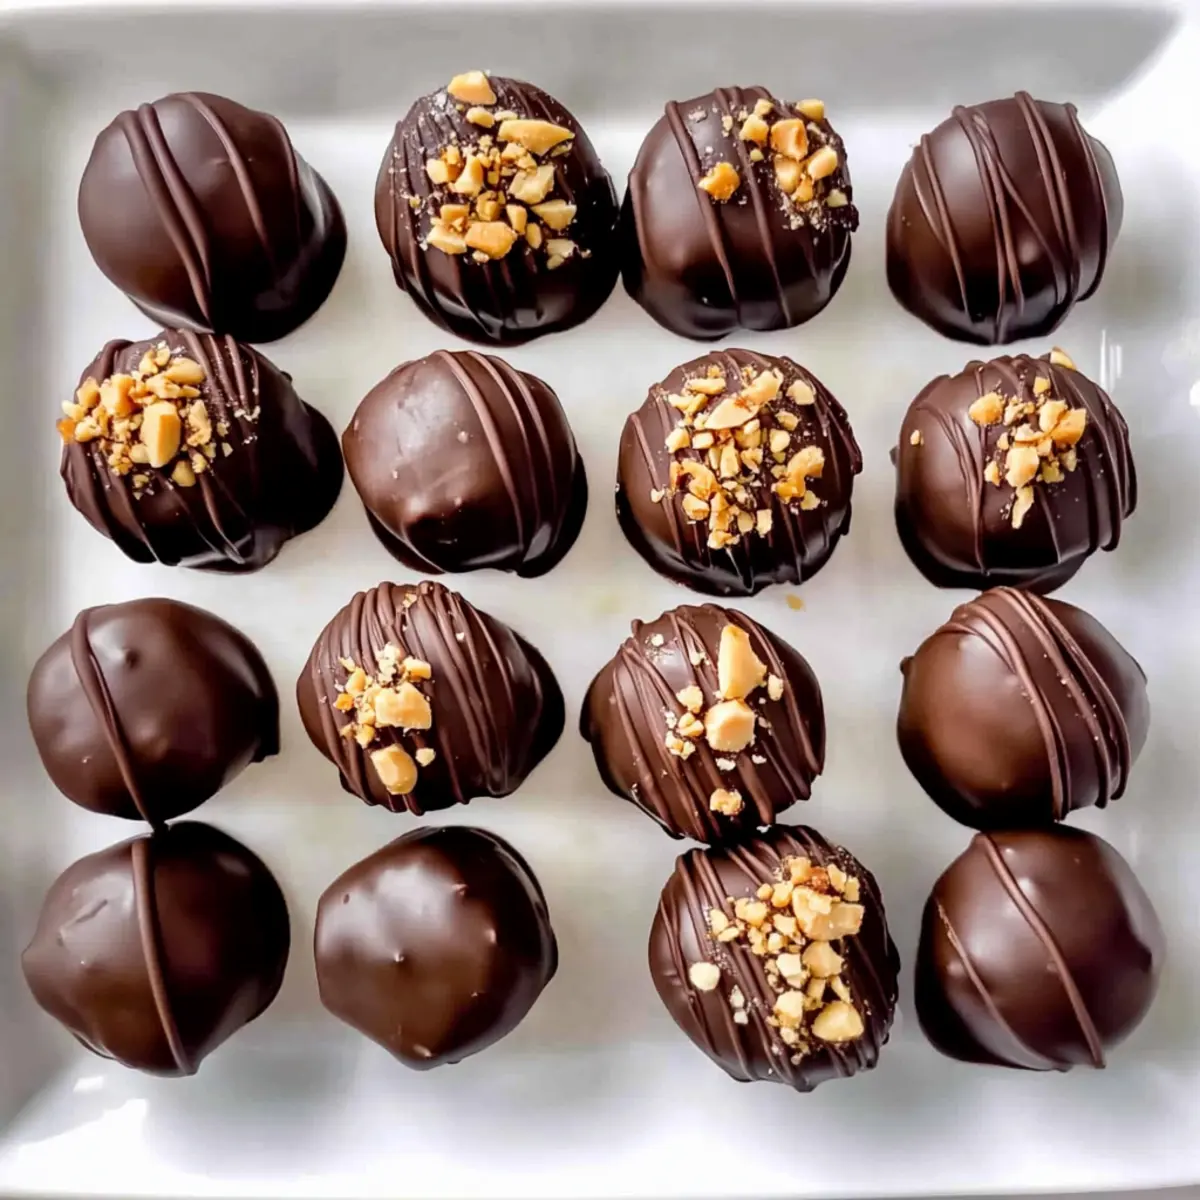
Irresistible Chocolate Peanut Butter Truffles You Can Make Today
Ingredients
Equipment
Method
- Prepare the Baking Sheet: Line a baking sheet with parchment paper, ensuring it’s flat and smooth.
- Mix Base Ingredients: Combine room temperature creamy peanut butter and softened salted butter in a bowl. Stir until smooth, then gradually mix in powdered sugar.
- Shape Balls: Portion the mixture into tablespoon-sized balls and roll them between your palms, placing them on the lined baking sheet.
- Chill: Place the baking sheet in the freezer and let the truffles chill for about 30 minutes.
- Melt Chocolate: Melt the chocolate melting wafers according to package instructions until smooth.
- Coat Balls: Dip each chilled ball into the melted chocolate, using a fork to coat. Place back on the lined baking sheet to set.
- Decorate (Optional): Sprinkle crushed peanuts or colorful sprinkles over the wet chocolate coating before it sets.
- Cool and Store: Chill the truffles until set, then store in an airtight container in the fridge.
Leave a Reply