
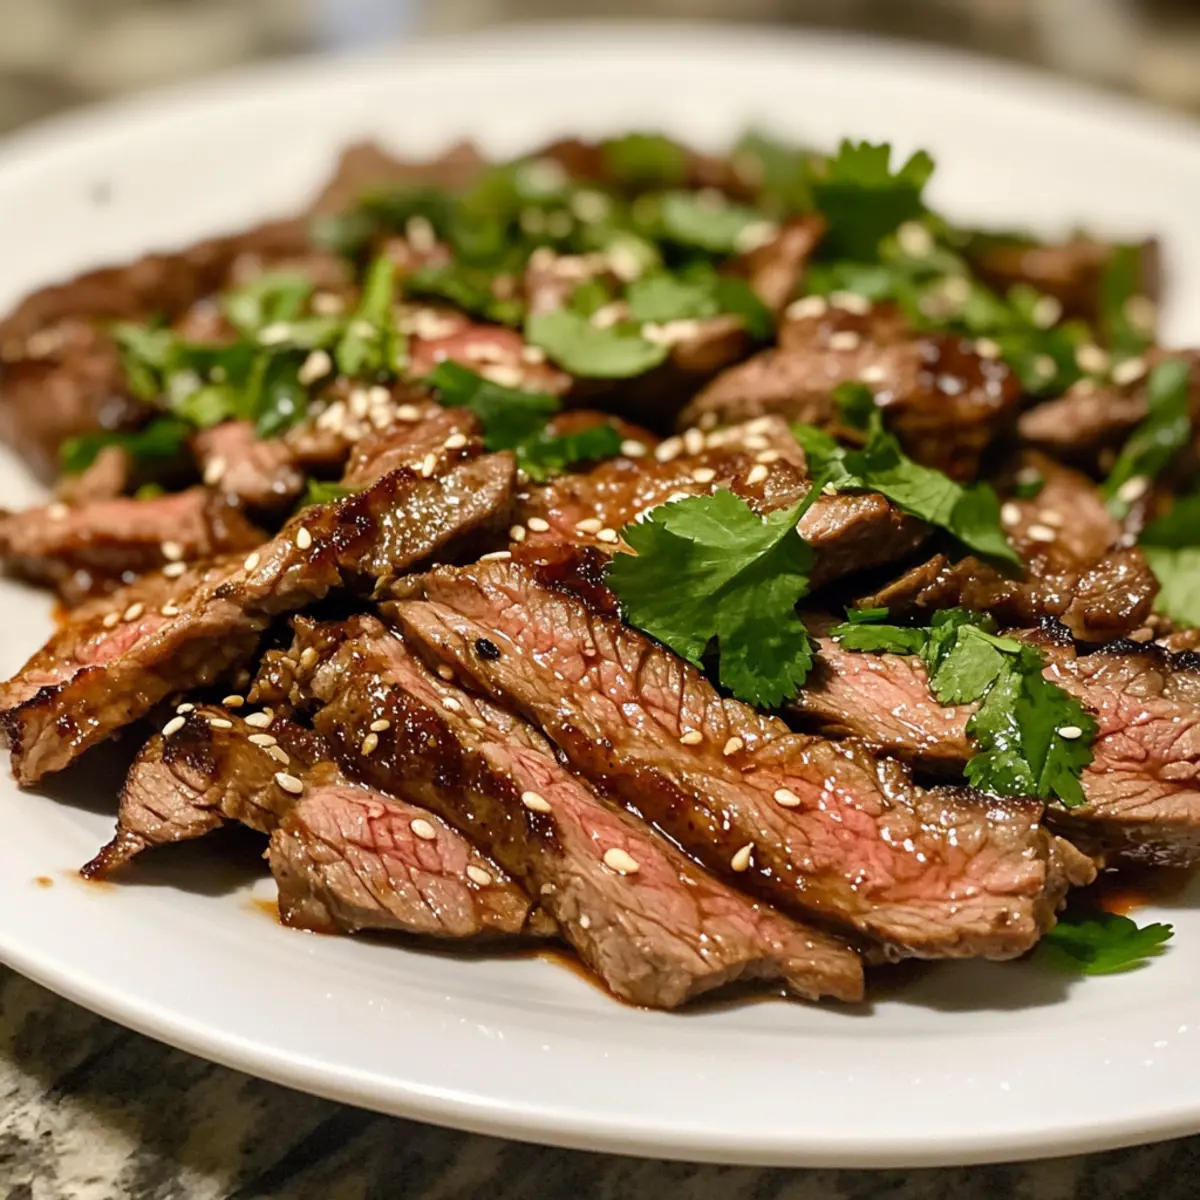
While waiting for my grill to heat up, I could already sense the tantalizing aroma of Crying Tiger Beef wafting through the air. This vibrant Thai dish makes cooking a breeze—ready in under 30 minutes, it’s perfect for those bustling evenings when you crave something exciting yet uncomplicated. The flavorful grilled beef, paired with a spicy dipping sauce, transforms any meal into a festive gathering, sure to impress even your most discerning friends. And for those of you exploring gluten-free or vegetarian options, don’t worry; this recipe easily adapts to meet your needs! Are you ready to take your taste buds on a sensational journey? Let’s dive into the tantalizing world of Crying Tiger Beef!
Why is Crying Tiger Beef irresistible?
Quick and Easy: This dish comes together in under 30 minutes, making it a perfect choice for busy weeknights.
Bursting with Flavor: The grilled beef is enhanced by a spicy dipping sauce that tantalizes your taste buds, balancing sweet, savory, and spicy notes.
Customizable Options: Whether you prefer gluten-free or need vegetarian alternatives, this recipe adapts easily to suit your dietary needs. You might also enjoy variations like Garlic Butter Beef or Ranch Beef Pasta for more delicious inspirations.
Crowd-Pleaser: Perfect for entertaining, Crying Tiger Beef is sure to impress your guests and elevate any meal into a memorable experience.
Satisfying Textures: Enjoy the juicy beef paired with crunchy bits of toasted rice powder in the sauce, creating a delightful contrast that brings each bite to life!
Crying Tiger Beef Ingredients
For the Beef
• Sirloin or Ribeye Steak – These cuts offer juiciness and flavor; flank steak is a leaner alternative but remember to cut against the grain for tenderness.
For the Sauce
• Fish Sauce – This adds depth to the flavor; for a vegetarian option, substitute with soy sauce or mushroom sauce, which might change the overall taste slightly.
• Lime Juice – Fresh lime juice brightens the dish beautifully; lemon juice can be a pinch substitute, though it’s less preferred.
• Palm Sugar – This provides a touch of sweetness to balance the heat; brown sugar can work as an alternative.
• Minced Garlic – Enhance the aromatic profile; fresh garlic is always recommended for the best flavor.
• Chopped Chilies – Adjust the heat to your liking; don’t hesitate to experiment for a spicier kick!
• Cilantro – Fresh cilantro adds a vibrant, herbal note; parsley may substitute if desired.
• Green Onions – They add a mild onion flavor; chives work too for a slightly different taste.
• Toasted Rice Powder – This gives a lovely nutty texture; feel free to omit or use toasted sesame seeds in its place if needed.
Optional Garnishes
• Sesame Seeds – Sprinkle for an added crunch; these can be skipped if unavailable.
• Additional Cilantro – For extra fragrance and color atop the dish; always a welcomed touch!
This gathering-friendly Crying Tiger Beef is sure to delight everyone at your table!
Step‑by‑Step Instructions for Crying Tiger Beef
Step 1: Prep the Beef
Start by trimming any excess fat from your sirloin or ribeye steak, ensuring a lean cut for grilling. Pat the beef dry with paper towels to remove moisture and prevent sticking, then brush both sides generously with vegetable oil. This preparation step sets the foundation for your delicious Crying Tiger Beef, keeping it juicy and flavorful once grilled.
Step 2: Toast Rice Powder (if using)
In a dry skillet over medium heat, add 1 tablespoon of uncooked sticky or jasmine rice. Toast the rice, stirring occasionally until it turns a golden brown, which should take around 5-7 minutes. Once toasted, remove it from heat, allow it to cool, and grind it into a coarse powder. This will provide a delightful nutty texture to your dipping sauce.
Step 3: Grill the Beef
Preheat your grill to high heat, ensuring it’s hot enough for a good sear. Place the prepared steak on the grill and cook for about 3-4 minutes per side for a perfect medium-rare finish. Look for a nice char and the internal temperature to reach around 135°F. Adjust cooking times based on your preferred doneness, making your Crying Tiger Beef tailored to your taste.
Step 4: Rest the Steak
Once the beef is grilled to your liking, remove it from the heat and let it rest on a cutting board for about 5 minutes. This resting period allows the juices to redistribute throughout the meat, which will keep your Crying Tiger Beef juicy and tender. Cover it loosely with foil to keep it warm while you prepare the sauce.
Step 5: Make the Dipping Sauce
In a mixing bowl, combine soy sauce, fish sauce, fresh lime juice, palm sugar, minced garlic, chopped chilies, cilantro, and green onions. If using toasted rice powder, add that too. Whisk the ingredients together until the sugar is fully dissolved, creating a vibrant, spicy sauce. This dipping sauce is the perfect complement to your grilled beef, enhancing the flavors of the Crying Tiger Beef.
Step 6: Slice the Beef
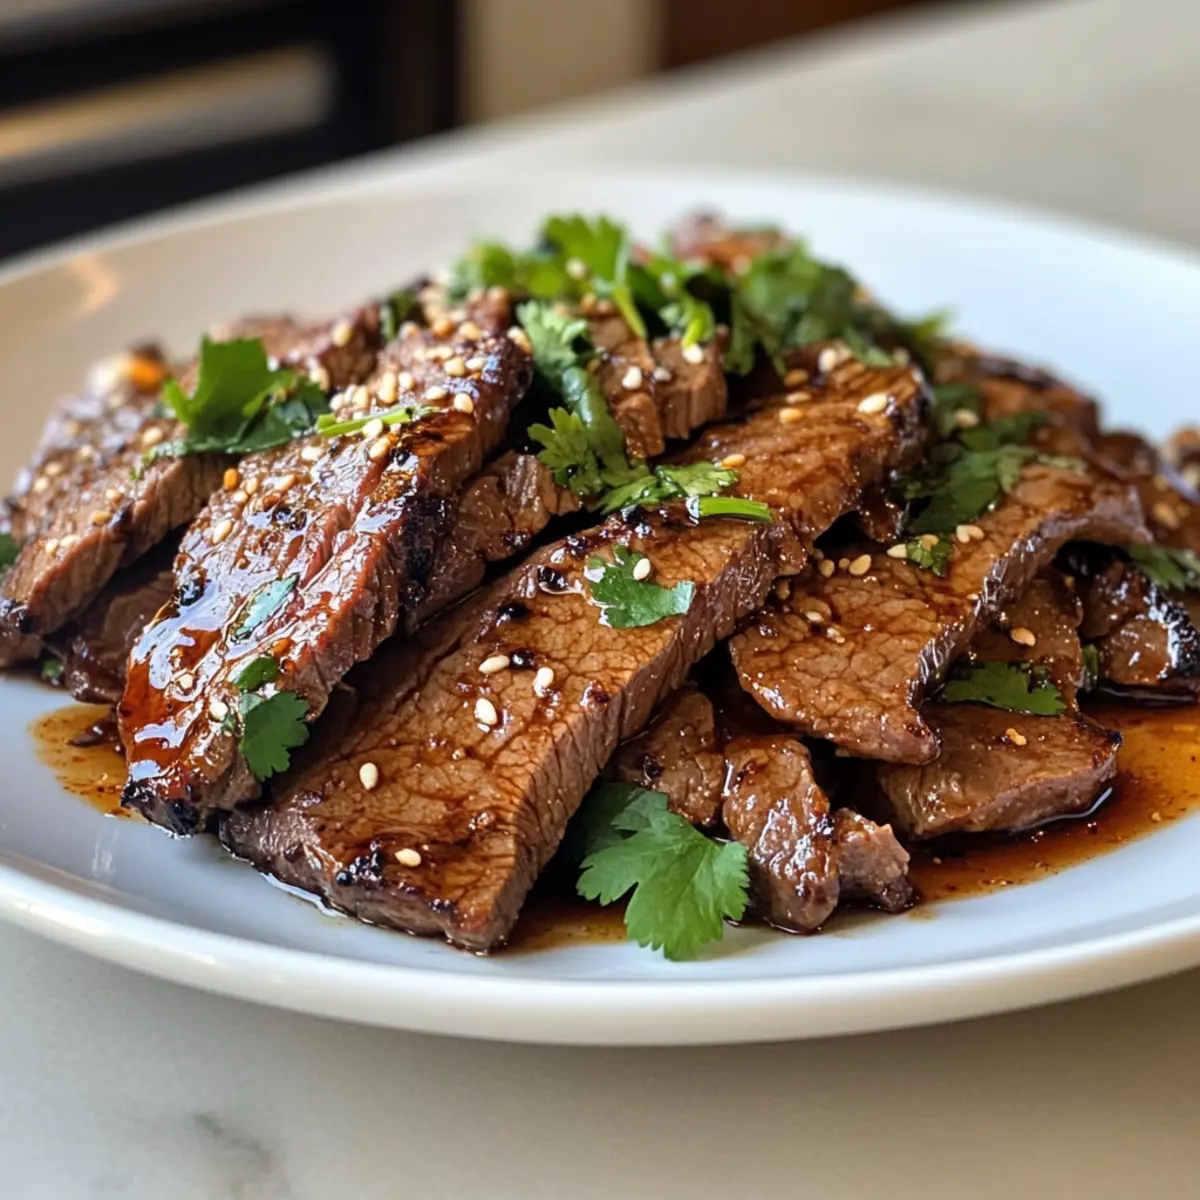
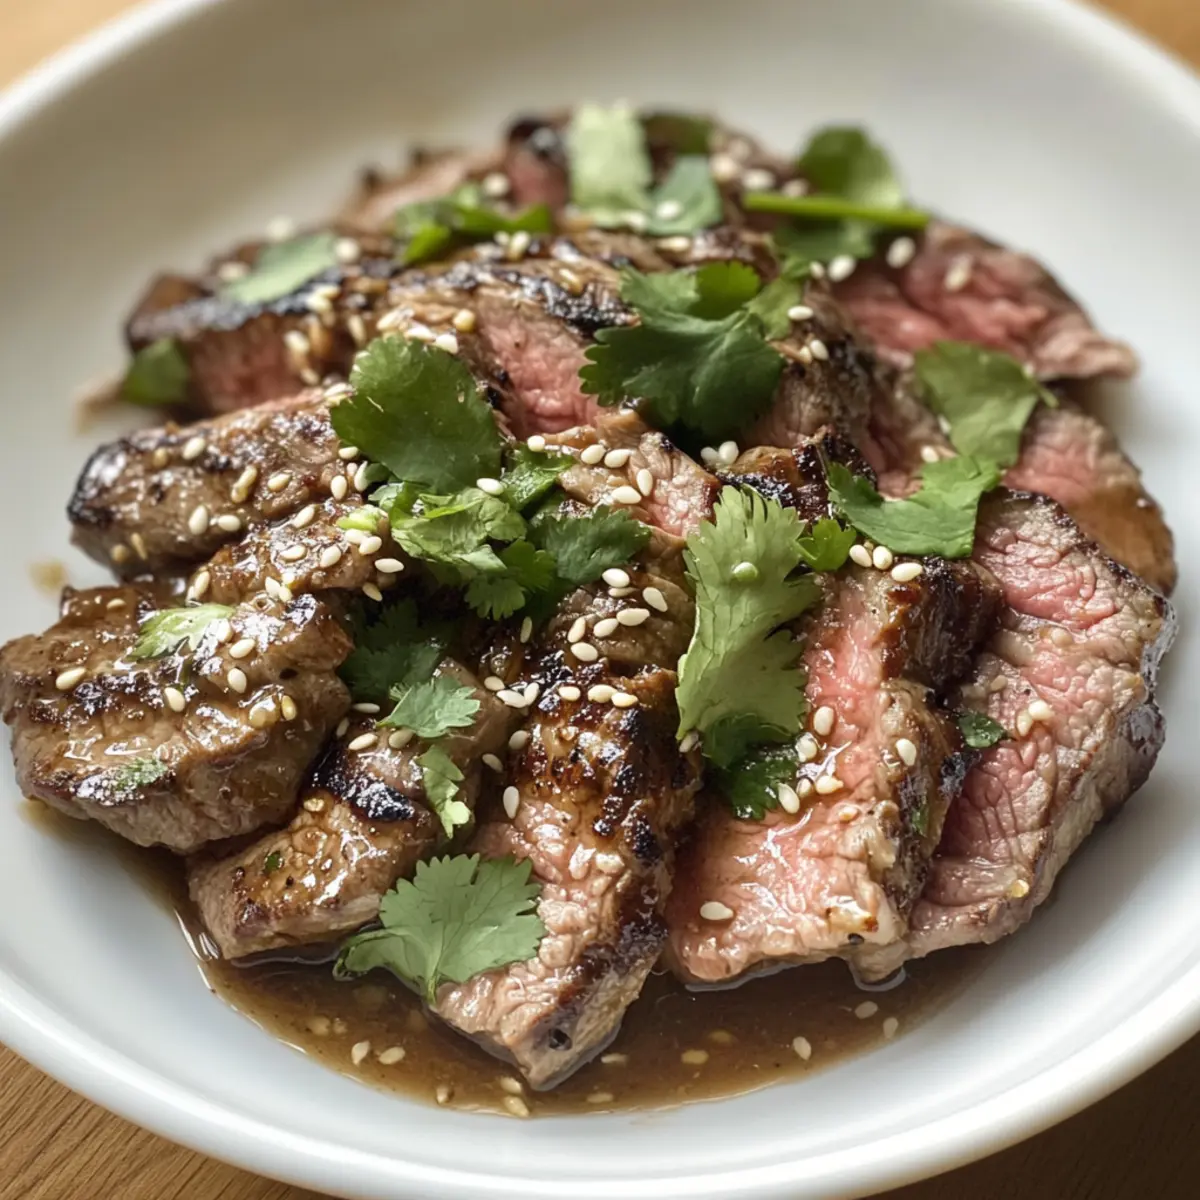
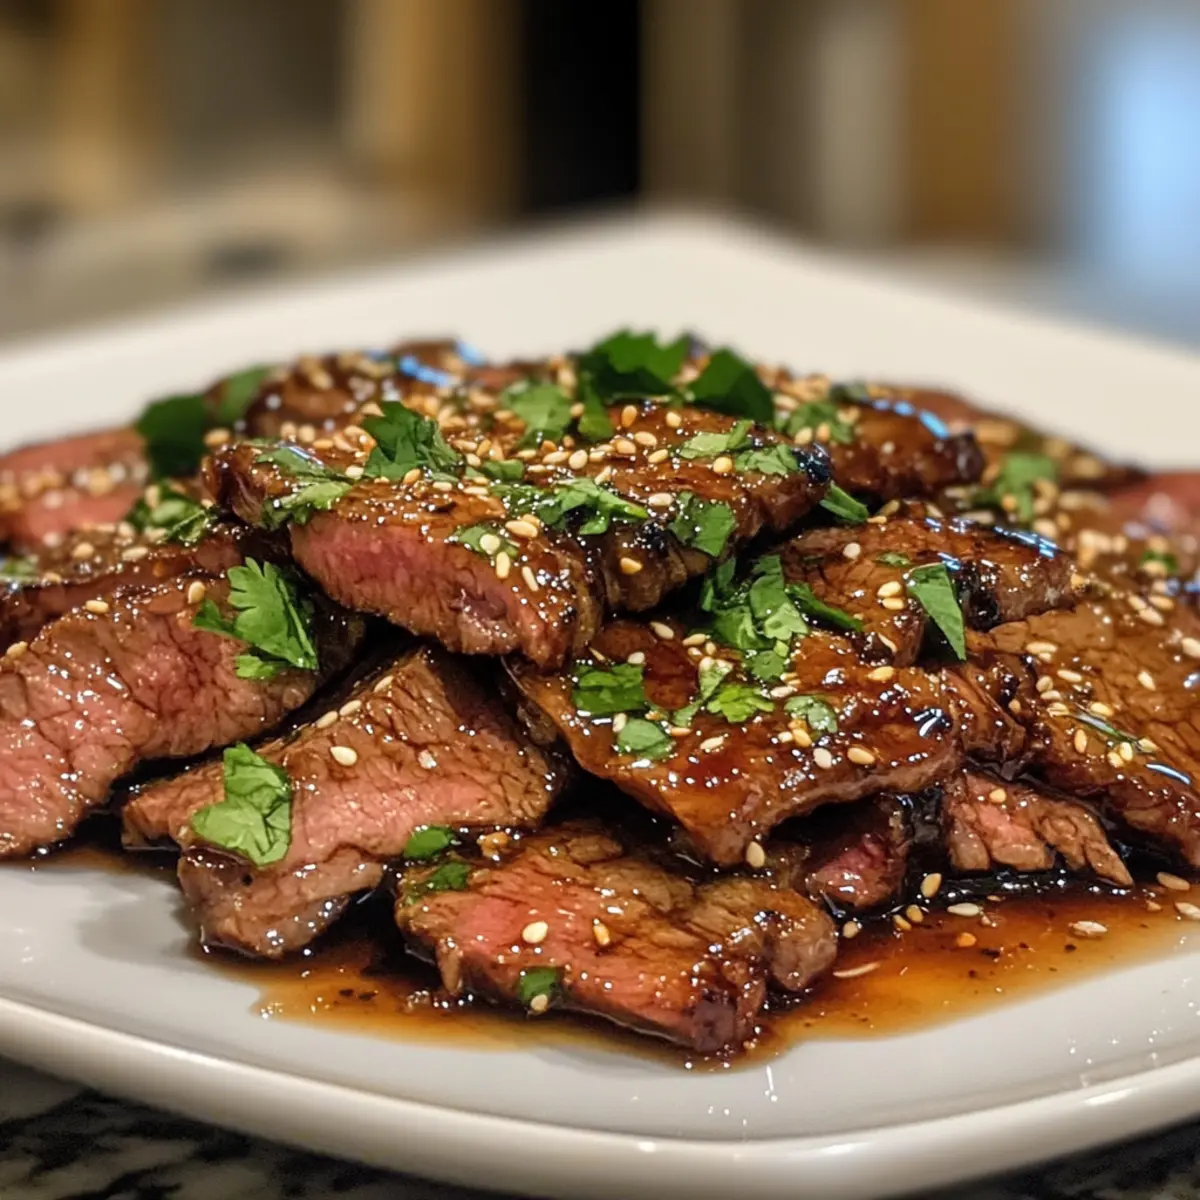
After resting, slice the beef thinly against the grain. This method ensures each piece is tender and easy to chew. Serve the sliced Crying Tiger Beef drizzled with the dipping sauce or provide it on the side for dipping. Garnish with additional cilantro and sesame seeds for a pop of color and a delightful crunch, elevating your dish to a culinary delight.
Expert Tips for Crying Tiger Beef
Hot Grill: Ensure your grill is preheated to high heat for that perfect sear and to lock in flavors.
Avoid Overcooking: Grill for only 3-4 minutes per side for medium-rare. Use a meat thermometer for precision!
Slice Correctly: Always cut the beef against the grain for maximum tenderness in your Crying Tiger Beef.
Adjust Spice: For milder sauce, reduce chilies, and for extra heat, consider chili oil or increase chilies for a spicier kick.
Make-Ahead Sauce: Prepare your dipping sauce a day in advance to blend the flavors; just refrigerate and stir before serving!
Crying Tiger Beef Variations
Feel free to customize your Crying Tiger Beef to suit your taste buds and dietary preferences! Here are some delicious options to consider.
-
Spice Level: Add more or fewer chilies to your dipping sauce to achieve the heat level you desire. A careful balance will tantalize the palate without overwhelming it.
-
Alternative Cuts: Try using flank steak or tenderloin instead of sirloin or ribeye for different textures. Each cut brings its unique qualities, making it a delightful adventure!
-
Vegetarian/Vegan: Replace the beef with grilled mushrooms or marinated tofu for a satisfying vegetarian or vegan version. This twist still delivers on flavor and texture while being inclusive for all diets.
-
Nut-Free Option: Omit the toasted rice powder and use ground sunflower seeds to maintain a similar texture without any nuts. Enjoy the crunch while accommodating those with nut allergies!
-
Flavor Boost: Incorporate herbs like Thai basil or mint into the dipping sauce for an aromatic twist. These herbs will infuse the sauce with freshness, making every bite pop with flavor!
-
Citrus Kick: Swap lime juice for fresh grapefruit juice for a unique zesty variation. This offers a delightful twist, enhancing the dish’s brightness in surprising ways.
-
Sweet and Spicy: Add a drizzle of honey or maple syrup to the dipping sauce for added sweetness! The contrast with the spiciness will create an exciting taste experience.
-
Hearty Pairing: Serve with sticky rice or quinoa instead of a salad for a more substantial meal. It balances the juicy beef beautifully by adding texture and comfort!
For even more delicious inspiration, don’t forget to check out Garlic Butter Beef or Ranch Beef Pasta. Happy cooking!
How to Store and Freeze Crying Tiger Beef
Fridge: Store any leftover Crying Tiger Beef in an airtight container in the fridge for up to 3 days to maintain its juicy texture and flavor.
Freezer: Freeze sliced Crying Tiger Beef in a single layer on a baking sheet before transferring to a freezer bag, where it can last for up to 2 months.
Reheating: When ready to enjoy, thaw in the fridge overnight and reheat on a skillet over medium heat, adding a splash of water if needed to keep it moist.
Dipping Sauce Storage: The dipping sauce can be stored in the fridge for up to 1 week. Stir well before serving to refresh the flavors.
Make Ahead Options
These flavorful Crying Tiger Beef preparations are perfect for meal prep enthusiasts! You can marinate the beef up to 24 hours in advance, allowing the flavors to infuse deeply. Simply mix your marinade ingredients, coat the steak, and refrigerate it in an airtight container. Additionally, the spicy dipping sauce can be prepared and refrigerated for up to 3 days; just give it a stir before serving to refresh the flavors. When you’re ready to grill, take the beef out of the fridge about 30 minutes ahead to reach room temperature, ensuring tender, juicy results. This advance prep will save you valuable time on busy weeknights while keeping your Crying Tiger Beef just as delicious!
What to Serve with Crying Tiger Beef
Elevate your dining experience with these delightful pairings that perfectly complement the vibrancy of grilled beef.
- Sticky Rice: This comforting staple absorbs the flavors of the beef and sauce, creating a harmonious balance in every bite.
- Cucumber Salad: The cool crunch of fresh cucumbers and herbs refreshes your palate, making it an ideal counterpart to the spicy beef.
- Grilled Vegetables: Charred zucchini, bell peppers, and eggplant add a medley of colors and flavors, enhancing the meal with their smoky sweetness.
- Thai Mango Salad: This zesty and fruity salad adds a burst of brightness, beautifully contrasting the savory richness of the Crying Tiger Beef.
- Spicy Noodle Salad: Tossed with basil and mint, this dish complements the beef’s heat while providing a satisfying chew.
- Chilled Beer: A crisp lager or a fruity ale offers a refreshing sip that pairs excellently with the spiced notes of the beef.
- Coconut Sticky Rice: For a sweet twist, the richness of coconut enhances both the beef’s flavor and brings a tropical touch to the meal.
- Limeade or Sweet Tea: Refreshing beverages like these bring a delightful sweetness that tempers the spice, making them perfect sips alongside your dish.
Crying Tiger Beef Recipe FAQs
How do I choose the best beef for Crying Tiger Beef?
Absolutely! For Crying Tiger Beef, I recommend using sirloin or ribeye steak due to their juiciness and flavor. Flank steak can also work well for a leaner option, but don’t forget to cut against the grain for that perfect tenderness!
How should I store leftover Crying Tiger Beef?
You can store any leftover Crying Tiger Beef in an airtight container in the fridge for up to 3 days. To keep it fresh, ensure it’s stored as soon as it cools down to room temperature. Reheating is best done in a skillet over medium heat, and a splash of water can help maintain moisture.
Can I freeze Crying Tiger Beef?
Yes, you can freeze sliced Crying Tiger Beef! First, lay the slices in a single layer on a baking sheet and freeze until solid. Then, transfer them to a freezer bag, and they will last for up to 2 months. When you’re ready to enjoy, thaw them in the fridge overnight and reheat on a skillet.
What if I can’t find toasted rice powder?
No worries at all! If you can’t find toasted rice powder, you can easily substitute it with toasted sesame seeds for a nice nutty flavor. Alternatively, you can choose to omit it altogether; your dipping sauce will still taste delicious without it!
Is this recipe suitable for gluten-free diets?
Definitely! To make Crying Tiger Beef gluten-free, ensure your fish sauce is gluten-free (as many brands are) and substitute soy sauce with a gluten-free alternative like tamari. This way, you can still enjoy that wonderful flavor without any gluten worries.
How can I adjust the spice level in the dipping sauce?
Very! To control the spice level, simply adjust the amount of chilies you use. For a milder sauce, reduce the number of chilies or omit them. If you prefer it spicier, consider adding more chilies or a drizzle of chili oil for an extra kick!
Crying Tiger Beef: Juicy Grilled Delight with Spicy Sauce
Ingredients
Equipment
Method
- Start by trimming any excess fat from your sirloin or ribeye steak, ensuring a lean cut for grilling. Pat the beef dry with paper towels to remove moisture and prevent sticking, then brush both sides generously with vegetable oil.
- In a dry skillet over medium heat, add 1 tablespoon of uncooked sticky or jasmine rice. Toast the rice, stirring occasionally until it turns a golden brown, which should take around 5-7 minutes. Once toasted, remove it from heat, allow it to cool, and grind it into a coarse powder.
- Preheat your grill to high heat, ensuring it's hot enough for a good sear. Place the prepared steak on the grill and cook for about 3-4 minutes per side for a perfect medium-rare finish.
- Once the beef is grilled to your liking, remove it from the heat and let it rest on a cutting board for about 5 minutes.
- In a mixing bowl, combine soy sauce, fish sauce, fresh lime juice, palm sugar, minced garlic, chopped chilies, cilantro, and green onions. Whisk until the sugar is fully dissolved.
- After resting, slice the beef thinly against the grain. Serve drizzled with the dipping sauce or provide it on the side for dipping.
Leave a Reply